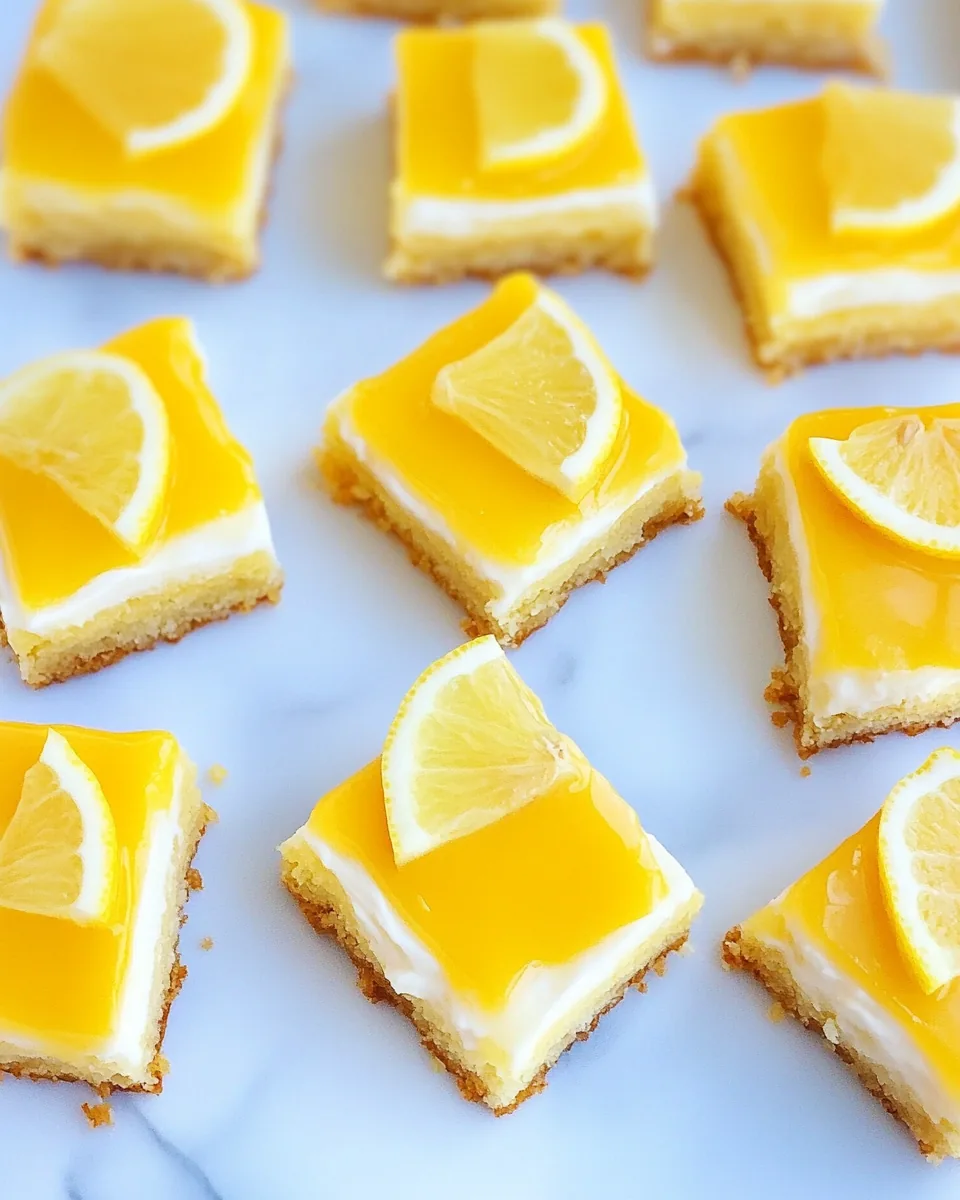
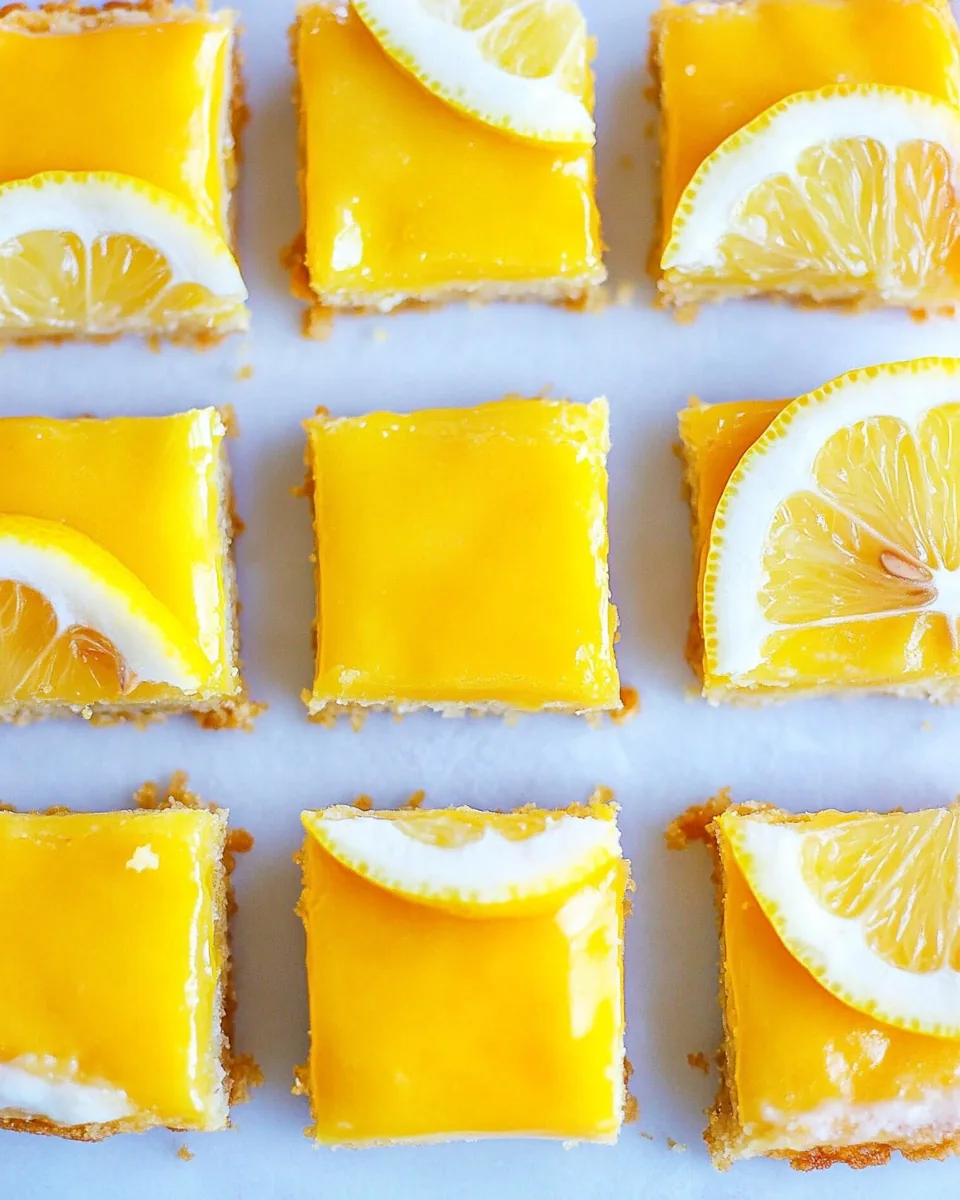
Healthy Lemon Bars
Having a sweet tooth doesn’t always mean I want to indulge in something heavy. That’s where Healthy Lemon Bars come in. These delightful treats are a perfect balance of tart and sweet, making them the ideal snack or dessert for any occasion. I still remember the first time I made them; I was experimenting in my kitchen and wanted something refreshing yet guilt-free. As the aroma of fresh lemon filled the air, my family gathered around, curious. One bite revealed a burst of citrus flavor, and my heart was set. Ever since that day, Healthy Lemon Bars have become a favorite in our home.
Recipe Snapshot
24 mins
0 mins
24 mins
Medium
150 kcal
3 g
Gluten-Free
6 g
Oven, Mixing Bowl, Baking Sheet, Blender, Food Processor, Frying Pan
What Sets This Healthy Lemon Bars Apart
They’re Refreshingly Tangy
What sets Healthy Lemon Bars apart is their tangy flavor profile. The use of fresh lemon juice and zest infuses each bite with a zesty kick that’s perfect for energizing your day. Whenever I need a pick-me-up, these bars are my go-to!
Wholesome Ingredients
These bars are not just delicious; they’re made with wholesome ingredients that you can feel good about. I love using white beans or chickpeas as the base, which adds fiber and protein. You won’t believe how delicious they are while still being healthy!
Easy to Prepare
One of the best things about Healthy Lemon Bars is how simple they are to prepare. With minimal ingredients and straightforward steps, you can whip up a batch in no time. Whether you’re a novice baker or an experienced chef, this recipe is accessible to everyone.
Perfect for Any Occasion
These bars are versatile! They make a great addition to potlucks, birthday parties, or even just a relaxing afternoon at home. I often serve them when friends come over; they’re always a hit!
Customizable
What I love about Healthy Lemon Bars is that you can easily customize them. Want to make them vegan? No problem! You can swap ingredients without losing that delicious lemon flavor. This means you can cater to different dietary needs without compromising taste.
They Keep Well
Not only are they delicious, but Healthy Lemon Bars also store well. I often make a batch at the start of the week, and they last beautifully in the fridge for a few days. This makes them a perfect snack option when you’re on the go!
What’s In This Healthy Lemon Bars
The ingredients used in Healthy Lemon Bars work together beautifully to create a treat that’s both satisfying and nutritious. The key players here are white beans, which provide a creamy texture, and lemon juice, which brings that wonderfully bright flavor. You’ll also find coconut butter for richness and sweetness from maple syrup. Together, they form a perfect harmony of flavors.
- 1/3 cup applesauce or mashed banana: This acts as a moistening agent, contributing to the bars’ tender texture. It’s a healthier alternative to oil or butter.
- 2 tsp lemon zest: The zest packs a punch of lemon flavor that enhances the overall citrusy taste of the bars.
- 1/3 cup flour of choice: This can be any flour you prefer, whether it’s all-purpose or a low-carb variety, to suit your dietary needs.
- 1 1/2 cups white beans or chickpeas: Using canned beans, drained and rinsed, adds creaminess and protein without the added fat.
- 1/3 cup pure maple syrup, honey, or agave: A natural sweetener that provides just the right amount of sweetness while keeping the bars healthy.
- 1/4 cup coconut butter: This adds richness and a hint of tropical flavor, making the bars extra delicious.
- 3/4 tsp baking powder, and 1/8 tsp baking soda: These leavening agents help the bars rise and become fluffy.
- 1/4 tsp salt: A touch of salt balances the sweetness and enhances the flavors.
- 2 tsp pure vanilla extract: This adds a warm undertone that complements the lemon.
- 1 1/2 tbsp lemon juice: Freshly squeezed lemon juice provides that essential tang that makes these bars irresistible.
Cooking Instructions for Healthy Lemon Bars
Making Healthy Lemon Bars is a breeze and a fun experience! Let me walk you through the process step by step. You’ll enjoy the delightful aroma of fresh lemons filling your kitchen as you prepare these bars.
Preheat your oven to 350 degrees F. This is an important first step because a properly preheated oven ensures that your Healthy Lemon Bars bake evenly.
Line or grease an 8×8 inch baking pan. This will help prevent the bars from sticking, making it easier to remove them once they’re baked.
Drain and rinse the white beans or chickpeas thoroughly. This step is crucial! Rinsing removes any canned taste and ensures your bars have a fresh flavor.
In a food processor, combine all the ingredients: applesauce, lemon zest, flour, white beans, sweetener, coconut butter, baking powder, salt, vanilla extract, and lemon juice. Process until the mixture is completely smooth. This is where the magic happens! A smooth batter leads to a perfect texture.
Spread the batter evenly into your prepared pan. Use a spatula to smooth it out, ensuring an even bake.
Bake for 24 minutes. You’ll know they’re done when they’re lightly golden on top. If you want to make muffins instead, bake for about 12 minutes.
Once baked, remove the bars from the oven, but don’t worry if they seem soft. They will firm up as they cool! Let them cool in the pan for about 10 minutes before transferring them to a wire rack.
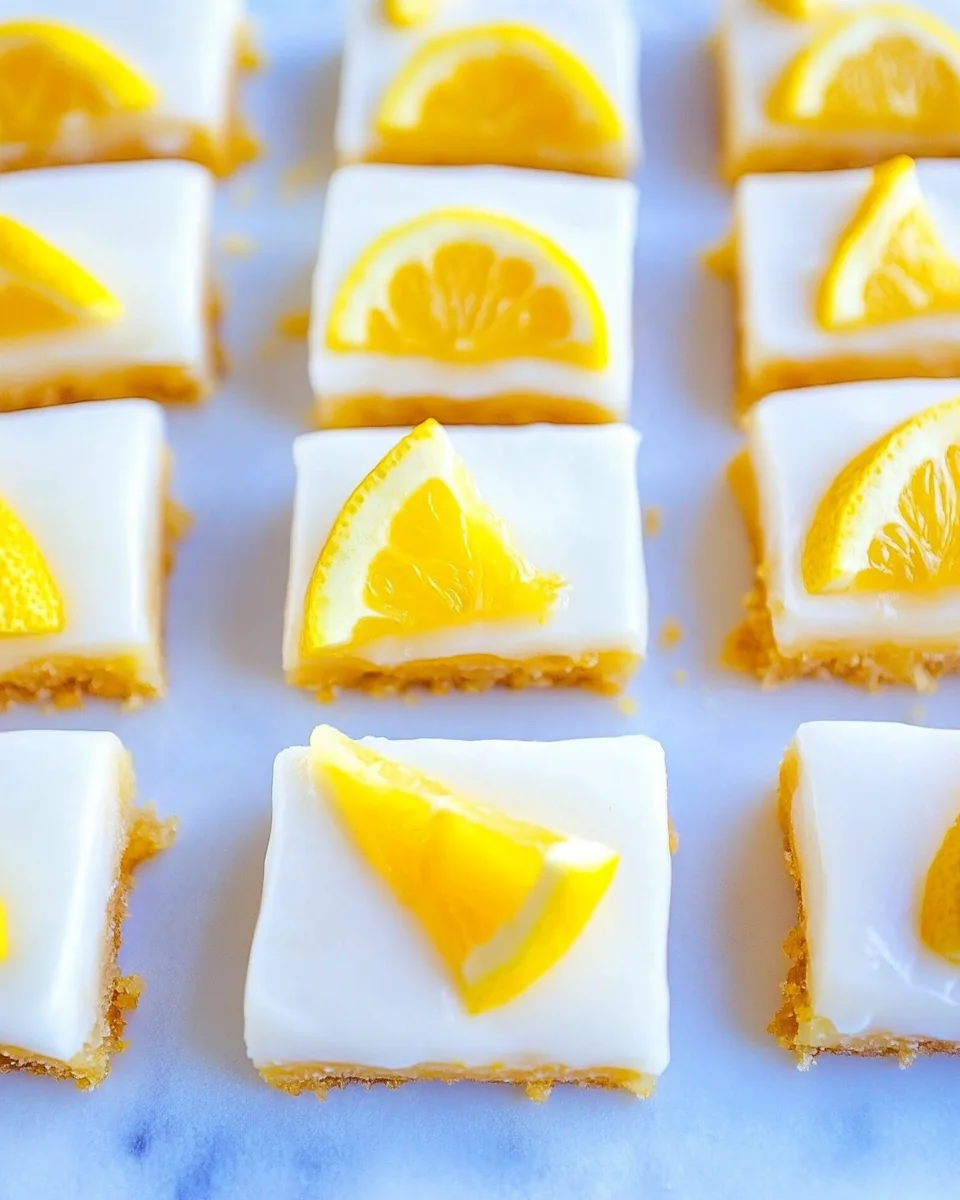
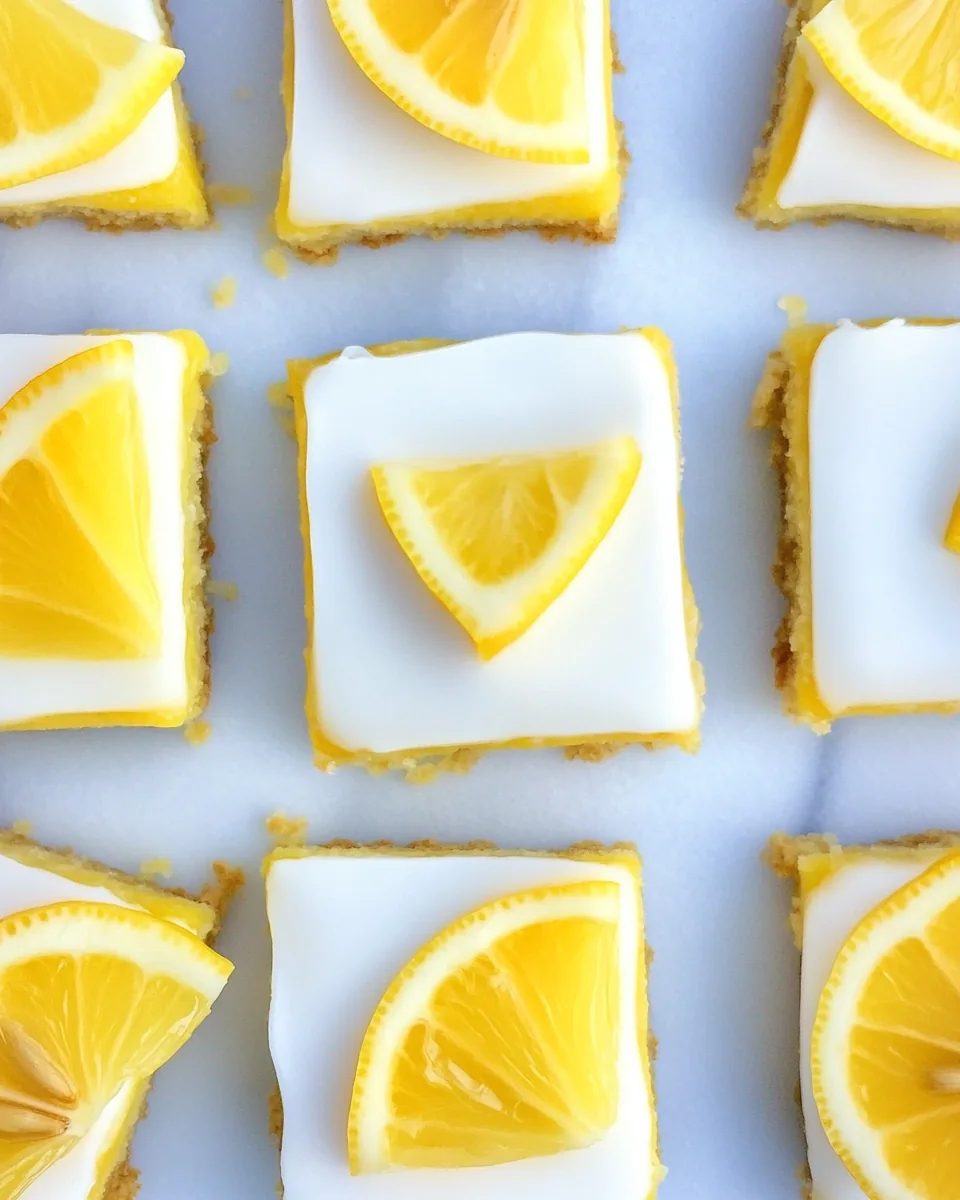
For a delightful frosting, melt 1/3 cup of coconut butter. If it’s too thick, add a little coconut oil to achieve a smoother consistency.
Mix the melted coconut butter with your choice of sweetener until well combined. Feel free to frost the bars or simply serve them plain!
Finally, enjoy your delicious Healthy Lemon Bars with family or friends. They’re sure to impress!
Things Worth Knowing
- Don’t skip the lemon zest: It gives the bars a vibrant lemon flavor that’s essential for the best taste.
- Proper cooling: Allow the bars to cool completely before cutting for cleaner slices.
- Blend thoroughly: Ensure the batter is well-blended for the smoothest texture.
- Storage: Store any leftovers in an airtight container in the fridge for up to five days.
Making Adjustments
If you’d like to make some adjustments to the Healthy Lemon Bars, here are a few tips to consider:
- Storage: Store leftovers in an airtight container in the refrigerator. They stay fresh for up to five days.
- Freezing: You can freeze these bars for up to three months. Just wrap them tightly in plastic wrap and place them in a freezer-safe bag.
- Pairing: These bars are excellent with a cup of herbal tea or a refreshing lemonade.
- Variety: Feel free to add poppy seeds or chia seeds for added texture and nutrition.
- Sugar alternatives: If you prefer, you can use stevia or monk fruit sweetener for a lower-calorie version.
- Flour options: Experiment with different flours, such as almond flour or oat flour, to suit your dietary preferences.
How to Enjoy Healthy Lemon Bars
Healthy Lemon Bars make for a delightful treat any time of year. They’re perfect for a sunny spring picnic, bringing a bright, cheerful flavor to your outdoor gatherings. Here are some ideas on how to enjoy them:
- As a snack: They’re a quick, nutritious option for an afternoon pick-me-up.
- With tea: Pair them with a cup of green tea or chamomile for a relaxing moment.
- At parties: Serve these bars at birthday parties or potlucks, guaranteed to impress guests!
- For brunch: Slice them into smaller squares and serve as a light dessert at brunch gatherings.
- Seasonal treats: They’re light enough to enjoy in the summer heat but refreshing enough for spring celebrations.
- Storage: If you have leftovers, simply store them in an airtight container to keep them fresh for days!
FAQ
Conclusion
The Healthy Lemon Bars are truly a delightful treat that balances health and flavor perfectly. With their refreshing taste and simple ingredients, they are sure to become a favorite in your home. So why not give them a try today? You might just find your new go-to snack or dessert!
Healthy Lemon Bars
Ingredients
Equipment
Method
- Preheat your oven to 350 degrees F. This is an important first step because a properly preheated oven ensures that your Healthy Lemon Bars bake evenly.
- Line or grease an 8×8 inch baking pan. This will help prevent the bars from sticking, making it easier to remove them once they’re baked.
- Drain and rinse the white beans or chickpeas thoroughly. This step is crucial! Rinsing removes any canned taste and ensures your bars have a fresh flavor.
- In a food processor, combine all the ingredients: applesauce, lemon zest, flour, white beans, sweetener, coconut butter, baking powder, salt, vanilla extract, and lemon juice. Process until the mixture is completely smooth. This is where the magic happens! A smooth batter leads to a perfect texture.
- Spread the batter evenly into your prepared pan. Use a spatula to smooth it out, ensuring an even bake.
- Bake for 24 minutes. You’ll know they’re done when they’re lightly golden on top. If you want to make muffins instead, bake for about 12 minutes.
- Once baked, remove the bars from the oven, but don’t worry if they seem soft. They will firm up as they cool! Let them cool in the pan for about 10 minutes before transferring them to a wire rack.
- For a delightful frosting, melt 1/3 cup of coconut butter. If it’s too thick, add a little coconut oil to achieve a smoother consistency.
- Mix the melted coconut butter with your choice of sweetener until well combined. Feel free to frost the bars or simply serve them plain!
- Finally, enjoy your delicious Healthy Lemon Bars with family or friends. They’re sure to impress!