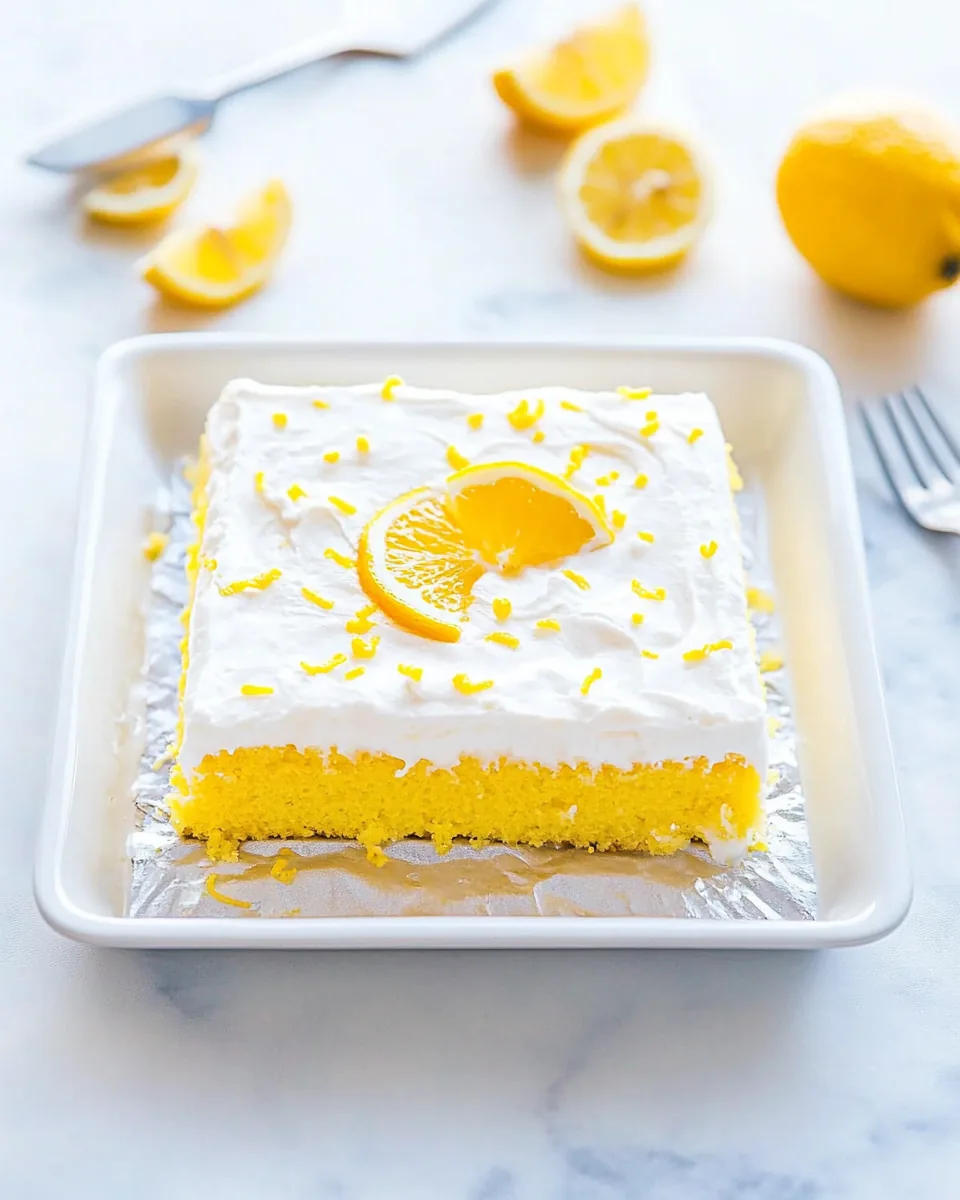
Lemon Poke Cake
There’s something so refreshing about a Lemon Poke Cake. I remember the first time I tried it at a summer picnic; it was a sweltering day, and the bright, citrusy flavor was an instant pick-me-up. The cake was moist and fluffy, drizzled with a lemon glaze that seeped into every nook and cranny, creating a delightful marriage of sweetness and tartness. It had become a staple at all our family gatherings, a dish that straddles the line between cake and dessert. Every bite reminded me of sunshine, laughter, and the warm embrace of loved ones. Now, every time I make a Lemon Poke Cake, it feels like a little piece of those memories comes back to life.
Recipe Snapshot
45 mins
20 mins
25 mins
Medium
250 kcal
3 g
Gluten-Free, Low FODMAP
10 g
Oven, Large Pot, Mixing Bowl, Baking Sheet, Frying Pan, Wooden Spoon, Whisk
Why This Lemon Poke Cake Shines
So why do I absolutely love making a Lemon Poke Cake? Let me tell you why it stands out.
Infused Flavor
The beauty of a Lemon Poke Cake lies in its infusion of flavor. The holes poked into the cake allow the glaze to penetrate deep, ensuring that each slice is bursting with lemony goodness. It’s not just on the surface; the flavor envelops your taste buds from the first bite.
Perfect for Any Occasion
This cake is versatile and can be enjoyed year-round. Whether it’s a spring picnic, summer barbecue, or fall get-together, it fits right in. We’ve even enjoyed it during the holidays as a refreshing contrast to richer desserts. It’s a crowd-pleaser!
Simple Ingredients
The ingredients are straightforward and often items you might already have at home. With just a few pantry staples, you can whip this up without a trip to the grocery store. Plus, using a boxed cake mix makes it even easier and quicker!
Kid-Friendly
Making a Lemon Poke Cake is a fun family activity. Kids love poking the holes and drizzling the glaze. It’s a great way to get them involved in the kitchen and excited about baking.
Beautiful Presentation
Let’s not forget the presentation. Topped with fresh berries and a dollop of whipped cream, it’s visually appealing and perfect for impressing guests. A slice of this cake looks just as good as it tastes!
Versatile Toppings
You can get creative with toppings, whether it’s fresh fruits, whipped cream, or even a sprinkle of nuts. Each variation can give a different twist to the classic Lemon Poke Cake while maintaining its essence.
Ingredients Required for Lemon Poke Cake

The ingredients for a Lemon Poke Cake come together beautifully, creating a symphony of flavors. Each component plays a crucial role, working in harmony to deliver that quintessential poke cake experience. With the balance of zest from the lemon and the sweetness from the cake, it’s a delightful treat.
- 1 (3-ounce) package lemon gelatin – This brings the essential lemon flavor that permeates the cake, making every bite refreshing.
- 1 cup boiling water – Used to dissolve the gelatin, this liquid is key in ensuring it fully integrates into the batter.
- ½ cup canola oil – Provides moisture, keeping the cake tender and fluffy.
- ⅓ cup unsweetened applesauce – A healthy alternative to additional fat, it complements the cake’s moisture content.
- 4 large eggs – Acts as a binding agent, giving the cake structure and richness.
- 1 (15.25-ounce) package yellow cake mix – The base of our cake, this mix simplifies the baking process while ensuring a light texture.
- 2 cups powdered sugar – Essential for the glaze, it’s what gives that sweet finish to our cake.
- ⅓ cup freshly squeezed lemon juice – This brings a burst of natural flavor that brightens the entire dessert.
- Fresh berries – Optional, these make for a delightful topping that adds color and additional flavor.
- Whipped cream – A classic pairing, it complements the tartness of the lemon beautifully.
Making Lemon Poke Cake
Let’s get into the fun part of making this Lemon Poke Cake. The process is straightforward and enjoyable, even for novice bakers. Follow along as we create this delicious treat step by step!
- Start by placing a rack in the center of your oven and preheating it to 375 degrees F. It’s important to get the oven nice and hot for even baking. While that’s happening, coat a 9×13-inch pan with nonstick spray to ensure your cake releases easily.
- Next, dissolve the lemon gelatin in the boiling water. You can do this by measuring the water into a large measuring cup and stirring in the gelatin until fully dissolved. Let it cool to room temperature while you continue with the next steps.
- In a medium mixing bowl, or using a stand mixer with the paddle attachment, beat together the canola oil, applesauce, and eggs until fully combined. This mixture should look smooth and slightly frothy.
- Now, beat in the cooled gelatin mixture. It’s important to add it after it has cooled, as hot gelatin could cook the eggs. Mix until everything is well incorporated.
- Reduce the mixer speed to low and slowly add in the yellow cake mix. Stop mixing as soon as you no longer see dry ingredients; over-mixing can lead to a denser cake.
- Pour the batter into the prepared pan, using a spatula to spread it evenly. This helps to ensure that it bakes uniformly and rises properly.
- Bake the cake for about 25 to 30 minutes. You’ll know it’s done when the top springs back lightly when touched, and a toothpick inserted into the center comes out clean, with just a few moist crumbs clinging to it.
- While the cake is baking, prepare the glaze by whisking together the powdered sugar and lemon juice in a medium bowl until smooth. This glaze will beautifully complement the cake.
- As soon as the cake is out of the oven, use the tines of a fork to poke holes all over the top. This step is crucial; it allows the glaze to seep into the cake, ensuring every piece has that delightful lemon goodness.
- Pour the glaze slowly and evenly over the warm cake, allowing it to drip down into the holes. Once it’s fully coated, let the cake cool to room temperature. Enjoy it warm or chilled, topped with fresh berries and whipped cream.
Things Worth Knowing
- Don’t rush the cooling: Allow the cake to cool completely before serving. This gives the glaze time to absorb and prevents it from being too wet.
- Storage: Store any leftovers in an airtight container in the refrigerator. The cake will keep well for up to five days.
- Make-ahead: You can prepare the cake a day in advance. Just wait to add the glaze until you’re ready to serve.
- Texture matters: Baking times may vary; keep an eye on the cake towards the end of the baking time. It should be golden brown and spring back slightly when touched.
Tips and Variations

There are many ways to adapt and enjoy your Lemon Poke Cake. Here are some tips and variations that can take your baking to the next level.
- Storage: Keep leftovers in the refrigerator. The cake stays moist and delicious for several days, but it’s best enjoyed fresh.
- Freezing: You can freeze the unglazed cake for up to three months. Just wrap it tightly in plastic wrap and thaw it in the fridge overnight before glazing.
- Variations: Consider adding poppy seeds to the batter for a delightful crunch or even a hint of almond extract for a different flavor profile.
- Serving suggestions: Pair it with a scoop of vanilla ice cream or serve it alongside a cup of tea or coffee for a perfect afternoon treat.
- Frosting options: For an added twist, try topping with a fluffy lemon frosting instead of glaze for a richer dessert experience.
What to Pair With Lemon Poke Cake
When it comes to serving a Lemon Poke Cake, the options are abundant. Here are some delightful pairings that elevate your dessert experience:
- Fresh fruit salads: Serve alongside a refreshing fruit salad to complement the citrus flavor and add some color to your presentation.
- Ice cream: A scoop of vanilla or lemon sorbet goes wonderfully with the cake, creating a deliciously cool contrast.
- Tea or coffee: This cake pairs beautifully with a warm cup of tea or coffee, making it an excellent choice for afternoon gatherings.
- Perfect for picnics: Take your Lemon Poke Cake along to picnics or potlucks; it’s easy to transport and share with friends.
- Sweet and savory pairings: Serve it with a light, savory salad or a cheese platter to balance out the sweetness of the cake.
FAQ
Conclusion
The Lemon Poke Cake is a delightful treat that brings a burst of flavor and nostalgia to any occasion. Its simplicity and refreshing taste make it a go-to recipe for gatherings and family meals. I encourage you to try making it; it’s easier than you might think and is sure to impress. Grab those ingredients and enjoy this tasty dessert that’s bound to become a favorite!

Lemon Poke Cake
Ingredients
Equipment
Method
- Start by placing a rack in the center of your oven and preheating it to 375 degrees F. It's important to get the oven nice and hot for even baking. While that's happening, coat a 9x13-inch pan with nonstick spray to ensure your cake releases easily.
- Next, dissolve the lemon gelatin in the boiling water. You can do this by measuring the water into a large measuring cup and stirring in the gelatin until fully dissolved. Let it cool to room temperature while you continue with the next steps.
- In a medium mixing bowl, or using a stand mixer with the paddle attachment, beat together the canola oil, applesauce, and eggs until fully combined. This mixture should look smooth and slightly frothy.
- Now, beat in the cooled gelatin mixture. It’s important to add it after it has cooled, as hot gelatin could cook the eggs. Mix until everything is well incorporated.
- Reduce the mixer speed to low and slowly add in the yellow cake mix. Stop mixing as soon as you no longer see dry ingredients; over-mixing can lead to a denser cake.
- Pour the batter into the prepared pan, using a spatula to spread it evenly. This helps to ensure that it bakes uniformly and rises properly.
- Bake the cake for about 25 to 30 minutes. You'll know it's done when the top springs back lightly when touched, and a toothpick inserted into the center comes out clean, with just a few moist crumbs clinging to it.
- While the cake is baking, prepare the glaze by whisking together the powdered sugar and lemon juice in a medium bowl until smooth. This glaze will beautifully complement the cake.
- As soon as the cake is out of the oven, use the tines of a fork to poke holes all over the top. This step is crucial; it allows the glaze to seep into the cake, ensuring every piece has that delightful lemon goodness.
- Pour the glaze slowly and evenly over the warm cake, allowing it to drip down into the holes. Once it's fully coated, let the cake cool to room temperature. Enjoy it warm or chilled, topped with fresh berries and whipped cream.
Notes
- Tip 1: Keep leftovers in the refrigerator. The cake stays moist and delicious for several days, but it's best enjoyed fresh.
- Tip 2: You can freeze the unglazed cake for up to three months. Just wrap it tightly in plastic wrap and thaw it in the fridge overnight before glazing.
- Tip 3: Consider adding poppy seeds to the batter for a delightful crunch or even a hint of almond extract for a different flavor profile.
- Tip 4: Pair it with a scoop of vanilla ice cream or serve it alongside a cup of tea or coffee for a perfect afternoon treat.
- Tip 5: For an added twist, try topping with a fluffy lemon frosting instead of glaze for a richer dessert experience.