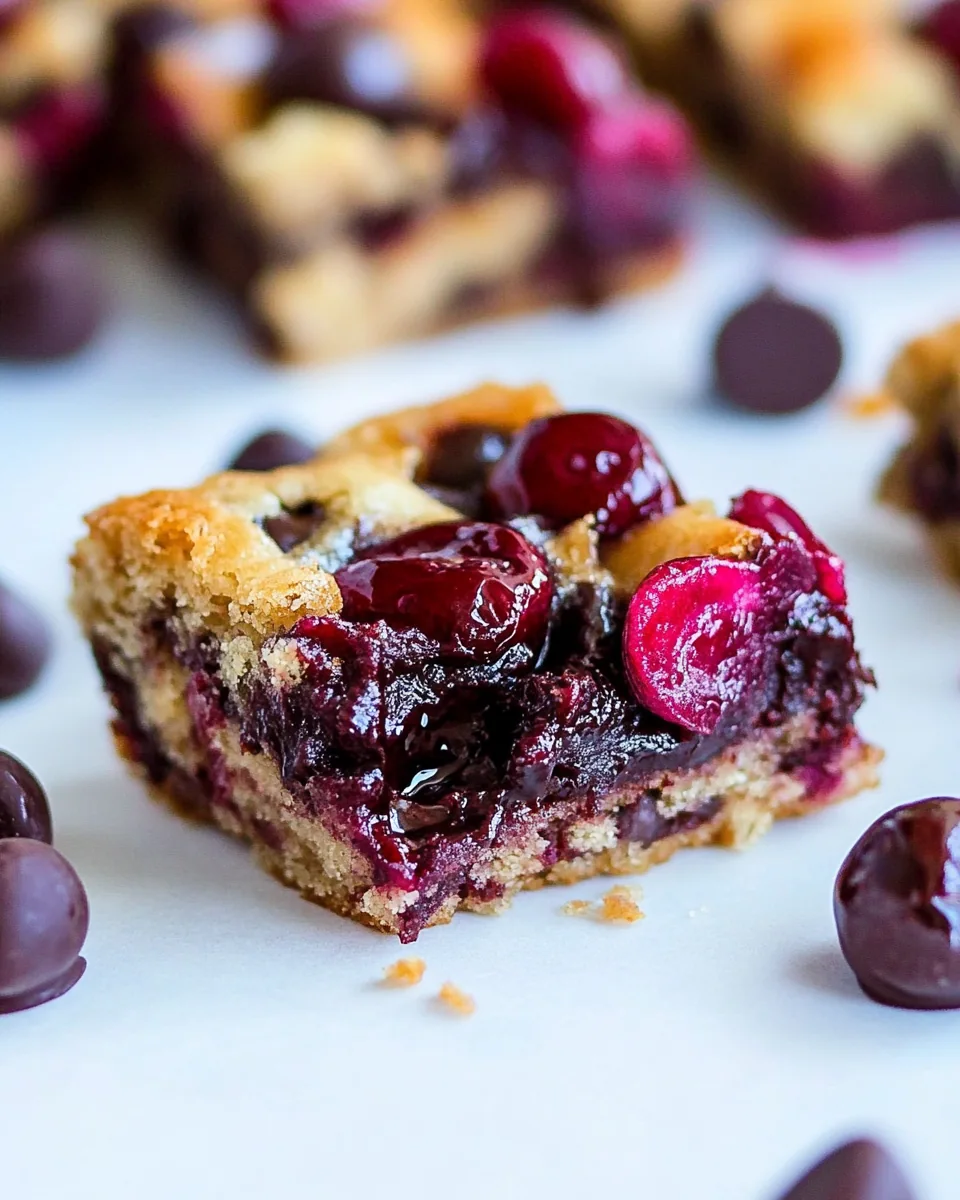
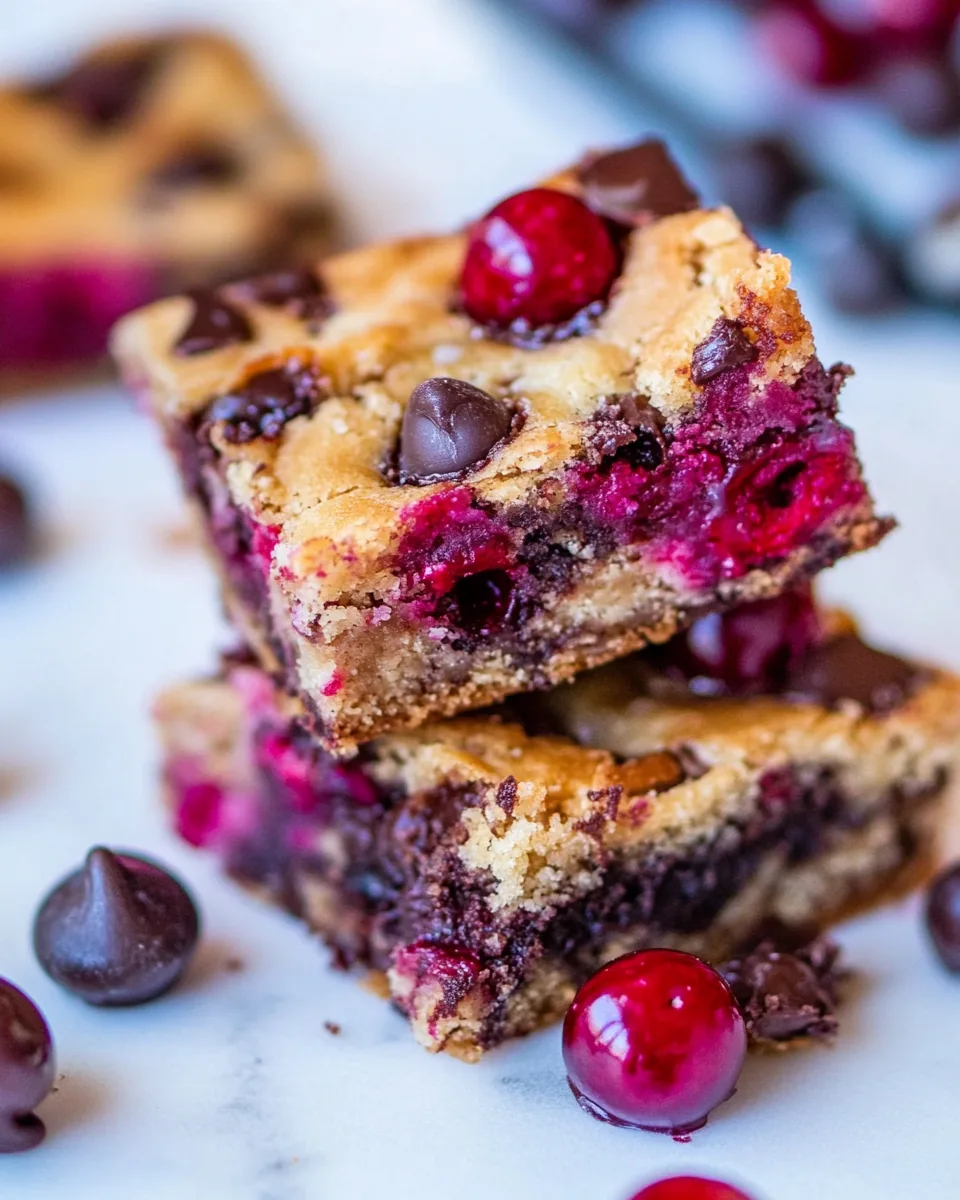
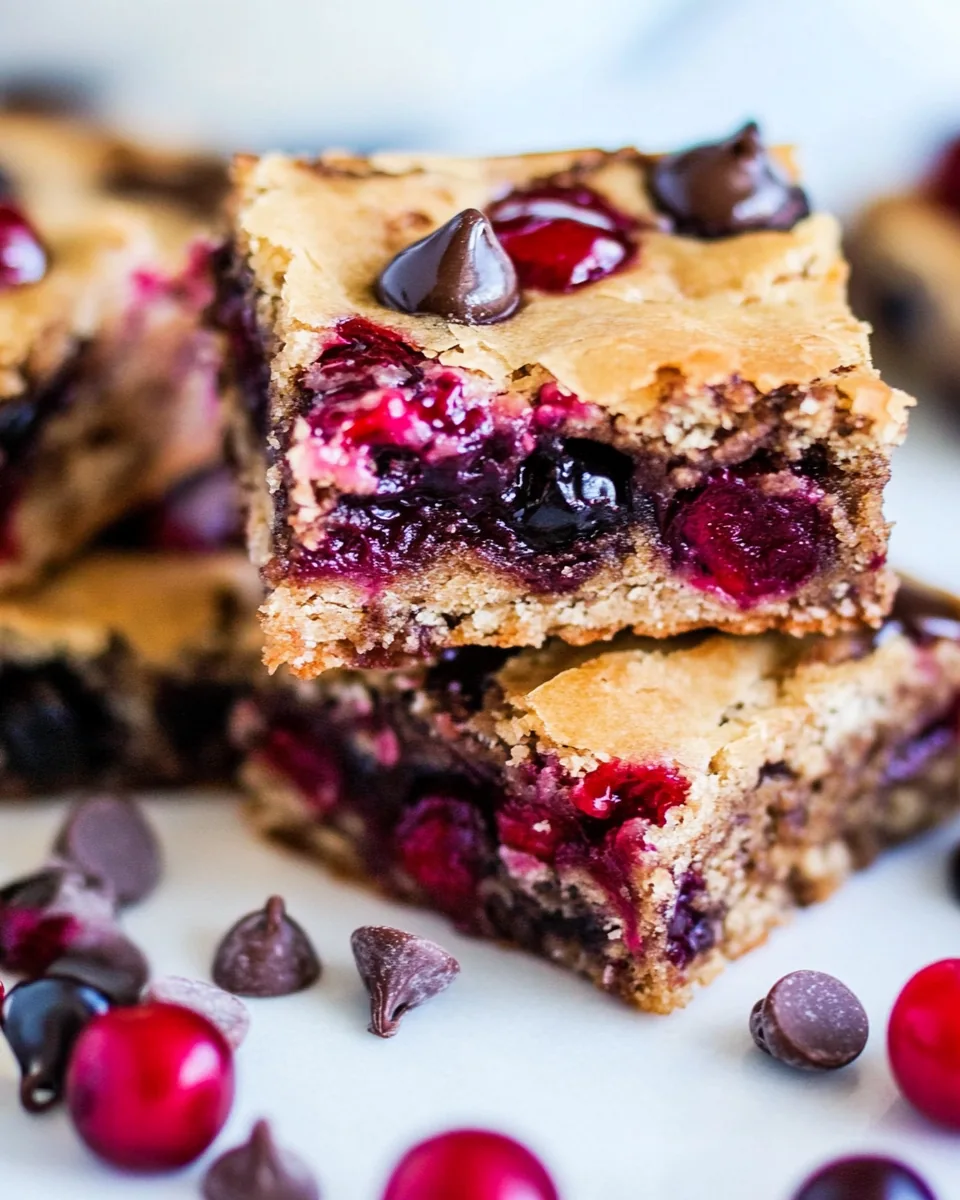
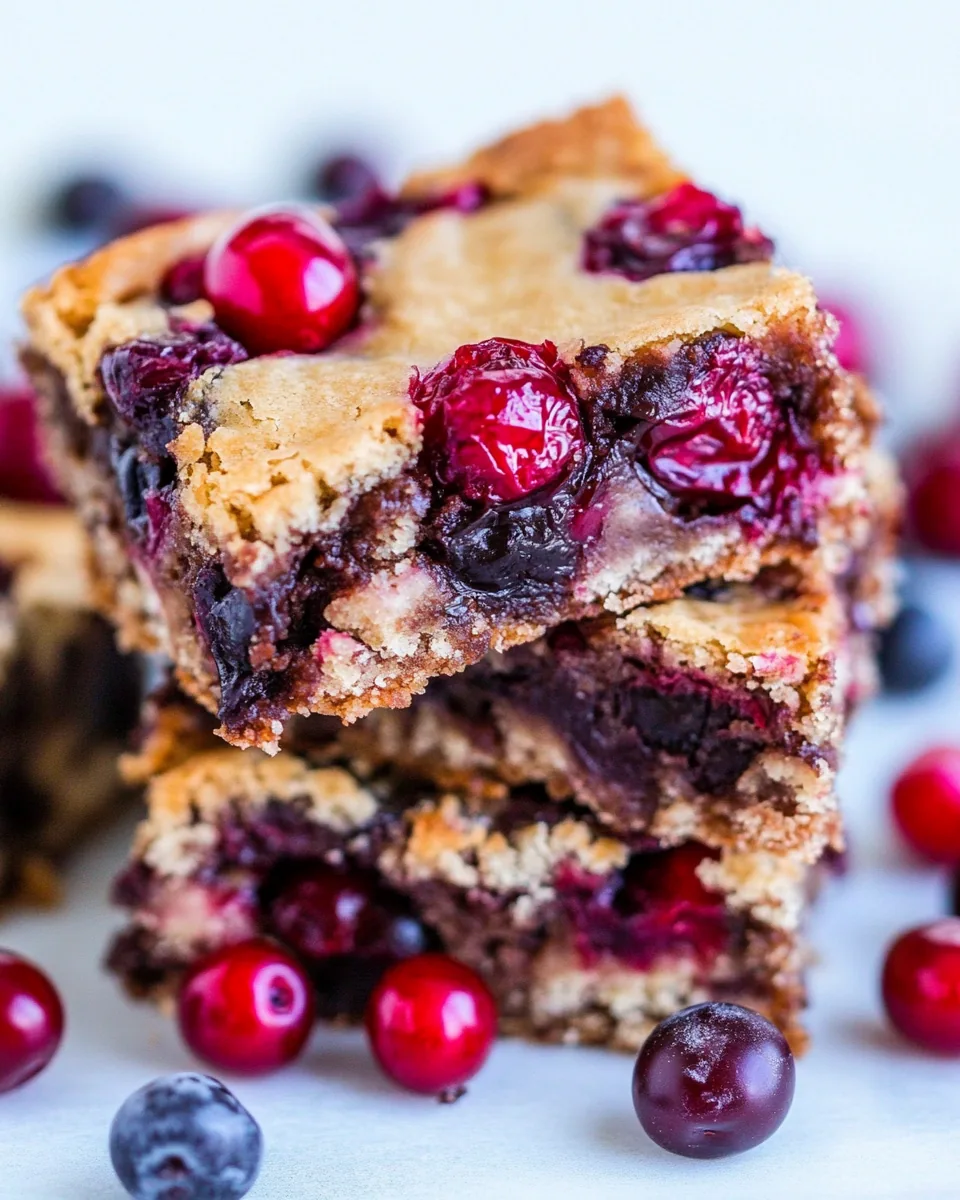
Chocolate Chip Cherry Bars
There’s something incredibly special about baking a batch of Chocolate Chip Cherry Bars on a lazy Sunday afternoon. The smell of melting butter and sugar fills the kitchen, inviting everyone in the house to gather around. I still remember the first time I made these bars; it was a spur-of-the-moment decision after I spotted some vibrant cherries at the market. The combination of sweet, juicy cherries with rich chocolate chips is simply irresistible. Once they’re baked, the anticipation of cutting into the warm, gooey dessert is almost unbearable. Each square reveals a soft interior, dotted with melted chocolate and bursting with fruity goodness. It’s a recipe that brings happiness, celebrations, and warmth to the table.
Recipe Snapshot
40 mins
10 mins
30 mins
Medium
290 kcal
3 g
Gluten-Free, Low FODMAP
16 g
Oven, Mixing Bowl, Baking Sheet, Wooden Spoon, Frying Pan
Why This Chocolate Chip Cherry Bars Is So Good
Sweet Nostalgia
Every time I make these Chocolate Chip Cherry Bars, I’m transported back to my childhood. My grandmother used to bake similar treats during family gatherings, and they were always the highlight of the dessert table. The memories associated with baking and sharing food with loved ones make this recipe truly special. It’s not just about the bars; it’s about the stories and laughter shared around them.
Perfect for Any Occasion
These bars are incredibly versatile. Whether you’re planning a picnic, hosting a birthday party, or simply want a sweet treat at home, the Chocolate Chip Cherry Bars are the ideal choice. They’re easy to transport, and everyone loves them! Plus, they can be enjoyed warm or at room temperature, making them a perfect addition to any event.
Simple Ingredients, Amazing Flavor
The beauty of the Chocolate Chip Cherry Bars lies in their simplicity. Using basic ingredients like butter, brown sugar, and fresh cherries allows the flavors to shine through. You don’t need to be an experienced baker to whip these up; even beginners can achieve great results. With just a few steps, you’ll have a delicious treat ready to enjoy!
Flexible with Your Favorite Fruits
One of the things I love about this recipe is its flexibility. While cherries are the star of the show, you can easily swap in other fruits like plums, peaches, or even blueberries. This adaptability means you can make these bars year-round, taking advantage of seasonal fruits for a fresh twist every time.
Great for Sharing
When I bake these bars, I always make sure to share them with friends and family. They’re a perfect treat for gatherings, and there’s something heartwarming about offering homemade goodies to others. The Chocolate Chip Cherry Bars are sure to be a hit, sparking conversations and smiles as people savor each bite.
A Sweet Indulgence
Finally, let’s be honest; sometimes you just crave something sweet! The Chocolate Chip Cherry Bars are a wonderful indulgence to satisfy that craving. With their chewy texture and rich flavor, they hit all the right notes. It’s the kind of dessert that makes you feel good inside.
Chocolate Chip Cherry Bars Ingredients
The choice of ingredients in Chocolate Chip Cherry Bars is key to their deliciousness. Each ingredient plays a vital role in creating a harmonious blend of flavors and textures. The butter adds richness, while the brown sugar ensures a delightful chewiness. The cherries provide a burst of freshness, perfectly complementing the chocolate. Together, they create a perfect balance that keeps everyone coming back for more!
- ½ cup unsalted butter, melted (1 stick): This is the base of the bars, adding richness and moisture.
- 1 cup light brown sugar, packed: Brown sugar brings sweetness and a hint of caramel flavor.
- 1 large egg: The egg binds the ingredients together and helps in leavening.
- 2 teaspoons vanilla extract: Adds a warm, sweet aroma and flavor.
- 1 cup all-purpose flour: The main structure of the bars, providing the necessary texture.
- ¼ teaspoon salt, optional: Enhances the overall flavor of the bars.
- ¾ to 1 cup semi-sweet chocolate chips: These are the stars of the show, providing rich chocolatey goodness.
- 1 cup cherries, fresh or frozen: The juicy fruit that adds a burst of flavor and color.
Instructions for Chocolate Chip Cherry Bars
Making Chocolate Chip Cherry Bars is a fun and straightforward process that’ll have your kitchen smelling amazing in no time. Let’s dive into each step and create this delicious treat together!
- Preheat your oven to 350°F (175°C). Line an 8-by-8-inch pan with aluminum foil, making sure to leave some overhang for easy removal later. Spray the foil with cooking spray to prevent sticking. This initial preparation ensures your bars come out perfectly!
- In a medium microwave-safe bowl, melt the butter for about 60 seconds. Watch as it transforms from solid to liquid, releasing a rich aroma. Once it’s melted, let it cool slightly.
- Add the packed brown sugar to the melted butter and stir well to combine. You’ll notice the mixture becoming glossy and fragrant. This step infuses sweetness and depth into the batter.
- Crack in the egg and pour in the vanilla extract. Stir again until everything is well combined. The mixture will start to thicken as you incorporate the ingredients.
- Next, add the flour and salt to the bowl. Gently stir until just combined, being careful not to over-mix. You’ll want to see a few streaks of flour remaining, as this helps keep the bars tender.
- Now, it’s time to fold in the chocolate chips and cherries. If using fresh cherries, just toss them in whole for bursts of flavor. Gently mix until they’re evenly distributed throughout the batter.
- Pour the batter into your prepared pan, smoothing it out with a spatula or offset knife. Make sure to spread it evenly so that your bars bake uniformly.
- Place the pan in the preheated oven and bake for 27 to 32 minutes. Keep an eye on them; they’re done when the edges start to pull away from the pan and the center is set. A toothpick inserted should come out clean, even if you hit a chocolate chip.
- Once baked, remove from the oven and let the bars cool in the pan for at least 1 hour. This waiting time is essential for setting the bars, so resist the temptation to dig in right away.
- After cooling, lift the bars out using the foil overhang, slice them into squares, and serve! Enjoy the delight as each person takes a bite of these delicious Chocolate Chip Cherry Bars.
Things Worth Knowing
- Cooling time: Allowing the bars to cool completely before cutting helps them set better, leading to cleaner edges and a perfect texture.
- Fruits: Feel free to experiment with different fruits. Just remember that fruits with higher moisture content may require slight adjustments to the baking time.
- Storage: To keep your bars fresh, store them in an airtight container at room temperature or in the refrigerator. They can last up to a week.
- Freezing: You can freeze these bars for up to three months. Just wrap them tightly in foil or plastic wrap and store them in a freezer-safe bag.
Tips for Success
Every kitchen endeavor comes with its own set of tips to ensure the best results. Here are some helpful hints to make your Chocolate Chip Cherry Bars turn out perfectly!
- Measure accurately: For the best results, use a kitchen scale for measuring ingredients like flour and brown sugar. This ensures consistency and prevents dry or overly sweet bars.
- Don’t over-mix: When combining the flour and wet ingredients, mix just until combined. Over-mixing can lead to tough bars.
- Check for doneness: Every oven is different; check your bars a few minutes before the suggested time to prevent over-baking.
- Use fresh fruit: If using cherries, opt for fresh ones when in season for the best flavor. Frozen is fine, but drain excess liquid before adding to the batter.
- Experiment with add-ins: Feel free to add nuts or a sprinkle of sea salt on top before baking for a unique twist.
- Let cool completely: Patience is key! Let your bars cool completely in the pan for the best texture when slicing.
- Serve warm: These bars are delightful served warm with a scoop of ice cream on top.
Great Combinations for Chocolate Chip Cherry Bars
If you’re wondering how to serve your Chocolate Chip Cherry Bars, I’ve got a few ideas that will elevate your dessert game. Perfect for any occasion, these bars can be enjoyed in various ways!
- Serve with vanilla ice cream: Top each bar with a scoop of creamy vanilla ice cream for a delicious contrast of temperatures and textures.
- Pair with coffee: Enjoy these bars alongside a hot cup of coffee or tea for a delightful afternoon treat.
- Picnic treat: Pack them for a picnic! Their portability makes them an excellent choice for outdoor gatherings.
- Lunchbox addition: These bars make a fantastic sweet treat for lunchboxes—kids love them!
- Seasonal celebrations: Perfect for holidays and celebrations like birthdays or family reunions, these bars are sure to impress.
- Storage tip: Keep them in an airtight container to maintain freshness, perfect for meal prepping desserts.
FAQ
Conclusion
The Chocolate Chip Cherry Bars are a delightful blend of flavors that will satisfy your sweet tooth. With the perfect balance of chocolate and fruity goodness, they are sure to impress anyone who tries them. I encourage you to whip up a batch and enjoy them with family and friends. They might just become your new favorite treat!
Chocolate Chip Cherry Bars
Ingredients
Equipment
Method
- Preheat your oven to 350°F (175°C). Line an 8-by-8-inch pan with aluminum foil, making sure to leave some overhang for easy removal later. Spray the foil with cooking spray to prevent sticking.
- In a medium microwave-safe bowl, melt the butter for about 60 seconds.
- Add the packed brown sugar to the melted butter and stir well to combine.
- Crack in the egg and pour in the vanilla extract. Stir again until everything is well combined.
- Next, add the flour and salt to the bowl. Gently stir until just combined.
- Now, it's time to fold in the chocolate chips and cherries.
- Pour the batter into your prepared pan, smoothing it out with a spatula or offset knife.
- Place the pan in the preheated oven and bake for 27 to 32 minutes.
- Once baked, remove from the oven and let the bars cool in the pan for at least 1 hour.
- After cooling, lift the bars out using the foil overhang, slice them into squares, and serve!
Notes
- Tip 1: Can also use a combination of plums, peaches, nectarines, raspberries, blueberries, strawberries, and blackberries.
- Tip 2: Baking time will vary based on types of fruit used and the moisture content of the fruit.