Key Lime Meringue Pie
I have a soft spot for desserts that remind me of sunny days and warm breezes, and nothing captures that feeling quite like Key Lime Meringue Pie. Growing up, my family often gathered for summer barbeques, and this pie was always the star of the show. The tangy sweetness of the key lime filling paired with the fluffy meringue topping was a heavenly combination that made every bite a little piece of paradise. I still remember the first time I watched my grandmother whip up this classic dessert; her passion and attention to detail made it seem like magic. That’s why I love sharing this recipe with friends and family—it’s not just about the pie itself, but the memories and love that come with it. Whether it’s a special occasion or just a casual get-together, Key Lime Meringue Pie never fails to impress.
Recipe Snapshot
45 mins
20 mins
25 mins
Medium
320 kcal
4 g
Gluten-Free, Low FODMAP
15 g
Oven, Mixing Bowl, Baking Sheet, Frying Pan, Whisk
The Magic of This Key Lime Meringue Pie
Tradition Meets Flavor
One of the greatest things about Key Lime Meringue Pie is its rich history. Originating in the Florida Keys, this pie marries the tartness of key limes with a sweet meringue, creating a perfect balance that has graced tables for generations. Every bite is a taste of tradition, showcasing the beauty of simple ingredients.
Perfect for Any Occasion
This dessert isn’t just a summer treat; it’s versatile enough for all occasions. Whether it’s a birthday celebration, holiday feast, or a simple Sunday dinner, Key Lime Meringue Pie adds a touch of elegance and festivity. Its vibrant color and light texture make it an inviting choice, and it’s sure to be a crowd-pleaser no matter the season.
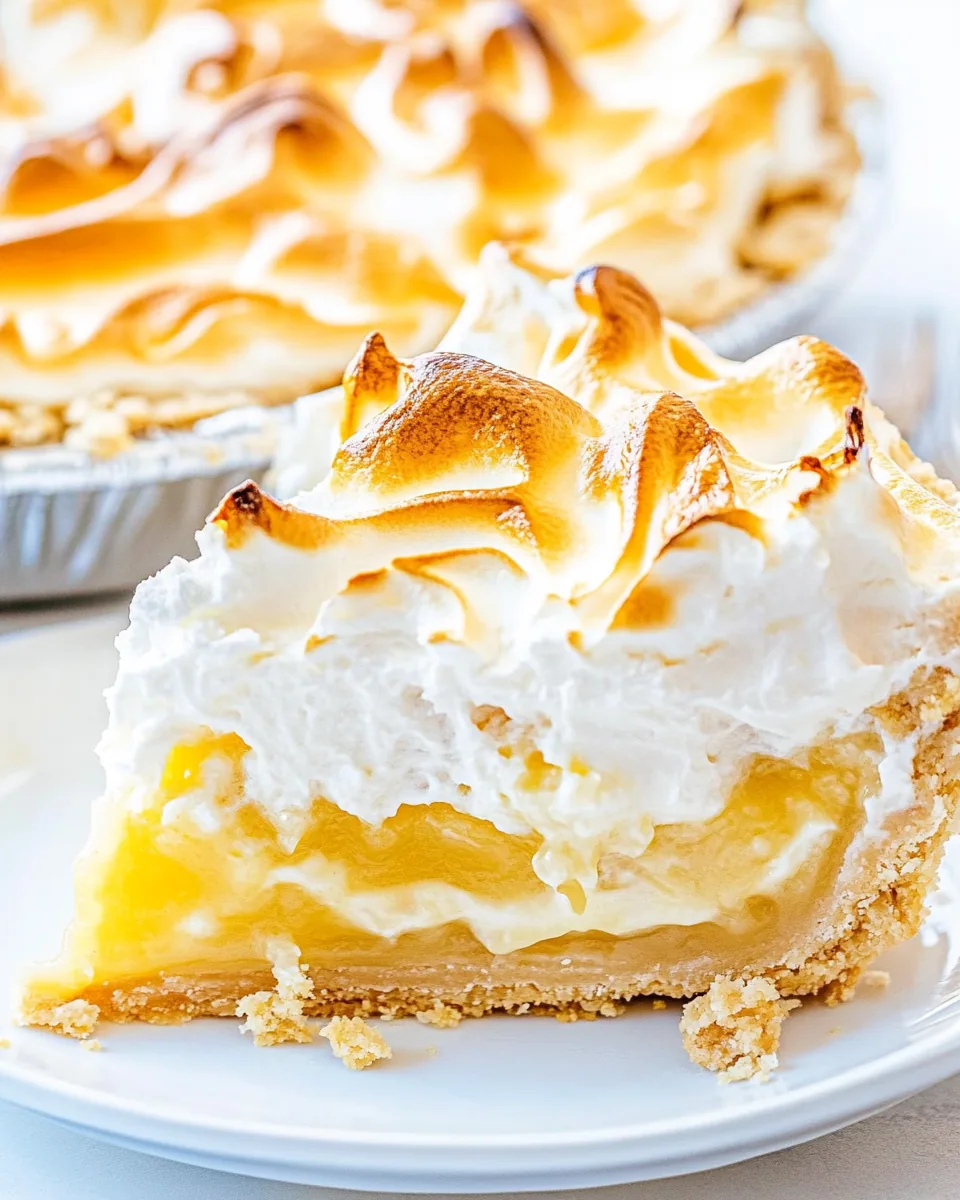
A Balance of Textures
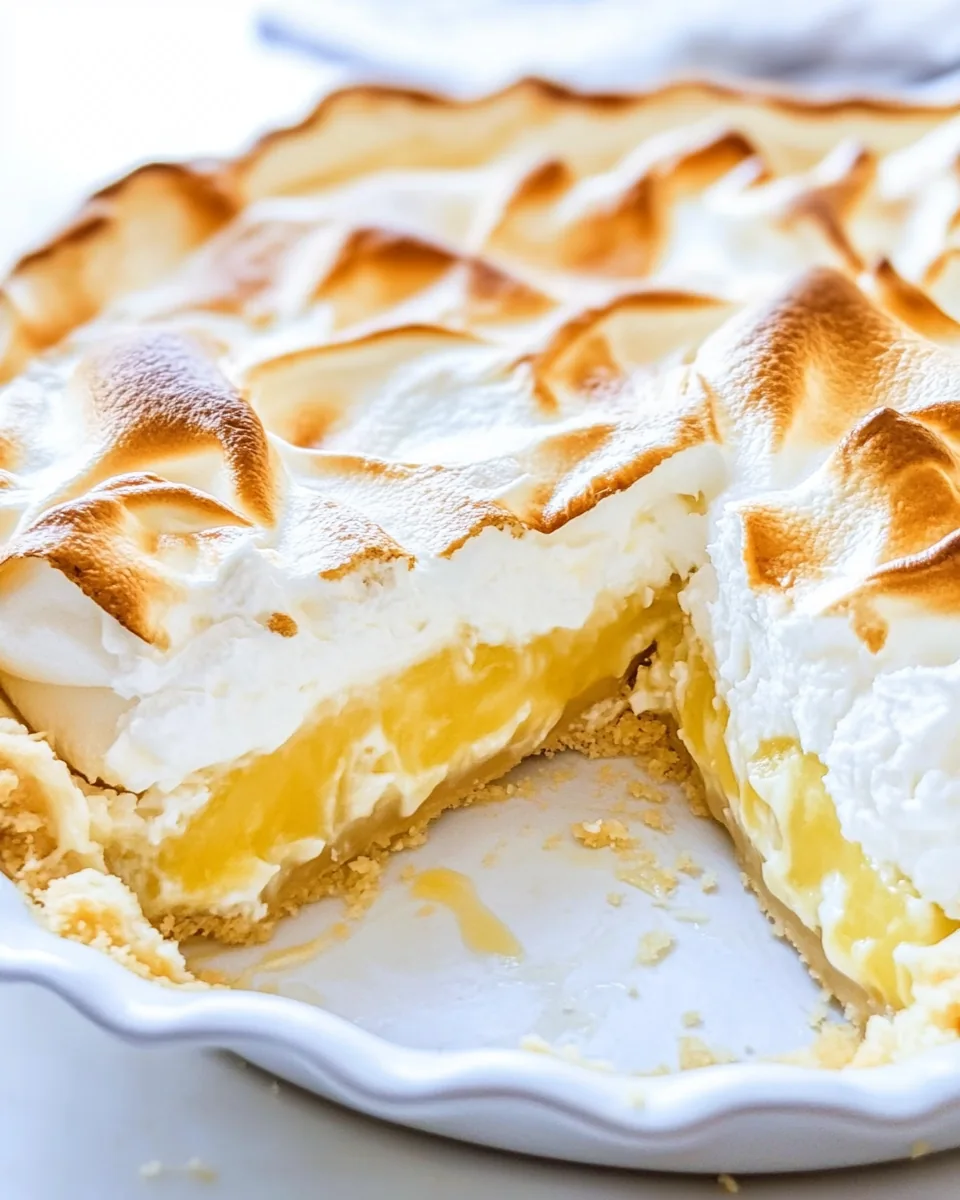
There’s something magical about the textures in Key Lime Meringue Pie. The creamy filling contrasts beautifully with the airy meringue topping. When sliced, the pie reveals the layers of flavor and texture, making it a delight to both the eyes and the palate. Each forkful offers a unique experience that keeps you coming back for more.
Simple Yet Impressive
Don’t let the sophisticated appearance fool you—this pie is relatively simple to make. With just a handful of ingredients, you can create a dessert that looks like it came straight from a bakery. The preparation may seem daunting at first, but once you get the hang of it, you’ll find it’s a great way to impress your friends and family without spending hours in the kitchen.
Customizable Flavor
While the classic recipe is unbeatable, Key Lime Meringue Pie also offers plenty of opportunities for customization. Want to add a twist? Consider incorporating different citrus flavors or experimenting with flavored meringues. The foundation of this pie is strong, allowing for creative variations that cater to your taste preferences.
Shopping List for Key Lime Meringue Pie

Creating a delicious Key Lime Meringue Pie starts with the right ingredients. Each component plays a vital role in achieving that perfect blend of tartness and sweetness. The key players here are the graham crackers for the crust, sweetened condensed milk for richness, and of course, fresh Key lime juice which gives the pie its iconic tangy flavor. Let’s explore these ingredients in more detail.
- 150 grams graham crackers, crushed (approximately 1 ½ packages from a regular-sized package; but they vary so I recommend going by weight)
- ⅔ cup salted butter, melted
- 2 cans sweetened condensed milk (14-ounce size; regular recommended although lite will work)
- 6 egg yolks
- ⅔ cup freshly squeezed Key lime juice
- 6 egg whites
- ½ teaspoon cream of tartar
- 1 teaspoon pure vanilla extract
- ⅔ cup granulated or castor sugar
Step by Step Guide for Key Lime Meringue Pie
Making a Key Lime Meringue Pie is a rewarding experience that brings together sweet and tangy flavors in a stunning presentation. Follow these steps to create your own masterpiece. You’ll love the process and the delicious results!
Preheat your oven to 350°F and prepare a 9-inch glass pie plate by spraying it with cooking spray. If you don’t have a glass pie plate, you can use two tin foil disposable pie pans. Keep in mind that you will need two since they tend to be shallower than a traditional pie plate, affecting the final structure of your pie.
In a medium bowl, combine the crushed graham crackers with the melted butter. Use a fork to mix these ingredients until they are well combined. The mixture should resemble wet sand, holding together when pressed. This will form the base of your pie.
Transfer the crumb mixture into the prepared pie plate. Press it firmly into the bottom and up the sides, ensuring an even layer. This step is crucial for a sturdy crust that holds the filling well. Once you’re satisfied with the crust, pop it into the oven and bake for 10 minutes, until it’s slightly golden.
While the crust is baking, you can prepare the filling. In a large bowl, add the sweetened condensed milk, egg yolks, and whisk them together until smooth. It’s essential to blend these ingredients thoroughly to incorporate air, which will help achieve a light filling.
Next, add the freshly squeezed Key lime juice to the mixture. Whisk again until everything is combined well. The acidity from the lime juice will react with the condensed milk and yolks, creating a luscious filling.
Once your crust is done baking, remove it from the oven and let it cool slightly. Pour the lime filling into the pre-baked crust. Spread it evenly with a spatula, ensuring the filling reaches all edges.
For the meringue, pour the egg whites into a bowl of a stand mixer fitted with a whisk attachment (or use a large bowl and electric hand mixer). Be careful not to get any yolk in the whites, as this will prevent them from whipping properly. Add the cream of tartar and vanilla extract, and beat the mixture on high speed until soft peaks form. This step is crucial, as it will give your meringue that fluffy texture.
Gradually add the granulated sugar while continuing to beat on high until you achieve stiff peaks. You should be able to turn the bowl upside down without the meringue falling out. This indicates the sugar has fully dissolved and the meringue is ready for the pie.
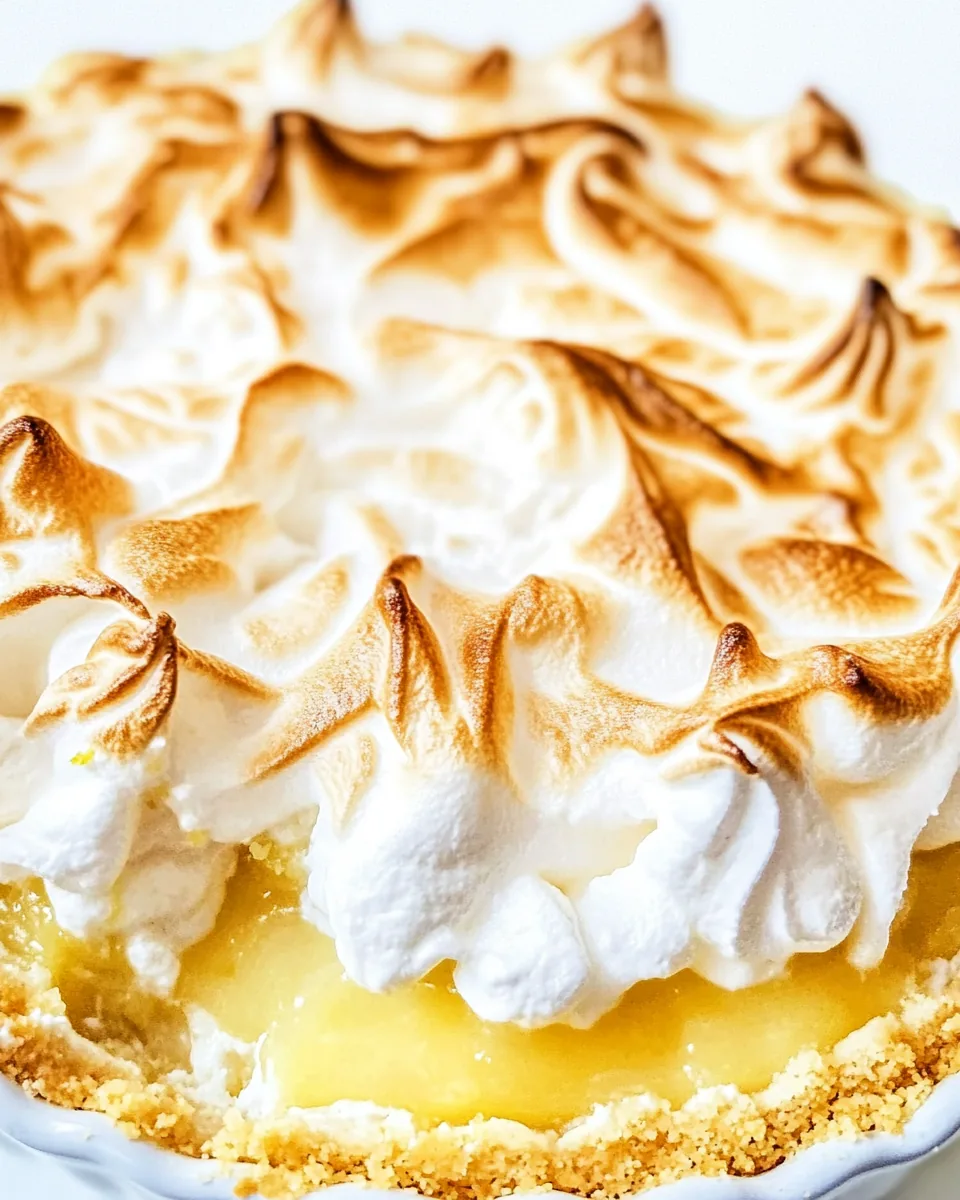
Spread the meringue evenly over the top of the lime filling, making sure to seal the edges well. This prevents the meringue from shrinking away from the filling. Create peaks in the meringue for an aesthetically pleasing look. Bake the pie for about 15 minutes if using a glass pie plate, or 10 to 15 minutes if using disposable pans until the meringue is lightly browned.
Remove the pie from the oven and let it cool at room temperature on a wire rack before transferring it to the fridge. Chilling is highly recommended for at least 2 hours; this will enhance the flavor and texture of the pie, making it easier to slice when serving.
Things Worth Knowing
- Key Limes vs. Regular Limes: Using fresh Key limes is essential for the best flavor. They are smaller and more aromatic than regular limes, giving the pie its signature taste.
- Cooling Time: Allow the pie to cool completely before chilling in the fridge. This helps to set the filling properly and enhances the overall flavor.
- Egg Whites Technique: Make sure your mixing bowl for the egg whites is completely clean and free of any grease. Any fat can prevent the egg whites from whipping to their full potential.
- Storing Leftovers: If you have any pie left, cover it tightly with plastic wrap and store it in the fridge for up to five days. It’s best served chilled.
Ways to Adapt This Recipe
If you want to make your Key Lime Meringue Pie unique, there are several ways to adapt the recipe. Let’s explore some ideas that can elevate your pie.
- Storage: Cover any leftovers tightly with plastic wrap and keep them in the fridge for up to five days. This pie is best enjoyed chilled!
- Freezing: While it’s not ideal for freezing, you can freeze the filling separately. Just be aware that the meringue will not hold up well after being frozen.
- Pairing: Serve with a dollop of whipped cream or a scoop of vanilla ice cream for added indulgence.
- Variations: For a twist, try adding some zest of orange or lemon to the lime filling for a citrus medley.
- Thicker Crust: If you prefer a thicker crust, increase the amount of graham cracker crumbs to 1.5 cups and adjust the butter accordingly.
What to Serve With Key Lime Meringue Pie
Serving a Key Lime Meringue Pie is all about enhancing its refreshing flavors and making it a centerpiece for your gathering. Here’s how to complement this delightful dessert:
- Fresh Berries: A side of fresh strawberries or raspberries adds a nice contrast to the tangy flavor of the pie.
- Whipped Cream: Lightly sweetened whipped cream pairs beautifully with the tartness of the pie.
- Ice Cream: Vanilla ice cream complements the pie perfectly, providing a creamy texture that balances the tartness.
- Summer BBQs: This pie is a fantastic option for summer gatherings, bringing a refreshing end to grilled meals.
- Picnics: Pack slices of Key Lime Meringue Pie for outdoor picnics. It’s a travel-friendly treat!
- Celebrations: Perfect for birthdays, holidays, or any occasion where you want to impress your guests with a classic dessert.
FAQ
Conclusion
The Key Lime Meringue Pie is not just a dessert; it’s a celebration of flavors and memories. With its perfect balance of sweet and tart, it brings a taste of summer to any occasion. I encourage you to try making it and share it with your loved ones. Your efforts will be rewarded with smiles and satisfied taste buds. So why not whip up this classic pie today and create some delicious memories of your own?
Key Lime Meringue Pie
Ingredients
Equipment
Method
- Preheat your oven to 350°F and prepare a 9-inch glass pie plate by spraying it with cooking spray. If you don’t have a glass pie plate, you can use two tin foil disposable pie pans. Keep in mind that you will need two since they tend to be shallower than a traditional pie plate, affecting the final structure of your pie.
- In a medium bowl, combine the crushed graham crackers with the melted butter. Use a fork to mix these ingredients until they are well combined. The mixture should resemble wet sand, holding together when pressed. This will form the base of your pie.
- Transfer the crumb mixture into the prepared pie plate. Press it firmly into the bottom and up the sides, ensuring an even layer. This step is crucial for a sturdy crust that holds the filling well. Once you’re satisfied with the crust, pop it into the oven and bake for 10 minutes, until it’s slightly golden.
- While the crust is baking, you can prepare the filling. In a large bowl, add the sweetened condensed milk, egg yolks, and whisk them together until smooth. It’s essential to blend these ingredients thoroughly to incorporate air, which will help achieve a light filling.
- Next, add the freshly squeezed Key lime juice to the mixture. Whisk again until everything is combined well. The acidity from the lime juice will react with the condensed milk and yolks, creating a luscious filling.
- Once your crust is done baking, remove it from the oven and let it cool slightly. Pour the lime filling into the pre-baked crust. Spread it evenly with a spatula, ensuring the filling reaches all edges.
- For the meringue, pour the egg whites into a bowl of a stand mixer fitted with a whisk attachment (or use a large bowl and electric hand mixer). Be careful not to get any yolk in the whites, as this will prevent them from whipping properly. Add the cream of tartar and vanilla extract, and beat the mixture on high speed until soft peaks form. This step is crucial, as it will give your meringue that fluffy texture.
- Gradually add the granulated sugar while continuing to beat on high until you achieve stiff peaks. You should be able to turn the bowl upside down without the meringue falling out. This indicates the sugar has fully dissolved and the meringue is ready for the pie.
- Spread the meringue evenly over the top of the lime filling, making sure to seal the edges well. This prevents the meringue from shrinking away from the filling. Create peaks in the meringue for an aesthetically pleasing look. Bake the pie for about 15 minutes if using a glass pie plate, or 10 to 15 minutes if using disposable pans until the meringue is lightly browned.
- Remove the pie from the oven and let it cool at room temperature on a wire rack before transferring it to the fridge. Chilling is highly recommended for at least 2 hours; this will enhance the flavor and texture of the pie, making it easier to slice when serving.
Notes
- Tip 1: Cover any leftovers tightly with plastic wrap and keep them in the fridge for up to five days. This pie is best enjoyed chilled!
- Tip 2: While it's not ideal for freezing, you can freeze the filling separately. Just be aware that the meringue will not hold up well after being frozen.
- Tip 3: Lightly sweetened whipped cream pairs beautifully with the tartness of the pie.
- Tip 4: For a twist, try adding some zest of orange or lemon to the lime filling for a citrus medley.
- Tip 5: If you prefer a thicker crust, increase the amount of graham cracker crumbs to 1.5 cups and adjust the butter accordingly.