Santa’s Favorite Cookies
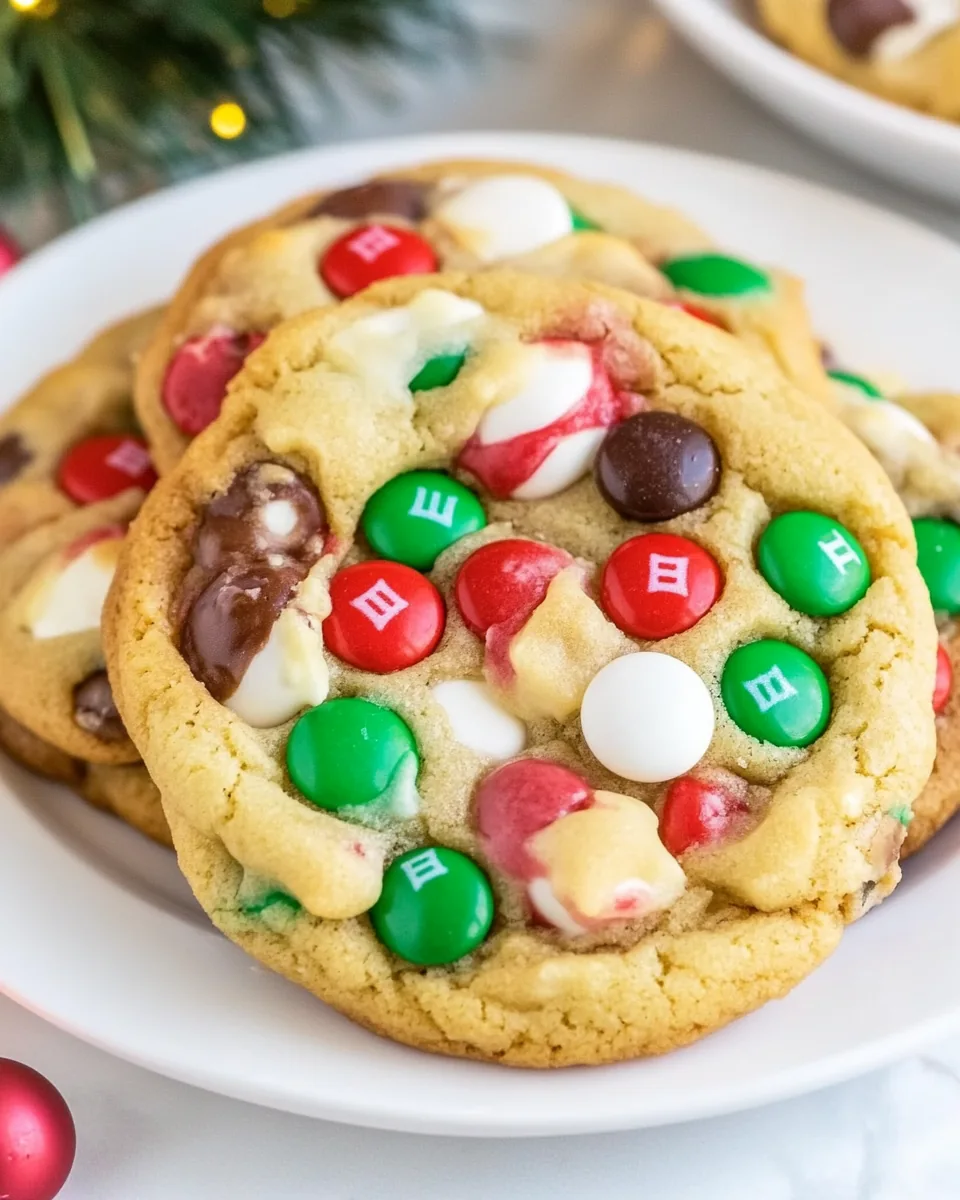
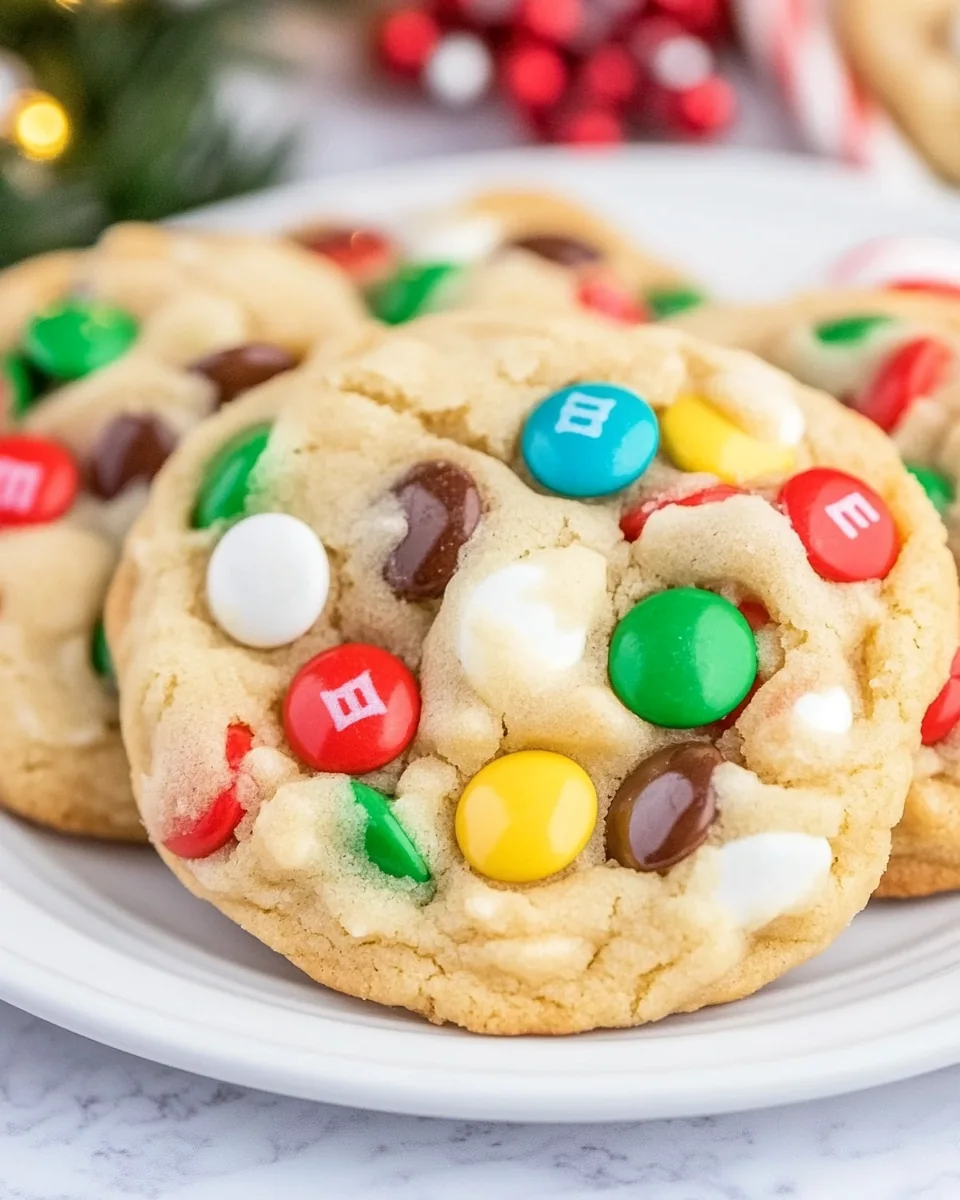
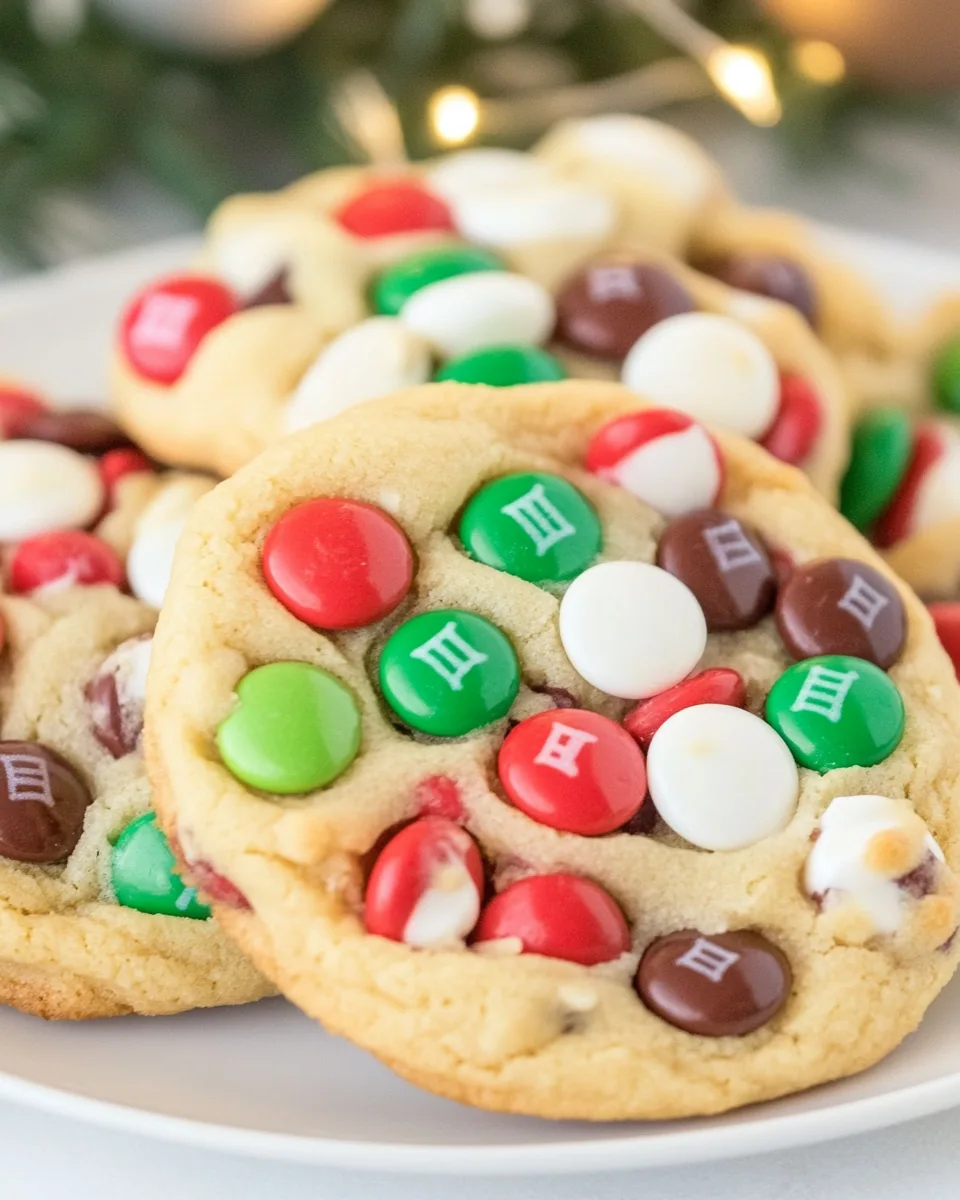
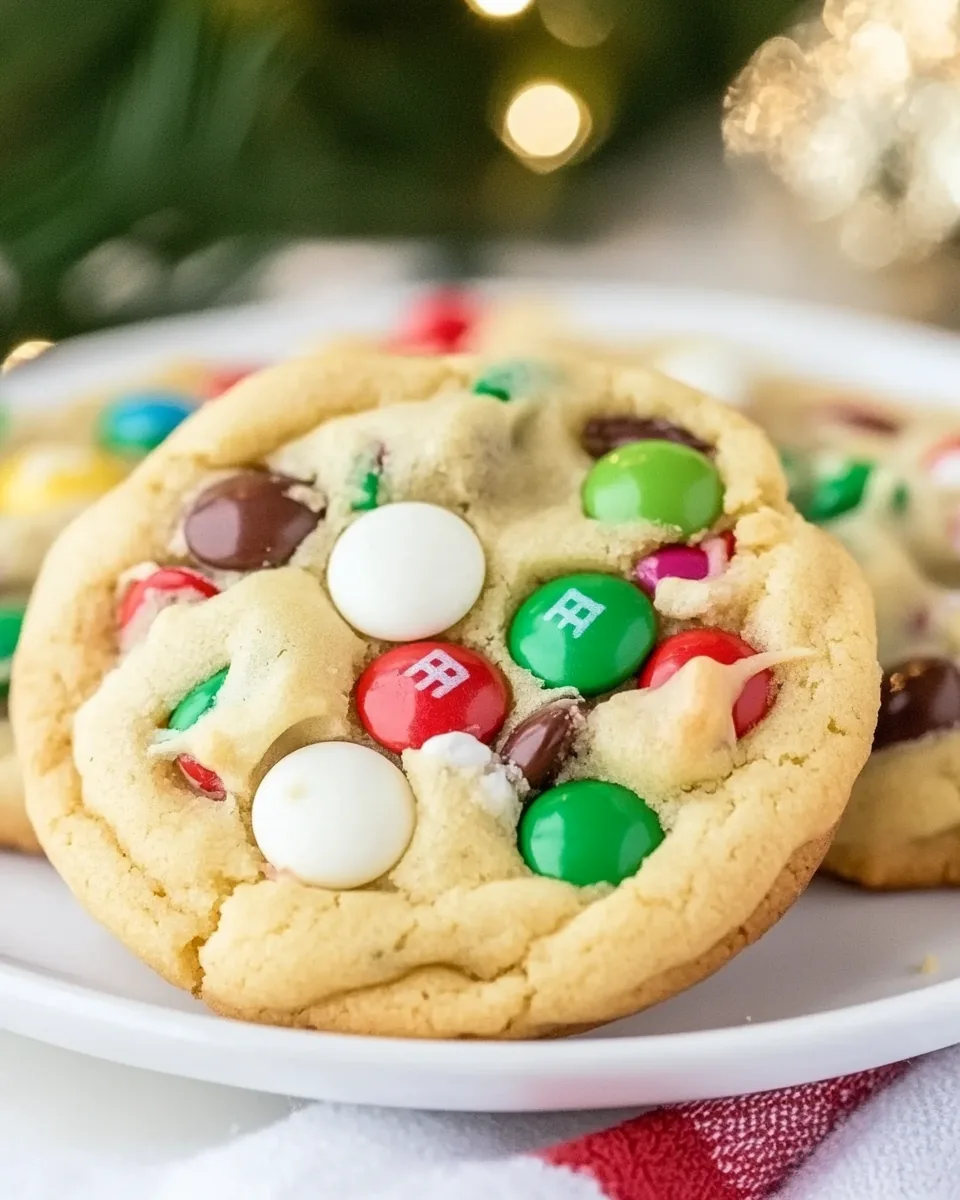
Every holiday season, the aroma of freshly baked cookies fills my home, and among all the delightful treats, Santa’s Favorite Cookies holds a special place in my heart. These cookies are not only delicious but also a canvas for creativity, brimming with vibrant M&Ms, gooey marshmallows, and a sprinkle of salty pretzel pieces. The excitement begins when I gather my family in the kitchen, each of us donning our aprons, ready to mix, scoop, and bake. With every step, laughter fills the air as we share stories and memories, turning cookie-making into a cherished tradition.
What makes these cookies so extraordinary is their perfect combination of flavors and textures. The sweetness of the brown sugar and white sugar balances beautifully with the saltiness of the pretzel pieces, creating a delightful treat that you can’t resist. As they bake, the scent wafts through the house, reminding me of joyful holidays spent with loved ones. Once they’re out of the oven, we can’t help but sneak a warm cookie, the chocolate melting in our mouths, turning an ordinary day into a festive celebration. Trust me, once you try Santa’s Favorite Cookies, they will become a staple in your holiday baking.
Recipe Snapshot
30 mins
20 mins
10 mins
Medium
150 kcal
2 g
Gluten-Free, Low FODMAP
6 g
Mixing Bowl, Baking Sheet, Frying Pan, Oven
The Best Thing About This Santa’s Favorite Cookies
Perfect Balance of Flavors
The first reason I adore Santa’s Favorite Cookies is the remarkable balance of flavors. The combination of sweet and salty creates a culinary masterpiece. The sweet chocolate chunks and M&Ms are perfectly complemented by the slight saltiness of the pretzel pieces, making every bite an explosion of flavor.
Fun for Everyone
Another reason to love this recipe is its fun factor. Kids and adults alike enjoy the process of making these cookies together. From mixing the ingredients to decorating the cookies with extra M&Ms and marshmallows, it’s a fun activity that brings everyone together, creating lasting memories.
Versatile and Customizable
Santa’s Favorite Cookies are incredibly versatile. While the recipe features delicious marshmallows and pretzels, you can easily swap these out for your favorite toppings. Whether you prefer more chocolate or different types of candies, the possibilities are endless, making it a great base recipe to personalize.
Perfect for Any Occasion
These cookies aren’t just for Christmas; they’re perfect for any occasion. Whether it’s a birthday party, a school event, or just a cozy afternoon snack, Santa’s Favorite Cookies are sure to please everyone. They also make fantastic gifts when packaged beautifully!
Great for Sharing
One of my favorite aspects of these cookies is their shareability. When the holiday spirit strikes, I love baking a double batch and sharing them with friends, family, and neighbors. They always bring smiles and joy, and it’s a wonderful way to spread love during the festive season.
Easy to Make
Last but not least, the recipe is straightforward! Even if you’re a beginner, you can whip up a batch of Santa’s Favorite Cookies with ease. The preparation is simple, and the results are always rewarding, making it a perfect choice for novice bakers.
Ingredients You’ll Need for Santa’s Favorite Cookies
The ingredients for Santa’s Favorite Cookies are a beautiful blend of flavors that come together to create a scrumptious treat. Each component plays an essential role in achieving that perfect cookie texture and taste. From the creamy butter to the chocolate chunks, these ingredients work harmoniously to provide a delightful experience.
- Unsalted Butter: 1 cup, softened (2 sticks) – The base of the cookie dough, providing richness and moisture.
- Brown Sugar: 3/4 cup – Adds a deep, caramel flavor to the cookies.
- White Sugar: 1/4 cup – Contributes sweetness and helps cookies spread.
- Large Eggs: 2, plus 1 egg yolk – Provides structure and moisture.
- Vanilla Instant Pudding Mix: 3.4 ounces – Keeps the cookies soft and chewy.
- Flour: 2 1/2 cups – The main ingredient that forms the cookie dough.
- Baking Soda: 1 teaspoon – A leavening agent that helps cookies rise.
- Salt: 1/2 teaspoon – Enhances the sweetness and balances the flavors.
- Chocolate Chunks: 1/4 cup – Adds rich chocolatey goodness.
- M&Ms: 1/4 cup – Brightens up the cookies with color and sweetness.
- Mini Marshmallows: 1/4 cup – Provides a gooey texture and flavor.
- Pretzel Pieces: 1/4 cup – Adds a delightful salty crunch.
Cooking Method for Santa’s Favorite Cookies
Baking Santa’s Favorite Cookies is a straightforward and enjoyable process. Follow these detailed steps, and you’ll have delicious cookies that will impress everyone. Let’s dive into the steps!
- In a large mixing bowl, cream together the butter, brown sugar, and white sugar using an electric mixer. Mix until the mixture is fluffy and well combined, usually about 2 to 3 minutes. You want to see a light and creamy texture here; this is crucial for airy cookies.
- Add the eggs and vanilla pudding mix to the bowl, mixing until just combined. The mixture should become slightly more liquid, and everything should be incorporated evenly.
- In a separate bowl, whisk together the flour, baking soda, and salt. This helps evenly distribute the leavening agents, ensuring your cookies rise beautifully.
- Gradually add the dry mixture to the wet ingredients, mixing with your electric mixer until a dough forms. The dough should start pulling away from the sides of the bowl, indicating it’s ready.
- Fold in the chocolate chunks and M&Ms with a spatula. Be gentle here to avoid overmixing; you want the candies to remain intact.
- Next, carefully fold in the mini marshmallows and pretzel pieces, ensuring they’re evenly distributed throughout the dough. This is where the fun begins, and I love to ensure every bite has a bit of everything!
- Chill the dough for at least 1 hour, but you can also chill it overnight for even better flavor development. Chilling helps the cookies maintain their shape while baking.
- Preheat your oven to 350 degrees Fahrenheit. Line a cookie sheet with parchment paper to prevent sticking and make cleanup easier.
- Using a medium cookie scoop, portion out the dough into two-tablespoon balls. Place them on the prepared cookie sheet, leaving at least two inches between each cookie. Don’t forget to top each dough ball with a few extra M&Ms and chocolate chunks for added decoration.
- Bake the cookies for 9 to 10 minutes, until they’re set at the edges and lightly browned on top. It’s okay if they’re a little soft in the middle; they’ll continue to firm up as they cool.
- Once baked, let the cookies cool on the pan for 2 to 3 minutes before transferring them to a wire cooling rack. This step is essential for achieving the perfect texture!
Things Worth Knowing
- Chill the Dough: Chilling your dough is crucial for achieving the ideal cookie texture. It prevents spreading during baking, leading to thicker cookies.
- Use Parchment Paper: Lining your baking sheets with parchment paper helps prevent sticking and creates a perfectly baked bottom.
- Don’t Overbake: For the best chewy effect, keep an eye on your cookies and remove them from the oven when the edges are set but the centers are still soft.
- Storage: Store your cookies in an airtight container at room temperature for up to a week. They’ll stay fresh and delightful!
Making Adjustments
Sometimes, you may want to adjust the recipe for various reasons. Here are some helpful tips to consider when making Santa’s Favorite Cookies.
- Storage: To keep your cookies fresh, store them in an airtight container. They’ll retain their soft texture and flavor for up to a week.
- Freezing: Freeze the cookie dough for up to three months. Scoop the dough into balls and place them on a baking sheet to freeze, then transfer them to a freezer bag. You can bake them straight from frozen, just add a couple of minutes to the baking time.
- Pairing: These cookies pair wonderfully with a glass of milk or a hot cup of cocoa, making them a perfect snack for cozy evenings.
- Ingredient Variations: Feel free to experiment with different add-ins like nuts, dried fruits, or flavored chips to create your unique twist on the original recipe.
- Serving Sizes: Consider making smaller or larger cookies depending on the occasion. You can use different scoop sizes to adjust portioning easily.
- Presentation: Decorate the cookies with a drizzle of melted chocolate or a sprinkle of sea salt to elevate their appearance and enhance flavors.
Best Served With
Santa’s Favorite Cookies are perfect for a variety of occasions. Here are some suggestions for serving them:- Milk: Enjoy these cookies with a cold glass of milk. The combination is classic and satisfies every sweet tooth.
- Hot Cocoa: Pair your cookies with a warm cup of hot cocoa, especially enjoyable during the cold winter months.
- Ice Cream: For an indulgent treat, serve them alongside a scoop of vanilla or chocolate ice cream. The warm cookies and cold ice cream create a delicious contrast.
- Picnics and Parties: Bring these cookies to gatherings, as they’re a hit among guests of all ages. They’re perfect for sharing and enjoying together.
- Holiday Gifting: Package these cookies in festive tins as gifts for friends and family, spreading cheer during the holiday season.
- Seasonal Events: These cookies are not just for Christmas; they’re great for birthdays, bake sales, and any celebration where sweet treats are welcome.
FAQ
Conclusion
Santa’s Favorite Cookies are a delightful blend of sweet and salty flavors, perfect for any holiday occasion. Their unique combination of ingredients makes them a must-try this season. I encourage you to gather your loved ones and bake a batch together. Not only will you enjoy the delicious results, but you’ll create lasting memories in the process. So, what are you waiting for? Get baking and enjoy!
Santa’s Favorite Cookies
Ingredients
Equipment
Method
- In a large mixing bowl, cream together the butter, brown sugar and white sugar with an electric mixer until well mixed.
- Add the eggs, extra egg yolk, and vanilla instant pudding mix and mix until combined.
- Pour in the flour, baking soda, and salt and mix to combine.
- Add this dry mixture to the wet mixture and mix with an electric mixer until a dough forms.
- Fold in the chocolate chunks and M&Ms and mix into the dough.
- With a silicone spatula to keep the pretzel pieces from crushing too much, fold in the mini marshmallows and pretzel pieces, mixing until just combined.
- Chill the dough for at least 1 hour, but can be overnight.
- Preheat the oven to 350 degrees.
- Line a cookie sheet with parchment paper and set aside.
- With a medium cookie scoop, portion the dough into two tablespoon dough balls. Leave at least two inches between cookies when placing on the prepared cookie sheet.
- Top each cookie dough ball with several extra chocolate chips, marshmallow pieces, pretzel pieces, and M&Ms.
- Bake the cookies for 9 to 10 minutes, until they set at the edges and lightly browned on top.
- Let the cookies cool for 2 to 3 minutes on the pan, then transfer the cookies to a wire cooling rack to finish cooling completely.
Notes
- Toppings: I love the addition of the gooey marshmallows and slightly salty pretzels, but if you prefer, you can substitute them for more M&Ms or chocolate chunks in this recipe.
- Marshmallow Baking Tips: Marshmallows melt wherever they touch the pan. This gives the cookies a delicious caramelly flavor, but can look a little messier. I try not to put the marshmallows that are in the dough straight on the pan. After the cookies cool, you can break off any of the caramelized bits that hit the pan.
- Presentation: If you add the marshmallows to the top of the cookie right after baking while the cookies are still warm, the marshmallows will hold their shape and look pretty.
- Baking Timing: You can also add the marshmallows to the top of the cookie in the last 1 to 2 minutes of baking to get marshmallows that have a little golden brown on them without melting too much.