Chocolate Peppermint Cupcakes
There’s something undeniably magical about the combination of chocolate and peppermint, and when you transform that into Chocolate Peppermint Cupcakes, it becomes a festive treat that everyone adores. I remember the first time I baked these; the kitchen was filled with the warm, inviting scent of cocoa mingling with a hint of mint. As I pulled the tray from the oven, the soft, fluffy cupcakes beckoned to be adorned with a generous swirl of buttery frosting and a luscious chocolate ganache. Every bite was a celebration, a reminder of cozy winter nights spent with loved ones. Whether it’s a holiday gathering, a cozy dinner party, or simply a sweet escape on a cold evening, these cupcakes make every occasion feel special.
Recipe Snapshot
60 mins
0 mins
0 mins
Medium
320 kcal
3 g
Gluten-Free, Low FODMAP
17 g
Oven, Large Pot, Mixing Bowl, Baking Sheet, Chef’s Knife, Blender, Frying Pan, Whisk
Why You’ll Love This Chocolate Peppermint Cupcakes
1. A Flavor Match Made in Heaven
The pairing of chocolate and peppermint in Chocolate Peppermint Cupcakes is not just delicious; it’s a classic combination that evokes nostalgia and warmth. This duo is perfect for the winter season, bringing comfort to chilly days.
2. A Beautiful Presentation
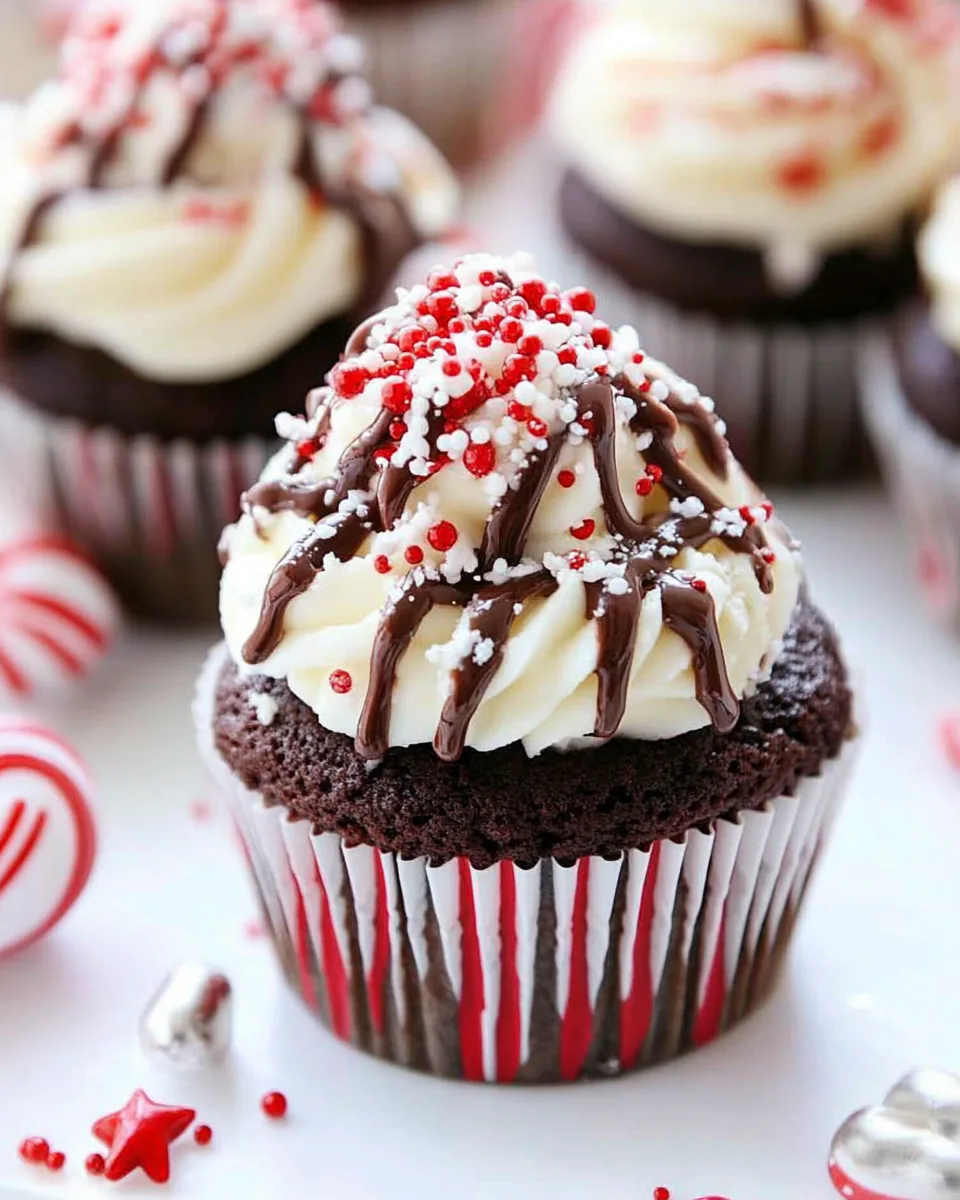
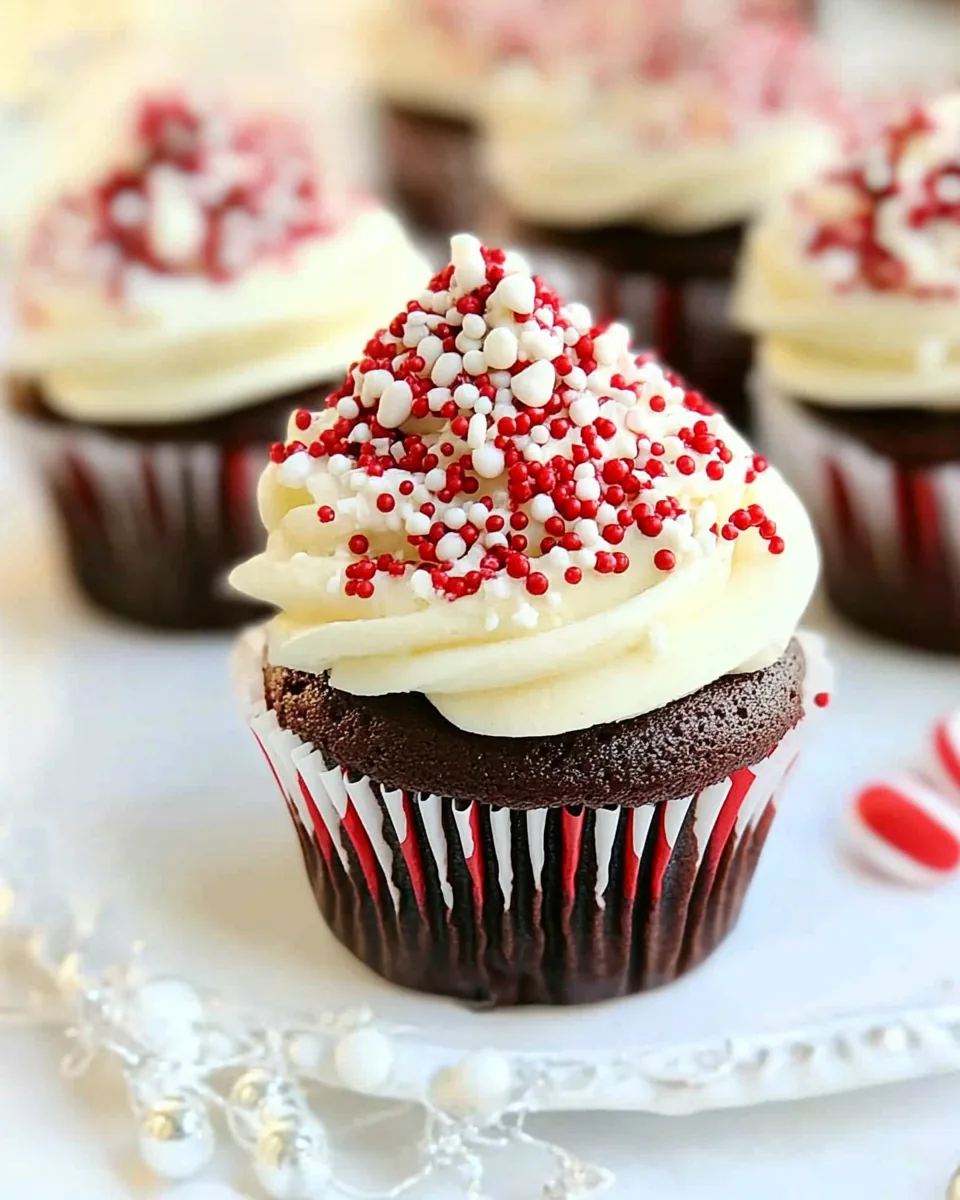
Visual appeal is essential in baking, and these cupcakes don’t disappoint. Topped with a fluffy buttercream and drizzled with ganache, they’re not just a treat for the taste buds but a feast for the eyes. It’s hard to resist reaching for one!
3. Easy to Make
Even if you’re a novice in the kitchen, making Chocolate Peppermint Cupcakes is simple and fun. With easy-to-follow steps, you’ll feel like a pro in no time, impressing friends and family alike.
4. Perfect for Every Occasion
These cupcakes are versatile! While they’re wonderful for Christmas, they can easily brighten up any winter event or gathering. Each bite is a reminder of the joy of sharing homemade treats with those you love.
5. Customizable and Fun
One of the best things about baking is the creativity it allows. You can personalize your Chocolate Peppermint Cupcakes by adding different toppings or flavorings. Experimenting in the kitchen makes the process even more enjoyable!
6. A Sweet Gift to Share
There’s nothing quite like sharing baked goods. Packaging these cupcakes beautifully can make for a thoughtful gift to friends, neighbors, or colleagues during the winter season.
What to Buy for Chocolate Peppermint Cupcakes
Gathering the right ingredients is essential for creating these delightful Chocolate Peppermint Cupcakes. Each ingredient plays a unique role, ensuring a moist, flavorful treat that bursts with holiday spirit. The combination of rich chocolate, creamy butter, and refreshing peppermint creates a harmonious balance that is simply irresistible.
- 1 (15.25 ounce) package devil’s food cake mix: This serves as the base for our cupcakes, providing a rich chocolate flavor.
- 1 (3.4 ounce) package instant chocolate pudding mix: It adds moisture and decadence, ensuring each bite is soft and satisfying.
- 3/4 cup sour cream: This ingredient keeps the cupcakes moist and tender, balancing out the sweetness.
- 3/4 cup vegetable oil: A crucial element for ensuring the cupcakes are rich and fluffy.
- 3 large eggs: They help bind everything together and contribute to the cupcakes’ structure.
- 2 teaspoons pure vanilla extract: This enhances the chocolate flavor, adding depth to the overall taste.
- 1/2 cup warm water: It activates the dry ingredients and ensures a smooth batter.
- 1 cup Andes Peppermint Crunch Baking Chips: These delightful chips introduce bursts of peppermint flavor with every bite.
- 4 sticks unsalted butter: Essential for the buttercream, providing a creamy texture.
- 1 ½ pounds (24 ounces) confectioners’ sugar: This sweetens the buttercream, giving it that perfect frosting taste.
- 1 tablespoon clear vanilla extract: Helps maintain the bright white color of the buttercream.
- 4-6 tablespoons heavy cream or milk: Used to adjust the buttercream’s consistency for easy piping.
- 4 oz bittersweet chocolate: Used for the ganache, adding a rich chocolate layer on top of the cupcakes.
- 1/2 cup heavy whipping cream: Warms with the chocolate to create a silky ganache.
- 2 tablespoons honey: Adds a touch of sweetness and helps bind the ganache.
- 2 tablespoons light corn syrup: This gives the ganache a glossy finish.
- 2 teaspoons pure vanilla extract: Enhances the flavor of the ganache.
Cooking Method for Chocolate Peppermint Cupcakes
Let’s dive into the fun part, the cooking process! Making Chocolate Peppermint Cupcakes is a delightful experience that fills your kitchen with heavenly scents. Follow these steps to create your own batch of festive treats.
- Preheat your oven to 350 degrees F. Line a muffin tin with paper liners or spray with non-stick cooking spray. This ensures that the cupcakes release easily after baking.
- In the bowl of a stand mixer fitted with the paddle attachment, or using a hand mixer in a large bowl, combine the devil’s food cake mix, instant chocolate pudding mix, sour cream, vegetable oil, eggs, vanilla extract, and warm water. Beat for about two minutes on medium speed until everything is well combined. You want the mixture to be smooth and well-blended; it should have a rich chocolate color.
- Using a large cookie scoop, distribute the batter between 24 muffin wells, about 3 tablespoons of batter per well. This will ensure that each cupcake is uniform in size.
- Bake in the preheated oven for 18 to 22 minutes, or until the tops spring back when lightly touched. Allow the cupcakes to cool in the muffin tins for about 10 minutes before moving them to a wire rack to cool completely.
- Once the cupcakes are fully cooled, it’s time to prepare the vanilla buttercream. In the bowl of a stand mixer fitted with the paddle attachment, or in a large mixing bowl with an electric mixer, cream unsalted butter on medium-high speed for about 6 minutes until it’s light and fluffy.
- With the mixer on low speed, gradually add in confectioners’ sugar, mixing until combined. It’s important to do this slowly to avoid a sugar cloud in your kitchen!
- Add in clear vanilla extract and 3 tablespoons of heavy cream or milk. Blend on low speed until moistened, then increase the speed and beat until fluffy.
- Check the consistency of your buttercream. If it’s too thick, add an additional 1 to 3 tablespoons of heavy cream or milk until you reach your desired texture. Beat at high speed for another 5 minutes until smooth and fluffy.
- Now it’s time to pipe frosting onto the cooled cupcakes. You can use your favorite piping tip for this step. Make sure to get creative!
- Next, prepare the chocolate ganache. In a small saucepan over medium heat, warm the heavy cream until it’s very hot but not boiling. This is crucial for melting the chocolate perfectly.
- Place the bittersweet chocolate pieces in a heat-safe bowl. Pour the hot cream over the chocolate and let it sit for about 5 minutes. Whisk everything together until smooth and thoroughly combined. Then whisk in the honey, corn syrup, and vanilla extract. Allow the ganache to cool for about 15 minutes; don’t let it sit too long, or it will harden.
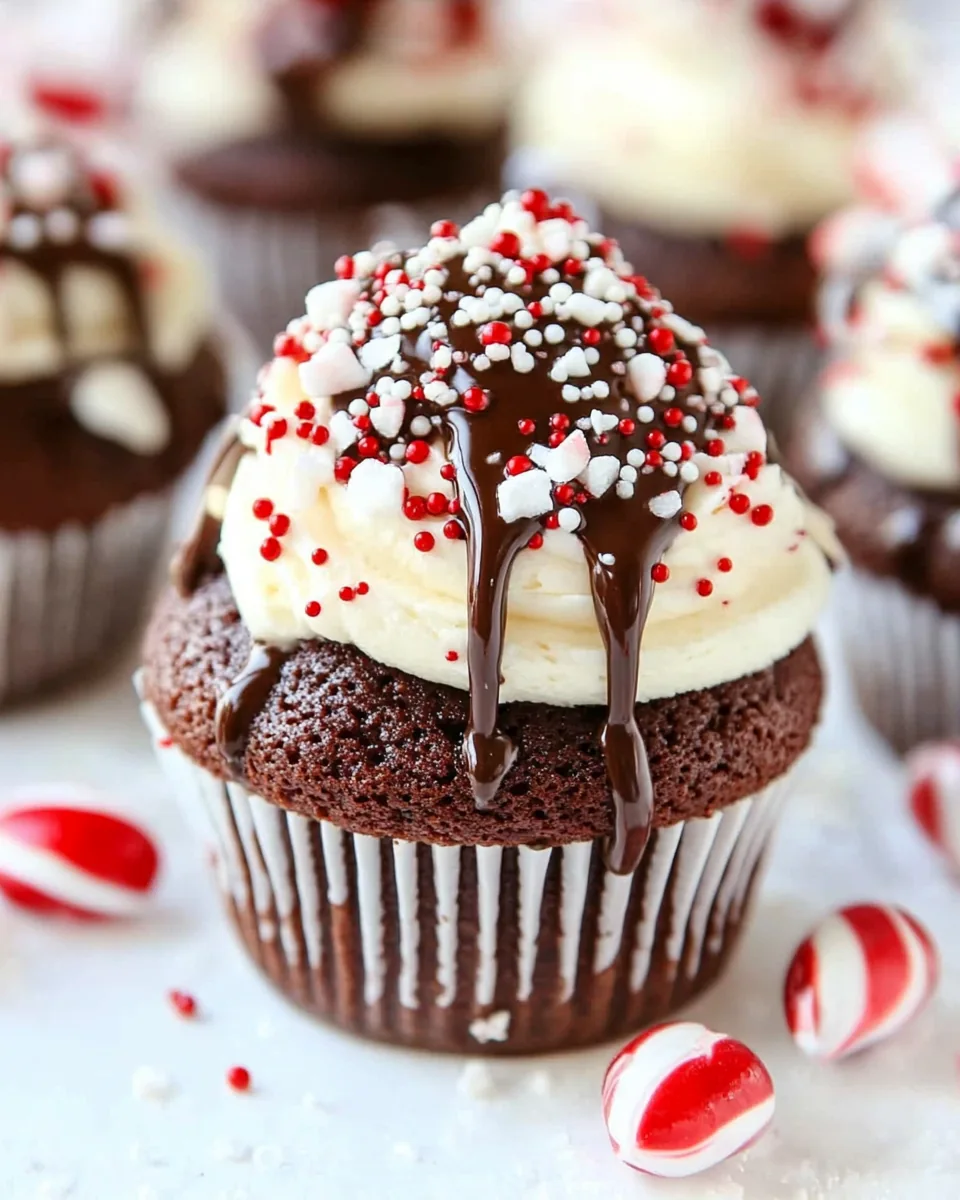
- Spoon the ganache over the frosted cupcakes, allowing it to drip down the sides a little. Be careful not to add too much, or it will overflow the liners!
Things Worth Knowing
- Room Temperature Ingredients: Ensure all your ingredients, especially the butter and eggs, are at room temperature for a smoother batter.
- Don’t Overmix: Be careful not to overmix your batter, as this can lead to dense cupcakes. Mix just until combined.
- Check for Doneness: Use a toothpick inserted into the center of a cupcake to check for doneness. It should come out clean or with a few crumbs.
- Cool Completely: Always let your cupcakes cool completely before applying frosting, as warm cupcakes will melt the frosting.
Ways to Customize
Customization is the heart of baking, and there are countless ways to make your Chocolate Peppermint Cupcakes uniquely yours. Let’s explore some exciting options!
- Storage: Keep leftovers in an airtight container at room temperature for up to three days. If you prefer, store them in the refrigerator, but bring them back to room temperature before serving.
- Freezing: Yes, you can freeze these cupcakes! They can be stored in an airtight container in the freezer for up to three months. Allow them to thaw overnight in the fridge before serving.
- Pairing: These cupcakes pair beautifully with a cup of hot chocolate or peppermint tea for a cozy treat.
- Flavor Variations: Feel free to substitute the chocolate cake mix with a vanilla cake mix for a different flavor profile. Adding a hint of espresso powder can also enhance the chocolate flavor.
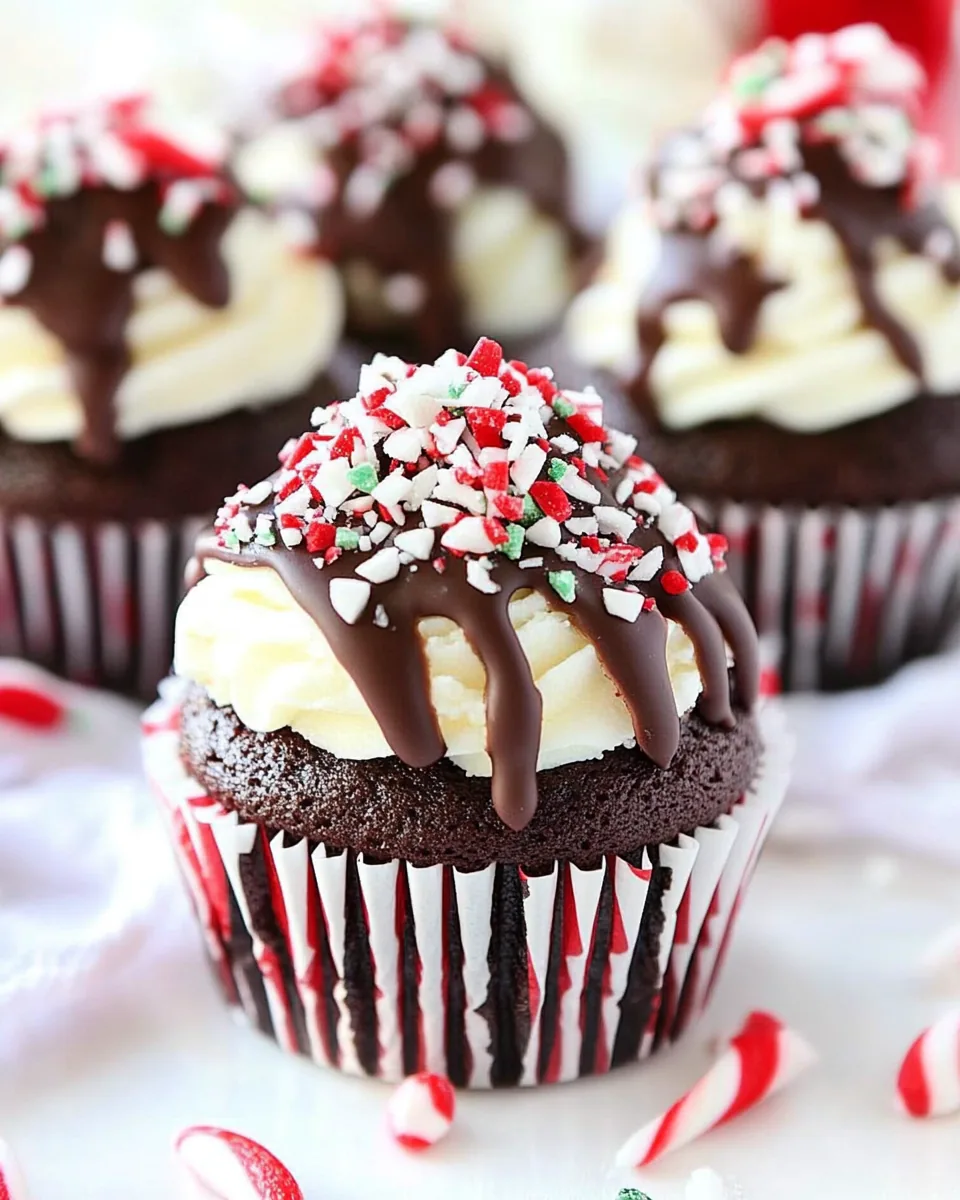
- Decorative Toppings: Get creative with toppings! Crushed candy canes or chocolate shavings can add a festive touch.
Great Combinations for Chocolate Peppermint Cupcakes
- Holiday Parties: These cupcakes are perfect for holiday gatherings or festive celebrations, making them a delightful centerpiece on dessert tables.
- Family Gatherings: Serve them at family get-togethers as a sweet treat that everyone will enjoy; they’re sure to please all ages!
- Tea Time Treat: Pair them with a warm cup of tea or coffee for an afternoon delight that’s sure to brighten your day.
- Winter Celebrations: They fit perfectly at any winter celebration, from Christmas to New Year’s parties, adding a sweet touch to your festivities.
- Gift Giving: These cupcakes make a wonderful homemade gift. Package them up nicely for neighbors or friends to spread holiday cheer.
- Storage Tips: Store these in a cool, dry place to maintain their freshness, especially in warmer weather.
FAQ
Conclusion
The Chocolate Peppermint Cupcakes are a festive and delicious dessert that perfectly captures the spirit of the season. Their delightful combination of flavors and textures is sure to be a hit at any gathering. Don’t hesitate to give this recipe a try; I promise you won’t regret it! These cupcakes will not only satisfy your sweet tooth but also create cherished memories with loved ones around the table.
Chocolate Peppermint Cupcakes
Ingredients
Equipment
Method
- Preheat your oven to 350 degrees F. Line a muffin tin with paper liners or spray with non-stick cooking spray. This ensures that the cupcakes release easily after baking.
- In the bowl of a stand mixer fitted with the paddle attachment, or using a hand mixer in a large bowl, combine the devil’s food cake mix, instant chocolate pudding mix, sour cream, vegetable oil, eggs, vanilla extract, and warm water. Beat for about two minutes on medium speed until everything is well combined. You want the mixture to be smooth and well-blended; it should have a rich chocolate color.
- Using a large cookie scoop, distribute the batter between 24 muffin wells, about 3 tablespoons of batter per well. This will ensure that each cupcake is uniform in size.
- Bake in the preheated oven for 18 to 22 minutes, or until the tops spring back when lightly touched. Allow the cupcakes to cool in the muffin tins for about 10 minutes before moving them to a wire rack to cool completely.
- Once the cupcakes are fully cooled, it’s time to prepare the vanilla buttercream. In the bowl of a stand mixer fitted with the paddle attachment, or in a large mixing bowl with an electric mixer, cream unsalted butter on medium-high speed for about 6 minutes until it’s light and fluffy.
- With the mixer on low speed, gradually add in confectioners’ sugar, mixing until combined. It’s important to do this slowly to avoid a sugar cloud in your kitchen!
- Add in clear vanilla extract and 3 tablespoons of heavy cream or milk. Blend on low speed until moistened, then increase the speed and beat until fluffy.
- Check the consistency of your buttercream. If it’s too thick, add an additional 1 to 3 tablespoons of heavy cream or milk until you reach your desired texture. Beat at high speed for another 5 minutes until smooth and fluffy.
- Now it’s time to pipe frosting onto the cooled cupcakes. You can use your favorite piping tip for this step. Make sure to get creative!
- Next, prepare the chocolate ganache. In a small saucepan over medium heat, warm the heavy cream until it’s very hot but not boiling. This is crucial for melting the chocolate perfectly.
- Place the bittersweet chocolate pieces in a heat-safe bowl. Pour the hot cream over the chocolate and let it sit for about 5 minutes. Whisk everything together until smooth and thoroughly combined. Then whisk in the honey, corn syrup, and vanilla extract. Allow the ganache to cool for about 15 minutes; don’t let it sit too long, or it will harden.
- Spoon the ganache over the frosted cupcakes, allowing it to drip down the sides a little. Be careful not to add too much, or it will overflow the liners!
Notes
- Tip 1: Store leftovers in an airtight container at room temperature for up to three days.
- Tip 2: You can freeze these cupcakes! They can be stored in an airtight container in the freezer for up to three months.
- Tip 3: These cupcakes pair beautifully with a cup of hot chocolate or peppermint tea.
- Tip 4: Feel free to substitute the chocolate cake mix with a vanilla cake mix for a different flavor profile.
- Tip 5: Get creative with toppings! Crushed candy canes or chocolate shavings can add a festive touch.