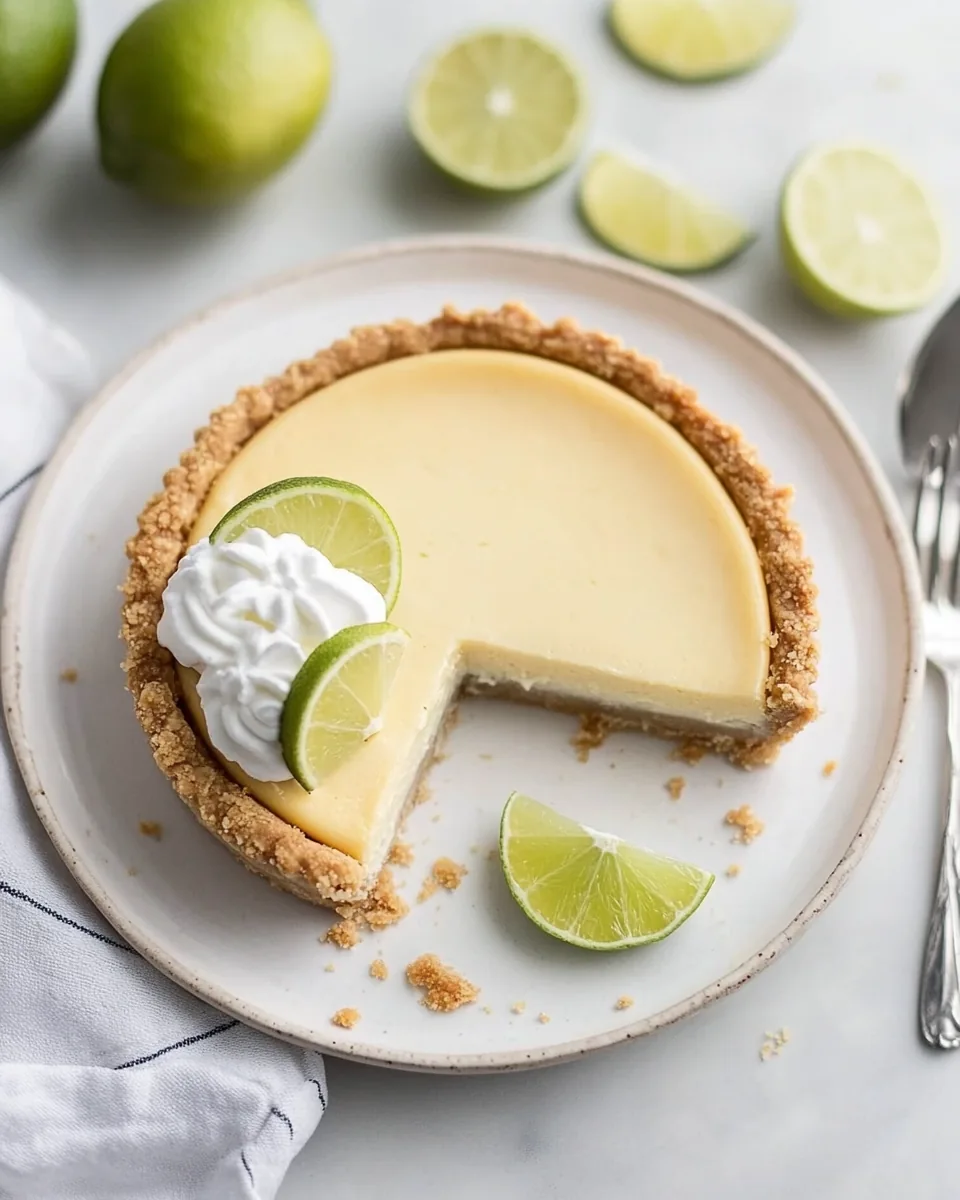
Key Lime Pie
There’s something undeniably enchanting about a classic Key Lime Pie. Growing up in a sunny climate, this dessert was a staple at family gatherings and celebrations. I remember my grandmother would whip up a fresh pie every summer, its tangy filling contrasting delightfully with the sweet crust. The first bite would transport you straight to a tropical paradise, where the sun kissed your skin and the ocean breeze carried the scent of citrus. The combination of the creamy filling and the crumbly crust made it a favorite among family and friends. Whenever I make my own Key Lime Pie, I can’t help but feel a wave of nostalgia wash over me. It’s not just a dessert; it’s a piece of my childhood, a connection to cherished memories, and a reminder that some recipes are worth passing down through generations.
Recipe Snapshot
1 hr 5 mins
30 mins
35 mins
Medium
250 kcal
3 g
Gluten-Free, Low FODMAP
14 g
Oven, Grater, Mixing Bowl, Baking Sheet, Chef’s Knife, Wooden Spoon, Whisk
Why This Key Lime Pie Shines
What makes Key Lime Pie so special? There are countless reasons to adore this dessert, and here are just a few:
1. The Perfect Balance of Flavors
The tanginess of fresh key limes paired with the sweetness of condensed milk creates a harmonious blend. Each slice delivers the right amount of tartness that dances on your taste buds, making it a refreshing treat.
2. Nostalgic Memories
This pie holds a special place in my heart. Whether it was a summer picnic or a birthday celebration, it always managed to bring everyone together. Sharing a slice can evoke warm memories and create new ones.
3. Simple Ingredients
Made with just a handful of ingredients, Key Lime Pie is a testament to the beauty of simplicity in cooking. You don’t need fancy tools or elaborate techniques to create this masterpiece.
4. Versatile Serving Options
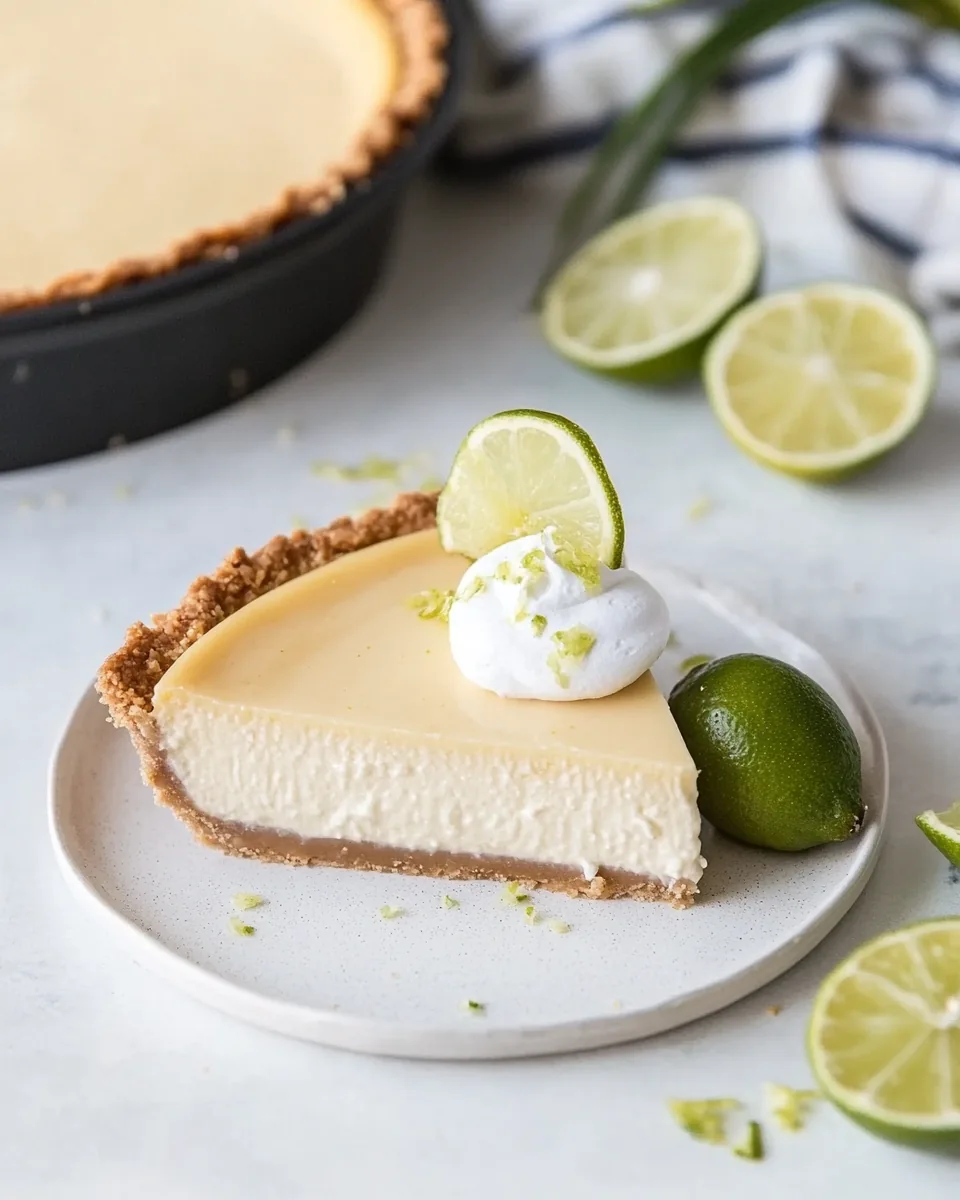
Whether served at room temperature or chilled, Key Lime Pie can be enjoyed in many ways. Add a dollop of whipped cream or garnish with lime slices for an elegant touch. It’s a dessert that fits every occasion.
5. A Crowd-Pleaser
Everyone loves a slice of Key Lime Pie. It’s a perfect dessert for gatherings, as it appeals to both citrus lovers and those with a sweet tooth. It’s sure to impress your guests!
Essential Ingredients for Key Lime Pie
The ingredients for Key Lime Pie are simple yet essential. Each plays a critical role in creating the perfect balance of flavor and texture. The key players, such as fresh key limes and sweetened condensed milk, work together to create a creamy filling that is both tangy and sweet.
- 4 teaspoons grated key lime zest – This adds a burst of citrusy aroma and flavor to the pie, enhancing the overall taste.
- 4 egg yolks – These enrich the filling, adding creaminess and depth to the pie.
- 14 ounces sweetened condensed milk – This is the secret ingredient that provides sweetness and a luscious texture.
- ½ cup (114g) fresh key lime juice – Freshly squeezed juice is crucial for achieving that authentic tart flavor.
- 2 cups (200g) graham cracker crumbs, (approximately 14 full graham crackers) – This forms the base of the pie, giving it a sweet and crunchy texture.
- ⅓ cup (71g) light brown sugar – The brown sugar adds a hint of caramel flavor to the crust.
- ½ cup (113g) unsalted butter, melted – This binds the crust ingredients together, ensuring it holds its shape.
- Pinch salt – A small amount of salt enhances the sweetness of the filling.
- 1½ cups (360ml) heavy cream, chilled – This is whipped to create a fluffy topping for the pie.
- ½ cup (57g) powdered sugar – Sweetens the whipped cream topping.
- ½ teaspoon vanilla extract – This adds a warm undertone to the whipped cream.
Cooking Method for Key Lime Pie
Creating a Key Lime Pie is a straightforward process that anyone can master. With just a few simple steps, you can whip up this tropical delight at home. Let’s dive into the delicious journey of crafting the perfect pie.
- Preheat your oven to 350 degrees F. This is an essential step to ensure the crust cooks evenly.
- In a medium bowl, whisk together the grated key lime zest and egg yolks for about 2 minutes until it becomes a bit fluffy. This step infuses the mixture with that amazing lime flavor.
- Next, slowly whisk in the sweetened condensed milk until fully combined. You’ll want to see a smooth mixture without any lumps.
- Add the fresh key lime juice and mix well. Allow this filling to sit at room temperature while you prepare the crust.
- In another medium bowl, stir together the graham cracker crumbs, light brown sugar, and salt. Make sure there are no lumps of brown sugar, as this will affect the texture of your crust.
- Drizzle the melted butter over the graham cracker mixture and use a fork to combine everything. The mixture should feel moist and crumbly.
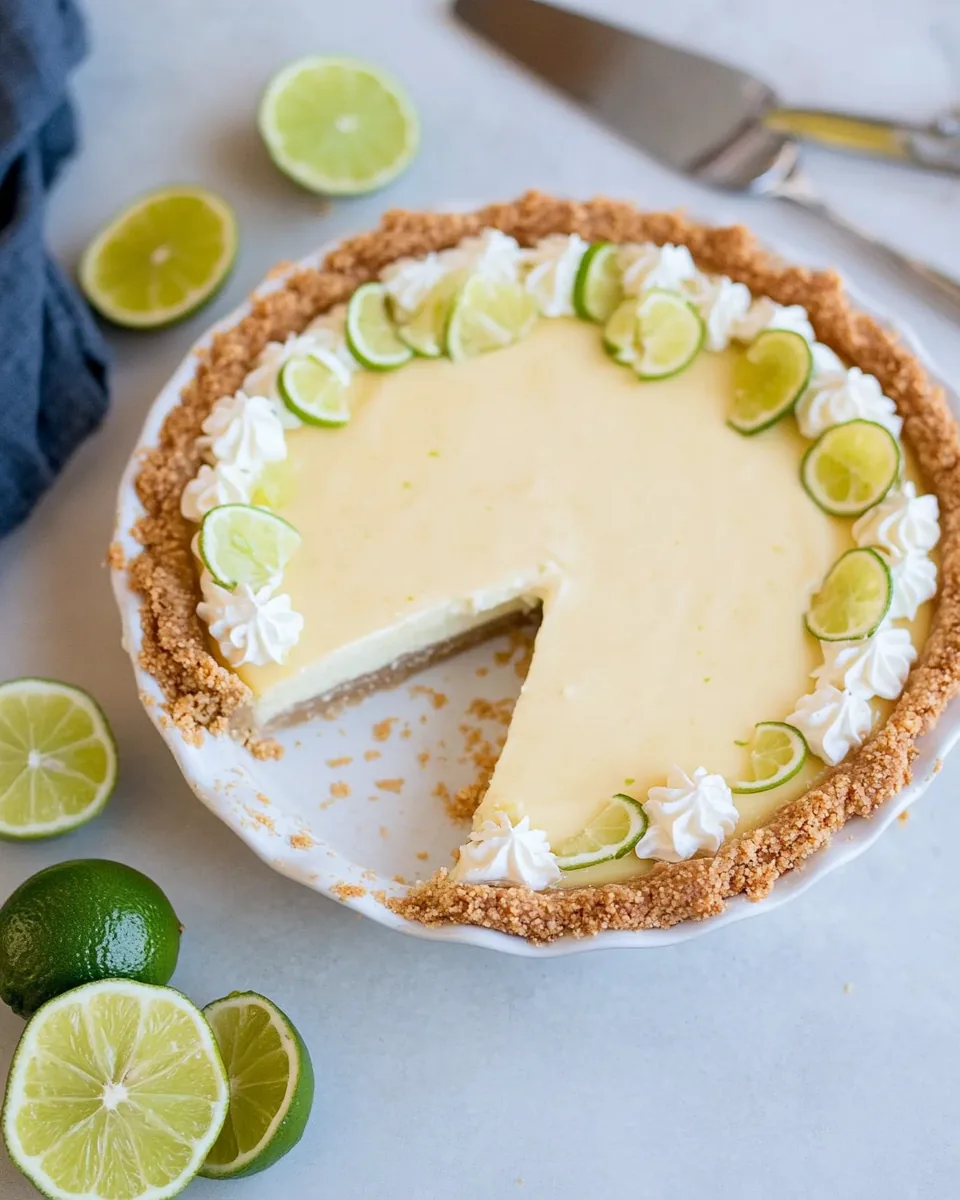
- Press this crust mixture firmly into the bottom and sides of a 9-inch pie plate. Make sure it’s tightly packed using the back of a measuring cup. This will ensure a sturdy crust.
- Place the crust in the oven and bake for 10 minutes. This helps it firm up and adds a lovely golden color.
- Once baked, transfer the crust to a wire rack to cool to room temperature. It’s important that the crust is cool before adding the filling.
- Pour the lime filling into the cooled crust. Bake again until the center is set yet still wiggly, about 15 to 17 minutes. Keep an eye on it; you want it to be just right!
- After baking, let the pie cool to room temperature. Once cooled, refrigerate it until well-chilled, at least 3 hours, or overnight for the best results.
- For the whipped cream, use an electric mixer to whip the heavy cream on medium speed until soft peaks form. This step is crucial for achieving a light and fluffy texture.
- Gradually add the powdered sugar, mixing continuously, then add the vanilla extract. Continue to whip until stiff peaks form.
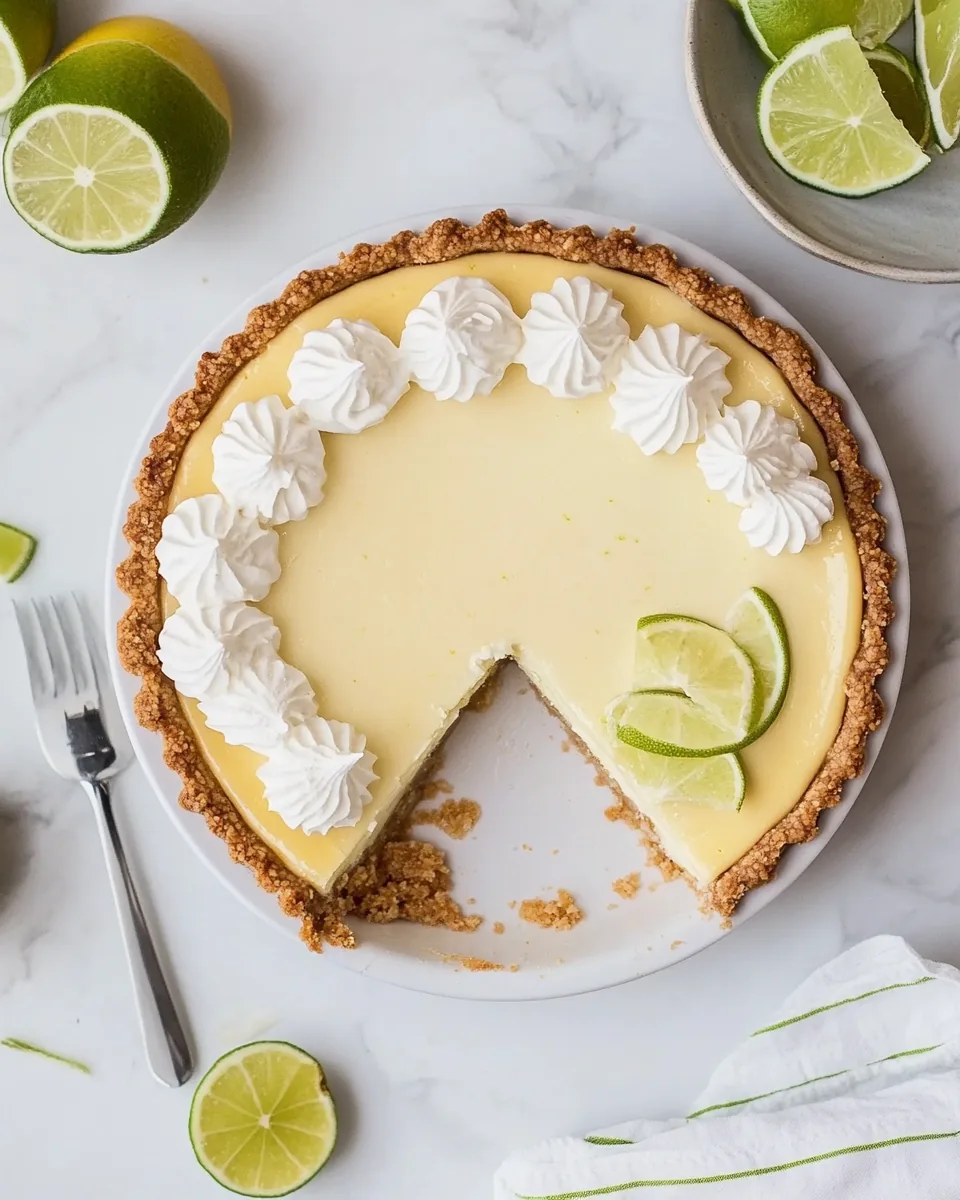
- Finally, decoratively pipe the whipped cream over the filling or spread it evenly with a spatula. Garnish with lime slices, if desired, and serve. Remember to cover any leftovers with plastic wrap and refrigerate for up to 3 days.
Things Worth Knowing
- Key Limes: These are smaller and more aromatic than regular limes, giving the pie its distinctive flavor. If you can’t find them, regular limes can be used but the taste will differ.
- Chilling Time: Allowing your pie to chill for at least 3 hours is essential. This not only sets the filling but enhances the flavors.
- Whipped Cream Stability: For a firmer whipped cream, chill your mixing bowl and beaters before whipping the cream. This helps achieve stiff peaks.
- Room Temperature Ingredients: For the best results, use ingredients such as egg yolks and cream at room temperature. This helps them blend more easily.
Making Adjustments
Creating a perfect Key Lime Pie allows for some flexibility. Here are some tips to help you adjust the recipe to your liking:
- Storage: To store leftovers, cover the pie loosely with plastic wrap and refrigerate for up to 3 days. This keeps it fresh without compromising its flavor.
- Freezing: You can freeze the entire pie, uncovered, until solid. Then wrap it well in plastic wrap and foil to keep it fresh for up to a month. Thaw in the refrigerator overnight.
- Pairing: This pie pairs beautifully with fresh fruit, such as strawberries or berries, which add a delightful contrast to the tartness.
- Variations: For a unique twist, consider adding a layer of meringue on top before baking or using a different flavor, like coconut.
- Serving Temperature: While this pie is delicious when chilled, some prefer it at room temperature. Experiment to see what you enjoy more!
Side Dish Ideas for Key Lime Pie
Serving Key Lime Pie can be as fun as making it. Here are some ideas for how to present this delightful dessert along with suggestions for complementary dishes:
- Fresh Fruit Salad: A light fruit salad made with seasonal fruits can enhance the refreshing quality of the pie.
- Whipped Cream: Don’t skimp on the whipped cream! A generous dollop on each slice elevates the dessert.
- Grilled Pineapple: The caramelized flavors of grilled pineapple make for a tropical pairing that complements the pie.
- Chocolate Drizzle: A light drizzle of chocolate over the whipped cream can add a decadent touch.
- Occasions: Perfect for summer parties, barbecues, and holidays, Key Lime Pie brings a sense of celebration to any gathering.
- Chilled Beverages: Pair with iced tea, lemonade, or even sparkling water for a refreshing beverage option.
- Seasonal Variations: Consider making this pie during the warm months when key limes are in season. Its refreshing taste is perfect for hot weather.
FAQ
Conclusion
Creating a Key Lime Pie is more than just following a recipe; it’s about reviving cherished memories and celebrating the refreshing flavors of summer. This pie stands out for its perfect balance of sweet and tangy flavors, making it a favorite for many. I encourage you to give it a try and create your own memories with each slice. It’s a delightful addition to any gathering, and I’m sure you and your loved ones will enjoy every bite.
Key Lime Pie
Ingredients
Equipment
Method
- Preheat your oven to 350 degrees F. This is an essential step to ensure the crust cooks evenly.
- In a medium bowl, whisk together the grated key lime zest and egg yolks for about 2 minutes until it becomes a bit fluffy. This step infuses the mixture with that amazing lime flavor.
- Next, slowly whisk in the sweetened condensed milk until fully combined. You’ll want to see a smooth mixture without any lumps.
- Add the fresh key lime juice and mix well. Allow this filling to sit at room temperature while you prepare the crust.
- In another medium bowl, stir together the graham cracker crumbs, light brown sugar, and salt. Make sure there are no lumps of brown sugar, as this will affect the texture of your crust.
- Drizzle the melted butter over the graham cracker mixture and use a fork to combine everything. The mixture should feel moist and crumbly.
- Press this crust mixture firmly into the bottom and sides of a 9-inch pie plate. Make sure it’s tightly packed using the back of a measuring cup. This will ensure a sturdy crust.
- Place the crust in the oven and bake for 10 minutes. This helps it firm up and adds a lovely golden color.
- Once baked, transfer the crust to a wire rack to cool to room temperature. It’s important that the crust is cool before adding the filling.
- Pour the lime filling into the cooled crust. Bake again until the center is set yet still wiggly, about 15 to 17 minutes. Keep an eye on it; you want it to be just right!
- After baking, let the pie cool to room temperature. Once cooled, refrigerate it until well-chilled, at least 3 hours, or overnight for the best results.
- For the whipped cream, use an electric mixer to whip the heavy cream on medium speed until soft peaks form. This step is crucial for achieving a light and fluffy texture.
- Gradually add the powdered sugar, mixing continuously, then add the vanilla extract. Continue to whip until stiff peaks form.
- Finally, decoratively pipe the whipped cream over the filling or spread it evenly with a spatula. Garnish with lime slices, if desired, and serve. Remember to cover any leftovers with plastic wrap and refrigerate for up to 3 days.
Notes
- Tip 1: Refrigerate the pie, loosely covered with plastic wrap, for up to 3 days.
- Tip 2: If you can’t find fresh key limes, use bottled key lime juice.
- Tip 3: This pie can be made up to 2 days in advance.
- Tip 4: For a unique twist, consider adding a layer of meringue on top.
- Tip 5: Allowing your pie to chill for at least 3 hours is essential.