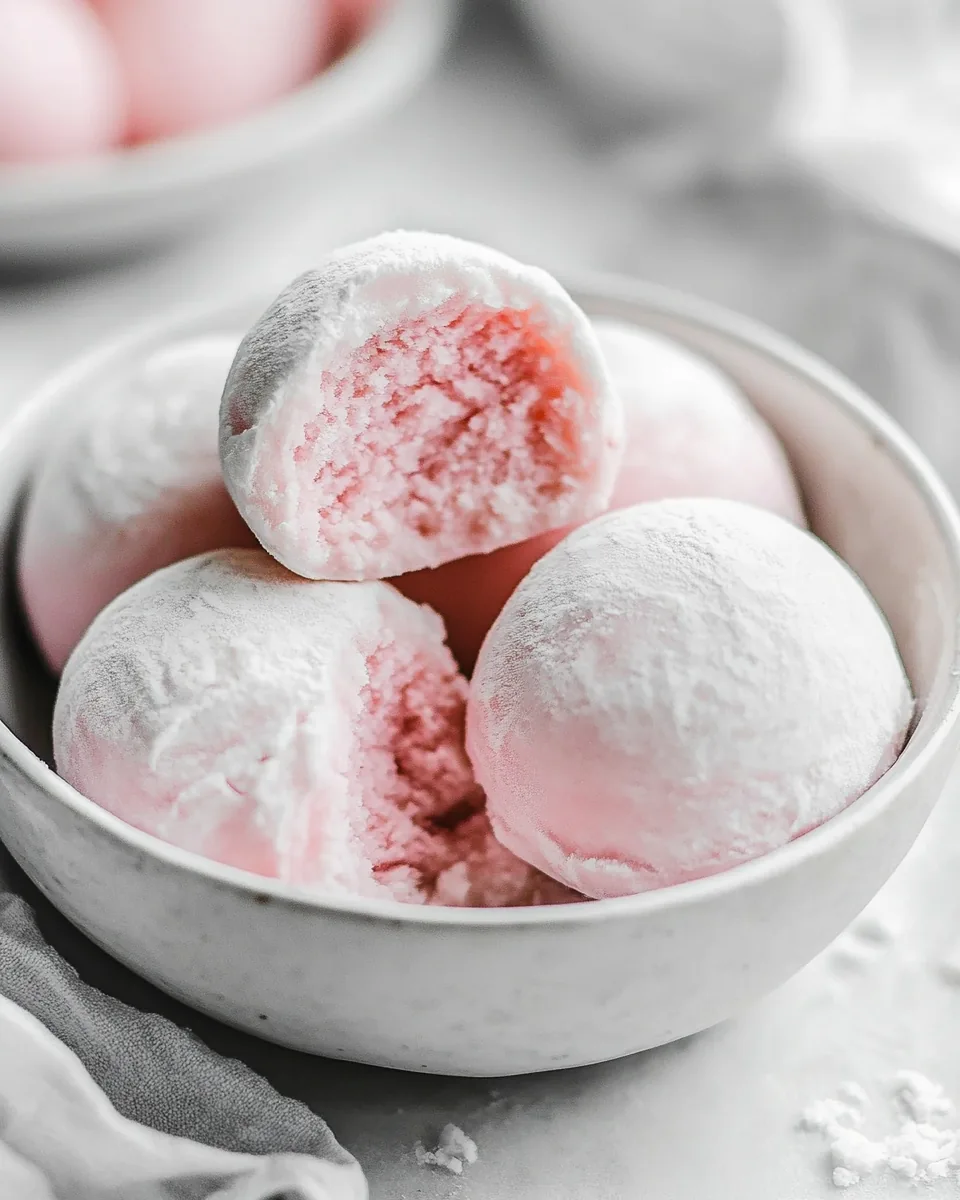
Mochi Ice Cream
There’s something truly magical about Mochi Ice Cream. I remember the first time I tasted it; I was mesmerized by the chewy texture of the mochi surrounding a perfectly creamy scoop of ice cream. It was a hot summer day, and as I took my first bite, the coolness of the ice cream blended beautifully with the soft, glutinous rice exterior. This delightful combination instantly became a favorite for gatherings with friends and family. Every bite transports me back to those carefree moments of laughter and joy, making this dessert not just a treat, but a cherished experience.
Creating Mochi Ice Cream at home allows you to experiment with flavors and fillings that suit your taste buds! Whether you’re a fan of classic vanilla or adventurous enough to try matcha or even fruity sorbets, the flexibility is endless. Plus, as I began to make this treat myself, I discovered the joy of crafting each piece by hand – from forming the ice cream balls to wrapping them in the mochi dough. It’s a fun activity that invites creativity and a touch of personal flair. If you’re looking for a fun and impressive dessert to share at your next celebration, Mochi Ice Cream is just the ticket!
Recipe Snapshot
28 mins
25 mins
3 mins
Easy
200 kcal
3 g
Gluten-Free, Low FODMAP
5 g
Mixing Bowl, Wooden Spoon, Frying Pan
What You’ll Enjoy About This Mochi Ice Cream
Unique Flavor Combinations
One of the best things about Mochi Ice Cream is the potential for unique flavor combinations. You can fill it with your favorite ice cream flavors, and even explore using sorbets for a refreshing twist. This adaptability allows for a wide range of tastes that can cater to any preference or occasion.
Perfect for Any Occasion
Whether it’s a summer BBQ, a birthday party, or a casual movie night, Mochi Ice Cream is perfect for any setting. Its fun, bite-sized nature makes it a hit among guests of all ages. Plus, it adds an exotic flair that’s sure to impress everyone!
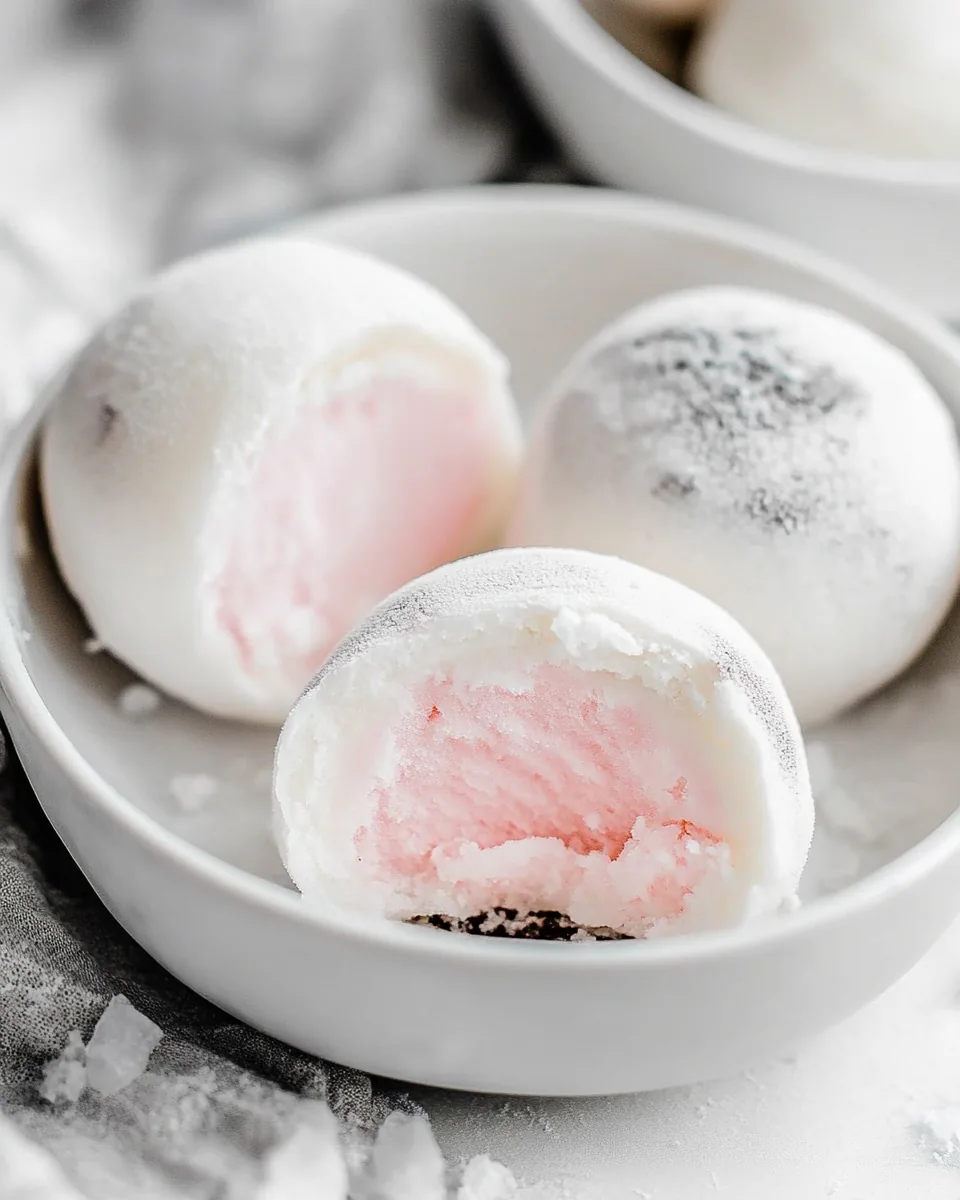
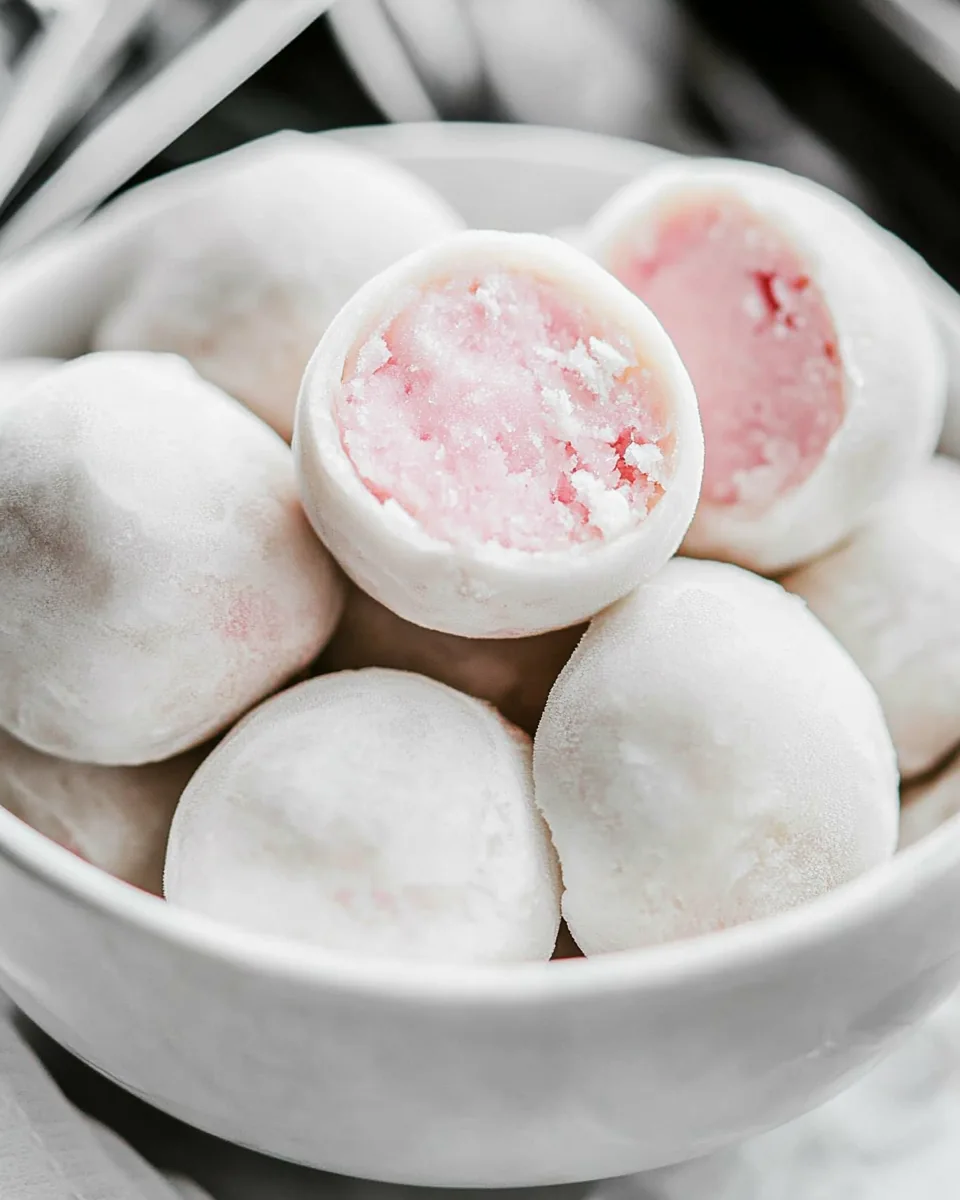
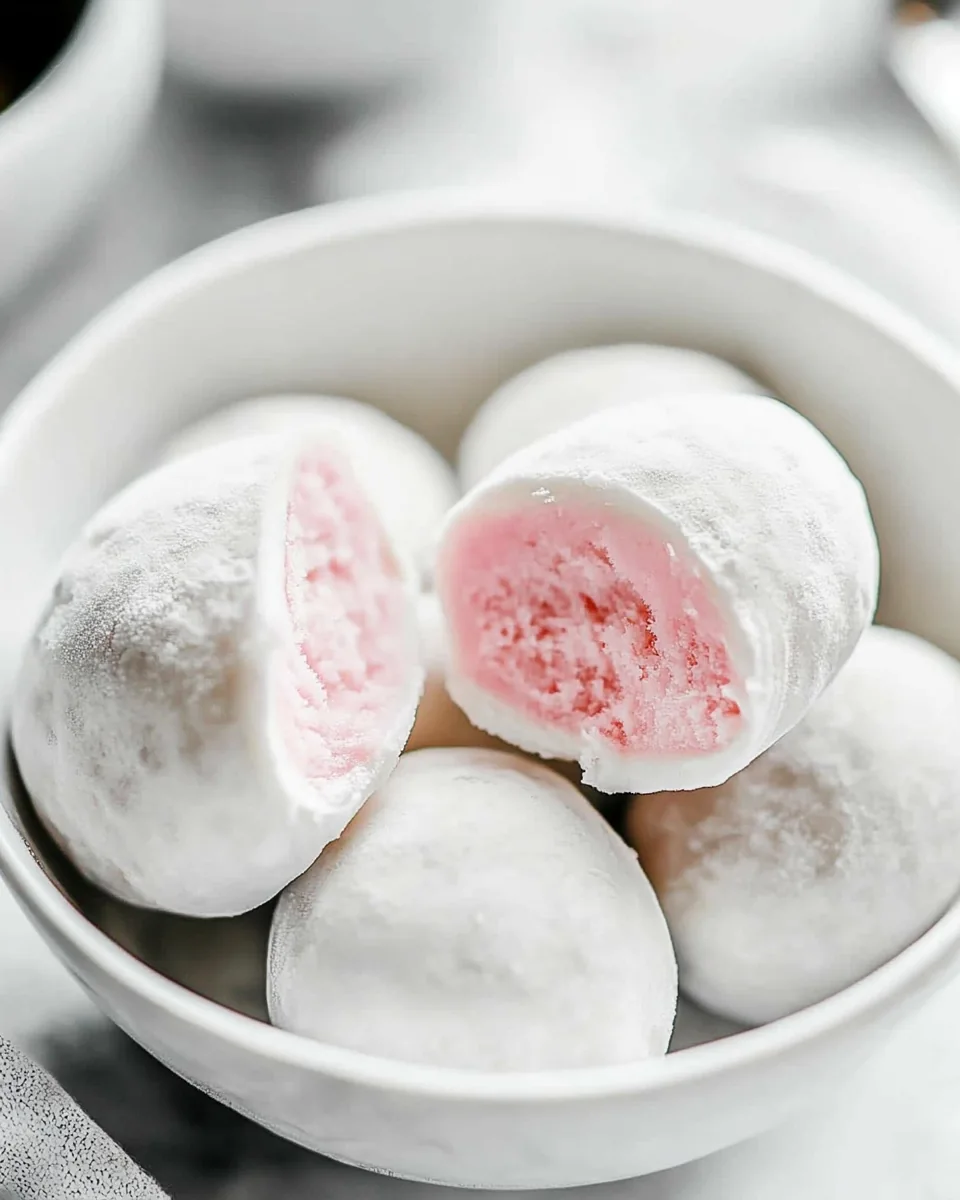
Chewy and Creamy Texture
The delightful chewy exterior paired with the creamy interior creates a textural contrast that is simply irresistible. It’s this unique combination that keeps people coming back for more, and it makes for a fantastic dessert to savor while enjoying good company.
Easy to Make at Home
Making Mochi Ice Cream at home is surprisingly easy! Most of the ingredients are simple pantry staples, and once you’ve got the hang of the technique, it becomes a breeze. You’ll find that the process is not only gratifying but also a great way to bond with friends and family.
Customizable for Everyone
From the ice cream flavors to the color of the dough, Mochi Ice Cream is a blank canvas waiting for your creativity. You can easily switch things up with fillings and colors, making it suitable for various dietary needs and preferences.
Fun to Assemble
Gathering friends and family to help make Mochi Ice Cream can turn into an enjoyable experience. Everyone can get involved in the rolling and wrapping process, making it a delightful activity that brings people together.
Ingredients Overview for Mochi Ice Cream
The ingredients in Mochi Ice Cream play a vital role in creating the perfect balance of flavors and textures. The key players here are glutinous rice flour and ice cream. The flour gives the mochi its signature chewy texture, while the ice cream provides a creamy, sweet filling. Together, they create an unforgettable dessert experience.
- 1 cup glutinous rice flour (Sweet rice flour, I recommend shiratamako or mochiko): This flour is essential for achieving that chewy texture that mochi is known for. It’s gluten-free, making it a great choice for those with gluten sensitivities.
- ¼ cup sugar: A touch of sweetness to balance the flavors, enhancing the overall taste of the mochi dough.
- 2 tablespoons powdered sugar: This is used to coat the mochi and prevent it from sticking together, providing a light sweetness.
- 1 cup water: Essential for hydrating the flour and creating the dough.
- food coloring, optional: Use food coloring to add a fun pop of color to your mochi dough, making it visually appealing.
- Cornstarch, or potato starch: For dusting and rolling, this prevents the mochi from sticking, allowing for easier handling.
- Ice cream, your favorite kind: The heart of this dessert! Choose any flavor you love to fill your mochi.
How to Cook Mochi Ice Cream
Creating Mochi Ice Cream at home is a fulfilling and fun process. Just gather your ingredients and follow along with these detailed steps. You’ll be enjoying this delightful treat in no time!
Freeze ice cream balls: Line a sheet pan with parchment paper. Working quickly, use a small ice cream scoop to scoop ice cream balls and place them onto the parchment paper. Be sure to pack the ice cream tightly as you scoop, leaving a flat edge on the ice cream so that it will sit flat on your cookie sheet. Freeze for 1 hour. This step is crucial; the ice cream needs to be firm so that it can be easily wrapped.
Make mochi: In a microwave-safe bowl, combine glutinous rice flour, sugar, and powdered sugar. Add water and stir well until smooth. Cover the bowl with plastic wrap and microwave the mochi dough for 1 minute. Wet your spatula to prevent sticking and use it to repeatedly fold the mixture. Cover and microwave again for 1 minute. Fold the dough once more and microwave for 30 more seconds. The mochi should look slightly shiny; if it doesn’t, microwave for an additional 30 seconds.
Roll dough: Place a piece of parchment paper on the counter and dust with a layer of cornstarch. Use a rubber spatula to scrape the mochi dough from the bowl and onto the parchment paper. Be careful, as it will be very hot! Dust the top of the dough ball with cornstarch and use a rolling pin to roll the mochi dough into a large rectangle. If the dough sticks while rolling, continue to dust the top with cornstarch. Roll the dough to a thickness of 1/4 inch. Place the parchment paper with the rolled-out dough onto a sheet pan and refrigerate for 30 minutes.
Prepare plastic wrap: Use scissors to cut large squares of plastic wrap (one for each ice cream ball). Each mochi will get wrapped in plastic wrap before freezing.
Fill the dough: Remove the dough from the fridge and use a round cookie or biscuit cutter (about 3 inches round) to cut circles in the dough. Your circles need to be big enough to pinch the dough around the ice cream. Pick up one circle of dough and gently brush off the cornstarch from the top. Working with one scoop of ice cream at a time, keeping the rest in the freezer to prevent melting, place one scoop in the center of the mochi and gently press the dough around the ice cream. Pinch the edges of the mochi to seal it. Place the mochi on a piece of plastic wrap, bringing the corners of the square to the center and twisting tightly at the top to seal it.
Freeze: Place the mochi back in the freezer with the twisted plastic wrap side down. Continue with the remaining dough and ice cream. Freeze the mochi ice cream for at least 1 hour before eating. Once frozen, store it, still wrapped in plastic wrap, in a freezer-safe bag or container in the freezer for up to 3 months. Allow the dough to slightly thaw before eating for the best texture.
Things Worth Knowing
- Check the consistency: The mochi dough should be thick enough to hold its shape but still pliable. If it’s too sticky, add a bit more cornstarch.
- Experiment with flavors: Don’t hesitate to try different ice cream flavors or mix-ins in the dough for a personalized touch.
- Storage tips: Store your Mochi Ice Cream in the freezer wrapped well to prevent freezer burn.
- Don’t rush the freezing: Ensure that the ice cream and mochi are completely frozen before enjoying, as this will enhance the texture.
Tips for Success
Making Mochi Ice Cream is all about having fun and being creative. Here are some valuable tips to help ensure your homemade mochi is a success!
- Storage: After wrapping your Mochi Ice Cream, place them in an airtight container. This will help maintain freshness and prevent freezer burn.
- Freezing: Allow the Mochi Ice Cream to freeze for at least 1 hour before serving to ensure the best texture.
- Pairing: Serve your Mochi Ice Cream with fresh fruit, drizzles of chocolate sauce, or a side of sweet red bean paste for a delightful contrast.
- Variation: Feel free to experiment with filling flavors, such as fruit sorbets or even yogurt, to cater to different tastes.
- Dusting: Use plenty of cornstarch when working with the mochi to prevent stickiness and to make handling easier.
- Practice makes perfect: Your first batch might not be perfect, but keep trying! Each attempt will enhance your skills.
Serving Suggestions
When it comes to serving Mochi Ice Cream, there are so many delightful ways to present this treat. Here are some ideas:
- As a dessert platter: Arrange your Mochi Ice Cream on a colorful platter alongside fresh fruits like strawberries, mangoes, and raspberries for a vibrant display.
- For special occasions: Elevate your serving by pairing Mochi Ice Cream with festive decorations, like edible flowers or chocolate shavings, perfect for birthdays or celebrations.
- With sauces: Drizzle with chocolate or caramel sauce for an indulgent touch that will appeal to chocolate lovers.
- For a casual gathering: Serve your Mochi Ice Cream on individual plates for a fun and personal twist. Each guest can choose their favorite flavors.
- Seasonal pairings: In summer, pair with tropical fruits like pineapple or coconut; in winter, serve with warm desserts for a cozy contrast.
- Cold beverages: Complement your Mochi Ice Cream with chilled green tea or iced coffee for a refreshing experience.
FAQ
Conclusion
Mochi Ice Cream is a delightful fusion of chewy and creamy that makes it a standout dessert for any occasion. Its versatility allows for endless flavor combinations, ensuring that there’s something for everyone to enjoy. I encourage you to try making it at home – not only will you satisfy your sweet tooth, but you’ll also create memorable moments in the kitchen. So, gather your ingredients, roll up your sleeves, and enjoy the rewarding experience of making this fantastic treat!
Mochi Ice Cream
Ingredients
Equipment
Method
- Freeze ice cream balls: Line a sheet pan with parchment paper. Working quickly, use a small ice cream scoop to scoop ice cream balls and place them onto the parchment paper. Be sure to pack the ice cream tightly as you scoop, leaving a flat edge on the ice cream so that it will sit flat on your cookie sheet. Freeze for 1 hour.
- Make mochi: In a microwave-safe bowl, combine glutinous rice flour, sugar, and powdered sugar. Add water and stir well until smooth. Cover the bowl with plastic wrap and microwave the mochi dough for 1 minute. Wet your spatula to prevent sticking and use it to repeatedly fold the mixture. Cover and microwave again for 1 minute. Fold the dough once more and microwave for 30 more seconds. The mochi should look slightly shiny; if it doesn't, microwave for an additional 30 seconds.
- Roll dough: Place a piece of parchment paper on the counter and dust with a layer of cornstarch. Use a rubber spatula to scrape the mochi dough from the bowl and onto the parchment paper. Be careful, as it will be very hot! Dust the top of the dough ball with cornstarch and use a rolling pin to roll the mochi dough into a large rectangle. If the dough sticks while rolling, continue to dust the top with cornstarch. Roll the dough to a thickness of 1/4 inch. Place the parchment paper with the rolled-out dough onto a sheet pan and refrigerate for 30 minutes.
- Prepare plastic wrap: Use scissors to cut large squares of plastic wrap (one for each ice cream ball). Each mochi will get wrapped in plastic wrap before freezing.
- Fill the dough: Remove the dough from the fridge and use a round cookie or biscuit cutter (about 3 inches round) to cut circles in the dough. Your circles need to be big enough to pinch the dough around the ice cream. Pick up one circle of dough and gently brush off the cornstarch from the top. Working with one scoop of ice cream at a time, keeping the rest in the freezer to prevent melting, place one scoop in the center of the mochi and gently press the dough around the ice cream. Pinch the edges of the mochi to seal it. Place the mochi on a piece of plastic wrap, bringing the corners of the square to the center and twisting tightly at the top to seal it.
- Freeze: Place the mochi back in the freezer with the twisted plastic wrap side down. Continue with the remaining dough and ice cream. Freeze the mochi ice cream for at least 1 hour before eating. Once frozen, store it, still wrapped in plastic wrap, in a freezer-safe bag or container in the freezer for up to 3 months. Allow the dough to slightly thaw before eating for the best texture.