Dark Chocolate Cheesecake
There’s something truly special about a rich dessert that brings people together, and for me, that dessert is Dark Chocolate Cheesecake. I remember the first time I made it for a family gathering; the anticipation in the air was palpable. As I pulled the cheesecake from the oven, the aroma of melted chocolate filled the kitchen, leading everyone to gather around, eager to taste this decadent treat. It’s not just a dessert; it’s an experience, a moment shared with loved ones, and a celebration of flavors that dance on the palate.
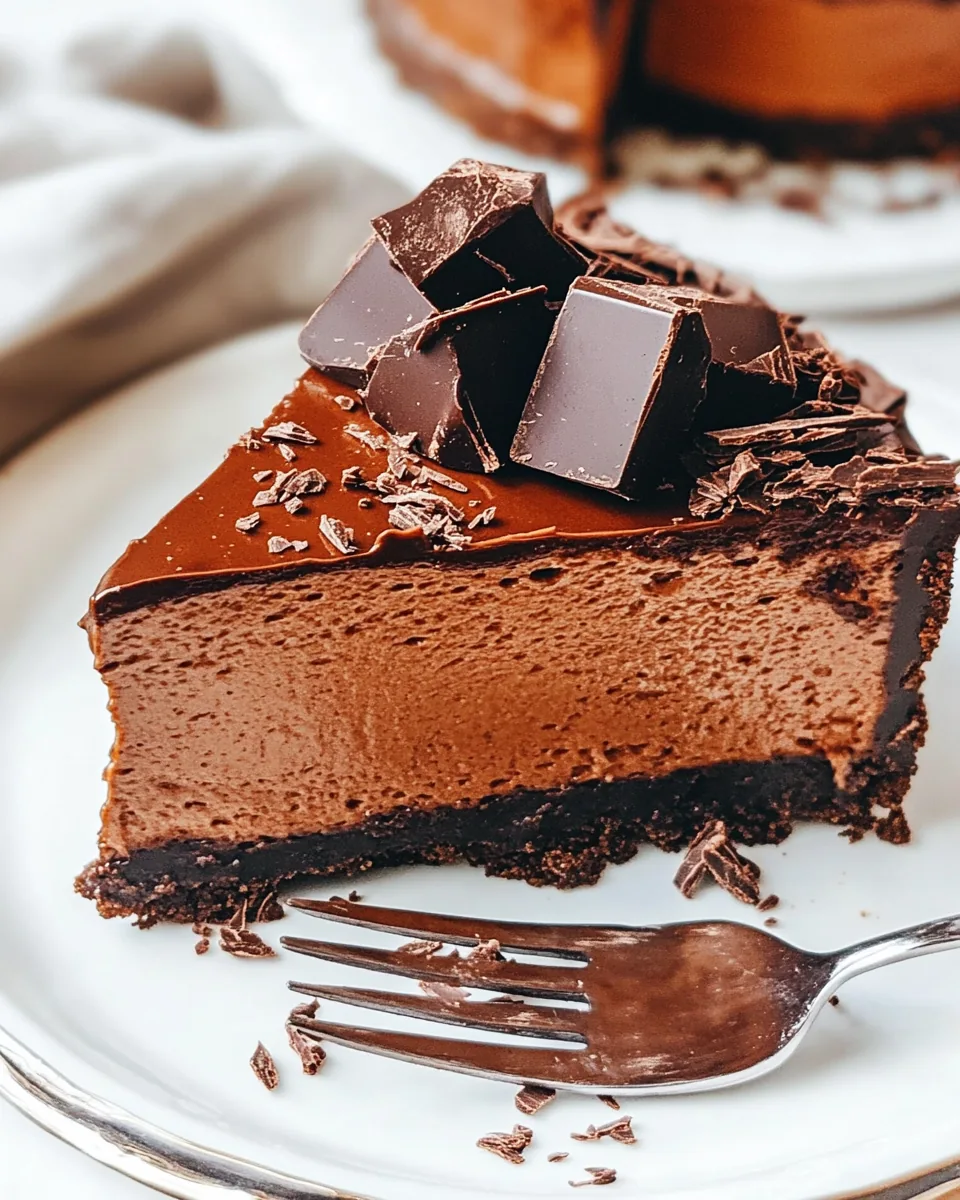
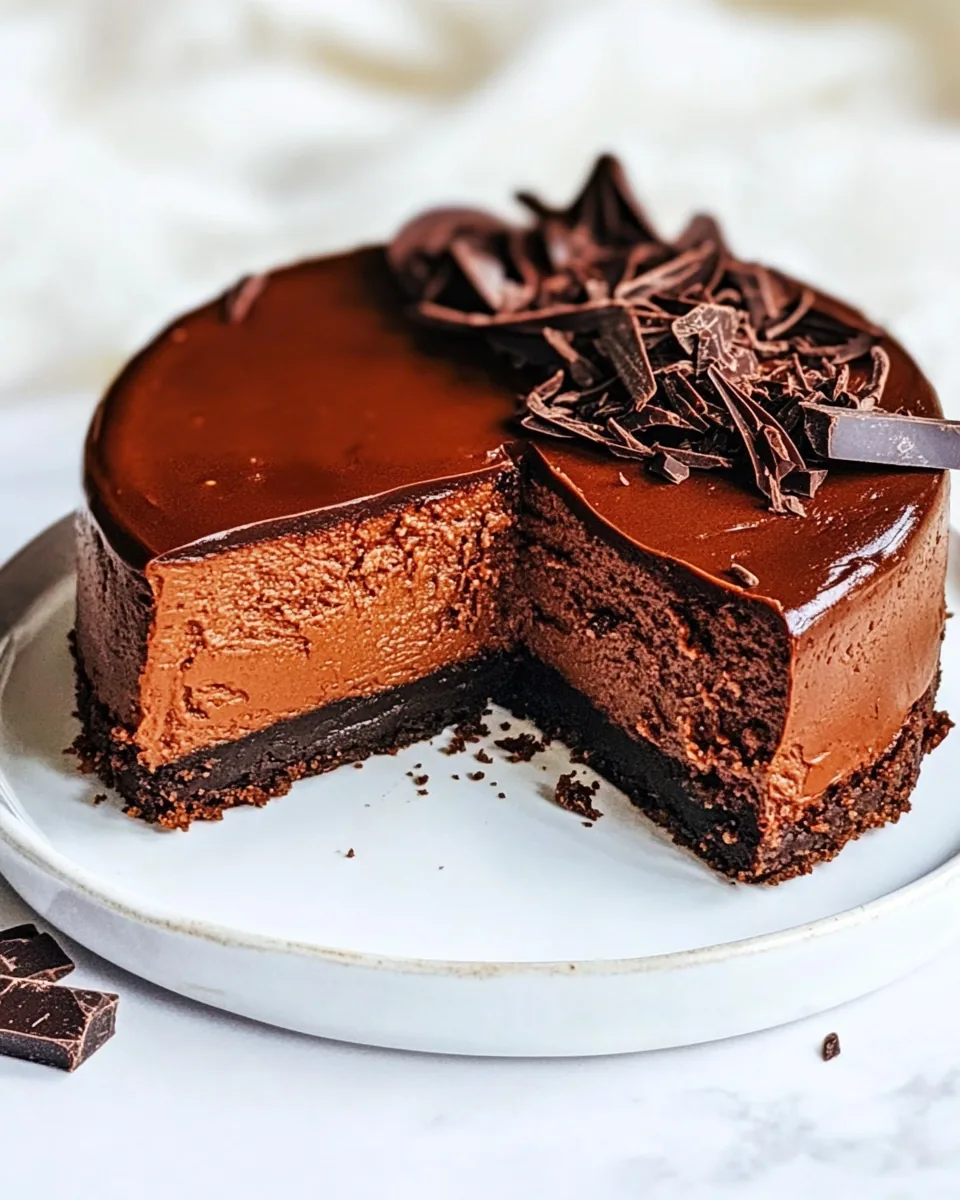
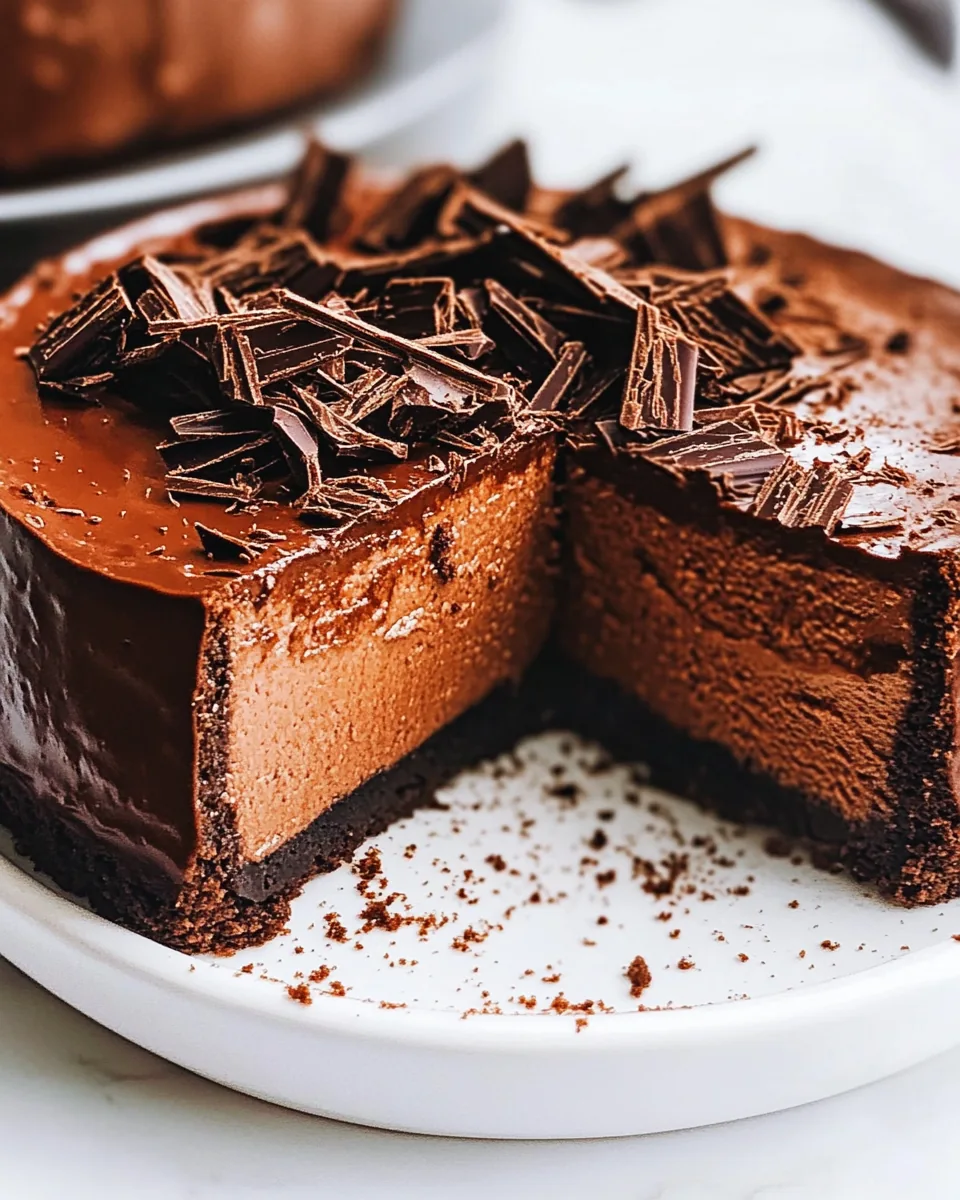
Every layer of this cheesecake tells a story. From the buttery crust to the smooth chocolate filling and the silky ganache on top, each bite is a delightful adventure. I love how versatile it is, perfect for birthdays, holidays, or simply as a special treat on a regular day. The smooth texture and intense chocolate flavor make it a standout dessert that leaves everyone craving more.
As you prepare to create your own masterpiece, let me share a little secret: the quality of the chocolate you use makes a huge difference. I always opt for high-quality chocolate, and in this recipe, I like to use Ghirardelli. It elevates the Dark Chocolate Cheesecake to a whole new level. You’ll find that friends and family will request this cheesecake time and time again, making it a cherished tradition in your household.
Whether you’re a seasoned baker or just getting started, this recipe is approachable and rewarding. So, let’s dive into the world of chocolate goodness and create a stunning Dark Chocolate Cheesecake that will impress anyone who tries it!
Recipe Snapshot
3 hr 10 mins
60 mins
130 mins
Hard
450 kcal
8 g
Gluten-Free, Low FODMAP
32 g
springform pan
What Sets This Dark Chocolate Cheesecake Apart
Rich and Decadent Flavor
One of the main reasons I adore this Dark Chocolate Cheesecake is its rich and decadent flavor. Each bite melts in your mouth, offering a perfect balance of sweetness and bitterness from the chocolate. It’s a dessert that satisfies chocolate cravings like no other.
Perfect for Any Occasion
This cheesecake isn’t just for special occasions; it’s perfect for any gathering! Whether it’s a family dinner, a potluck, or just a cozy night in, serving this dessert makes everything feel a little more special.
Layered Delight
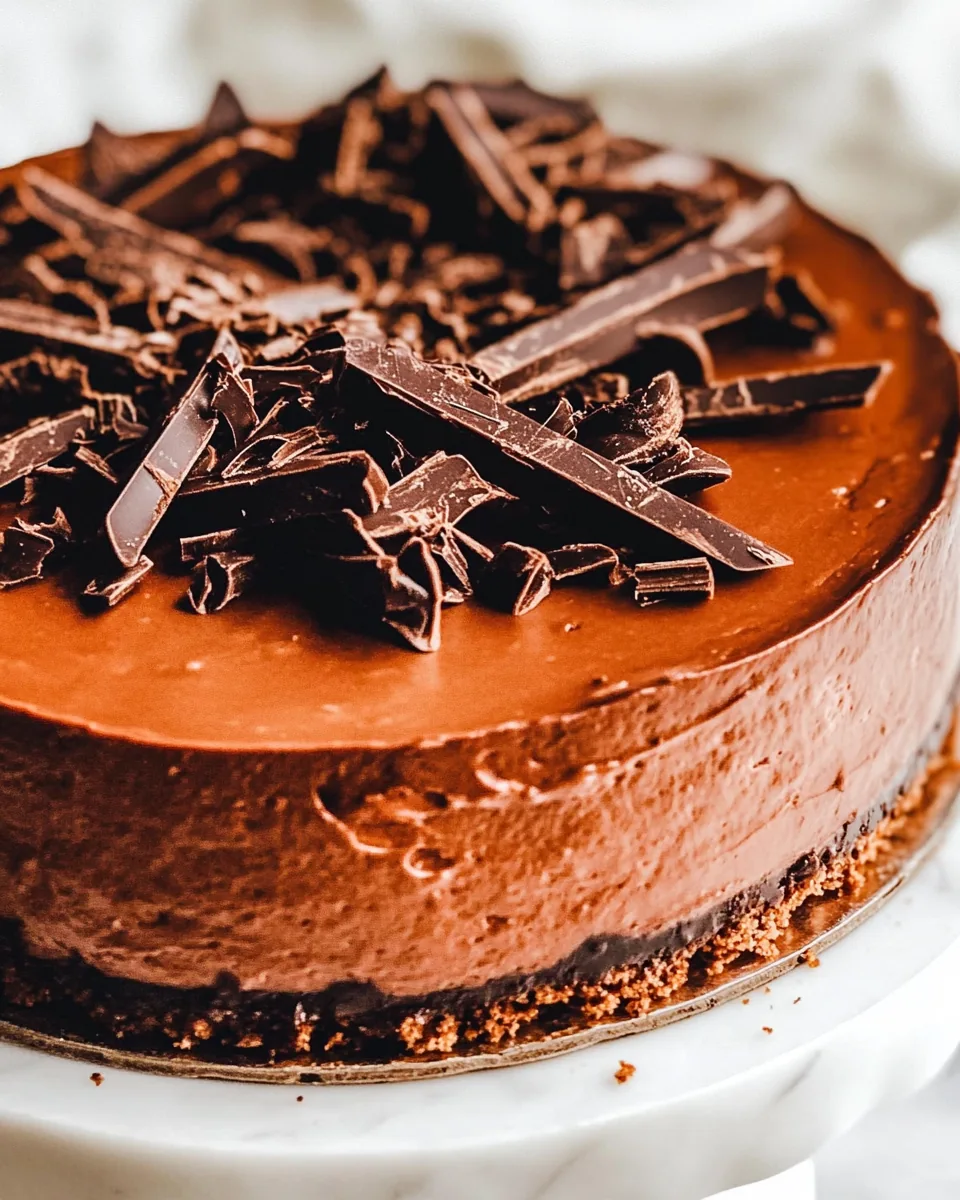
The multi-layered structure of this cheesecake adds to its appeal. The blend of the crumbly chocolate base, the creamy filling, and the glossy ganache creates a visually stunning dessert that leaves your guests in awe.
Customizable Toppings
Another reason I love this recipe is how you can customize the toppings! From fresh berries to chocolate shavings or even a sprinkle of sea salt, you can personalize your Dark Chocolate Cheesecake to your liking.
Easy to Make
Despite its impressive appearance, this cheesecake is surprisingly easy to make. With step-by-step instructions, you’ll be guided through the process, making it accessible to bakers of all skill levels.
Make-Ahead Option
This cheesecake can be made a day or two in advance, making it a great dessert for busy weeks. Just pop it in the fridge, and it’ll be ready to serve when you are, allowing you to focus on enjoying the moment.
Everything You Need for Dark Chocolate Cheesecake
When it comes to making a delightful Dark Chocolate Cheesecake, the ingredients are key. Each component plays a vital role in building the rich and creamy texture, as well as the deep chocolate flavor. You’ll find that quality ingredients not only enhance the taste but also elevate the entire dessert experience. Here’s what you’ll need:
- 4 oz bittersweet chocolate chips – Used for that rich chocolate flavor.
- 1/2 cup butter – Adds a buttery richness to the crust.
- 3/4 cup granulated sugar – Sweetens the cheesecake beautifully.
- 3 eggs – Essential for binding the cheesecake.
- 1/2 cup unsweetened cocoa powder – Intensifies the chocolate flavor.
- 1 teaspoon vanilla extract – Enhances the overall flavor profile.
- Pinch of salt – Balances the sweetness.
- 1 1/2 oz dark chocolate chips – For additional richness.
- 32 oz cream cheese – The creamy base that holds it all together.
- 1 cup granulated sugar – Adds sweetness to the filling.
- 1/4 cup unsweetened cocoa powder – For a deeper chocolate color and flavor.
- 1 teaspoon vanilla extract – A flavor enhancer.
- 1 cup bittersweet chocolate chips – Adds richness to the filling.
- 1 cup dark chocolate chips – For a more intense chocolate taste.
- 1/4 cup espresso – Enhances the chocolate flavor.
- 1/4 cup heavy cream – Adds creaminess to the filling.
- 4 large eggs – Provides structure to the cheesecake.
- 10 oz semi-sweet chocolate chips – For the topping.
- 8 oz cream cheese – Adds creaminess to the mousse topping.
- 1 cup heavy cream – Whipped to add lightness.
- 1 tablespoon powdered sugar – To sweeten the whipped cream.
- 1/4 cup unsweetened cocoa powder – Used in the whipped cream.
- 1 teaspoon vanilla extract – Adds flavor to the whipped cream.
- 8 oz semi-sweet chocolate chips – For the ganache layer.
- 3/4 cup heavy cream – Used in the ganache.
- 3.5 oz dark chocolate bar – For decorative shavings on top.
Step by Step Instructions for Dark Chocolate Cheesecake
Ready to embark on your cheesecake journey? Creating this Dark Chocolate Cheesecake is an exciting process that yields delicious results. Follow these detailed instructions to ensure every step is executed perfectly.
Start by preheating your oven to 375° F. Grease a 9-inch springform pan with non-stick cooking spray and set it aside. Lining the bottom with parchment paper is a great idea for easy removal later.
In a microwave-safe bowl, melt the butter and bittersweet chocolate chips together. Stir every 20 seconds until completely melted and smooth. This creates a rich, luscious base for your crust.
Once melted, remove the bowl from the microwave and add in the granulated sugar, eggs (one at a time), and vanilla extract. Mix until everything is well combined and smooth.
Next, sift in the unsweetened cocoa powder and gently stir in a pinch of salt. This will enrich the chocolate flavor significantly.
Now, fold in the dark chocolate chips just until combined. You don’t want to overmix at this stage.
Pour the cake batter into the prepared pan and bake for 20 to 25 minutes, or until just set. The middle should still be slightly jiggly. Once baked, remove from the oven and allow to cool completely.
While the cake cools, reduce the oven temperature to 325° F. In a small bowl, combine the bittersweet chocolate and dark chocolate chips, and melt them in the microwave the same way.
In a large mixing bowl or stand mixer, blend the cream cheese for about 30 seconds until smooth. Add in granulated sugar, vanilla extract, and sifted unsweetened cocoa powder. Mix until fully incorporated.
Stir in the melted chocolate mixture, espresso, and heavy cream. Mix until you achieve a smooth consistency, scraping down the sides of the bowl to ensure no lumps remain.
In a separate bowl, crack the eggs and beat well. With the mixer on low, slowly add the eggs to the cream cheese mixture until combined. Be careful not to overmix.
Tap the bowl on the counter for about 30 to 45 seconds to release air bubbles. You should see them popping on the surface. This step is crucial for a smooth cheesecake.
Pour the filling over the cooled cake layer in the springform pan. Bake for 30 minutes at 325° F, then reduce the temperature to 250° F and continue cooking for another 45 minutes.
After the baking time, turn off the oven and leave the cheesecake inside for an additional 30 minutes for carryover cooking. This will prevent cracking.
Crack the oven door and let the cheesecake cool slowly for one hour before removing it. Once slightly warm, transfer the cheesecake to the counter to reach room temperature for about 3 to 4 hours.
In the meantime, prepare the mousse layer. Melt the semi-sweet chocolate chips in a microwave-safe bowl, stirring every 20 seconds until smooth. Set aside to cool.
In another bowl, whip the cream cheese until smooth. Add the melted chocolate and mix until well combined. Set this aside.
In a chilled bowl, combine heavy whipping cream, powdered sugar, and vanilla extract, then sift in the cocoa powder. Whip until stiff peaks form. This will add lightness to your mousse.
Gently fold the chocolate whipped cream mixture into the cream cheese mixture in increments, ensuring there are no streaks remaining.
Spread the chocolate mousse over the chilled cheesecake and smooth it out evenly. Cover loosely with plastic wrap and refrigerate for at least 1 and a half hours.
For the ganache, heat the heavy cream until very hot and then add the chocolate chips, letting them sit for 5 minutes before stirring until smooth.
Pour the ganache over the chilled cheesecake, allowing it to drip over the edges naturally. If needed, smooth it out with an offset spatula.
Return the cheesecake to the refrigerator uncovered while you prepare the chocolate shavings for decoration. Use a knife or vegetable peeler to create chocolate curls from the dark chocolate bar.
Serve immediately or cover and refrigerate until you’re ready to enjoy this rich Dark Chocolate Cheesecake. Pair with homemade whipped cream if desired!
Things Worth Knowing
- Room Temperature Ingredients: Ensure your cream cheese, eggs, and heavy cream are at room temperature for a smooth batter.
- Don’t Overmix: To prevent cracks, mix just until combined, especially when adding the eggs.
- Cooling Techniques: Allowing the cheesecake to cool gradually in the oven helps prevent cracks from forming.
- Chilling Time: Be patient! Allow the cheesecake to chill fully in the fridge for the best texture and flavor.
- Chocolate Quality: Use high-quality chocolate for the best flavor; Ghirardelli is a great choice.
Recipe Tips about Dark Chocolate Cheesecake
Every great recipe comes with its own set of tips to ensure success. Here are some of my favorites for making the perfect Dark Chocolate Cheesecake.
- Storage: Store any leftovers in an airtight container in the fridge for up to five days, ensuring the cheesecake stays fresh and delicious.
- Freezing: You can freeze this cheesecake for up to three months. Just make sure to wrap it tightly in plastic wrap and foil.
- Pairing: Serve with fresh berries or a drizzle of caramel sauce for an added flavor profile.
- Serving Temperature: For the best flavor, serve the cheesecake at room temperature.
- Chocolate Curls: Create stunning chocolate curls by melting chocolate and spreading it thinly on a baking sheet before cooling it and curling it.
- Layering: Allow each layer to cool before adding the next to ensure they set properly.
- Espresso: Don’t skip the espresso; it enhances the chocolate flavor tremendously!
Perfect Matches for Dark Chocolate Cheesecake
When it comes to serving your Dark Chocolate Cheesecake, there are countless delightful pairings that can elevate the experience. Here are some ideas:
- Fresh Berries: Raspberries or strawberries add a refreshing contrast to the rich cheesecake.
- Whipped Cream: Serve with a dollop of freshly whipped cream for added sweetness and creaminess.
- Gourmet Coffee: Pair with a cup of rich coffee or espresso to complement the chocolate flavors.
- Chocolate Sauces: Drizzle chocolate or caramel sauce over the top for a luxurious touch.
- Seasonal Occasions: This cheesecake is perfect for birthdays, anniversaries, or holiday gatherings. It’s a dessert that creates lasting memories.
- Chilled Cocktails: Pair with a rich, creamy cocktail for an indulgent dessert experience.
- Nut Crunch: A sprinkle of chopped nuts on top adds a delightful crunch that contrasts beautifully with the creamy cheesecake.
FAQ
Conclusion
The Dark Chocolate Cheesecake is a true crowd-pleaser, combining rich flavors and creamy textures that make it irresistible. It’s the perfect dessert for any occasion, whether it’s a birthday celebration or a cozy family night. I wholeheartedly encourage you to try making this cheesecake; it’s a rewarding experience that will leave you basking in compliments!
Dark Chocolate Cheesecake
Ingredients
Equipment
Method
- Start by preheating your oven to 375° F. Grease a 9-inch springform pan with non-stick cooking spray and set it aside. Lining the bottom with parchment paper is a great idea for easy removal later.
- In a microwave-safe bowl, melt the butter and bittersweet chocolate chips together. Stir every 20 seconds until completely melted and smooth. This creates a rich, luscious base for your crust.
- Once melted, remove the bowl from the microwave and add in the granulated sugar, eggs (one at a time), and vanilla extract. Mix until everything is well combined and smooth.
- Next, sift in the unsweetened cocoa powder and gently stir in a pinch of salt. This will enrich the chocolate flavor significantly.
- Now, fold in the dark chocolate chips just until combined. You don’t want to overmix at this stage.
- Pour the cake batter into the prepared pan and bake for 20 to 25 minutes, or until just set. The middle should still be slightly jiggly. Once baked, remove from the oven and allow to cool completely.
- While the cake cools, reduce the oven temperature to 325° F. In a small bowl, combine the bittersweet chocolate and dark chocolate chips, and melt them in the microwave the same way.
- In a large mixing bowl or stand mixer, blend the cream cheese for about 30 seconds until smooth. Add in granulated sugar, vanilla extract, and sifted unsweetened cocoa powder. Mix until fully incorporated.
- Stir in the melted chocolate mixture, espresso, and heavy cream. Mix until you achieve a smooth consistency, scraping down the sides of the bowl to ensure no lumps remain.
- In a separate bowl, crack the eggs and beat well. With the mixer on low, slowly add the eggs to the cream cheese mixture until combined. Be careful not to overmix.
- Tap the bowl on the counter for about 30 to 45 seconds to release air bubbles. You should see them popping on the surface. This step is crucial for a smooth cheesecake.
- Pour the filling over the cooled cake layer in the springform pan. Bake for 30 minutes at 325° F, then reduce the temperature to 250° F and continue cooking for another 45 minutes.
- After the baking time, turn off the oven and leave the cheesecake inside for an additional 30 minutes for carryover cooking. This will prevent cracking.
- Crack the oven door and let the cheesecake cool slowly for one hour before removing it. Once slightly warm, transfer the cheesecake to the counter to reach room temperature for about 3 to 4 hours.
- In the meantime, prepare the mousse layer. Melt the semi-sweet chocolate chips in a microwave-safe bowl, stirring every 20 seconds until smooth. Set aside to cool.
- In another bowl, whip the cream cheese until smooth. Add the melted chocolate and mix until well combined. Set this aside.
- In a chilled bowl, combine heavy whipping cream, powdered sugar, and vanilla extract, then sift in the cocoa powder. Whip until stiff peaks form. This will add lightness to your mousse.
- Gently fold the chocolate whipped cream mixture into the cream cheese mixture in increments, ensuring there are no streaks remaining.
- Spread the chocolate mousse over the chilled cheesecake and smooth it out evenly. Cover loosely with plastic wrap and refrigerate for at least 1 and a half hours.
- For the ganache, heat the heavy cream until very hot and then add the chocolate chips, letting them sit for 5 minutes before stirring until smooth.
- Pour the ganache over the chilled cheesecake, allowing it to drip over the edges naturally. If needed, smooth it out with an offset spatula.
- Return the cheesecake to the refrigerator uncovered while you prepare the chocolate shavings for decoration. Use a knife or vegetable peeler to create chocolate curls from the dark chocolate bar.
- Serve immediately or cover and refrigerate until you’re ready to enjoy this rich Dark Chocolate Cheesecake. Pair with homemade whipped cream if desired!
Notes
- Tip: Alternatively, if you want to get really fancy you can make chocolate “curls” by melting the chocolate bar in the microwave. Then, spread chocolate evenly onto the back of a clean cookie sheet (about 1/8″ thick). Place in the refrigerator for about 10-15 minutes. Remove from refrigerator. The chocolate should firm up but not become rock solid. You want it to be pliable enough to curl, but not so soft that it just melts when you try to handle it. Using a metal spatula or bench scraper, scrape the chocolate from one end the other to create a “roll”.