Tunnel of Fudge
As a child, one of my favorite memories was from the cozy afternoons spent in my grandmother’s kitchen, the aroma of freshly baked treats wafting through the air. It was during these cherished moments that I discovered the magic of the Tunnel of Fudge. This decadent chocolate cake, with its unique fudge-filled center, became a staple at family gatherings and special occasions. The first slice revealed a gooey, rich interior that made everyone’s eyes light up. Each bite was a delightful experience, filled with the warmth of love and tradition. Over the years, I’ve honed this recipe, ensuring it not only captures the essence of my grandmother’s creation, but also speaks to modern palates. Whether served at a festive celebration or simply enjoyed with a cup of coffee, the Tunnel of Fudge brings joy and nostalgia with every forkful.
Recipe Snapshot
60 mins
0 mins
0 mins
Hard
450 kcal
6 g
Gluten-Free, Low FODMAP
24 g
Oven, Mixing Bowl, Baking Sheet, Chef’s Knife, Food Processor, Frying Pan, Wooden Spoon, Whisk
The Beauty of This Tunnel of Fudge
Rich Chocolate Flavor
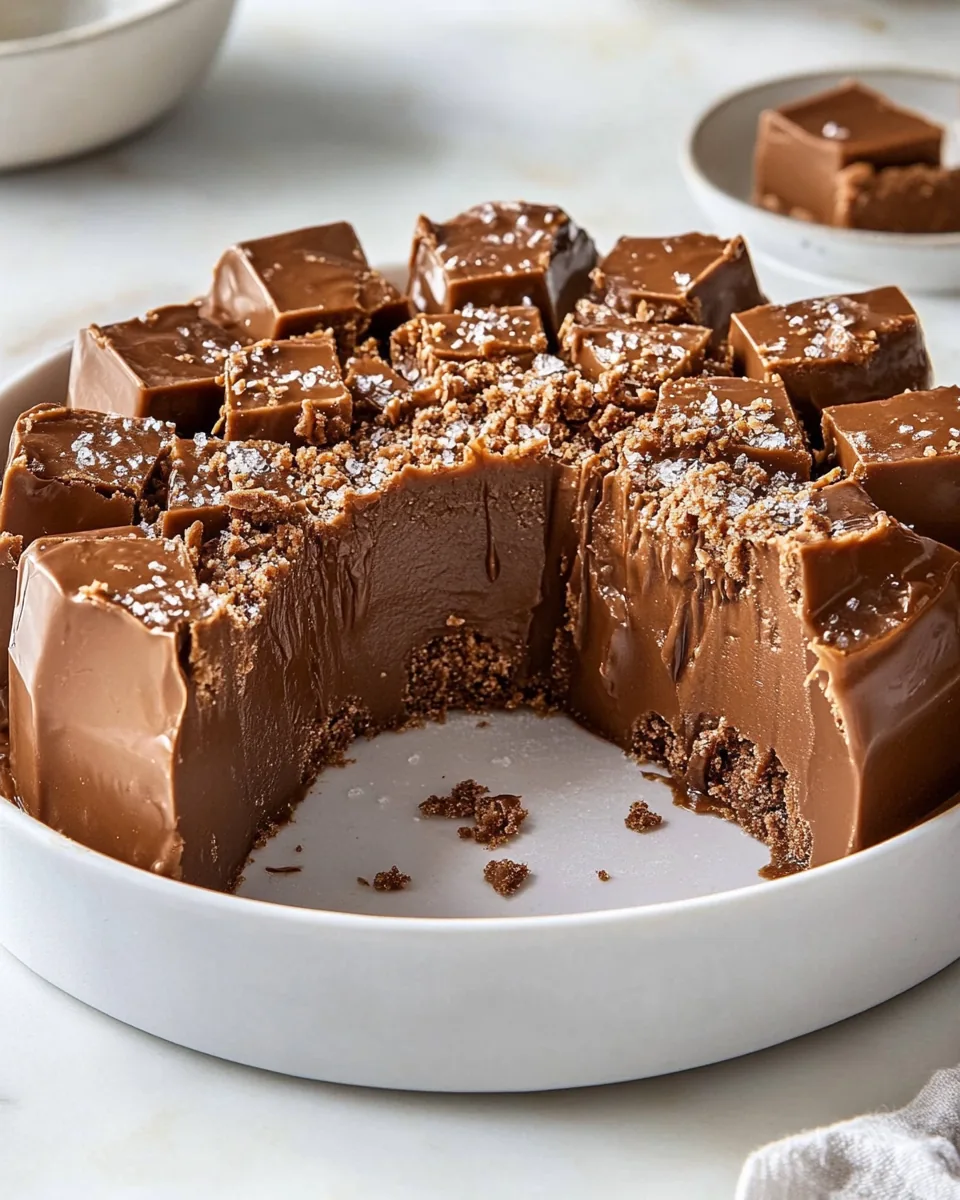
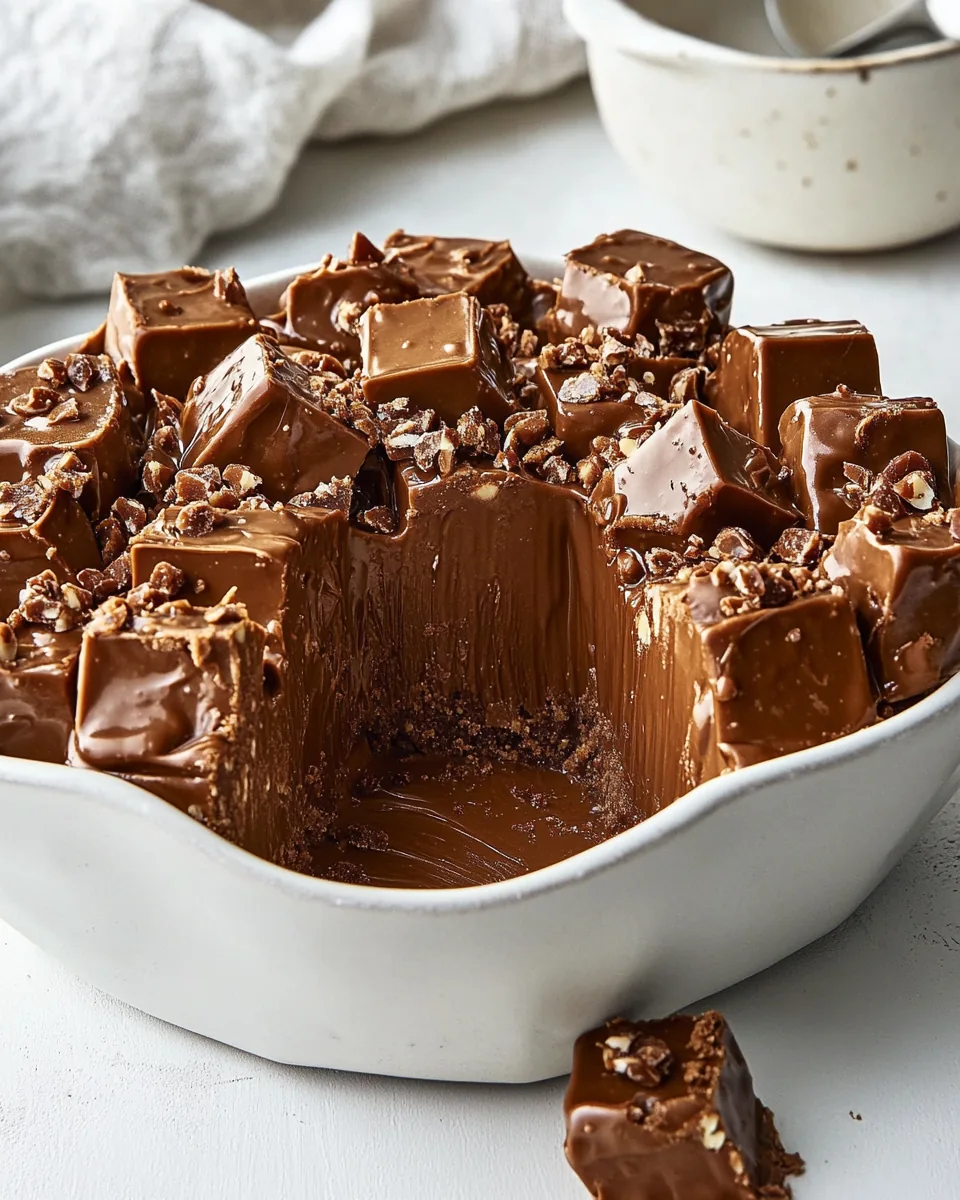
The Tunnel of Fudge is a chocolate lover’s dream. With layers of deep, rich chocolate, every bite is a burst of flavor. Its decadent taste is balanced perfectly by the fudge center, creating a symphony of texture and taste.
Memorable Presentation
This cake isn’t just delicious; it’s also visually stunning. The glossy top and the reveal of the fudge center create a striking presentation that’s sure to impress your guests. It’s the kind of cake that sparks conversations and makes memories.
Perfect for Gatherings
Whether it’s a birthday, holiday, or just a weekend family get-together, the Tunnel of Fudge is the perfect dessert. Its unique flavor and texture make it a standout dish that everyone will remember long after the last slice is gone.
Easy to Make
You don’t need to be a baking expert to create this masterpiece. The Tunnel of Fudge is surprisingly simple to prepare, with straightforward steps that yield impressive results. It’s perfect for novice bakers and seasoned pros alike.
Versatile Pairings
This cake pairs wonderfully with a variety of accompaniments. Whether you choose whipped cream, a scoop of ice cream, or fresh berries, the options are endless and enhance the overall experience of this delightful dessert.
Ingredients to Make Tunnel of Fudge

Every ingredient in the Tunnel of Fudge plays a vital role in creating its rich flavor and fudgy texture. From the lusciousness of butter to the deep notes of cocoa powder, each component enhances the other. Together, they create a harmonious blend that results in a cake that’s both comforting and indulgent.
- ¾ cup refined coconut oil, room temperature: This adds moisture and a hint of coconut flavor.
- 1 cup unsalted butter, softened: A key ingredient for richness and creaminess.
- ¾ cup granulated sugar: Balances the flavors with sweetness.
- ¾ cup light brown sugar: Adds depth and a hint of caramel flavor.
- 6 large eggs, room temperature: Provides structure and richness.
- 1½ teaspoons vanilla bean paste: Infuses a warm, aromatic flavor.
- 1¾ cups confectioners’ sugar: Contributes to the cake’s sweet finish.
- 2¼ cups all-purpose flour: Forms the base of the cake.
- 1 cup sifted Dutch process cocoa powder: Gives the cake its rich chocolate color and flavor.
- 2 teaspoons instant espresso powder: Enhances the chocolate flavor.
- 1½ teaspoons kosher salt: Balances sweetness and enhances flavor.
- 2 cups finely chopped toasted pecans: Adds crunch and nutty flavor.
- Dulce de Leche Glaze (recipe follows): Drizzled on top for added sweetness and richness.
- Garnish: chopped toasted pecans for a crunchy topping.
Recipe Steps for Tunnel of Fudge
Making the Tunnel of Fudge is a journey filled with anticipation and delightful aromas. From the moment you preheat your oven to when you take that first bite, this recipe is a true labor of love. Let’s walk through the steps together to create this delicious treat.
- Preheat your oven to 350°F (180°C). This step is crucial as it ensures even baking right from the start, creating that perfect texture.
- In the bowl of a stand mixer, stir coconut oil by hand until smooth and softened. This step lays the foundation for a soft and moist cake.
- Add butter, granulated sugar, and brown sugar; using the paddle attachment, beat at medium-low speed just until combined. This should take just a minute or two, ensuring the sugars dissolve into the oils.
- Increase mixer speed to medium, and beat until the mixture is fluffy, about 3 minutes, stopping to scrape the sides of the bowl. You should see a beautiful light color change as air incorporates into the batter.
- Add the eggs, one at a time, beating well after each addition. This helps create a fluffy texture, allowing each egg to fully blend before adding the next.
- Beat in the vanilla bean paste. The aroma will start to fill your kitchen, and you’ll know you’re on the right track.
- With the mixer on medium-low speed, gradually beat in the confectioners’ sugar. You may want to start slowly to avoid a sugar cloud; this step sweetens up your batter.
- In a medium bowl, whisk together the flour, cocoa powder, espresso powder, and salt. This creates a dry mix that you’ll fold into the wet ingredients.
- With the mixer on low speed, gradually add the flour mixture and finely chopped pecans to the butter mixture, beating until almost combined. This prevents overmixing, which helps maintain the cake’s tenderness.
- Fold by hand just until combined. A spatula works wonders to ensure you don’t overwork the batter.
- Spray a 15-cup Bundt pan with baking spray with flour. This is key to ensure your cake releases beautifully.
- Spread the batter into the prepared pan. Make sure it’s evenly distributed; this helps the cake rise uniformly.
- Firmly tap the pan on a kitchen towel-lined counter 10 times. This step releases any air bubbles trapped in the batter and helps avoid cracks.
- Bake until the top is shiny and set and an instant-read thermometer inserted near the center registers at least 165°F (74°C), approximately 40 to 45 minutes. The smell will be heavenly.
- Let cool in the pan on a wire rack for 30 minutes. This helps the cake firm up before inversion.
- Using your fingertips, gently press down on the center and edges of the cake. This step minimizes gaps in the center.
- Let cool in the pan on a wire rack for 1½ hours. Patience pays off here; letting it cool properly makes for the best texture.
- Invert the cake onto a wire rack and let cool completely. The anticipation builds as you wait for the final reveal!
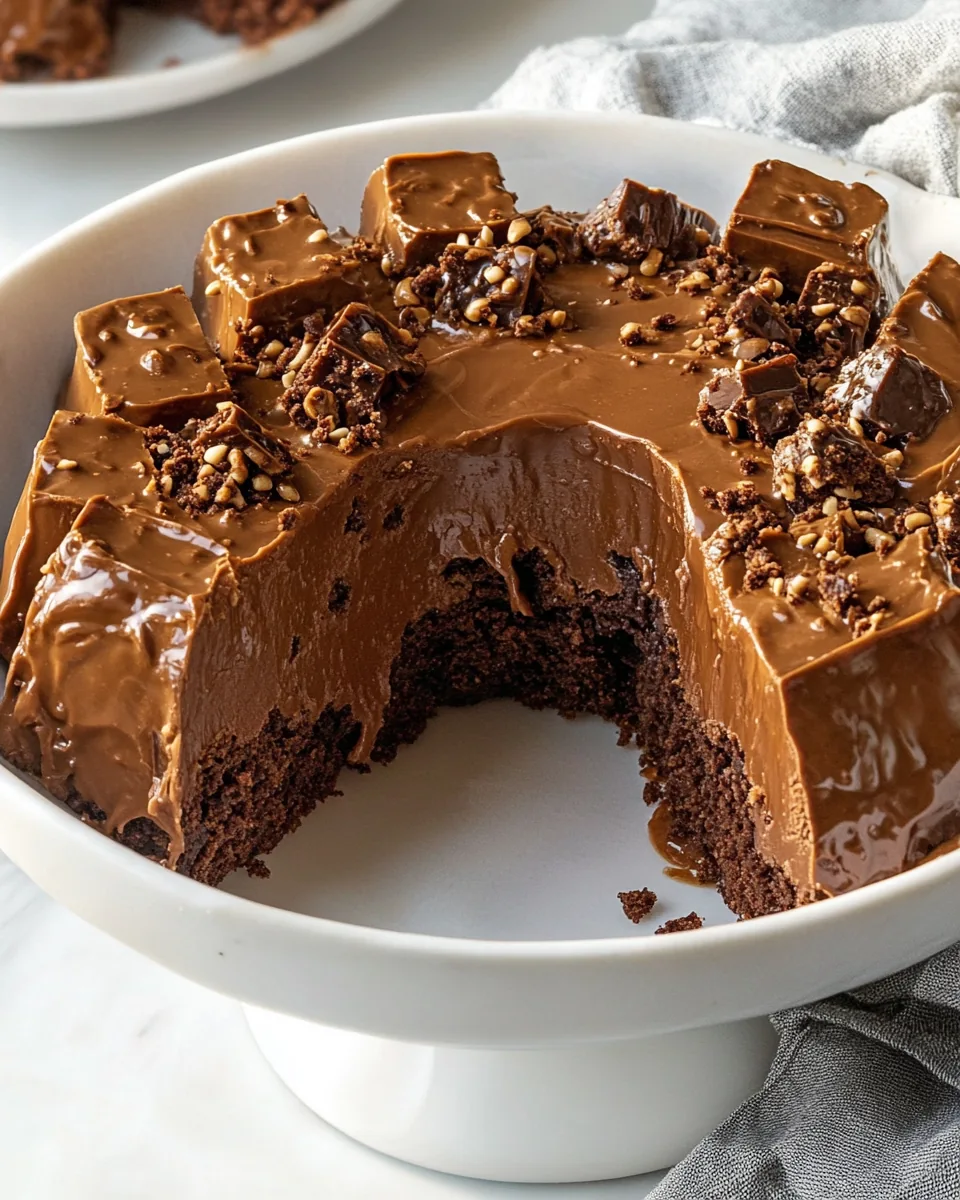
- Spoon Dulce de Leche Glaze onto the cooled cake, letting it drip down the sides for a gorgeous finish.
- Garnish with pecans, if desired. This adds a beautiful texture contrast and complements the flavors.
Things Worth Knowing
- Make sure all ingredients, especially the eggs and butter, are at room temperature. This helps them blend more smoothly.
- Be careful not to overmix the batter once you add the flour. Overmixing can lead to a denser cake.
- Allow the cake to cool completely before frosting; this prevents the glaze from melting and running off.
- Use a quality cocoa powder for the richest chocolate flavor. Dutch-processed cocoa yields excellent results.
Tips and Tricks about Tunnel of Fudge
Creating the perfect Tunnel of Fudge is easier with these helpful tips. From preparation to serving, these tricks will ensure your cake turns out beautifully every time.
- Storage: Store any leftovers in an airtight container at room temperature to retain moisture.
- Freezing: You can freeze this cake! To do so, wrap it tightly in plastic wrap and then foil to prevent freezer burn.
- Pairing: Serve with a scoop of vanilla ice cream or fresh berries to complement the rich chocolate flavor.
- Serving: For a stunning presentation, dust the top with additional confectioners’ sugar before serving.
- Variations: Feel free to experiment with different nuts or glazes to put your own twist on this classic recipe.
How to Serve Tunnel of Fudge
Serving the Tunnel of Fudge is as delightful as making it. Here are some creative ideas to enjoy this wonderful dessert with friends and family:
- Slice and Serve: Cut the cake into generous slices that showcase the fudge center. Each slice should reveal the delicious interior.
- Accompany with Ice Cream: Vanilla or coffee ice cream pairs beautifully, contrasting with the rich chocolate.
- Garnish with Nuts: Top each slice with additional chopped pecans for a crunchy texture and visual appeal.
- Occasions: This cake is perfect for birthdays, holidays, or as a special treat on a weekend.
- Storage Tips: If you have leftovers, store them in an airtight container for up to three days at room temperature.
- Seasonal Pairings: In the fall, serve with spiced whipped cream to celebrate the season.
FAQ
Conclusion
The Tunnel of Fudge is truly a dessert that captivates chocolate lovers with its rich flavor and surprising fudge center. I invite you to try this delightful recipe for your next gathering or cozy night in. It’s not just a cake; it’s a sweet experience that brings joy to every bite.
Tunnel of Fudge
Ingredients
Equipment
Method
- Preheat oven to 350°F (180°C).
- In the bowl of a stand mixer, stir coconut oil by hand until smooth and softened.
- Add butter, granulated sugar, and brown sugar; using the paddle attachment, beat at medium-low speed just until combined.
- Increase mixer speed to medium, and beat until fluffy, about 3 minutes, stopping to scrape sides of bowl.
- Add eggs, one at a time, beating well after each addition.
- Beat in vanilla bean paste.
- With mixer on medium-low speed, beat in confectioners’ sugar.
- In a medium bowl, whisk together flour, cocoa, espresso powder, and salt.
- With mixer on low speed, gradually add flour mixture and finely chopped pecans to butter mixture, beating until almost combined.
- Fold by hand just until combined.
- Spray a 15-cup Bundt pan with baking spray with flour.
- Spread batter into prepared pan.
- Firmly tap pan on a kitchen towel-lined counter 10 times.
- Bake until top is shiny and set and an instant-read thermometer inserted near center registers at least 165°F (74°C), 40 to 45 minutes.
- Let cool in pan on a wire rack for 30 minutes.
- Using your fingertips, gently press down center and edges of cake.
- Let cool in pan on a wire rack for 1½ hours.
- Invert cake onto wire rack, and let cool completely.
- Spoon Dulce de Leche Glaze onto cooled cake.
- Garnish with pecans, if desired.
Notes
- Tip 1: Store any leftovers in an airtight container at room temperature to retain moisture.
- Tip 2: You can freeze this cake! To do so, wrap it tightly in plastic wrap and then foil to prevent freezer burn.
- Tip 3: Serve with a scoop of vanilla ice cream or fresh berries to complement the rich chocolate flavor.
- Tip 4: For a stunning presentation, dust the top with additional confectioners’ sugar before serving.
- Tip 5: Feel free to experiment with different nuts or glazes to put your own twist on this classic recipe.