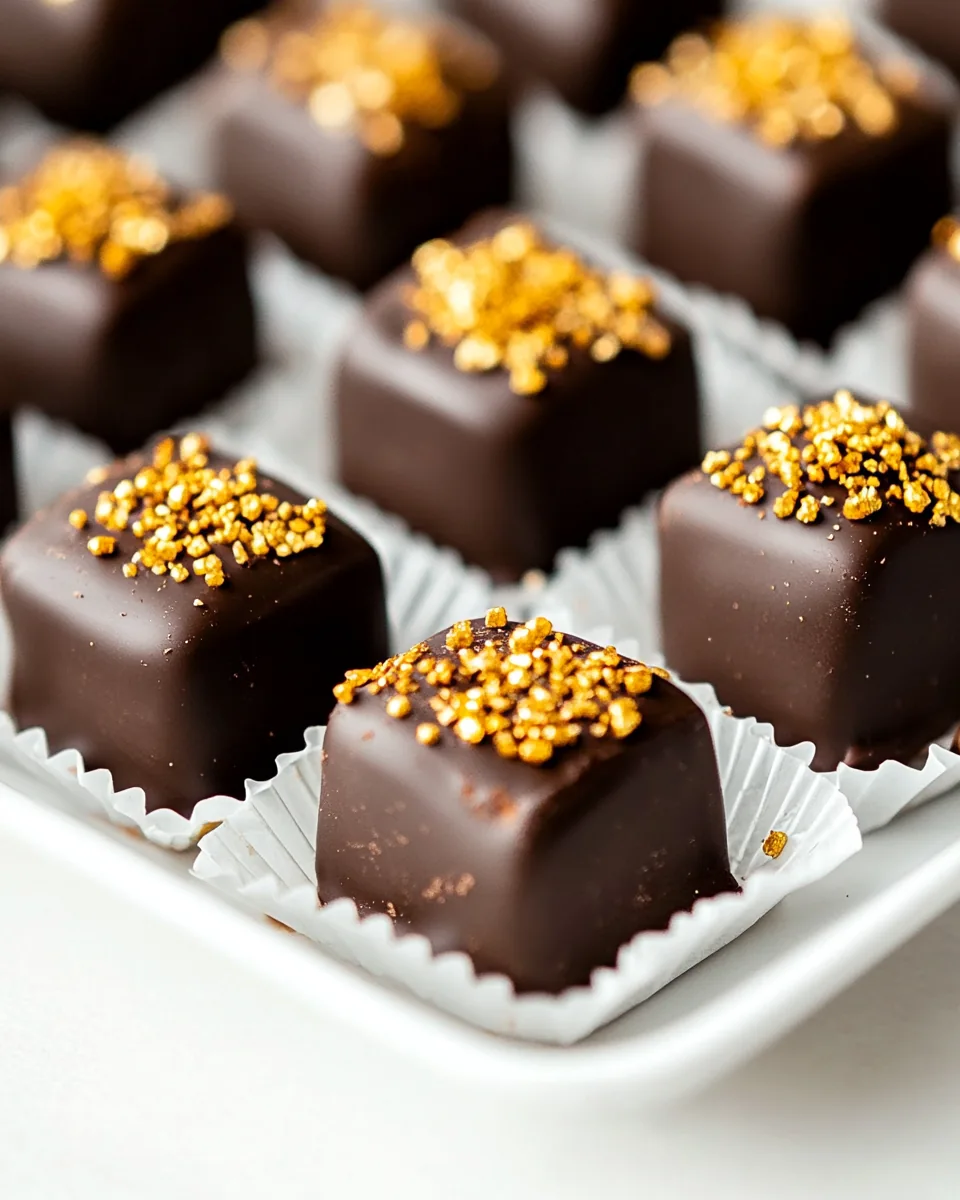
Chocolate Petit Fours
Whenever I think about baking something that adds a celebratory touch to any gathering, I immediately recall the joy of making Chocolate Petit Fours. These decadent little treats hold a special place in my heart. I remember the first time I made them for a small family gathering; everyone was delighted and impressed by their irresistible charm and flavor. Each petite cake is a little bite of happiness, perfectly sweet and elegant, making them a favorite for birthdays, holidays, or even just a cozy afternoon treat with tea. These delightful cakes are perfect for impressing guests or simply indulging in a bit of sweetness. If you haven’t tried making Chocolate Petit Fours, now is the perfect time to dive in and create these delightful bites of joy!
Recipe Snapshot
1 hr 15 mins
60 mins
15 mins
Medium
110 kcal
1 g
Vegan, Gluten-Free, Low FODMAP
6 g
Oven, Mixing Bowl, Baking Sheet, Peeler, Frying Pan, Wooden Spoon, Whisk
Why We Love This Chocolate Petit Fours
Perfect for Any Occasion
One of the reasons I absolutely love Chocolate Petit Fours is their versatility. Whether it’s a birthday party, a wedding, or just a casual gathering, these mini treats can elevate any event. Their beautiful presentation and delightful taste make them a standout dessert that can impress anyone.
Personal Touch
Making Chocolate Petit Fours allows for a personal touch in the kitchen. You can experiment with different fillings, coatings, and decorations. I often find joy in adding my spin to the classic recipe. From flavored batters to colorful sprinkles, the creative possibilities are endless!
Delightful Texture
Each bite of these petit fours is a delightful experience. The soft cake meets the creamy filling and the smooth chocolate coating, creating a wonderful contrast in texture. This combination makes them a true delight for anyone who enjoys a little indulgence.
Perfectly Bite-Sized
One of my favorite aspects of Chocolate Petit Fours is their bite-sized nature. They are the perfect portion to satisfy your sweet tooth without overindulging. This makes them great for parties where guests can enjoy a little something sweet without feeling guilty.
Great for Sharing
These petit fours are perfect for sharing with friends and family. The fun of serving them is in watching everyone delight in their delicate size and delicious flavor. They are sure to spark conversations and create lasting memories.
Tradition and Innovation
Lastly, Chocolate Petit Fours represent a beautiful blend of tradition and innovation in baking. While they are rooted in classic French pastry, I love how modern twists can be applied to make them uniquely yours. This blend creates an exciting experience in both making and enjoying these treats.
Main Ingredients for Chocolate Petit Fours
When it comes to creating delightful Chocolate Petit Fours, the ingredients play a crucial role. Each component works together to form a delectable dessert that is both visually stunning and delicious. From the rich cocoa to the smooth chocolate coating, these ingredients ensure that every bite is a mouthful of joy.
- Granulated Sugar: 1 cup – This is the base that adds sweetness to the cake, ensuring that every bite is delightful.
- All-Purpose Flour: 1 cup – Essential for providing structure to the cake, making it soft yet stable enough to hold its shape.
- Unsweetened Cocoa Powder: 1/3 cup – This adds a rich chocolate flavor to the cake, enhancing the overall taste experience.
- Baking Powder: 1 teaspoon – A leavening agent that helps the cake rise, contributing to its fluffy texture.
- Baking Soda: ½ teaspoon – Another leavening agent that works alongside baking powder to produce a light cake.
- Salt: ½ teaspoon – Enhances the sweetness and balances the flavors in the cake.
- Large Egg: 1 – Provides moisture and richness, contributing to the cake’s delightful texture.
- Buttermilk: ½ cup – Adds moisture and tanginess, resulting in a tender cake crumb.
- Vegetable Oil: ¼ cup – Helps to keep the cake moist and adds a lovely texture.
- Hot Coffee or Hot Water: ½ cup – Intensifies the chocolate flavor, bringing out deeper notes.
- Nutella Chocolate Hazelnut Spread: 2/3 cup – A delicious filling that adds a creamy, chocolatey richness between cake layers.
- Dark Chocolate Chips (60% Cacao): 10 ounces – Used for coating the petit fours, providing a rich and smooth chocolate layer.
- Vegetable Shortening: 2 tablespoons – Helps to create a shiny coating when melted with chocolate.
How to Cook Chocolate Petit Fours

Creating Chocolate Petit Fours is a delightful process that brings out your inner baker. Each step brings you closer to those irresistible little treats. Let’s dive into the steps to make these scrumptious desserts!
- Preheat your oven to 350 degrees F. This temperature is perfect for baking the cake, ensuring it rises beautifully. While the oven heats up, prepare a 13X18 rimmed baking sheet by lining it with parchment paper. Don’t forget to spray the parchment with nonstick cooking spray so the cake comes out easily!
- In a large mixing bowl, add granulated sugar, all-purpose flour, unsweetened cocoa powder, baking powder, baking soda, and salt. Use an electric mixer to mix the dry ingredients well. This step is crucial for evenly distributing the leavening agents and ensuring a consistent cake texture.
- In a separate bowl or measuring pitcher, combine the egg, buttermilk, vegetable oil, and vanilla extract. Whisk these wet ingredients until well combined. This mixture will add moisture and flavor to the cake.
- Slowly pour the wet mixture into the dry mixture while the mixer is on low. Mix until everything is incorporated. Turn the mixer to medium speed and beat for about 1 minute. This will help to aerate the batter, making your cake light and fluffy.
- Use a rubber spatula to scrape down the sides of the bowl to ensure all ingredients are mixed well. Turn the mixer back on low and beat in the hot coffee until the batter is smooth. The addition of hot coffee enhances the chocolate flavor, creating a rich taste.
- Pour the cake batter into the prepared baking pan. Gently shake the pan back and forth to even out the batter. Bake in the preheated oven for 11 to 13 minutes, or until the cake is soft yet fluffy in the center. Check for doneness by inserting a toothpick; it should come out clean.
- Once baked, allow the cake to cool for about 15 minutes at room temperature. After that, transfer the cake to the freezer to cool completely until hard, which takes about 1 to 2 hours. Chilling the cake will make it easier to cut and assemble.
- Once the cake is firm, carefully cut it in half with a serrated knife. Take one half and spread a generous layer of Nutella across its surface. This creamy hazelnut spread will add moisture and flavor to the finished product.
- Take the other half of the cake and place it on top of the Nutella-covered half. Use the parchment paper to help lift it if necessary. Once layered, trim any rough edges with a serrated knife, then cut the cake into 1 inch squares. You should have around 100 petit fours.
- Place the baking sheet with the petit fours back into the freezer and chill until they are rock-hard, which takes another 1 to 2 hours. This step is crucial for the next part!
- Meanwhile, melt the dark chocolate chips with vegetable shortening in a small saucepan over low heat. Stir gently until the chocolate is smooth, or you can microwave it in one-minute increments, stirring in between each time until melted.
- Prepare a large rimmed baking sheet with paper muffin liners. Press 1 or 2 liners flat at a time. Take only 1 to 2 mini cakes out of the freezer at a time to keep them cold. Insert a wooden skewer into the center of a cake and quickly dunk it into the melted chocolate. Use a spatula to splash chocolate over the top if needed.
- Once coated, tap the skewer on the edge of the pot to remove excess chocolate. This helps keep the coating thin. Quickly transfer the petit four to the muffin liner and twist the skewer to remove it. Fill the tiny hole left behind with melted chocolate using a skewer or small spoon. Sprinkle decorative candy sprinkles over the chocolate before it hardens.
- Repeat this process, working quickly to keep the majority of the cakes frozen and reheating the chocolate as needed, until all petit fours are coated.
- Once finished, cover the baking sheet with plastic wrap to keep them fresh until serving!
Things Worth Knowing
- Chilling is Key: Always ensure the petit fours are well-chilled before dipping. This prevents them from falling apart.
- Decorative Touch: Get creative with toppings like edible glitter or colored sprinkles to enhance their visual appeal.
- Use Good Quality Chocolate: The quality of chocolate used for coating can significantly impact the flavor. Invest in good quality dark chocolate for the best results.
- Layering Technique: Make sure to spread the Nutella evenly to avoid any dry patches in your petit fours.
Variations to Try
There’s so much you can do with Chocolate Petit Fours to make them even more delightful! Here are some fun variations that you can try on your journey to bakers’ paradise.
- Fillings: Experiment with different fillings such as raspberry jam or whipped cream for a different flavor profile.
- Chocolate Coatings: Use white chocolate or milk chocolate for a sweeter alternative. Try adding flavored extracts to the chocolate for a unique twist.
- Decorative Toppings: Add nuts or toasted coconut on top of the chocolate coating for added texture and flavor.
- Flavor Variations: Infuse the batter with citrus zest or espresso powder for a refreshing taste. These flavors pair beautifully with the chocolate.
- Colorful Layers: Create a rainbow of petit fours by using colored batter for different layers; this makes them festive for special occasions.
- Miniature Versions: Make mini versions of the petit fours by cutting them into smaller squares for bite-sized delights.
- Seasonal Themes: Decorate them according to the season by using themed sprinkles or toppings that match holidays.
Pairing Suggestions for Chocolate Petit Fours
Discover the perfect pairings to elevate your experience with Chocolate Petit Fours. These pairings can enhance the flavor and presentation of your delightful treats.
- Coffee: Pair these petit fours with a steaming cup of coffee for a delightful afternoon treat. The rich chocolate flavors complement the coffee perfectly.
- Tea: A light herbal or black tea can balance the sweetness of the petit fours, making it an ideal pairing for a cozy gathering.
- Fruit Plate: Serving these alongside a fresh fruit plate adds brightness and a refreshing contrast to the richness of the cake.
- Ice Cream: Create a dessert platter with a scoop of vanilla or chocolate ice cream next to your petit fours for a decadent experience.
- Red Wine: For adult gatherings, a glass of red wine complements the dark chocolate beautifully and adds elegance to the dessert table.
- Cheese Board: A small cheese board with a selection of cheeses can offer a savory balance to the sweetness of the petit fours, creating a sophisticated tasting experience.
- Seasonal Decor: When serving for special occasions, consider decorating the plate with edible flowers or seasonal accents for a beautiful presentation.
FAQ
Conclusion
In summary, Chocolate Petit Fours are not just desserts; they are little bites of joy that bring smiles to any occasion. Their elegance and deliciousness make them a worthwhile endeavor in the kitchen. I encourage you to try making these delightful treats at home; you’ll find they’re not only fun to create but also a joy to share with loved ones.
Chocolate Petit Fours
Ingredients
Equipment
Method
- Preheat your oven to 350 degrees F. This temperature is perfect for baking the cake, ensuring it rises beautifully. While the oven heats up, prepare a 13X18 rimmed baking sheet by lining it with parchment paper. Don’t forget to spray the parchment with nonstick cooking spray so the cake comes out easily!
- In a large mixing bowl, add granulated sugar, all-purpose flour, unsweetened cocoa powder, baking powder, baking soda, and salt. Use an electric mixer to mix the dry ingredients well. This step is crucial for evenly distributing the leavening agents and ensuring a consistent cake texture.
- In a separate bowl or measuring pitcher, combine the egg, buttermilk, vegetable oil, and vanilla extract. Whisk these wet ingredients until well combined. This mixture will add moisture and flavor to the cake.
- Slowly pour the wet mixture into the dry mixture while the mixer is on low. Mix until everything is incorporated. Turn the mixer to medium speed and beat for about 1 minute. This will help to aerate the batter, making your cake light and fluffy.
- Use a rubber spatula to scrape down the sides of the bowl to ensure all ingredients are mixed well. Turn the mixer back on low and beat in the hot coffee until the batter is smooth. The addition of hot coffee enhances the chocolate flavor, creating a rich taste.
- Pour the cake batter into the prepared baking pan. Gently shake the pan back and forth to even out the batter. Bake in the preheated oven for 11 to 13 minutes, or until the cake is soft yet fluffy in the center. Check for doneness by inserting a toothpick; it should come out clean.
- Once baked, allow the cake to cool for about 15 minutes at room temperature. After that, transfer the cake to the freezer to cool completely until hard, which takes about 1 to 2 hours. Chilling the cake will make it easier to cut and assemble.
- Once the cake is firm, carefully cut it in half with a serrated knife. Take one half and spread a generous layer of Nutella across its surface. This creamy hazelnut spread will add moisture and flavor to the finished product.
- Take the other half of the cake and place it on top of the Nutella-covered half. Use the parchment paper to help lift it if necessary. Once layered, trim any rough edges with a serrated knife, then cut the cake into 1 inch squares. You should have around 100 petit fours.
- Place the baking sheet with the petit fours back into the freezer and chill until they are rock-hard, which takes another 1 to 2 hours. This step is crucial for the next part!
- Meanwhile, melt the dark chocolate chips with vegetable shortening in a small saucepan over low heat. Stir gently until the chocolate is smooth, or you can microwave it in one-minute increments, stirring in between each time until melted.
- Prepare a large rimmed baking sheet with paper muffin liners. Press 1 or 2 liners flat at a time. Take only 1 to 2 mini cakes out of the freezer at a time to keep them cold. Insert a wooden skewer into the center of a cake and quickly dunk it into the melted chocolate. Use a spatula to splash chocolate over the top if needed.
- Once coated, tap the skewer on the edge of the pot to remove excess chocolate. This helps keep the coating thin. Quickly transfer the petit four to the muffin liner and twist the skewer to remove it. Fill the tiny hole left behind with melted chocolate using a skewer or small spoon. Sprinkle decorative candy sprinkles over the chocolate before it hardens.
- Repeat this process, working quickly to keep the majority of the cakes frozen and reheating the chocolate as needed, until all petit fours are coated.
- Once finished, cover the baking sheet with plastic wrap to keep them fresh until serving!
Notes
- Storage: Keep at room temperature for 2-3 days or in the refrigerator for up to a week.