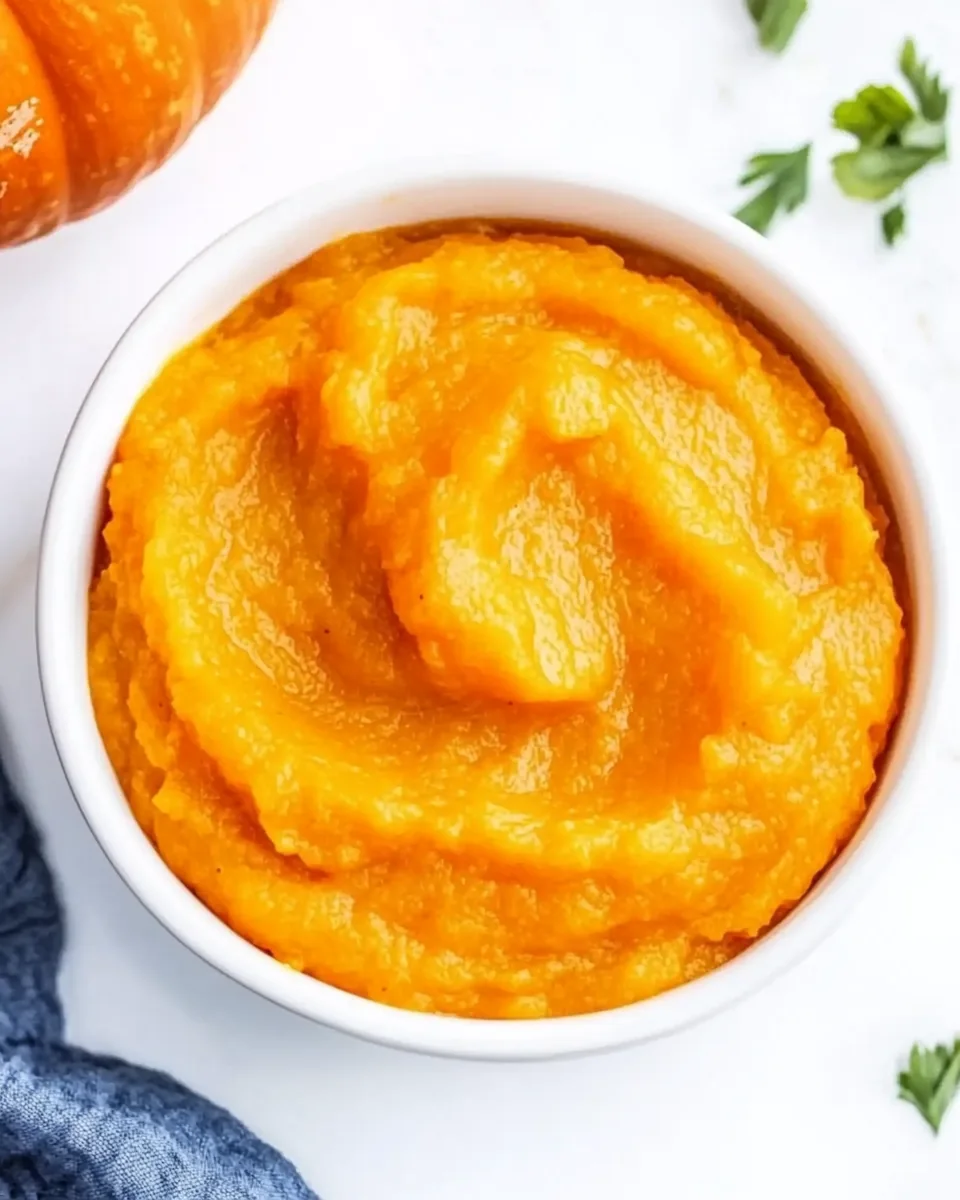
Homemade Pumpkin Puree
There’s something incredibly rewarding about making your own Homemade Pumpkin Puree. As the leaves turn and the air gets crisp, I love stepping into my kitchen, embracing the season’s bounty. I remember the first time I tried this recipe; it was like capturing the essence of fall in a jar! The sweet smell of roasting pumpkin filled the room, and I felt so accomplished blending it into creamy goodness. With just a few simple steps, you can transform fresh pumpkins into a versatile ingredient that enhances everything from pies to soups. Let’s dive into this delightful experience together and discover how easy it is to whip up Homemade Pumpkin Puree.
Recipe Snapshot
40 mins
0 mins
40 mins
Medium
50 kcal
1 g
Keto, Paleo, Whole30
0 g
Oven, Mixing Bowl, Baking Sheet, Blender, Food Processor, Cutting Board
Why This Homemade Pumpkin Puree Stands Out
Why You’ll Love This Recipe
Freshness at Its Best
Nothing can beat the taste of homemade! Store-bought pumpkin purees often lack the vibrant flavor of freshly roasted pumpkin. Making your own Homemade Pumpkin Puree ensures that you’re starting with top-quality ingredients, giving you a depth of flavor that’s simply unbeatable.Simple and Satisfying
This recipe uses just one ingredient: pumpkin. That simplicity allows you to appreciate the natural sweetness and earthiness of the pumpkin. Plus, you’ll feel a great sense of pride knowing you prepared it from scratch!Easy to Make Ahead
One of the best parts about Homemade Pumpkin Puree is that it can be made in bulk and stored for later use. Whether you’re preparing for Thanksgiving or just wanting to savor fall flavors throughout the year, this puree freezes beautifully.Versatile Ingredient
You can use this puree in countless recipes—from pies and muffins to soups and smoothies. It’s like having a secret weapon in your kitchen, ready to enhance your meals and add a touch of autumn to any dish!Budget-Friendly
Buying canned pumpkin can get pricey, especially if you’re making a lot of fall treats. By making your own Homemade Pumpkin Puree, you save money while enjoying fresher flavors!Connection to the Season
Making pumpkin puree is a wonderful way to connect with the fall season. It encourages you to appreciate local produce and can even become a fun family activity!
What You Need for Homemade Pumpkin Puree
Crafting the perfect Homemade Pumpkin Puree starts with the right ingredients. The star of this dish is, of course, the pumpkin. This vibrant squash boasts a rich flavor and texture that’s perfect for purees. By using fresh pumpkins, especially those designated for cooking, you ensure a delicious result. Each ingredient works together beautifully to create a smooth and creamy puree that’s perfect for all your fall recipes.
- Pumpkin: 4 cups cubed pumpkin, diced and ready for roasting. Fresh pumpkins are the key to achieving a rich and flavorful puree. Look for sugar pumpkins, which are sweeter and have a finer texture than larger pumpkins.
Homemade Pumpkin Puree Instructions
Now that we have our ingredients, let’s get started on making Homemade Pumpkin Puree. The process is straightforward, and I promise it’s worth every moment. Follow these steps closely to develop that perfect creamy texture.
- First, preheat your oven to 180C or 350F. This is the ideal temperature to roast your pumpkin, ensuring it becomes tender without burning.
- Next, prepare your pumpkin. Take the fresh pumpkin and carefully cut it into cubes. You can use a sharp knife for this—be cautious, as pumpkin skin can be tough. Aim for cubes about 1 to 2 inches for even cooking.
- Now, line a baking tray with parchment paper. This step is vital as it prevents the pumpkin from sticking and makes for easier cleanup later.
- Place the cubed pumpkin onto the prepared baking tray, spreading it out in a single layer. Overcrowding the pan can lead to steaming instead of roasting, which you want to avoid.
- Slide the tray into your preheated oven and bake for 40 minutes. About halfway through, take a moment to flip the pumpkin cubes. This ensures they cook evenly and caramelize beautifully.
- As the pumpkin bakes, keep an eye on it. You want it to be soft but not golden brown, indicating it’s perfectly cooked.
- Once the pumpkin is tender, remove it from the oven and let it cool completely. Cooling is important as it will be easier to blend without splattering.
- After the pumpkin has cooled, it’s time to puree! Use a stick mixer, food processor, or blender to blend the pumpkin until it’s perfectly smooth. If you’re using a blender, you might need to work in batches.
- Once you have a creamy consistency, your Homemade Pumpkin Puree is ready to use! You can store it in an airtight container in the fridge or freeze for later.
Things Worth Knowing
- Roasting your pumpkin brings out a natural sweetness and enhances the flavor, making your puree richer than boiling.
- Be mindful of the pumpkin’s size; smaller sugar pumpkins tend to have a sweeter taste, perfect for desserts.
- Ensure your pumpkin is completely cool before blending to prevent steam buildup, which can cause splattering.
- If the puree is too thick, add a tiny amount of water while blending to achieve your desired consistency.
Helpful Notes about Homemade Pumpkin Puree
Creating Homemade Pumpkin Puree is a rewarding experience, but there are a few tips to keep in mind to make it even better. Whether you’re storing leftovers or looking for variations, these notes will help you optimize your pumpkin puree journey!
- Storage: Store your pumpkin puree in a sealable container in the refrigerator. It stays fresh for up to 2 weeks.
- Freezing: You can freeze leftover pumpkin puree in a freezer-friendly container for up to 6 months. Just thaw it overnight in the refrigerator when ready to use.
- Microwave Method: If you’re short on time, use a microwave. Place the cubed pumpkin in a microwave-safe dish, cover with plastic wrap, and microwave for 4 to 5 minutes, then cool completely before pureeing.
- Stovetop Method: Another option is simmering cubed pumpkin in boiling water for about 10 to 12 minutes until tender.
- Variations: Try adding spices like cinnamon or nutmeg to your puree for a flavor twist before using it in recipes.
What to Pair With Homemade Pumpkin Puree
When it comes to serving Homemade Pumpkin Puree, the options are endless! This delicious puree can enhance a variety of dishes, making it the perfect addition to your fall recipes.
- Pumpkin Pie: The classic use! Fold your homemade puree into a pie crust for a scrumptious dessert.
- Soups: Use it as a base for creamy soups, adding spices and toppings to elevate the flavors.
- Muffins and Breads: Incorporate the puree into baked goods for moisture and a subtle sweetness.
- Breakfast Bowls: Swirl it into oatmeal or yogurt for a nutritious breakfast.
- Thanksgiving Dishes: Serve it as a side dish, topped with herbs and butter, alongside your holiday feast.
- Storage Tips: If you have extra puree, store it in individual containers for quick use in future recipes.
- Seasonal Pairings: Enjoy with seasonal spices like cinnamon and nutmeg to truly capture the essence of fall.
FAQ
Conclusion
In conclusion, the magic of Homemade Pumpkin Puree lies in its freshness and versatility. It’s an ideal ingredient for so many fall recipes, and once you try making it, you’ll wonder why you ever bought it pre-made. I encourage you to experiment with this recipe; it’s a simple yet rewarding process that brings the rich flavors of autumn right into your kitchen. So roll up your sleeves and enjoy creating your own delicious pumpkin puree today!

Homemade Pumpkin Puree
Ingredients
Equipment
Method
- First, preheat your oven to 180C or 350F. This is the ideal temperature to roast your pumpkin, ensuring it becomes tender without burning.
- Next, prepare your pumpkin. Take the fresh pumpkin and carefully cut it into cubes. You can use a sharp knife for this—be cautious, as pumpkin skin can be tough. Aim for cubes about 1 to 2 inches for even cooking.
- Now, line a baking tray with parchment paper. This step is vital as it prevents the pumpkin from sticking and makes for easier cleanup later.
- Place the cubed pumpkin onto the prepared baking tray, spreading it out in a single layer. Overcrowding the pan can lead to steaming instead of roasting, which you want to avoid.
- Slide the tray into your preheated oven and bake for 40 minutes. About halfway through, take a moment to flip the pumpkin cubes. This ensures they cook evenly and caramelize beautifully.
- As the pumpkin bakes, keep an eye on it. You want it to be soft but not golden brown, indicating it’s perfectly cooked.
- Once the pumpkin is tender, remove it from the oven and let it cool completely. Cooling is important as it will be easier to blend without splattering.
- After the pumpkin has cooled, it’s time to puree! Use a stick mixer, food processor, or blender to blend the pumpkin until it’s perfectly smooth. If you're using a blender, you might need to work in batches.
- Once you have a creamy consistency, your Homemade Pumpkin Puree is ready to use! You can store it in an airtight container in the fridge or freeze for later.
Notes
- Tip: Store your pumpkin puree in a sealable container in the refrigerator. It stays fresh for up to 2 weeks.
- Tip: You can freeze leftover pumpkin puree in a freezer-friendly container for up to 6 months. Just thaw it overnight in the refrigerator when ready to use.
- Tip: If you're short on time, use a microwave. Place the cubed pumpkin in a microwave-safe dish, cover with plastic wrap, and microwave for 4 to 5 minutes, then cool completely before pureeing.
- Tip: Another option is simmering cubed pumpkin in boiling water for about 10 to 12 minutes until tender.
- Tip: Try adding spices like cinnamon or nutmeg to your puree for a flavor twist before using it in recipes.