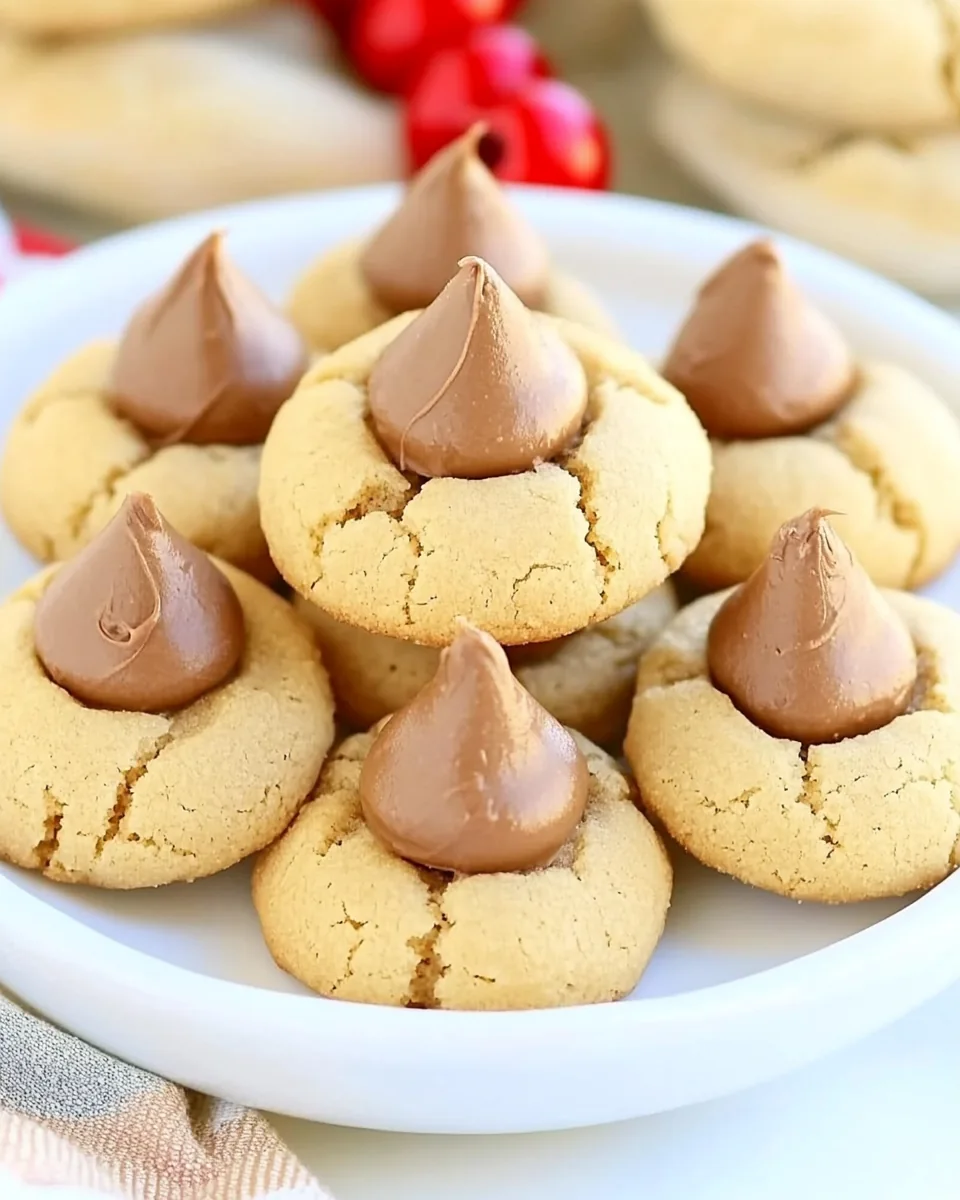
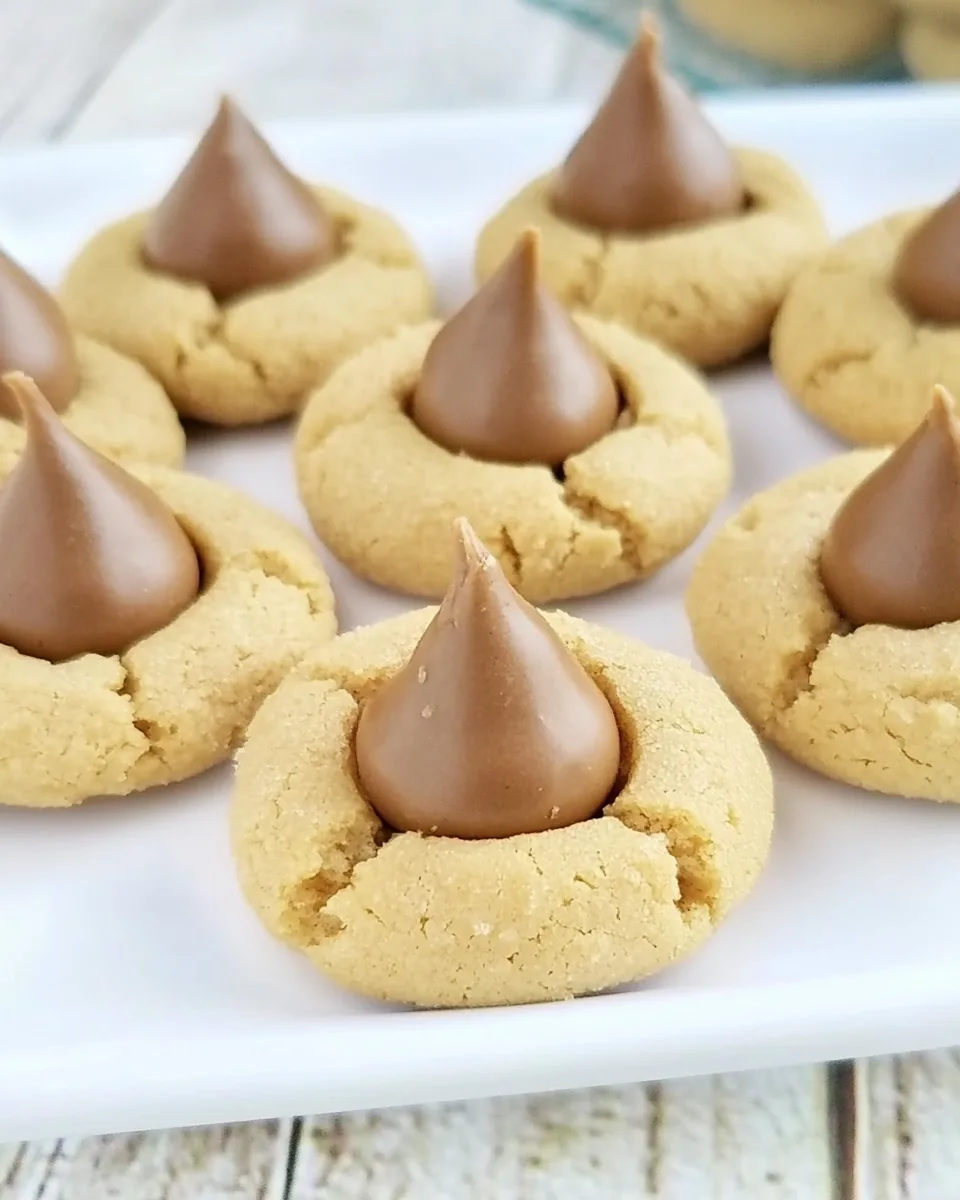
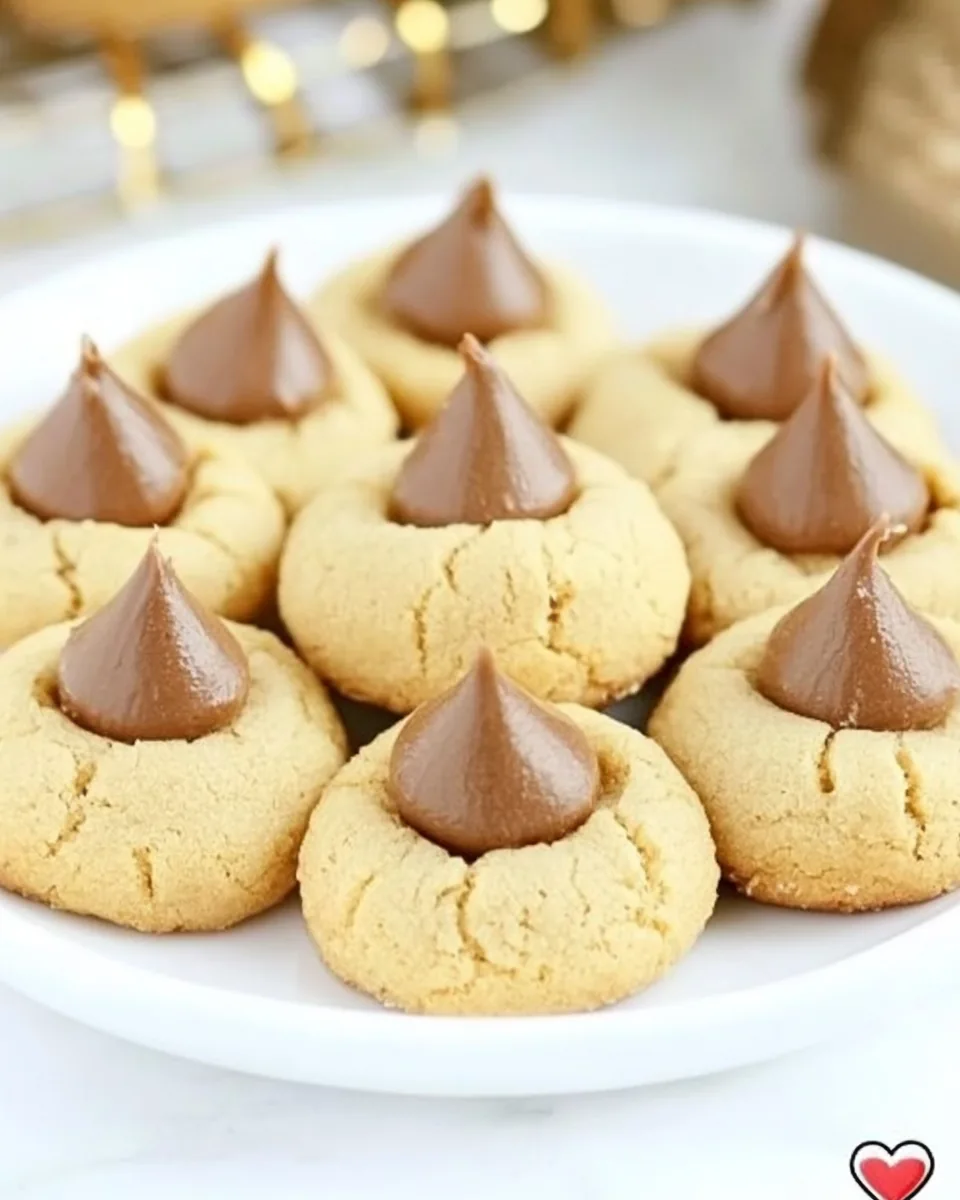
Peanut Butter Blossom Cookies
There’s something undeniably nostalgic about the smell of cookies baking in the oven, and when it comes to comfort treats, Peanut Butter Blossom Cookies take the crown. I remember the first time I had one; it was during a family gathering, and the moment I took a bite, I was hooked. The combination of creamy peanut butter, rich chocolate, and the irresistible aroma wafting through the house made it an instant favorite. Whether it’s a rainy afternoon or a festive holiday, these cookies bring back warm memories and a sense of togetherness.
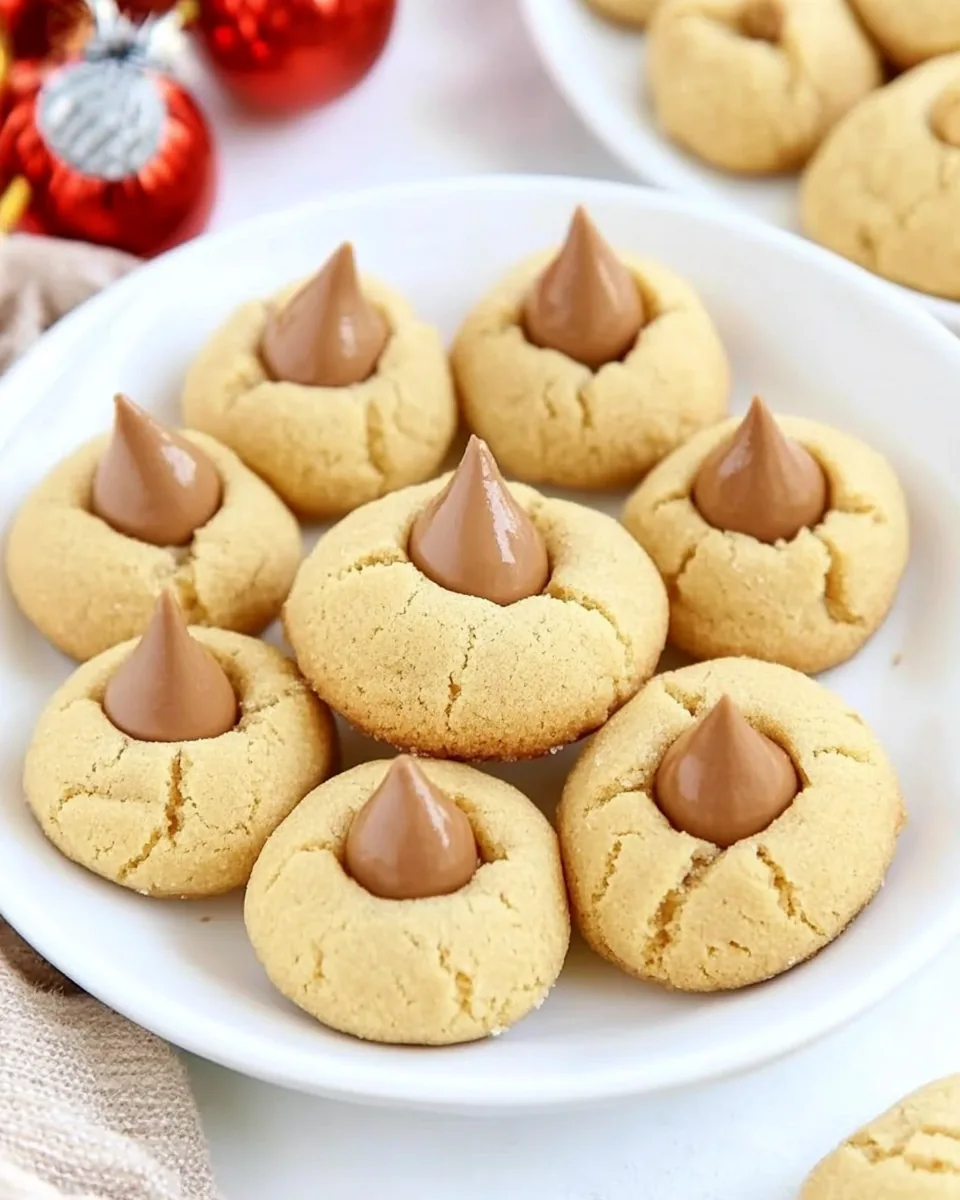
Every bite of a Peanut Butter Blossom Cookie is a delightful experience, with the slightly crunchy exterior giving way to a soft, chewy center. The addition of a chocolate kiss on top is like the cherry on top of a sundae, adding a luscious layer of sweetness that perfectly complements the peanut butter. I often find myself baking a batch just to share with friends or to enjoy during movie nights. They’re a nostalgic reminder of childhood, and they always elicit smiles and happy faces.
What makes these cookies even more special is how easy they are to make. With just a handful of simple ingredients, you can whip up a batch that will have everyone clamoring for more. I love involving my kids in the baking process; they enjoy rolling the dough into balls and rolling them in sugar. Baking together creates lasting memories, and I can’t think of a better way to spend an afternoon than making Peanut Butter Blossom Cookies with the ones I love.
So next time you’re in the mood for something sweet, don’t hesitate to try your hand at these delightful cookies. Trust me, they’re not just a treat; they’re an experience that brings everyone together.
Recipe Snapshot
18 mins
10 mins
8 mins
Medium
120 kcal
2 g
Gluten-Free, Low FODMAP
6 g
Oven, Mixing Bowl, Baking Sheet, Wooden Spoon, Whisk
The Best Thing About This Peanut Butter Blossom Cookies
Family Tradition
These cookies have been a staple in our family for generations. My grandmother used to make them every holiday season, and they quickly became a cherished tradition. Now, I carry on that legacy by baking them with my children, sharing stories and laughter as we create delicious memories together.
Perfect Balance
The combination of peanut butter and chocolate is simply divine. The peanut butter provides a rich, nutty flavor, while the chocolate adds a sweet contrast that elevates these cookies to a whole new level. Each bite is a perfect balance of savory and sweet.
Easy to Make
If you’re looking for a quick and simple cookie recipe, look no further. With just a few ingredients and straightforward steps, Peanut Butter Blossom Cookies can be made in no time. Even novice bakers can achieve delicious results, making it an accessible treat for everyone.
Customizable
While the classic version with chocolate kisses is a hit, these cookies are also incredibly versatile. You can experiment by adding different toppings like crushed nuts or drizzling melted chocolate over the cooled cookies. The possibilities are endless, allowing you to make this recipe your own.
Great for Sharing
These cookies are perfect for gatherings and events. Whether you’re hosting a birthday party or a family reunion, Peanut Butter Blossom Cookies are sure to be a crowd-pleaser. Everyone loves them, and they disappear quickly!
Sentimental Value
There’s something heartwarming about sharing homemade cookies with loved ones. These Peanut Butter Blossom Cookies evoke fond memories and feelings of warmth, making them more than just a dessert; they’re a symbol of love and connection.
What You Need for Peanut Butter Blossom Cookies
When it comes to baking Peanut Butter Blossom Cookies, the right ingredients play a crucial role in achieving that perfect flavor and texture. Each ingredient contributes to the overall success of the cookie—creating a delightful balance that is both comforting and satisfying. The key players in this recipe include creamy peanut butter, sweet sugar, and rich chocolate. Together, they create a cookie that is sure to become a beloved favorite.
- ½ cup unsalted butter, softened – This is the base of our cookie dough, providing richness and helping to achieve that nice chewy texture.
- ½ cup creamy peanut butter – The star ingredient that gives these cookies their signature flavor! Opt for a smooth variety for the best results.
- ½ cup granulated sugar – This adds sweetness and contributes to the cookie’s overall texture.
- ½ cup packed light brown sugar – The molasses in brown sugar adds depth of flavor and moisture to the cookies.
- 1 large egg, room temperature – This binds the ingredients together and helps the cookies rise.
- 1 teaspoon vanilla extract – Although we’ve excluded vanilla here, adding some brings out the flavors beautifully.
- 1 ¾ cups all-purpose flour – Essential for structure, this is what transforms our soft dough into delightful cookies.
- ¼ teaspoon salt – A pinch of salt enhances the flavors of the other ingredients.
- 1 teaspoon baking soda – This helps the cookies rise and gives them a light, fluffy texture.
- ¼ cup granulated sugar for rolling – This gives the cookies a sweet crust.
- 24 Hershey’s chocolate candy – The iconic topping that brings the whole cookie together. You can use milk chocolate or your favorite variety.
The Method for Peanut Butter Blossom Cookies
Baking Peanut Butter Blossom Cookies is not only a fun activity; it’s a way to create lasting memories. Follow these steps to ensure your cookies turn out perfectly. With each step, you’ll be greeted by the delightful aroma of peanut butter and chocolate. Ready to get started? Let’s dive into the delicious world of cookie making!
In a large mixing bowl, cream together softened butter with a hand mixer for about 30 seconds. You want the texture to become light and fluffy. This step is crucial because it adds air to the batter, which will help the cookies rise.
Add in the creamy peanut butter and cream until smooth. The mixture should be well combined, with no lumps remaining. You’ll notice that the mixture starts to take on a beautiful golden color.
Next, add both granulated sugar and packed light brown sugar, and continue to cream for about 3 minutes, until the mixture is light and fluffy. This is the magic moment where the sugars dissolve and add sweetness to your cookie dough.
Now, crack in the large egg and pour in the vanilla extract. Mix just until incorporated. Avoid overmixing to maintain that tender texture. You want just enough blending to incorporate the egg.
In another bowl, whisk together the dry ingredients: all-purpose flour, baking soda, and salt. This helps to evenly distribute the baking soda and salt, ensuring no one bite is too salty or flat.
Now, gradually add the dry ingredients to the butter-sugar mixture in three parts. Stir gently with a spatula or a wooden spoon until just combined. Be careful not to overmix, as this can lead to tough cookies.
Cover the bowl with plastic wrap and chill the dough in the fridge for at least 30 minutes. This step helps the flavors meld and makes the dough easier to handle.
Preheat your oven to 350° F (175° C). Line two large baking sheets with parchment paper to prevent sticking and ensure even baking.
While the oven heats, place the extra granulated sugar in a small shallow bowl. This is for rolling your cookie dough balls to create that lovely sugar crust.
Using a 1 ½ tablespoon size cookie scoop, scoop the chilled dough and roll it into balls. Roll each ball in the bowl of sugar, coating it well. Place them on the prepared baking sheets, spacing them about 2 inches apart.
Bake the cookies for 8 to 9 minutes. They will puff up during baking and will appear slightly underbaked. This is perfect, as they will continue to cook on the baking sheets.
Once out of the oven, allow the cookies to cool for about 10 minutes. They will flatten as they cool.
Finally, press a Hershey’s Kiss candy into the center of each cookie gently. You want it to sink slightly into the warm cookie but not break through the bottom.
Allow the cookies to cool completely on the baking sheet before transferring them to a wire rack. This will help them maintain their shape and structure while cooling.
Things Worth Knowing
- Make sure to let the butter soften at room temperature. This will help it cream more easily with the peanut butter.
- When measuring flour, fluff it up in the container first, then spoon it into your measuring cup. This prevents packing and ensures accuracy.
- Chilling the dough is essential for maintaining the cookie shape and preventing spreading during baking.
- Ensure your oven is fully preheated before placing the cookies inside to achieve even baking.
Tips for Success
To achieve the best results with your Peanut Butter Blossom Cookies, here are some tips that will help you along the way. These insights ensure that your cookies are not only delicious but also beautiful!
- Storage: Store leftover cookies in an airtight container at room temperature. They will stay fresh for up to one week.
- Freezing: You can freeze the baked cookies for up to three months. Just be sure to let them cool completely before placing them in a freezer-safe bag.
- Pairing: These cookies pair wonderfully with a glass of cold milk or a warm cup of coffee for an afternoon treat.
- Variation: Feel free to experiment by adding different types of chocolate or even chopped nuts to the dough for added texture.
- Serving Size: The recipe yields about 24 cookies, which is perfect for sharing, but feel free to double it if you’re expecting a crowd!
Perfect Matches for Peanut Butter Blossom Cookies
When it comes to serving Peanut Butter Blossom Cookies, there are so many delightful ways to enjoy them. These cookies are perfect for various occasions, whether you’re hosting a dinner party or simply celebrating a cozy family night at home. Here are some ideas to enhance your serving experience:
- Serve with Milk: A classic pairing! A glass of cold milk complements the rich flavors of peanut butter and chocolate beautifully.
- Great for Parties: Bring these cookies to gatherings, birthday parties, or holiday celebrations. They’re sure to be a hit!
- Perfect for Lunchboxes: These cookies make a delightful addition to your child’s lunchbox, providing a sweet treat they’ll love.
- Seasonal Treat: Consider baking these cookies during the holiday season, as their festive appearance makes them perfect for celebrations.
- Gift Giving: Package them in a cute tin or box to give as a thoughtful homemade gift for friends and family.
FAQ
Conclusion
Baking Peanut Butter Blossom Cookies is a wonderful way to indulge in a timeless, heartwarming treat. The combination of rich peanut butter and chocolate makes them irresistible. I encourage you to try making these cookies; they are sure to bring joy to your kitchen and smiles to your loved ones. Whether for a special occasion or just because, these cookies are delightful in every way.
Peanut Butter Blossom Cookies
Ingredients
Equipment
Method
- In a large mixing bowl, cream together softened butter with a hand mixer for about 30 seconds.
- Add in the creamy peanut butter and cream until smooth.
- Next, add both granulated sugar and packed light brown sugar, and continue to cream for about 3 minutes until light and fluffy.
- Now, crack in the large egg and pour in the vanilla extract. Mix just until incorporated.
- In another bowl, whisk together the dry ingredients: all-purpose flour, baking soda, and salt.
- Now, gradually add the dry ingredients to the butter-sugar mixture in three parts.
- Cover the bowl with plastic wrap and chill the dough in the fridge for at least 30 minutes.
- Preheat your oven to 350° F (175° C). Line two large baking sheets with parchment paper.
- While the oven heats, place the extra granulated sugar in a small shallow bowl.
- Using a 1 ½ tablespoon size cookie scoop, scoop the chilled dough and roll it into balls.
- Bake the cookies for 8 to 9 minutes. They will puff up during baking and will appear slightly underbaked.
- Once out of the oven, allow the cookies to cool for about 10 minutes.
- Finally, press a Hershey’s Kiss candy into the center of each cookie gently.
- Allow the cookies to cool completely on the baking sheet before transferring them to a wire rack.
Notes
- Tip 1: Make sure to soften the butter before making cookies.
- Tip 2: Ensure to properly measure out the flour.
- Tip 3: Servings size: we count 2 cookies per serving.