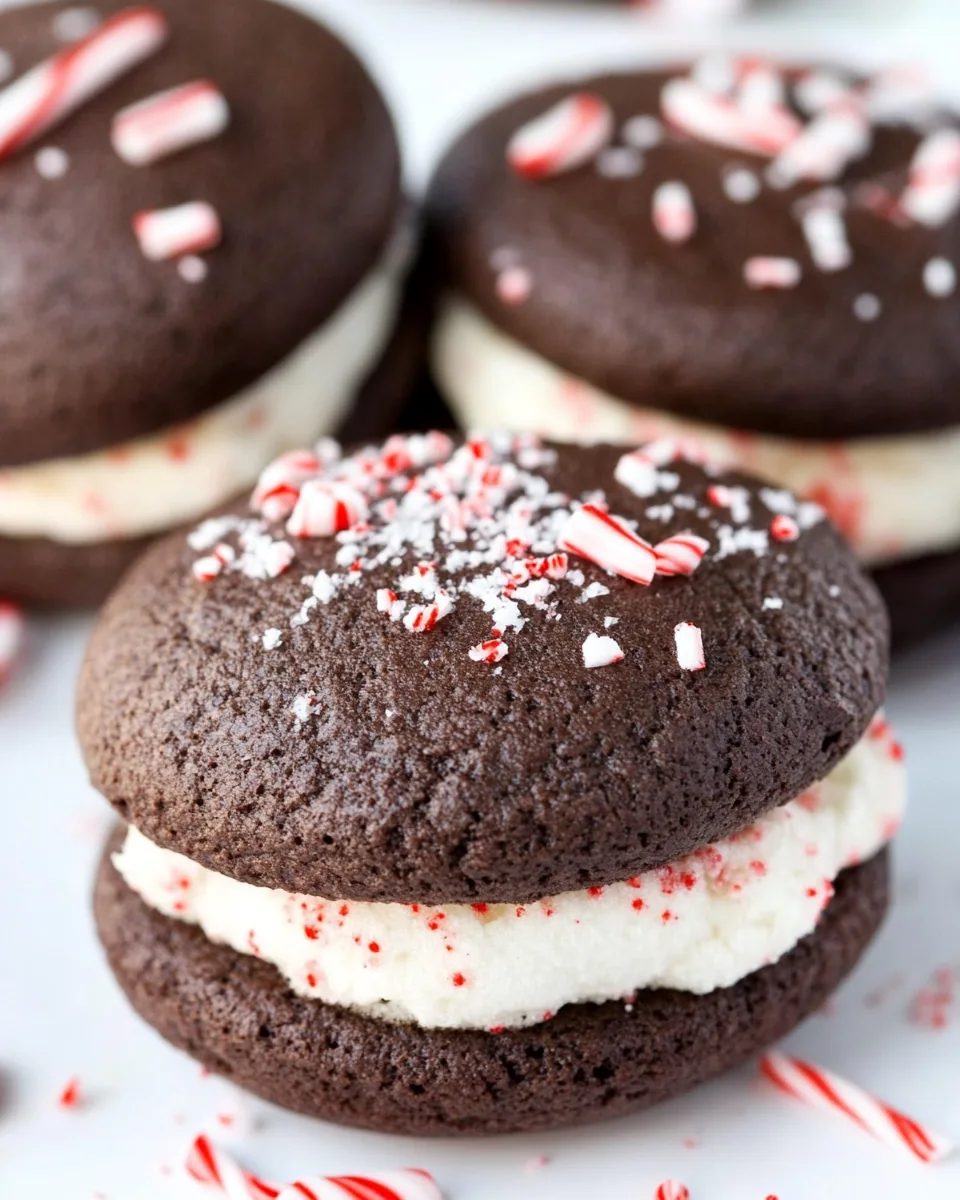
Peppermint Whoopie Pies
There’s something incredibly special about making Peppermint Whoopie Pies. I still remember the first time I baked them during the holiday season. The air was crisp, and the scent of baking chocolate wafted through the kitchen. Friends and family gathered around, eager and excited, waiting for the sweet treats to come out of the oven. Every bite of these soft, chocolatey pies filled with creamy peppermint goodness takes me back to that cozy evening. It’s a nostalgic experience that reminds me of warmth, joy, and the magic of the holidays. Who wouldn’t want to share such a delightful treat with loved ones? Whether it’s for a festive gathering or just a sweet indulgence at home, Peppermint Whoopie Pies brings people together in the most delicious way.
Recipe Snapshot
30 mins
20 mins
10 mins
Medium
180 kcal
2 g
Gluten-Free, Low FODMAP
8 g
Mixing Bowl, Whisk, Baking Sheet, Oven
Why You’ll Love This Peppermint Whoopie Pies
They’re a Nostalgic Delight
Every time I make Peppermint Whoopie Pies, I feel a wave of nostalgia wash over me. These treats remind me of childhood afternoons spent baking with my mother. The combination of rich chocolate and refreshing peppermint is pure magic.
Perfect for Celebrations
These whoopie pies shine at any festive gathering. Their vibrant colors and delightful flavors make them a perfect addition to holiday dessert tables. Imagine the smiles on your guests’ faces as they bite into these sweet morsels!
Easy to Make
You don’t need to be a baking expert to whip up Peppermint Whoopie Pies. The steps are straightforward, and the ingredients are simple. With just a little bit of time, you can create these stunning treats.
Customizable Fun
Another reason to love these pies is their versatility. You can sprinkle crushed candy canes on top, change the filling flavors, or even experiment with different chocolates. The possibilities are endless, making them fun for everyone!
Great for Gifting
Who wouldn’t love receiving a box of homemade Peppermint Whoopie Pies? They make charming gifts, especially during the holiday season. Wrap them up in a beautiful box, and you’ve got a thoughtful present that anyone would appreciate.
A Unique Treat
Finally, these whoopie pies offer something different from traditional cookies or cakes. Their unique shape and texture make them stand out, and they always leave a lasting impression.
Main Ingredients for Peppermint Whoopie Pies
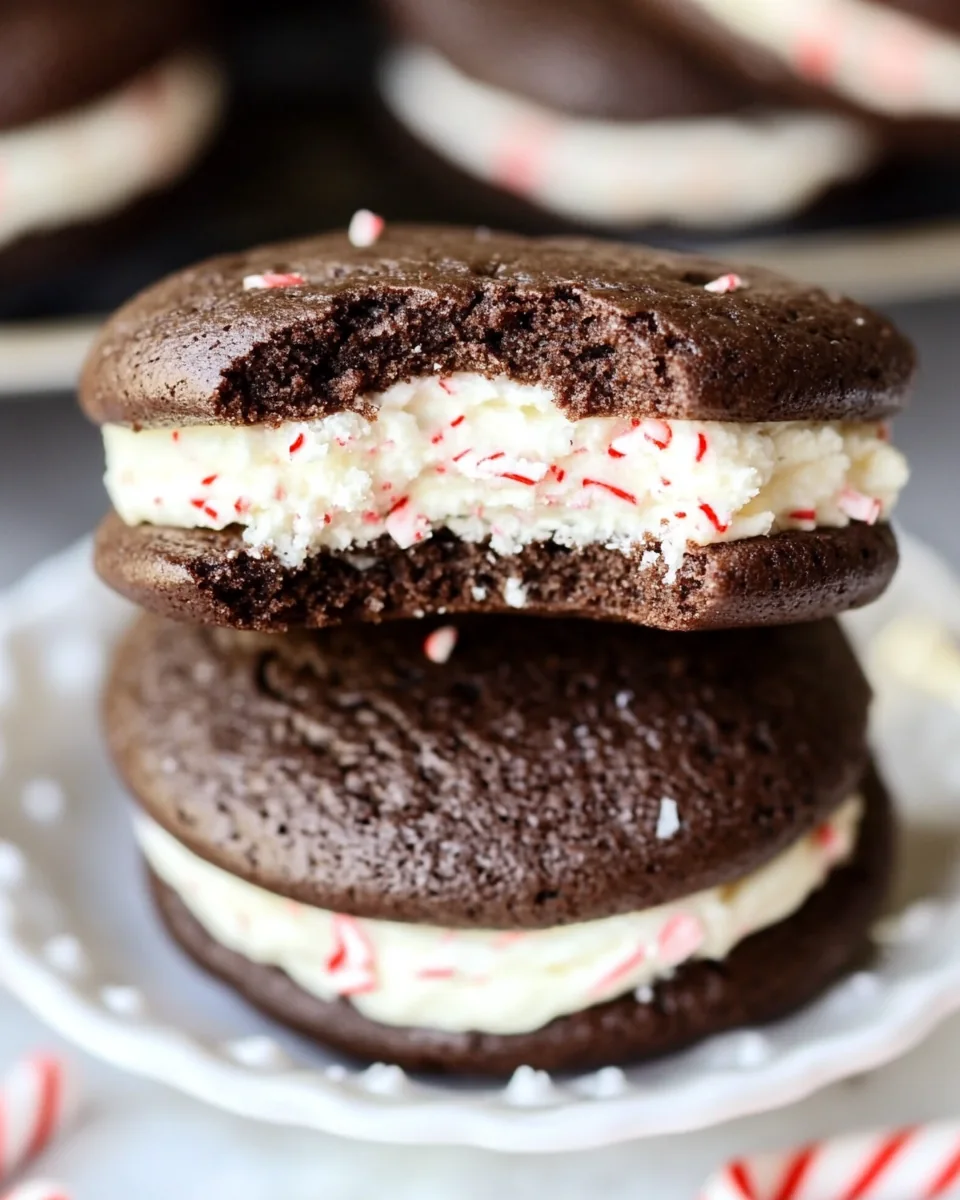
The ingredients for Peppermint Whoopie Pies are what make this treat extraordinary. Each component plays a crucial role in achieving the perfect balance of flavors and textures. The rich, chocolatey base pairs wonderfully with the light, fluffy filling, creating an indulgent experience that’s hard to resist. Let’s dive into the key players that come together in this delightful recipe.
- All-purpose flour: This provides the structure for the pies, ensuring they hold their shape while remaining soft and tender.
- Unsweetened cocoa powder: It adds deep chocolate flavor without excess sweetness, balancing perfectly with the filling.
- Baking soda: This leavening agent helps the pies rise, resulting in a light texture.
- Salt: A pinch enhances the flavors and balances the sweetness.
- Unsalted butter: Provides richness and moisture to the cake part of the whoopie pies.
- Vegetable shortening: This contributes to a tender crumb and helps the pies maintain their shape.
- Dark brown sugar: It adds moisture and a hint of caramel flavor.
- Egg: Acts as a binder, adding structure and richness.
- Milk: Adds moisture to the batter, making it easier to combine.
- Powdered sugar: Essential for the creamy filling, it gives the right sweetness and texture.
- Heavy cream: It makes the filling rich and luscious.
- Peppermint extract: The star of the filling, it brings a refreshing flavor that pairs beautifully with chocolate.
- Crushed candy canes: For garnish, they add a festive touch and a little crunch.
Cooking Instructions for Peppermint Whoopie Pies

Making Peppermint Whoopie Pies is a fun and rewarding experience. I love watching the transformation of simple ingredients into delightful treats. Follow these steps carefully, and you’ll be enjoying these sweet pies in no time!
- Preheat your oven to 375 degrees F. Line two baking sheets with parchment paper. This prevents the pies from sticking and makes cleanup easier.
- In a medium bowl, whisk together all-purpose flour, cocoa powder, baking soda, and salt. This dry mixture is the foundation for your whoopie pies.
- In the bowl of a stand mixer fitted with the paddle attachment, combine unsalted butter, vegetable shortening, and dark brown sugar. Beat on low speed until just combined, then increase to medium and beat until fluffy and smooth, about 3 minutes.
- Add the egg and vanilla extract to the mixture, beating for another 2 minutes. This adds flavor and helps to create a light texture.
- Gradually mix in half of the dry ingredients along with half of the milk. Beat on low until just incorporated, then scrape down the sides of the bowl.
- Add the remaining dry ingredients and ½ cup of milk, mixing until completely combined. The batter should be thick and slightly glossy.
- Using a tablespoon or a cookie scoop, drop about 1 tablespoon of batter onto the prepared baking sheets, spacing them at least 3 inches apart. This allows them to expand while baking.
- Bake one sheet at a time for about 10 minutes, or until the pies spring back when lightly pressed. They should look set but not overdone.
- Remove from the oven and let the cakes cool on the sheet for about 5 minutes before transferring them to a wire rack to cool completely.
- In the meantime, prepare the filling. In a stand mixer, combine powdered sugar and unsalted butter, starting on low and increasing to medium speed. Beat until crumbly, about 1 minute.
- Add heavy cream, vanilla extract, peppermint extract, and salt. Beat on high until smooth, approximately 3 minutes.
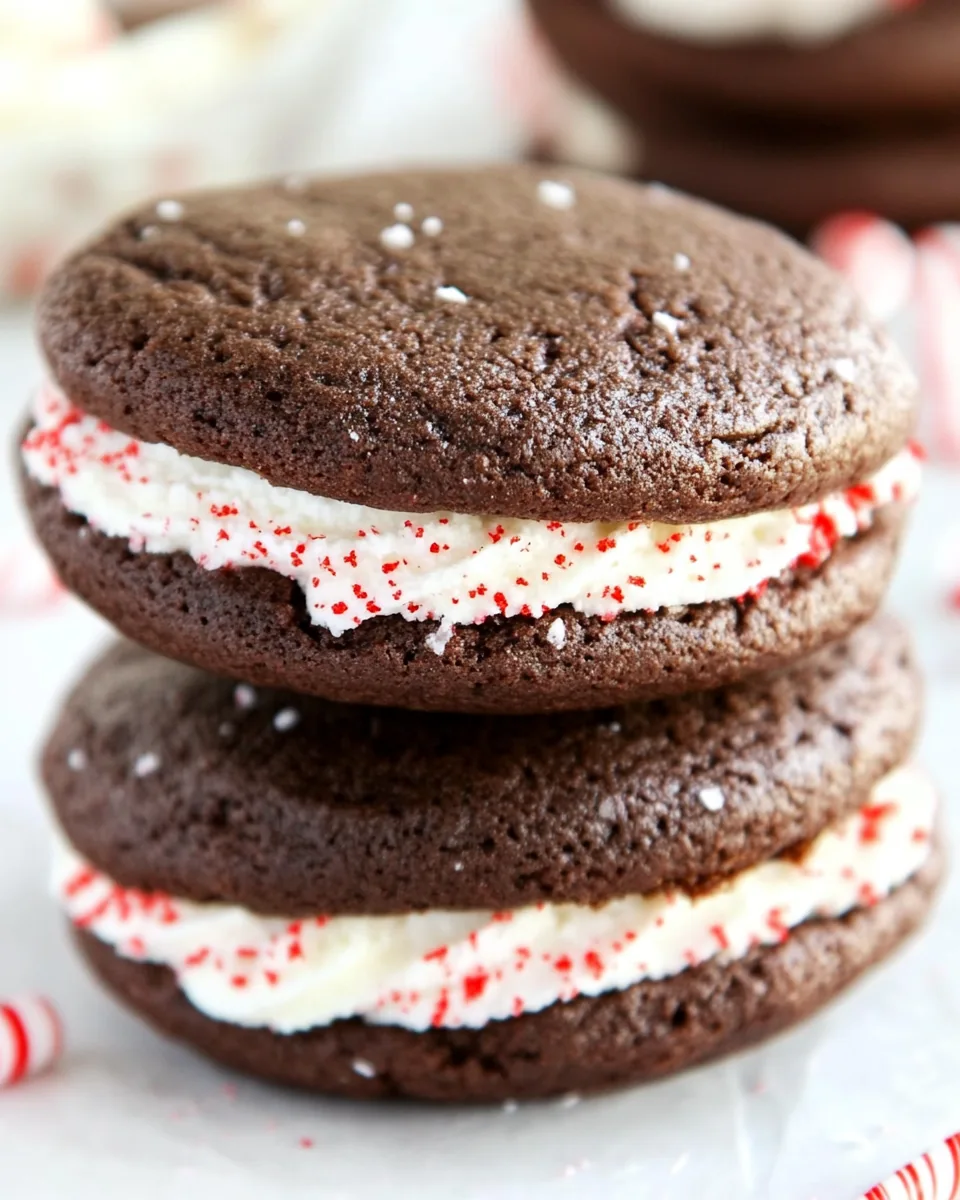
- To assemble, spread the filling onto the flat side of one cake using a knife or spoon. Top with another cake, flat side down. Repeat with the remaining cakes and filling.
- Roll the edges of the whoopie pies in crushed candy canes for a festive touch. They’re best enjoyed within a day of making them.
- Store any leftovers in a wide, shallow container arranged in a single layer for up to 3 days. You can also wrap them individually in plastic wrap.
Things Worth Knowing
- Use Room Temperature Ingredients: Make sure your butter and eggs are at room temperature for a smoother batter.
- Don’t Overmix: When adding the dry ingredients, mix just until combined to avoid tough pies.
- Check for Doneness: The pies are done when they spring back to the touch. Overbaking can lead to dry whoopie pies.
- Let Them Cool: Allow the pies to cool completely before adding filling to avoid melting it.
Change It Up
If you’re feeling adventurous or want to tailor the recipe to your taste, here are some ideas to change up your Peppermint Whoopie Pies.
- Flavor Variation: Experiment with different extracts like almond or orange for a unique twist.
- Filling Options: Try a chocolate ganache or a cream cheese filling instead of the peppermint one.
- Colorful Decorations: Use colored sprinkles or other festive toppings for a cheerful presentation.
- Make Them Mini: For bite-sized treats, scoop smaller amounts of batter and adjust bake time.
- Storage: Keep leftovers in an airtight container to maintain freshness.
- Freezing: You can freeze the filled whoopie pies for up to a month. Just thaw them in the fridge overnight.
- Pairing: Serve with hot cocoa or coffee for the ultimate cozy experience.
Accompaniments for Peppermint Whoopie Pies
When it comes to serving Peppermint Whoopie Pies, there are plenty of exciting ways to enhance your experience. Here’s some inspiration:
- Hot Beverages: Pair these pies with a warm cup of hot chocolate or coffee to balance the sweetness.
- Holiday Parties: They’re perfect for Christmas gatherings or winter festivities, bringing cheer to any dessert table.
- Gift Giving: Package them in decorative boxes for a thoughtful homemade gift during the holidays.
- Comfort Food: These pies make for a cozy dessert on chilly evenings with family.
- Storage: Keep them in a cool place, ideally in a single layer, to maintain their texture and flavor.
- Seasonal Flavors: While they shine in winter, you can enjoy them at any time of year for a sweet treat.
FAQ
Conclusion
The magic of Peppermint Whoopie Pies lies in their combination of rich chocolate and refreshing peppermint flavors. They’re the perfect treat for any occasion, adding a touch of joy to your dessert table. I encourage you to give this recipe a try! It’s a delightful experience that’s sure to bring smiles to your family and friends. Happy baking!
Peppermint Whoopie Pies
Ingredients
Equipment
Method
- Preheat your oven to 375 degrees F. Line two baking sheets with parchment paper.
- In a medium bowl, whisk together all-purpose flour, unsweetened cocoa powder, baking soda, and salt.
- In the bowl of a stand mixer, combine unsalted butter, vegetable shortening, and dark brown sugar. Beat on low speed until just combined, then increase to medium and beat until fluffy and smooth, about 3 minutes.
- Add the egg and vanilla extract to the mixture, beating for another 2 minutes.
- Gradually mix in half of the dry ingredients along with half of the milk. Beat on low until just incorporated, then scrape down the sides of the bowl.
- Add the remaining dry ingredients and ½ cup of milk, mixing until completely combined.
- Using a tablespoon or a cookie scoop, drop about 1 tablespoon of batter onto the prepared baking sheets, spacing them at least 3 inches apart.
- Bake one sheet at a time for about 10 minutes, or until the pies spring back when lightly pressed.
- Remove from the oven and let the cakes cool on the sheet for about 5 minutes before transferring them to a wire rack to cool completely.
- In the meantime, prepare the filling by combining powdered sugar and unsalted butter, starting on low and increasing to medium speed.
- Add heavy cream, peppermint extract, and salt. Beat on high until smooth.
- To assemble, spread the filling onto the flat side of one cake using a knife or spoon. Top with another cake, flat side down.
- Roll the edges in crushed candy canes for a festive touch.
- Store leftovers in a wide, shallow container arranged in a single layer for up to 3 days.
Notes
- Storage: Keep leftovers in an airtight container to maintain freshness.
- Freezing: You can freeze the filled whoopie pies for up to a month. Just thaw them in the fridge overnight.
- Variations: Try different extracts for a unique twist.
- Pairing: Serve with hot cocoa or coffee for the ultimate cozy experience.