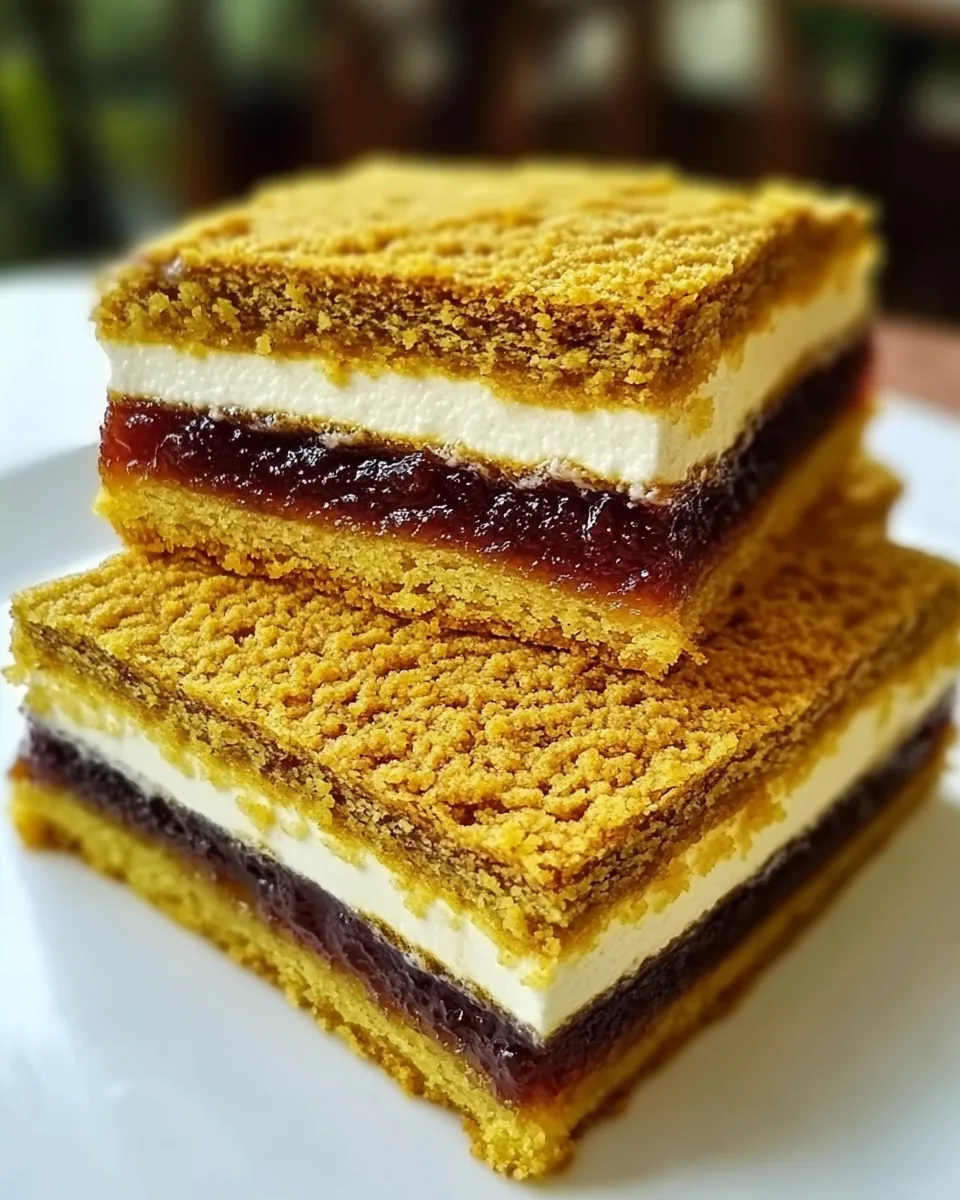
Romanian Albinita
As a child, I remember visiting my grandmother’s house in Romania, where the smell of baked goods filled the air. One specific treat that always caught my attention was the Romanian Albinita. This honey cake, layered with sweet plum jam and a creamy filling, became a staple for our family gatherings. The joy of sharing this dessert with loved ones is something I still cherish today. Each bite is a reminder of my childhood, filled with warmth, laughter, and the sweet taste of home. It’s not just a recipe; it’s a celebration of love and heritage.
Recipe Snapshot
1 hr 30 mins
60 mins
30 mins
Hard
325 kcal
5 g
Keto, Paleo, Whole30
15 g
Large Pot, Grater, Mixing Bowl, Baking Sheet, Blender, Peeler, Frying Pan, Wooden Spoon, Whisk
Why Try This Romanian Albinita
It’s a Sweet Tradition
Every family has those cherished recipes that get passed down through generations. The Romanian Albinita is one of those recipes in my family. Each layer tells a story, and the combination of flavors creates a beautiful tapestry of taste that brings us together.
Perfect for Sharing
This cake is perfect for any occasion. Whether it’s a festive holiday or a simple family gathering, the Romanian Albinita shines as a centerpiece. People love to share their memories over a slice, making it a great conversation starter.
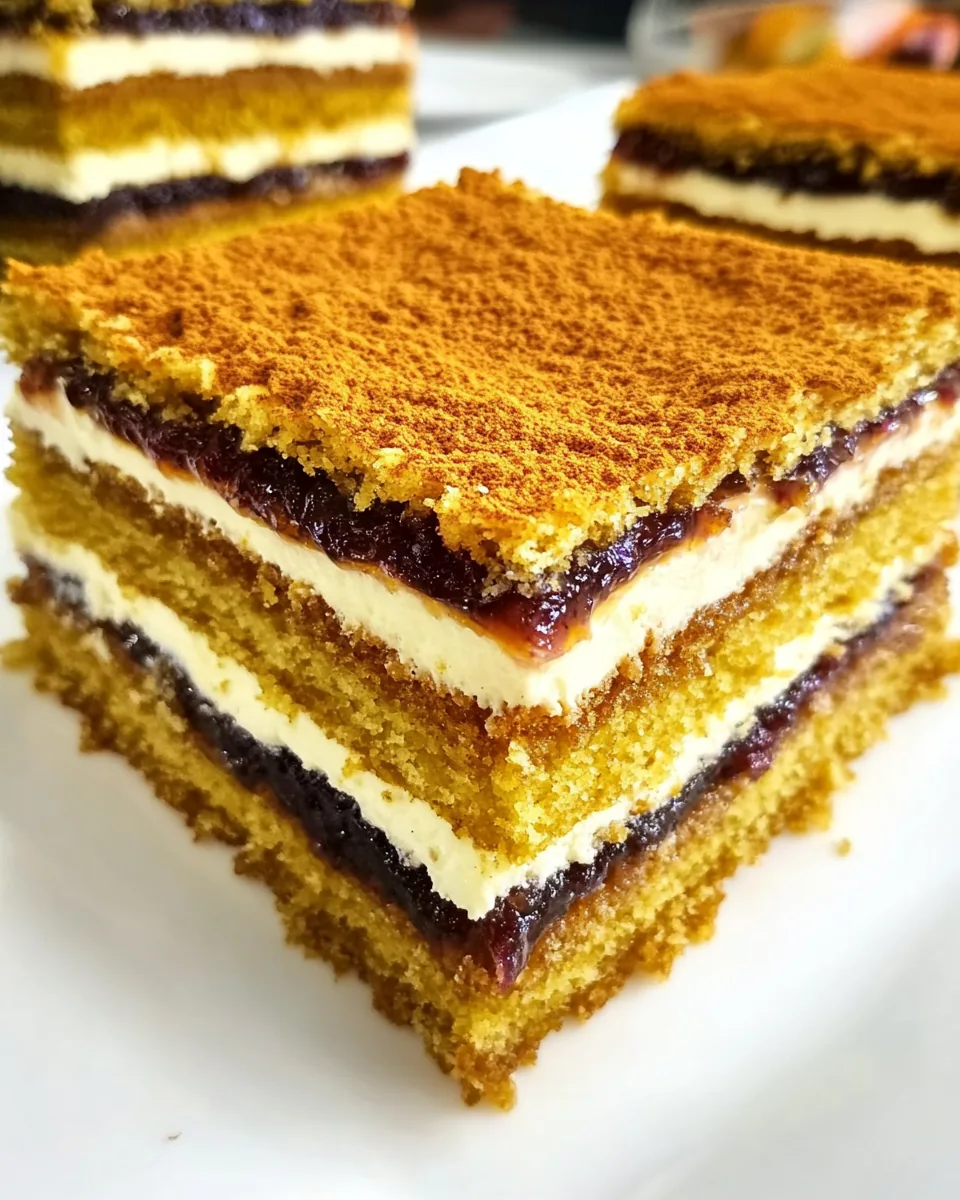
Rich and Decadent
The layers of this cake are filled with rich flavors. The sweetness of honey combined with the tartness of plum jam creates a beautifully balanced dessert. When you add the creamy filling, it elevates the cake to a whole new level!
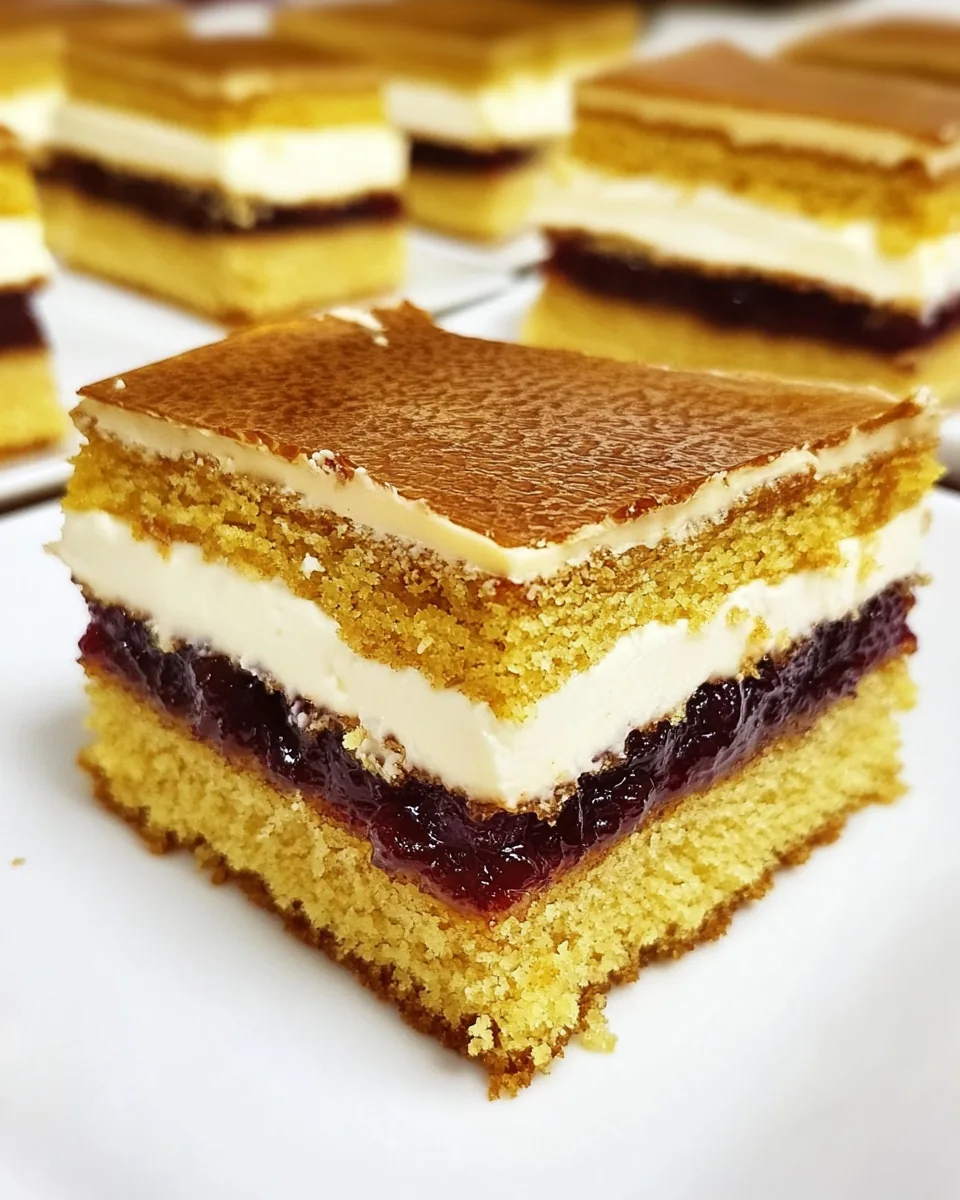
Simple Yet Elegant
This cake may seem intricate, but with a little patience, anyone can master it. The process of layering and decorating is not just about the final product; it’s about enjoying the journey of baking. Plus, it’s a treat that impresses everyone!
Great for Meal Prep
One of my favorite aspects of the Romanian Albinita is that it can be made in advance. In fact, it tastes even better the next day after the flavors have melded together, making it a fantastic option for busy hosts who want to impress their guests without stress.
Customizable
Lastly, this recipe is versatile. Feel free to experiment with different jams or creams based on your personal preference. The possibilities are endless, and you can make it uniquely yours!
Ingredient List for Romanian Albinita
The ingredients used in the Romanian Albinita are simple yet impactful. They work together to create a moist, flavorful cake with a rich filling that makes each bite unforgettable. Let’s break down these key players:
- 500 g Flour: The foundation of the cake, providing structure and texture.
- 100 g Sugar: Adds sweetness and helps achieve the perfect caramelization during baking.
- 150 g Honey: Gives the cake its rich flavor and moisture, making it irresistibly soft.
- 130 g Butter (85% fat): Adds richness and tenderness to the cake layers.
- 2 Eggs: Essential for binding the ingredients and providing structure.
- 1 level tsp Baking Soda: Helps the cake rise and become fluffy.
- 1 pinch Salt: Enhances flavor and balances the sweetness.
- 120 g Semolina: Contributes to the cream filling, giving it a unique texture.
- 600 ml Milk: Adds moisture to the cake and is used in the creamy filling.
- 150 g Sugar (for the cream): Sweetens the creamy filling to perfection.
- 250 g Butter (82% fat): Provides richness for the filling.
- 1 Vanilla Essence: Adds a warm, sweet aroma that pairs beautifully with the other flavors.
- Grated Lemon Peel of 1 Lemon: Adds freshness and brightness to the cream.
- 300 g Plums: The star of the show, providing a sweet and tangy jam layer.
Making This Romanian Albinita
Creating the Romanian Albinita is a delightful process that fills your kitchen with an inviting aroma. It’s all about layering flavors and textures to achieve that perfect slice. Let’s get started!
Begin by making sure all the ingredients, except the flour, are at room temperature. This is important as it helps with blending and results in a better texture.
In a large mixing bowl, combine honey, butter (both types), and sugar, mixing until creamy. You’ll want to achieve a nice, smooth consistency. This is the base of your cake, so take your time.
Next, add the eggs one at a time, mixing well after each addition. You should see a light and fluffy mixture. At this point, the flavors will start to come together beautifully.
In a separate bowl, sift together the flour, baking soda, and a pinch of salt. This helps incorporate air and ensures there are no lumps.
Gradually add the dry ingredients to the wet mixture, folding gently to combine. Be cautious not to overmix; you want a soft, non-sticky dough.
If your dough seems too firm, add 1 to 2 tablespoons of milk until you reach the desired consistency. This step is crucial for ensuring your layers remain tender.
Once the dough is ready, divide it into four equal pieces. This will form the layers of your cake. Roll each piece out on a sheet of baking paper sprinkled with flour. Aim for thin layers to achieve that delicate texture.
Transfer the rolled-out dough to a baking tray and bake each layer at 180°C (356°F) for about 8 to 10 minutes, or until the edges turn a lovely coppery color. Watch them closely; they can go from perfect to overdone quickly!
Place the baked layers on a cooling rack. Cover them with food-grade film while they cool to prevent them from drying out. This helps keep them soft and pliable.
Meanwhile, in a saucepan, boil the milk together with sugar. Once it boils, gently whisk in the semolina, stirring continuously to avoid lumps. Cook for 5 minutes, but keep an eye that it doesn’t stick to the pan.
Remove the mixture from the heat once it’s thickened but still pourable. Allow it to cool, then mix in the grated lemon peel and vanilla essence. This will enhance the flavor with a refreshing note.
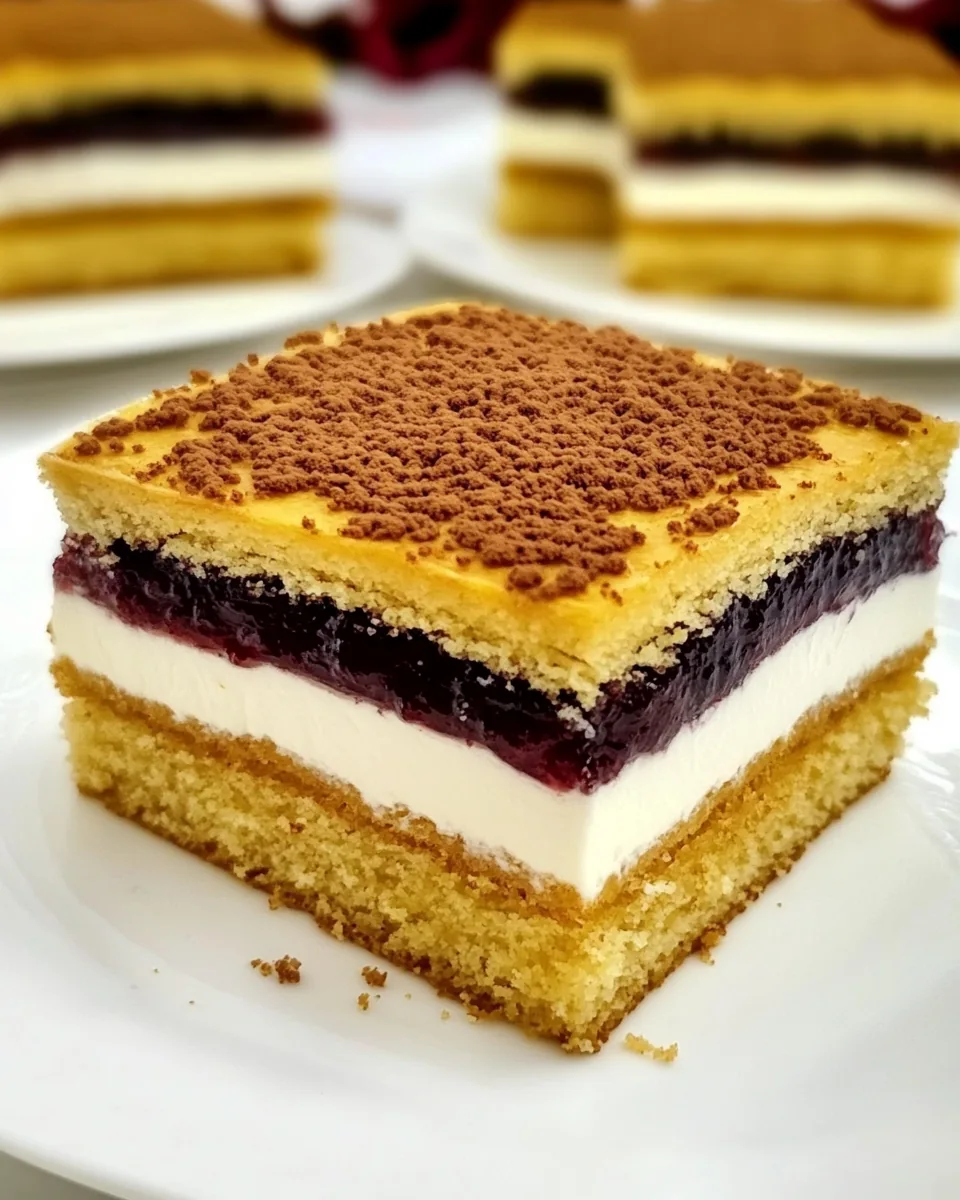
Now, it’s time to layer! On your first cake layer, spread the creamy semolina filling generously, then add the second layer on top. Spread a layer of plum jam on this one.
Continue layering with a third layer and more cream, finishing with the last layer on top. Cover the entire cake with food film and refrigerate overnight. This resting period is essential as it allows the flavors to meld beautifully.
Before serving, dust the cake with powdered sugar for an elegant touch. Slice it up, and you’ll see how the layers come together, creating a delightful dessert!
Things Worth Knowing
- Room Temperature Ingredients: Always use room temperature eggs and butter for better emulsification and a smoother batter.
- Layering Technique: Be gentle when layering to maintain the integrity of each layer. Pressing down too hard can cause them to crumble.
- Resting Time: Allowing the cake to rest overnight not only enhances the taste but also lets the layers soften, making it easier to cut.
- Baking Precision: Keep a close watch on the baking time; every oven is different, and you want to achieve just the right color on the edges.
Change It Up
The Romanian Albinita is wonderfully versatile. Here are some ideas to make your variation of this classic cake shine:
- Storage: To store leftovers, keep the cake in an airtight container in the fridge. It can last up to a week, but it’s best enjoyed fresh!
- Freezing: You can freeze individual layers before assembling. Wrap them tightly in plastic wrap and then foil to prevent freezer burn.
- Pairing: This cake pairs beautifully with a cup of coffee or tea. It’s the perfect afternoon treat!
- Flavor Variations: Try using different jams such as apricot or raspberry to create new flavor profiles.
- Decorations: Add fresh fruits or edible flowers on top for a beautiful presentation.
Serve This Romanian Albinita With
- Tea or Coffee: Enjoy a slice of Romanian Albinita with your favorite hot beverage. The sweetness complements the bitterness perfectly.
- Fresh Fruits: Pair with seasonal fruits such as berries or citrus for a refreshing contrast.
- During Gatherings: This cake is perfect for celebrations, birthdays, and family reunions; everyone will love it!
- Special Occasions: Serve it during holidays like Christmas or Easter, as it adds a festive touch to the table.
- Storage Tips: Keep leftover cake in the fridge, wrapped well to maintain moisture.
FAQ
Conclusion
The Romanian Albinita is a special dessert that brings together rich flavors and textures, making it a delightful treat for any occasion. I encourage you to try making this cake, as it embodies the warmth and love of home baking. It’s not just a recipe; it’s an experience that you’ll cherish and want to share with others.
Romanian Albinita
Ingredients
Equipment
Method
- Make sure all the ingredients, except the flour, are at room temperature.
- Mix together in a bowl, then put on the heat.
- Leave on medium to high heat, stirring constantly until a copper cream is formed. Leave to cool.
- When it is cool, add the flour and mix by hand until a soft, non-sticky dough results.
- If it looks too hard, add 1-2 tablespoons of milk.
- Then divide the dough into four equal pieces.
- Roll out on a sheet of baking paper sprinkled with flour.
- Roll it out as thin as possible, then transfer it, along with the paper, to the back of the tray.
- Bake for about 8-10 minutes at 180° C (356 ℉) until edges turn coppery.
- Bake all the layers one by one. Leave them to cool on a rack and set aside the baking paper.
- While waiting for layers to bake, cover the baked ones with food-quality film to prevent drying out.
- Boil the milk together with the sugar.
- When the milk has boiled, gently add the semolina so it doesn’t become lumpy. Mix with a whisk and boil for 5 minutes.
- Be careful the mixture doesn’t stick to the bottom of the pan.
- Remove from heat and allow to cool.
- Add the grated lemon peel and vanilla essence, and mix until well blended.
- Spread the semolina cream over the first layer, place the second layer on top and spread it with the jam. Place the third layer on top and spread with the cream, then put on the last layer.
- Leave the cake in the fridge overnight; the longer it rests, the better it will be.
- Before serving, decorate with powdered sugar.
- This cake is great, I recommend it to everyone!
Notes
- Storage: To store leftovers, keep the cake in an airtight container in the fridge. It can last up to a week, but it’s best enjoyed fresh!
- Freezing: You can freeze individual layers before assembling. Wrap them tightly in plastic wrap and then foil to prevent freezer burn.
- Pairing: This cake pairs beautifully with a cup of coffee or tea. It’s the perfect afternoon treat!
- Flavor Variations: Try using different jams such as apricot or raspberry to create new flavor profiles.
- Decorations: Add fresh fruits or edible flowers on top for a beautiful presentation.