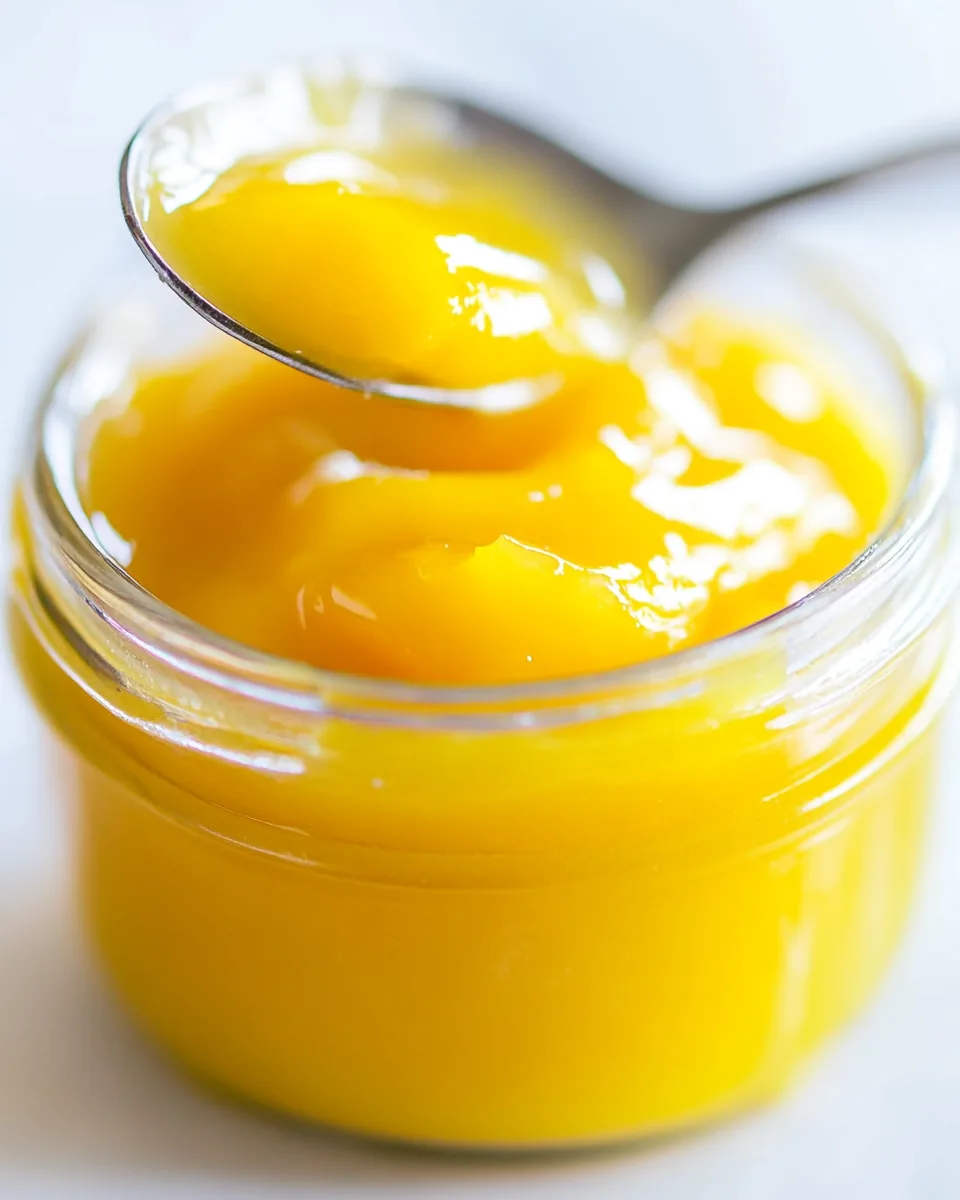
Easy Orange Curd
When I first experimented with making Easy Orange Curd, I was instantly transported to a sunny citrus grove with the sweet scent of oranges filling the air. It was a casual Sunday morning, and I had a few vibrant oranges sitting on my kitchen counter, beckoning me to create something magical. Little did I know, this simple recipe would not only elevate my breakfast but also become a cherished treat I would share with friends and family. There’s something wonderfully comforting about making curd at home—its creamy texture and bright flavor are truly a delight. Whether you spread it on toast, dollop it on pancakes, or use it as a filling for cakes, Easy Orange Curd is a versatile treat that will brighten up any dish. And the best part? It’s incredibly simple to make.
Recipe Snapshot
15 mins
5 mins
10 mins
Medium
150 kcal
2 g
Gluten-Free, Low FODMAP
7 g
Saucepan, Large Pot, Mixing Bowl, Wooden Spoon, Whisk
Why This Easy Orange Curd Shines
Fresh and Flavorful
One of the standout features of Easy Orange Curd is its freshness. Using fresh oranges not only enhances the flavor but also fills your kitchen with an incredible citrus aroma. You can taste the difference when you make it from scratch, and there’s a sense of pride in knowing you’ve created something delicious.
Versatile Deliciousness
This curd isn’t just for spreading. It can be used in a variety of ways, whether as a filling for pastries, a topping for desserts, or even as a sweet sauce drizzled over yogurt. The versatility makes it a staple in my kitchen, perfect for any occasion!
Perfectly Creamy Texture
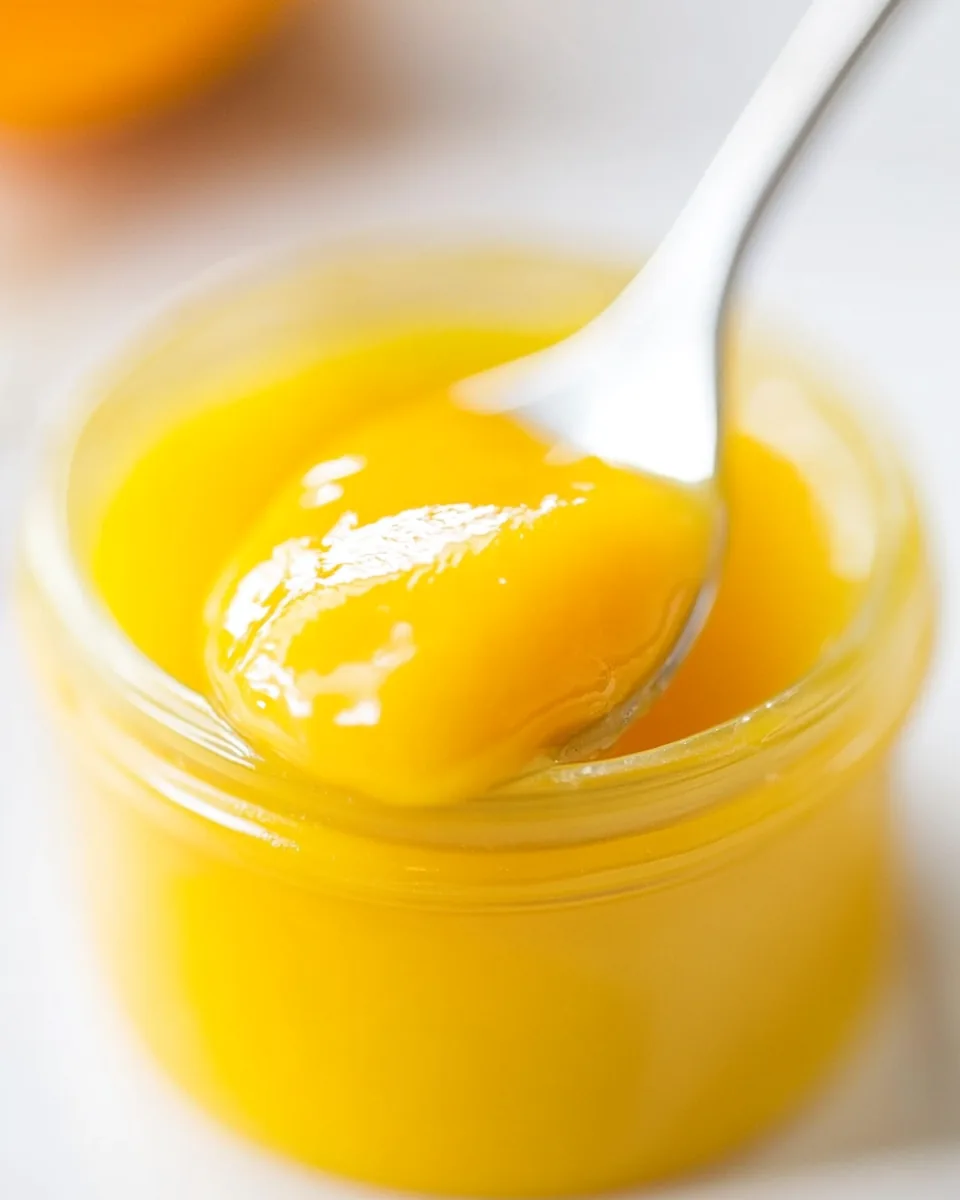
The rich, creamy texture of Easy Orange Curd is what truly sets it apart. It’s thick enough to hold its shape but smooth enough to spread effortlessly. This balance makes it an indulgent treat that can elevate even the simplest breakfast items.
Simple Ingredients
What I love most about this recipe is how few ingredients you need. With just a handful of fresh oranges, some sugar, and a couple of eggs, you can whip up this delightful curd in no time. It’s a wonderful reminder that sometimes, the best things in life are made with simple ingredients.
Gift-Worthy Treat
Homemade Easy Orange Curd makes for an excellent gift. Whether you’re attending a brunch or just want to surprise a friend, a jar of this fragrant curd wrapped with a pretty ribbon is sure to put a smile on anyone’s face. It shows thoughtfulness and creativity that store-bought just can’t capture!
Recipe Ingredients for Easy Orange Curd
Creating Easy Orange Curd is all about the harmony of simple yet flavorful ingredients. The vibrant oranges bring a zesty brightness, while the butter adds that luscious creaminess we all adore. Each ingredient plays its part, coming together to create a smooth and delightful curd that is perfect for enhancing any dish.
- 3 oranges – Fresh, juicy oranges are the stars of this recipe, providing the natural sweetness and vibrant zest that form the base of your curd.
- 1 lemon or lime – A touch of citrus brightness enhances the flavor and balances the sweetness of the oranges.
- 1 ½ cups granulated sugar – This sweetener is essential for creating that delightful, syrupy consistency.
- 2 large eggs + 4 egg yolks – These provide richness and help thicken the curd while adding a delicious flavor.
- ½ cup butter (1 stick) – The butter gives the curd its luxurious, silky texture.
- ¼ teaspoon salt – A pinch of salt enhances the overall flavor and balances the sweetness.
Cooking Method for Easy Orange Curd
Getting started on Easy Orange Curd is a breeze. Follow the steps below, and soon you’ll have this deliciously creamy curd ready to enjoy. Trust me; the process is just as rewarding as the final result!
- Begin by zesting all three oranges and the lemon. Be careful to only remove the colorful outer layer, avoiding the bitter white pith underneath. You should aim for at least one tablespoon of orange zest and one teaspoon of lemon zest. This zest is where the flavor really starts!
- Next, cut one to two of the oranges and squeeze out half a cup of fresh orange juice. Don’t forget to squeeze the lemon as well, measuring out one tablespoon of lemon juice to add a refreshing tang to your curd.
- Grab a small saucepan and set it over medium heat. Add the freshly squeezed orange juice, lemon juice, all the orange zest, lemon zest, granulated sugar, eggs, butter, and salt into the pot. This combination is going to create a wonderfully fragrant mixture!
- Using a whisk, gently mix the ingredients together as the butter starts to melt. Keep whisking until everything is well combined and no clumps remain. The mixture should be smooth and glossy at this stage.
- Once it’s all mixed, bring the mixture to a gentle boil, stirring consistently to prevent it from scorching. You’ll begin to notice the colors deepening and the fragrance filling your kitchen. This is the moment of magic!
- When the curd reaches a boil, lower the heat if necessary to keep a steady simmer. Continue to cook and stir for about five to six minutes. You’re looking for the mixture to thicken up beautifully, sticking to the back of a spoon.
- As you stir, use a rubber spatula to scrape the bottom of the pot. This will help ensure that none of the curd sticks and burns as it thickens. You’ll know it’s done when it coats the spatula and has a velvety texture.
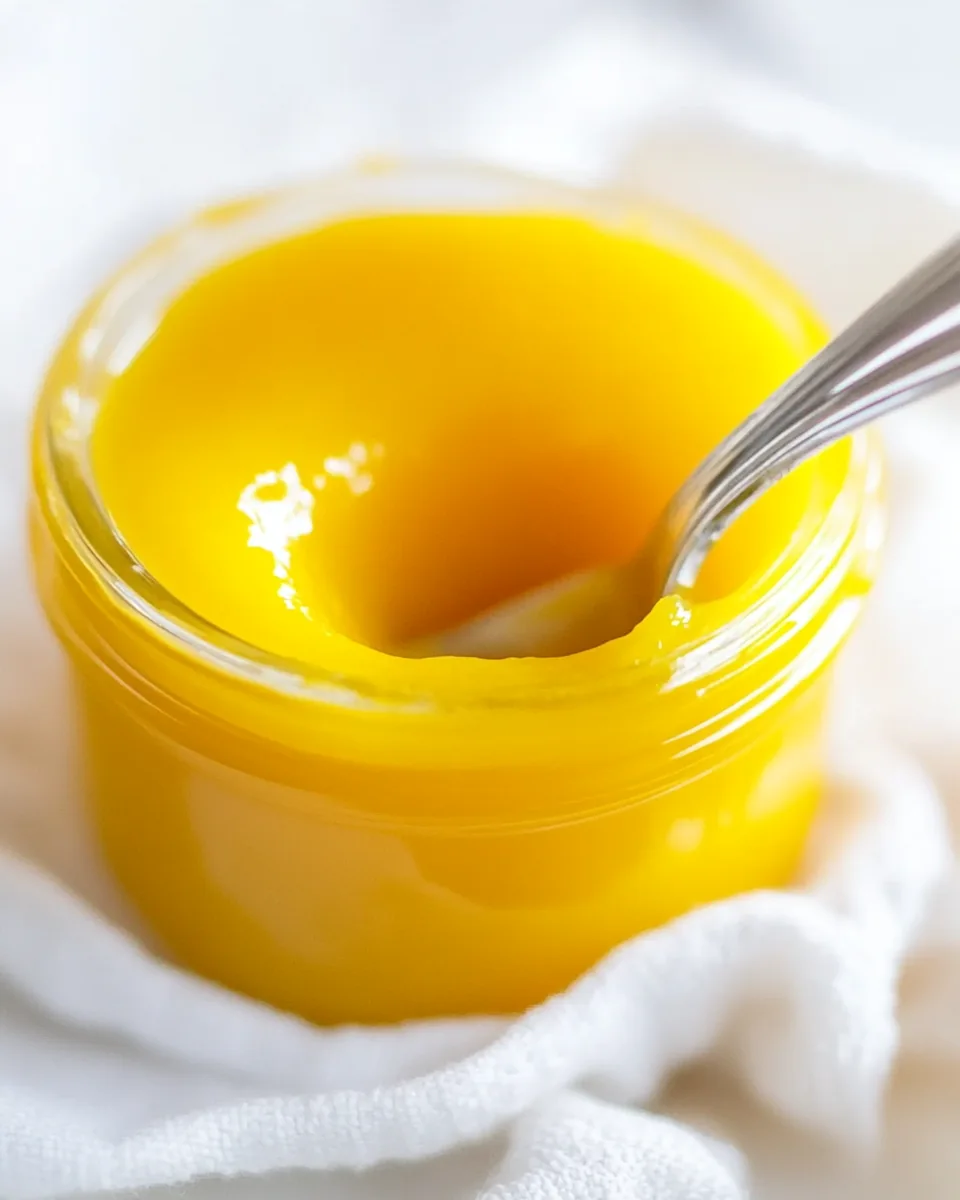
- Remove the pot from the heat, and let the curd cool slightly before transferring it to a clean jar. As it cools, it will continue to thicken, resulting in a perfect consistency.
- Once cooled, transfer your Easy Orange Curd to an airtight container and store it in the refrigerator. Enjoy it within two weeks for the freshest taste!
Things Worth Knowing
- Temperature Matters: Curd needs to be cooked over medium heat. Too high a heat can lead to scrambled eggs instead of a smooth curd.
- Whisking Technique: Continuous whisking is key to achieving a smooth consistency. This helps incorporate air and avoid lumps.
- Storage Tips: Store your curd in a clean, airtight container in the refrigerator. This keeps it fresh and ready to use.
- Variations: Consider experimenting with different citrus fruits like limes or grapefruits for unique flavors.
Recipe Tips about Easy Orange Curd
Here are some essential tips for making the best Easy Orange Curd. These will help ensure you get the perfect texture and flavor every time you make it!
- Storage: Homemade curd can be stored in the refrigerator for up to two weeks. Ensure it’s in an airtight container to avoid any odor absorption.
- Freezing: If you want to make a larger batch, orange curd can be frozen for up to three months. Thaw it in the refrigerator before use.
- Pairing: Easy Orange Curd is fantastic on toasted bread, pancakes, or as a filling in cakes and pastries.
- Variations: Feel free to switch up the flavors by using lime or grapefruit if you’re looking for a different twist on this classic recipe.
- Consistency Check: To check if your curd is ready, dip a spoon into it. If it coats the back of the spoon and holds a line when you run your finger through it, it’s perfect!
- Gifting: Pack in a cute jar and give it as a gift! It’s a lovely homemade present for friends and family.
Serving Suggestions
When it comes to serving Easy Orange Curd, the possibilities are endless! Here are some delightful ideas to make the most of this citrusy treat:
- Spread it on toast: A classic way to enjoy orange curd is by spreading it generously on warm, buttery toast.
- Pancake topping: Drizzle over pancakes or waffles for a refreshing breakfast that will brighten your morning.
- Filling for pastries: Use it as a luscious filling for tarts or as a layer in cakes to add a zesty surprise.
- Yogurt enhancer: Stir a spoonful into yogurt for a delicious, creamy snack or breakfast option.
- Serve with fresh fruit: Pair with sliced fruit like strawberries or bananas to enhance the sweet and tangy flavor.
- Special occasions: Perfect for brunches, afternoon tea, or as a gift—jarring it up makes for an elegant present!
FAQ
Conclusion
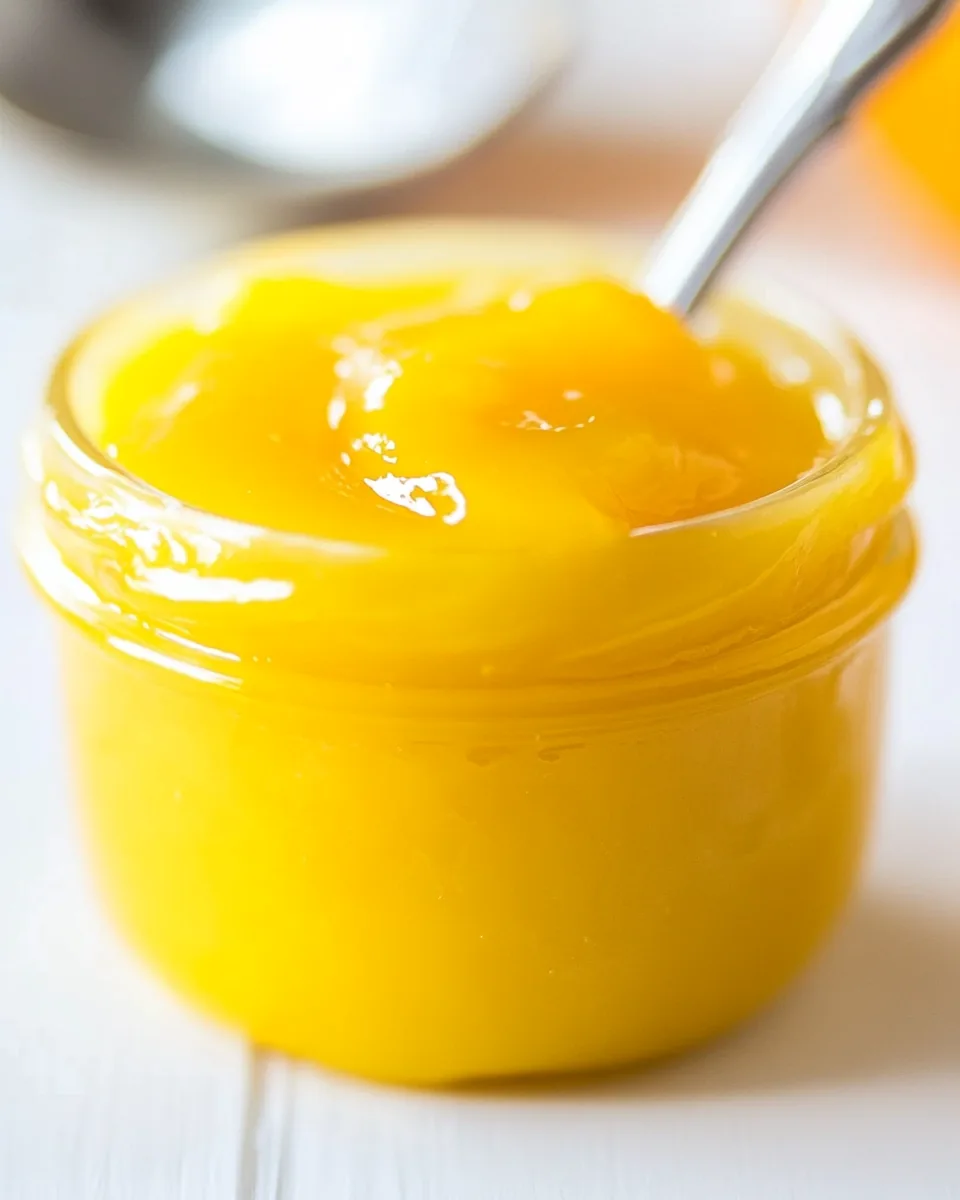
The Easy Orange Curd truly captures the vibrant flavors of citrus, making it a must-try recipe for any food lover. Once you experience the bright, creamy goodness of this curd, you’ll find it hard to resist making it again and again. So gather your ingredients and give this delightful treat a go; you won’t regret it!
Easy Orange Curd
Ingredients
Equipment
Method
- Begin by zesting all three oranges and the lemon. Be careful to only remove the colorful outer layer, avoiding the bitter white pith underneath. You should aim for at least one tablespoon of orange zest and one teaspoon of lemon zest. This zest is where the flavor really starts!
- Next, cut one to two of the oranges and squeeze out half a cup of fresh orange juice. Don’t forget to squeeze the lemon as well, measuring out one tablespoon of lemon juice to add a refreshing tang to your curd.
- Grab a small saucepan and set it over medium heat. Add the freshly squeezed orange juice, lemon juice, all the orange zest, lemon zest, granulated sugar, eggs, butter, and salt into the pot. This combination is going to create a wonderfully fragrant mixture!
- Using a whisk, gently mix the ingredients together as the butter starts to melt. Keep whisking until everything is well combined and no clumps remain. The mixture should be smooth and glossy at this stage.
- Once it’s all mixed, bring the mixture to a gentle boil, stirring consistently to prevent it from scorching. You’ll begin to notice the colors deepening and the fragrance filling your kitchen. This is the moment of magic!
- When the curd reaches a boil, lower the heat if necessary to keep a steady simmer. Continue to cook and stir for about five to six minutes. You're looking for the mixture to thicken up beautifully, sticking to the back of a spoon.
- As you stir, use a rubber spatula to scrape the bottom of the pot. This will help ensure that none of the curd sticks and burns as it thickens. You'll know it's done when it coats the spatula and has a velvety texture.
- Remove the pot from the heat, and let the curd cool slightly before transferring it to a clean jar. As it cools, it will continue to thicken, resulting in a perfect consistency.
- Once cooled, transfer your Easy Orange Curd to an airtight container and store it in the refrigerator. Enjoy it within two weeks for the freshest taste!
Notes
- Tip 1: You can make lime, lemon or grapefruit curd with this recipe as well.
- Tip 2: Homemade orange curd will keep well for up to two weeks stored in an airtight container in the refrigerator.