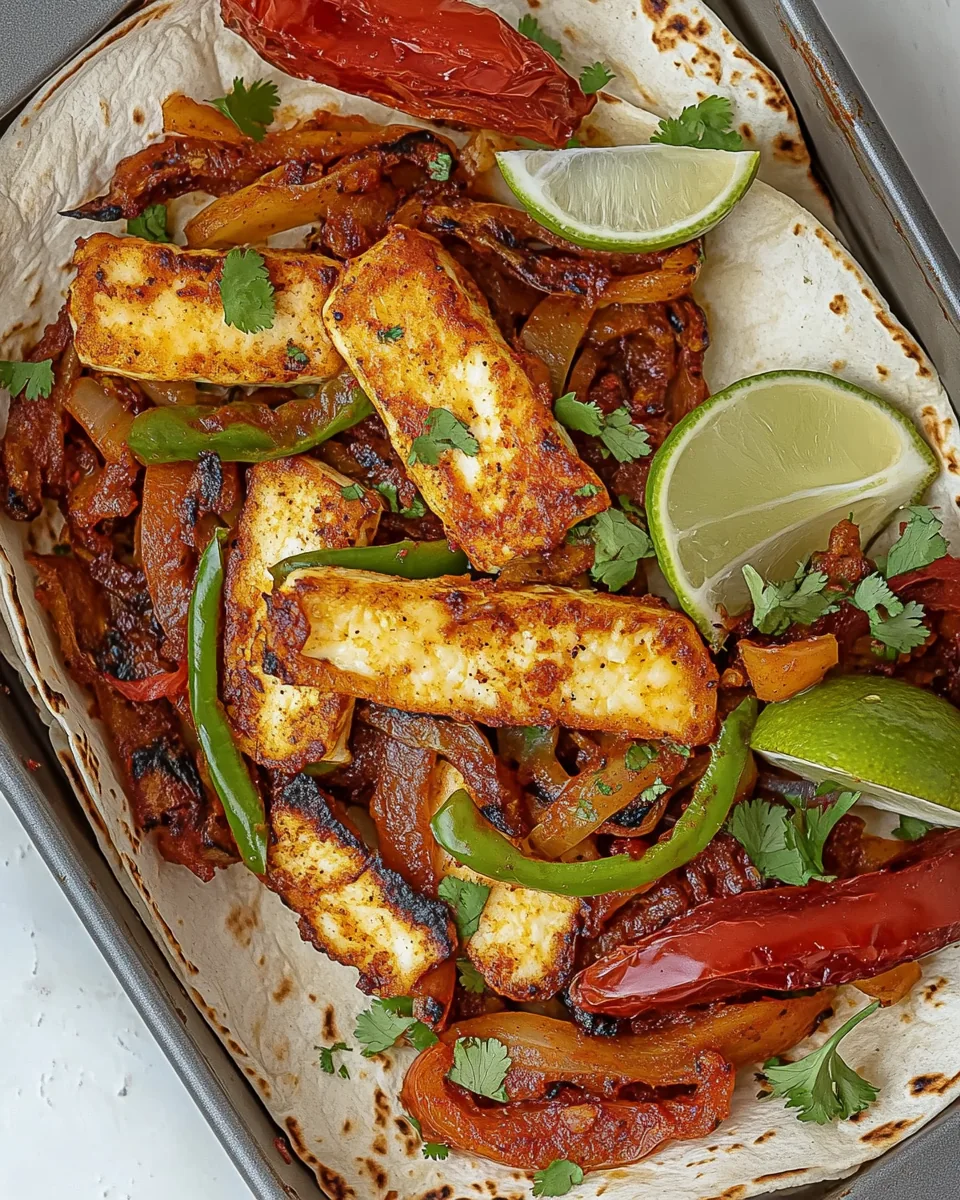
Crispy Halloumi Fajitas
There’s something magical about gathering around the table with friends and family, especially when you’re enjoying a plate of Crispy Halloumi Fajitas. I remember the first time I tried halloumi cheese; its unique texture and flavor made every bite an adventure. These fajitas became a staple in my meal rotations, often reserved for warm summer nights. Picture this: the sun setting, the aroma of sizzling cheese and fresh veggies mingling in the air, and laughter filling the space. That’s the essence of sharing Crispy Halloumi Fajitas with loved ones. It’s not just a meal; it’s a moment of connection and joy.
Recipe Snapshot
50 mins
30 mins
20 mins
Medium
420 kcal
18 g
Gluten-Free
28 g
Chef’s Knife, Skillet, Whisk
Why You’ll Love This Crispy Halloumi Fajitas
1. Unique Flavor Profile
What sets Crispy Halloumi Fajitas apart is the combination of flavors. The salty, squeaky texture of the halloumi complements the vibrant, sweet bell peppers and the sharpness of the onions beautifully. Each bite is a harmony of taste that dances on your palate.
2. Quick and Easy to Prepare
With just a few simple steps, you can whip up these fajitas in no time. I love how they come together quickly, making them perfect for those busy weeknight dinners or last-minute gatherings.
3. Versatile Ingredients
The beauty of this recipe lies in its versatility. You can mix and match your favorite veggies or even add some beans for extra protein. Feel free to experiment with spices to suit your taste.
4. Ideal for Summer Gatherings
As the weather warms up, these fajitas shine as a perfect outdoor meal. Serve them alongside refreshing drinks and your favorite summer sides for a delightful feast.
5. Plant-Based Delight
For those trying to incorporate more plant-based meals, Crispy Halloumi Fajitas are a fantastic choice. They provide a satisfying, meaty texture without sacrificing flavor or enjoyment.
6. Great for Leftovers
If you happen to have any leftovers, they store wonderfully in the fridge. Just reheat them for a quick lunch or snack the next day, and they’re just as delicious!
Ingredients Required for Crispy Halloumi Fajitas
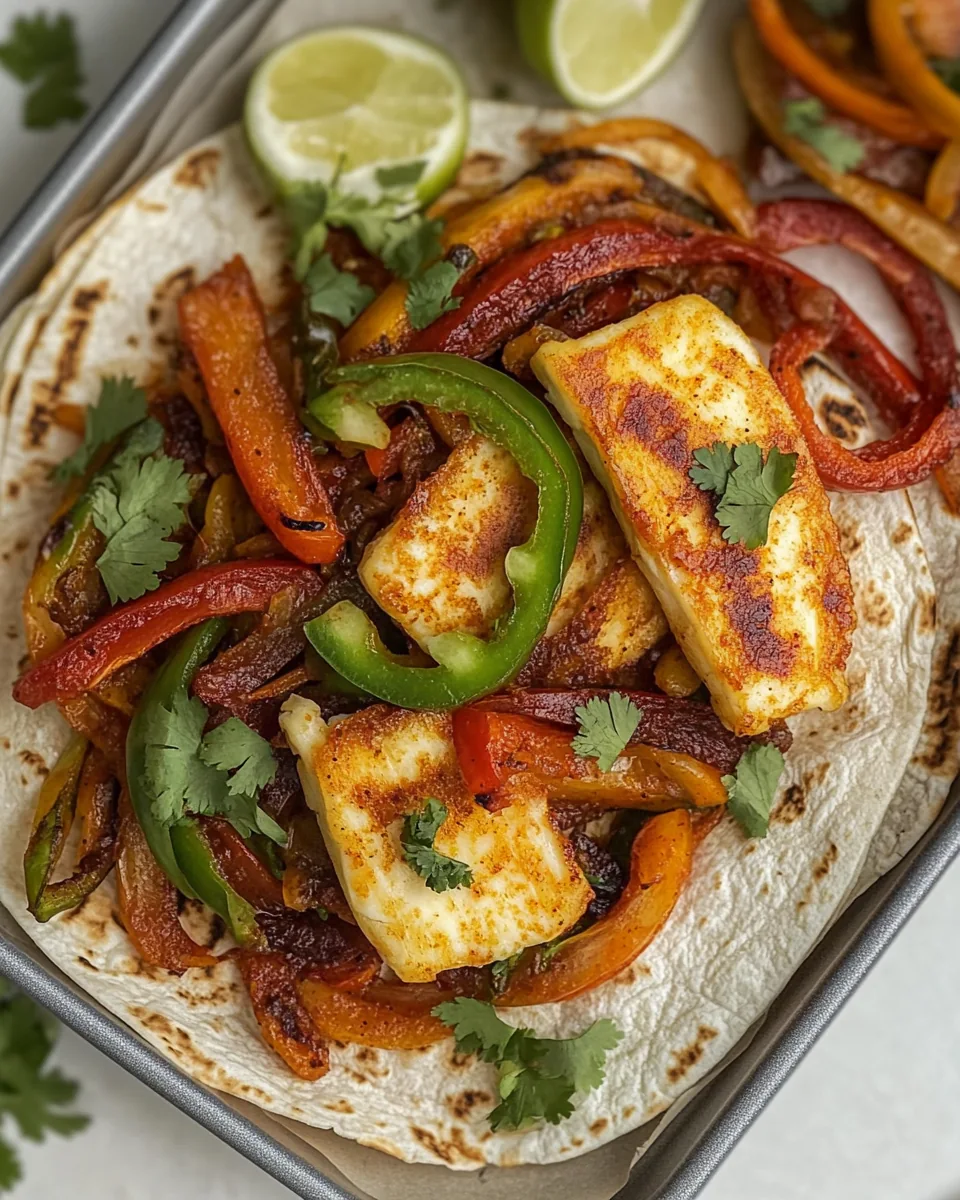
The ingredients for Crispy Halloumi Fajitas are not only simple but also come together to create a delicious explosion of flavors. The star of the dish, of course, is the halloumi cheese, known for its unique squeaky texture and ability to hold up beautifully under heat. Paired with fresh vegetables like bell peppers and red onion, along with zesty lime juice and honey, this dish balances savory and sweet perfectly.
- 3 tablespoons olive oil – Adds richness and helps to brown the veggies.
- 2 tablespoons freshly squeezed lime juice – Brings brightness and acidity, enhancing the flavors.
- 1 tablespoon fresh lime zest – Intensifies the lime flavor for a refreshing kick.
- 1 teaspoon honey – Provides a hint of sweetness to balance the savory elements.
- 1/2 teaspoon cumin – Adds warmth and depth to the flavor profile.
- 1/2 teaspoon chili powder – Introduces a mild heat that complements the other spices.
- 1/2 teaspoon smoked paprika – Gives a subtle smokiness that enhances the halloumi.
- 1/4 teaspoon salt – Essential for bringing out all the flavors.
- 1/4 teaspoon black pepper – For a hint of spice.
- 2 garlic cloves, minced – Infuses the dish with aromatic flavor.
- 1 red onion, thinly sliced – Adds sweetness and texture.
- 2 bell peppers, thinly sliced (any color works) – Brings crunch and color to the dish.
- 1 tablespoon butter – For richness when searing the halloumi.
- 28 ounce blocks halloumi cheese – The star ingredient that makes this dish special.
- 12 corn or flour tortillas, for serving – Perfect for wrapping up all the delicious filling.
- Fresh cilantro, for topping – Adds freshness and a burst of flavor.
- Avocado, thinly sliced, for topping – Creamy texture that contrasts beautifully with the crispy halloumi.
How to Cook Crispy Halloumi Fajitas

Cooking Crispy Halloumi Fajitas is a straightforward process that results in a colorful and hearty meal. Trust me; once you try making these, you’ll want to keep them in your dinner rotation. Let’s dive into the steps to create this delightful dish!
- First, if you desire a deeper flavor, consider marinating the peppers and onions in the marinade for a day in advance. This will allow the flavors to meld beautifully.
- In a small bowl, whisk together the olive oil, lime juice, lime zest, honey, cumin, chili powder, smoked paprika, salt, black pepper, and garlic until well combined. This mixture will serve as your marinade.
- Next, place the sliced bell peppers and red onion in a large mixing bowl. Pour the marinade over the veggies and toss to coat them evenly. Let them sit for at least 30 minutes to absorb the flavors.
- While the veggies are marinating, slice the halloumi into strips, aiming for about ¼ to ½ inch thick. Pat the cheese strips dry with a paper towel to ensure they sear properly.
- Sprinkle the sliced halloumi with a pinch of smoked paprika and cumin. You can be generous with the seasoning, as it enhances the flavor profile.
- Heat a large cast iron or non-stick skillet over medium heat and add the butter. Once melted and bubbling, carefully add the halloumi. Sear for 2 to 3 minutes until golden brown, then flip and cook on the other side until golden. Remove the halloumi and place it on a plate.
- In the same skillet, add the marinated peppers and onions. Cook them, tossing occasionally, for about 6 to 8 minutes until they soften and start to char slightly. This caramelization adds wonderful flavor.
- Once the veggies are done, turn off the heat and prepare to assemble your fajitas. Grab a warm tortilla and layer it with a slice or two of halloumi and a generous portion of the sautéed peppers and onions.
- Top your fajitas with fresh cilantro and slices of avocado for that creamy finish. Fold the tortilla and enjoy every bite of your Crispy Halloumi Fajitas!
Things Worth Knowing
- Marination: For a deeper flavor, marinate the bell peppers and onions ahead of time.
- Texture: Ensure the halloumi is patted dry before cooking for that crispy exterior.
- Heat Control: Cook the veggies on medium heat; too high may burn them before they soften.
- Serving Warm: Serve the fajitas immediately to enjoy the contrast of crispy cheese and warm tortillas.
Substitutions and Tips
Making Crispy Halloumi Fajitas can be a fun adventure in the kitchen, and there are plenty of ways to customize and perfect your dish. Here are some tips to enhance your experience:
- Storage: If you have leftovers, store them in an airtight container in the fridge for up to 3 days.
- Freezing: I don’t recommend freezing these fajitas once cooked, as the texture of the halloumi may change. However, you can freeze the marinated veggies before cooking.
- Pairing: These fajitas pair wonderfully with a fresh salad or some homemade guacamole on the side.
- Variations: Feel free to add favorite spices or extra vegetables like zucchini or corn.
- Serving Size: Adjust the number of tortillas based on the number of guests to ensure everyone has enough!
Serving Options for Crispy Halloumi Fajitas
When it comes to serving your Crispy Halloumi Fajitas, think about what will complement this flavorful dish. Here are some great ideas:
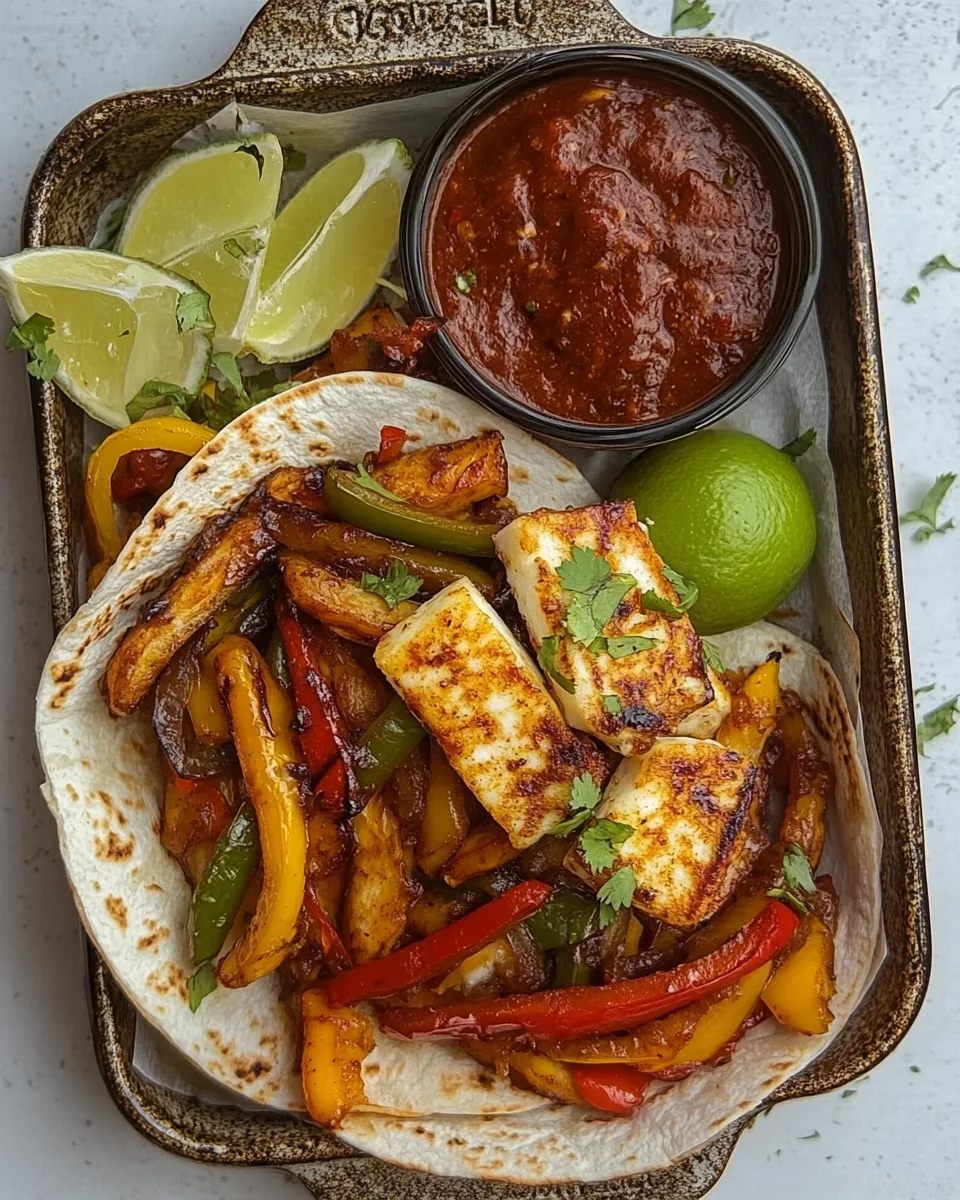
- Fresh Salsas: A vibrant tomato salsa or mango salsa adds a fresh and zesty touch.
- Side Dishes: Consider serving with a side of seasoned rice or a light salad for a complete meal.
- Occasions: These fajitas are perfect for casual dinners, summer BBQs, or any festive gathering.
- Storage Tips: Store any leftovers in the fridge and reheat in a skillet for best results.
- Seasonal Pairings: Enjoy these fajitas during summer with a refreshing drink like iced tea or a fruit-infused lemonade.
FAQ
Conclusion
In conclusion, Crispy Halloumi Fajitas bring together a wonderful blend of flavors and textures that make them truly special. Whether you’re enjoying them on a warm summer evening or serving them at a casual gathering, these fajitas are bound to impress. I encourage you to try making them and share the joy of this delicious dish with family and friends.
Crispy Halloumi Fajitas
Ingredients
Equipment
Method
- First, if you desire a deeper flavor, consider marinating the peppers and onions in the marinade for a day in advance. This will allow the flavors to meld beautifully.
- In a small bowl, whisk together the olive oil, lime juice, lime zest, honey, cumin, chili powder, smoked paprika, salt, black pepper, and garlic until well combined. This mixture will serve as your marinade.
- Next, place the sliced bell peppers and red onion in a large mixing bowl. Pour the marinade over the veggies and toss to coat them evenly. Let them sit for at least 30 minutes to absorb the flavors.
- While the veggies are marinating, slice the halloumi into strips, aiming for about ¼ to ½ inch thick. Pat the cheese strips dry with a paper towel to ensure they sear properly.
- Sprinkle the sliced halloumi with a pinch of smoked paprika and cumin. You can be generous with the seasoning, as it enhances the flavor profile.
- Heat a large cast iron or non-stick skillet over medium heat and add the butter. Once melted and bubbling, carefully add the halloumi. Sear for 2 to 3 minutes until golden brown, then flip and cook on the other side until golden. Remove the halloumi and place it on a plate.
- In the same skillet, add the marinated peppers and onions. Cook them, tossing occasionally, for about 6 to 8 minutes until they soften and start to char slightly. This caramelization adds wonderful flavor.
- Once the veggies are done, turn off the heat and prepare to assemble your fajitas. Grab a warm tortilla and layer it with a slice or two of halloumi and a generous portion of the sautéed peppers and onions.
- Top your fajitas with fresh cilantro and slices of avocado for that creamy finish. Fold the tortilla and enjoy every bite of your Crispy Halloumi Fajitas!
Notes
- Storage: If you have leftovers, store them in an airtight container in the fridge for up to 3 days.
- Freezing: I don’t recommend freezing these fajitas once cooked, as the texture of the halloumi may change. However, you can freeze the marinated veggies before cooking.
- Pairing: These fajitas pair wonderfully with a fresh salad or some homemade guacamole on the side.
- Variations: Feel free to add favorite spices or extra vegetables like zucchini or corn.
- Serving Size: Adjust the number of tortillas based on the number of guests to ensure everyone has enough!