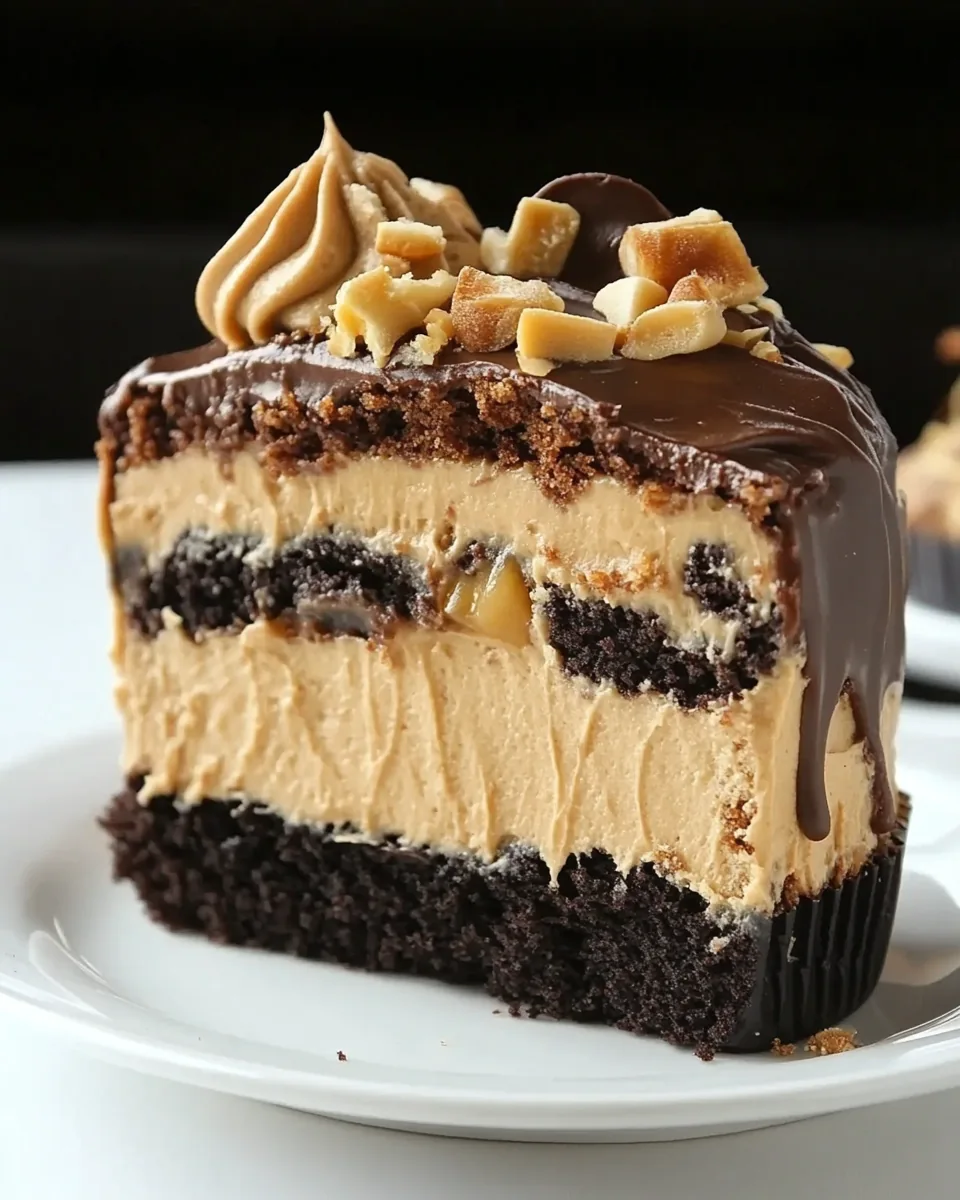
Peanut Butter Cup Cake
The Peanut Butter Cup Cake is a true testament to the indulgent marriage of chocolate and peanut butter. Growing up, I always had a sweet tooth, and nothing satisfied that craving quite like a slice of rich, chocolatey cake topped with creamy peanut butter frosting. It was a frequent star at our family gatherings, always surrounded by laughter and love. Each bite transports me back to my childhood, reminding me of special moments shared with friends and family around the kitchen table. This cake isn’t just a dessert; it’s a celebration of memories and flavor.
Recipe Snapshot
3 hr 32 mins
180 mins
32 mins
Hard
480 kcal
8 g
Gluten-Free, Low FODMAP
24 g
Oven, Large Pot, Mixing Bowl, Baking Sheet, Chef’s Knife, Food Processor, Frying Pan, Whisk
Why This Peanut Butter Cup Cake Is a Winner
Rich Flavor Profile
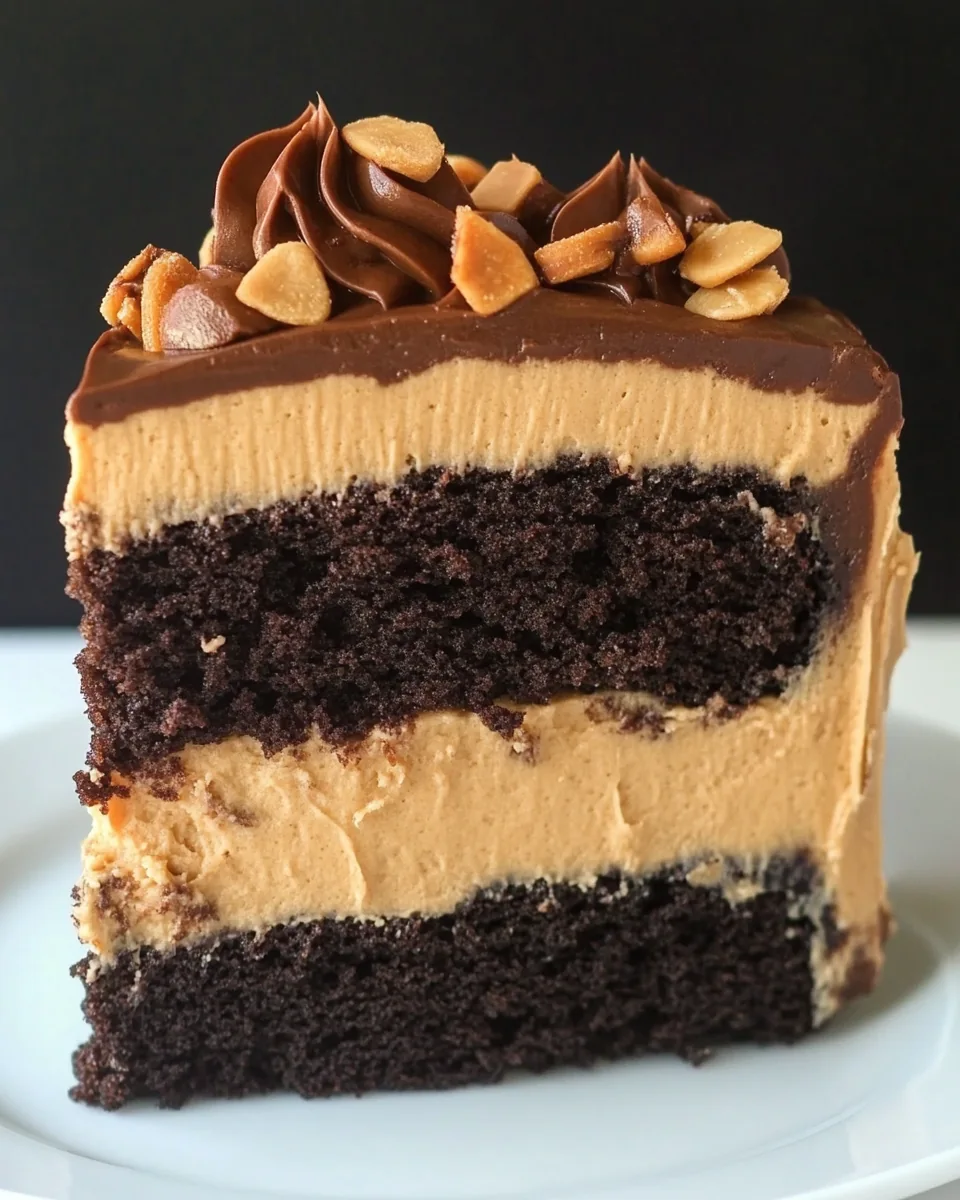
One of the standout features of the Peanut Butter Cup Cake is its irresistible flavor profile. The combination of moist chocolate cake with creamy peanut butter frosting is simply divine. Each bite is a delightful balance of sweetness and a slight hint of saltiness from the peanut butter, making it a perfect treat for all occasions.
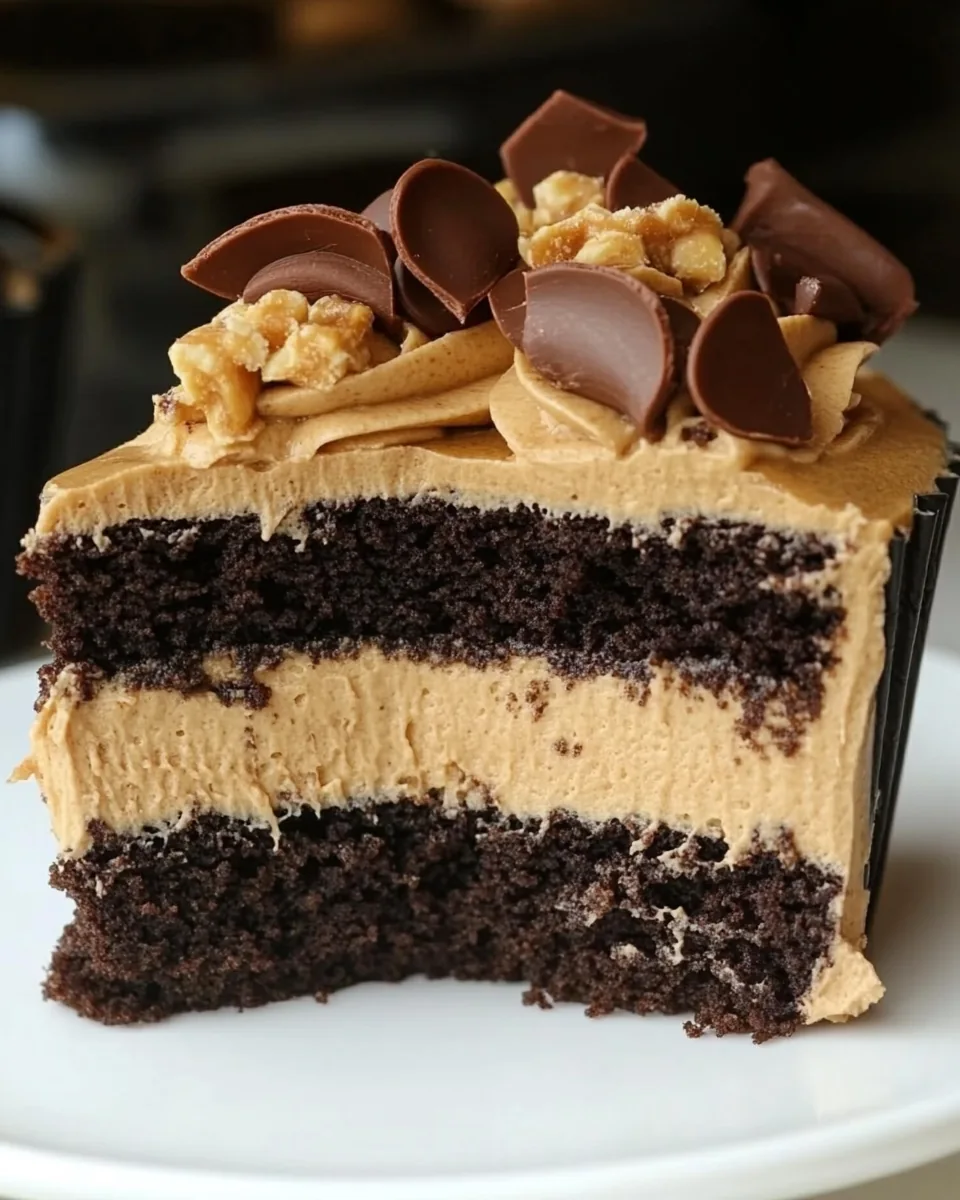
Decadent Textures
The texture of this cake is another reason to love it. The layers are incredibly moist and tender, complemented by the smooth and velvety peanut butter frosting. The addition of chopped peanut butter cups adds a fun crunch, making every bite an exciting experience.
Perfect for Celebrations
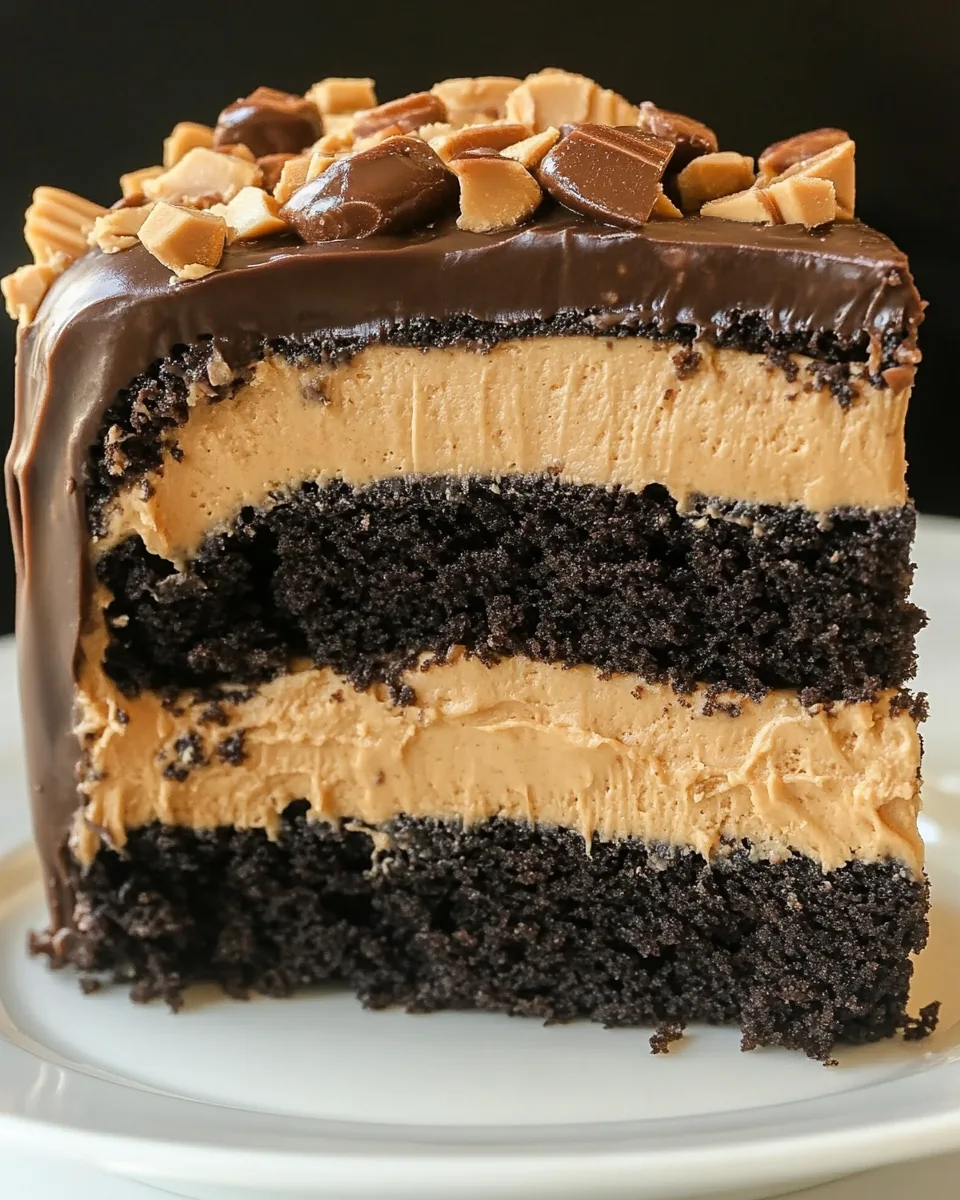
Whether it’s a birthday, holiday, or just a regular Tuesday, this cake fits right in. It’s a show-stopper that will impress your guests and have them coming back for seconds. The visual appeal, with layers of chocolate and frosting, makes it a centerpiece of any gathering.
Easy to Customize
Another reason to adore this cake is its versatility. You can easily adjust the sweetness, add nuts, or even layer in some fruit to add a refreshing twist. This adaptability means it can cater to different tastes and preferences, making it a family favorite.
Leftover Bliss
If you happen to have any leftovers (which is quite unlikely!), the Peanut Butter Cup Cake stays moist and delicious for days, making it perfect for enjoying throughout the week. It’s hard to resist a slice, even on day two!
Peanut Butter Cup Cake Ingredients
When it comes to the ingredients for Peanut Butter Cup Cake, each one plays a vital role in achieving the perfect balance of flavors and textures. The key players here are the rich Dutch-process cocoa powder, which gives the cake its deep chocolate flavor, and the creamy peanut butter that adds richness to the frosting.
- 2½ cups all-purpose flour: This is the foundation of our cake, providing structure and stability.
- 3 cups granulated sugar: Adds sweetness and moisture to the cake.
- 1 cup Dutch-process cocoa powder: This gives the cake its rich chocolate flavor.
- 1 tablespoon baking soda: Helps the cake rise beautifully.
- 1½ teaspoons baking powder: Works alongside baking soda for a perfectly fluffy cake.
- 1½ teaspoons salt: Enhances the flavors of the other ingredients.
- 3 eggs: Brings richness and moisture to the cake.
- 1½ cups buttermilk: Adds a tangy flavor and keeps the cake moist.
- 1½ cups strong black coffee: Deepens the chocolate flavor without adding coffee notes.
- ¾ cup vegetable oil: Contributes moisture and a tender crumb.
- 4½ teaspoons vanilla extract: A must for flavoring.
- 2 cups powdered sugar: Sweetens the frosting.
- 2 cups creamy peanut butter: The star of our frosting!
- 10 tablespoons unsalted butter: Ensures a rich and creamy texture in the frosting.
- ½ teaspoon kosher salt: Balances the sweetness of the frosting.
- ⅔ cup heavy cream: Creates a luscious chocolate ganache.
- 8 ounces semisweet chocolate: The base for the ganache, adding depth of flavor.
- 30 miniature peanut butter cups, divided: For garnishing and adding delightful surprises in every slice.
Preparation Steps for Peanut Butter Cup Cake
Making the Peanut Butter Cup Cake is an exciting adventure! Gather your ingredients, and let’s dive into creating this masterpiece. Follow each step closely for delicious results!
- Preheat your oven to 350 degrees F. Prepare three 8-inch round cake pans by greasing them and lining the bottoms with parchment paper. Grease the parchment and flour the insides of the pans, tapping out any excess flour. This will ensure your cakes come out smoothly.
- In the bowl of an electric mixer, or using a large mixing bowl if you prefer a hand mixer, sift together the flour, sugar, cocoa powder, baking soda, baking powder, and salt. This step is crucial for incorporating air into the dry ingredients, which helps the cake rise beautifully.
- In a separate medium bowl, whisk together the eggs, buttermilk, coffee, oil, and vanilla. Make sure all your wet ingredients are at room temperature for better emulsification.
- Add the wet mixture to the dry ingredients and mix on medium speed for 2 minutes. Scrape down the sides and bottom of the bowl with a spatula and mix for an additional 20 seconds. The batter will be thin, so don’t worry!
- Evenly divide the batter among the prepared pans. Bake for about 20 minutes, and then rotate the pans in the oven to ensure even baking. Continue baking until a toothpick inserted into the center comes out almost clean, about 12 more minutes. You’re looking for a slight moist crumb on the toothpick.
- Once baked, allow the cakes to cool in their pans on a wire rack for 20 minutes. Then, carefully turn them out onto the racks to cool completely. This step is important as it prevents the cakes from becoming soggy.
- For the peanut butter frosting, place the powdered sugar, peanut butter, butter, vanilla, and salt in the bowl of an electric mixer fitted with a paddle attachment. Mix on medium-low speed until creamy, scraping down the bowl as needed. Adding the heavy cream and beating on high speed until light and smooth is the key to a fluffy frosting!
- If your cakes are domed on top, level them off with a knife. Place one layer of cake on a serving plate. Cover it with 1 cup of peanut butter frosting and sprinkle 10 of the chopped peanut butter cups over the frosting. Repeat with a second layer.
- Place the final layer on top, face-down. Frost the entire cake with the remaining frosting, smoothing it out as best as you can. Refrigerate the cake for at least 1 hour to set the frosting.
- Meanwhile, make the chocolate ganache. Place the chocolate in a 4-cup measuring cup and set aside. In a small saucepan, heat the heavy cream over medium heat until it just boils. Pour the hot cream over the chocolate and let it sit for 2 minutes before whisking until smooth. Allow it to cool slightly, whisking occasionally until thickened but still pourable.
- To garnish, pour the ganache into the center of the cake, allowing it to flow over the sides. Top with the remaining chopped peanut butter cups. Chill for an additional 30 minutes to set the ganache. Before serving, remove from the refrigerator and let it sit for about 20 minutes to soften slightly.
Things Worth Knowing
- Use Room Temperature Ingredients: Make sure your eggs and buttermilk are at room temperature. This helps to create a smoother batter and ensures even baking.
- Don’t Overmix: When combining wet and dry ingredients, mix just until combined. Overmixing can lead to a dense cake.
- Check for Doneness: Use a toothpick to check if the cake is done. If it comes out with a few moist crumbs, it’s perfect.
- Layering Frosting: Be generous with frosting between layers to ensure each bite is packed with flavor.
Tips and Tricks about Peanut Butter Cup Cake
Here are some tried-and-true tips to ensure your cake turns out perfectly every time:
- Storage: Store leftover cake in an airtight container in the refrigerator to keep it fresh for up to a week.
- Freezing: You can freeze the cake layers individually, wrapped tightly in plastic wrap, for up to a month. Thaw in the refrigerator before frosting.
- Pairing: The Peanut Butter Cup Cake pairs wonderfully with a scoop of vanilla ice cream or a glass of cold milk!
- Decorating: Get creative with decoration! Add chocolate shavings or drizzle melted chocolate on top for an extra touch.
- Variations: Consider adding layers of raspberry or banana between the cake for a fruity twist!
Perfect Matches for Peanut Butter Cup Cake
Serving the Peanut Butter Cup Cake is just as fun as making it! Here are some delightful ideas:
- Birthday Parties: This cake is perfect for celebrating birthdays, bringing joy and sweetness to the party.
- Coffee Breaks: Serve slices with a cup of coffee or tea for a delightful afternoon treat.
- Special Occasions: Perfect for anniversaries, graduations, or family gatherings, it’s sure to impress your guests.
- Seasonal Celebrations: Whether it’s a summer BBQ or winter holiday, this cake fits any season beautifully.
- Picnics: Package individual slices for a sweet addition to your outdoor picnics.
- Sweet Surprises: Surprise your loved ones with this cake as a treat, showing them how much you care.
FAQ
Conclusion
The Peanut Butter Cup Cake is truly a unique blend of flavors and textures that makes it a must-try for anyone who loves chocolate and peanut butter. It’s perfect for any occasion, whether a casual family dinner or a festive celebration. I encourage you to give this recipe a try; it might just become your new favorite dessert!
Peanut Butter Cup Cake
Ingredients
Equipment
Method
- Preheat your oven to 350 degrees F. Prepare three 8-inch round cake pans by greasing them and lining the bottoms with parchment paper. Grease the parchment and flour the insides of the pans, tapping out any excess flour. This will ensure your cakes come out smoothly.
- In the bowl of an electric mixer, or using a large mixing bowl if you prefer a hand mixer, sift together the flour, sugar, cocoa powder, baking soda, baking powder, and salt. This step is crucial for incorporating air into the dry ingredients, which helps the cake rise beautifully.
- In a separate medium bowl, whisk together the eggs, buttermilk, coffee, oil, and vanilla. Make sure all your wet ingredients are at room temperature for better emulsification.
- Add the wet mixture to the dry ingredients and mix on medium speed for 2 minutes. Scrape down the sides and bottom of the bowl with a spatula and mix for an additional 20 seconds. The batter will be thin, so don’t worry!
- Evenly divide the batter among the prepared pans. Bake for about 20 minutes, and then rotate the pans in the oven to ensure even baking. Continue baking until a toothpick inserted into the center comes out almost clean, about 12 more minutes. You’re looking for a slight moist crumb on the toothpick.
- Once baked, allow the cakes to cool in their pans on a wire rack for 20 minutes. Then, carefully turn them out onto the racks to cool completely. This step is important as it prevents the cakes from becoming soggy.
- For the peanut butter frosting, place the powdered sugar, peanut butter, butter, vanilla, and salt in the bowl of an electric mixer fitted with a paddle attachment. Mix on medium-low speed until creamy, scraping down the bowl as needed. Adding the heavy cream and beating on high speed until light and smooth is the key to a fluffy frosting!
- If your cakes are domed on top, level them off with a knife. Place one layer of cake on a serving plate. Cover it with 1 cup of peanut butter frosting and sprinkle 10 of the chopped peanut butter cups over the frosting. Repeat with a second layer.
- Place the final layer on top, face-down. Frost the entire cake with the remaining frosting, smoothing it out as best as you can. Refrigerate the cake for at least 1 hour to set the frosting.
- Meanwhile, make the chocolate ganache. Place the chocolate in a 4-cup measuring cup and set aside. In a small saucepan, heat the heavy cream over medium heat until it just boils. Pour the hot cream over the chocolate and let it sit for 2 minutes before whisking until smooth. Allow it to cool slightly, whisking occasionally until thickened but still pourable.
- To garnish, pour the ganache into the center of the cake, allowing it to flow over the sides. Top with the remaining chopped peanut butter cups. Chill for an additional 30 minutes to set the ganache. Before serving, remove from the refrigerator and let it sit for about 20 minutes to soften slightly.
Notes
- Nutritional Values: Nutritional values are based on one serving.
- Storage: Store leftover cake in an airtight container in the refrigerator to keep it fresh for up to a week.
- Freezing: You can freeze the cake layers individually, wrapped tightly in plastic wrap, for up to a month. Thaw in the refrigerator before frosting.
- Pairing: The Peanut Butter Cup Cake pairs wonderfully with a scoop of vanilla ice cream or a glass of cold milk!
- Variations: Consider adding layers of raspberry or banana between the cake for a fruity twist!