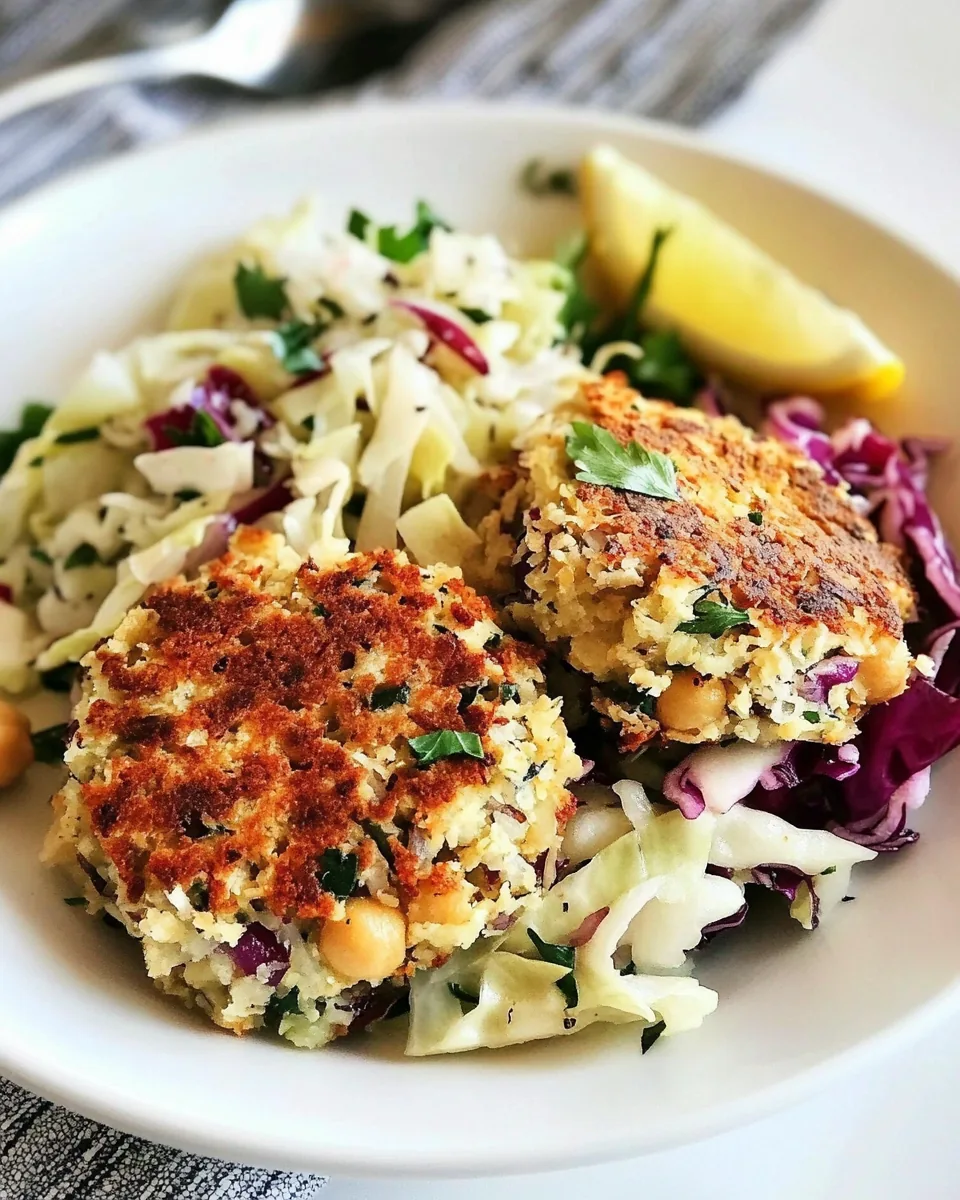
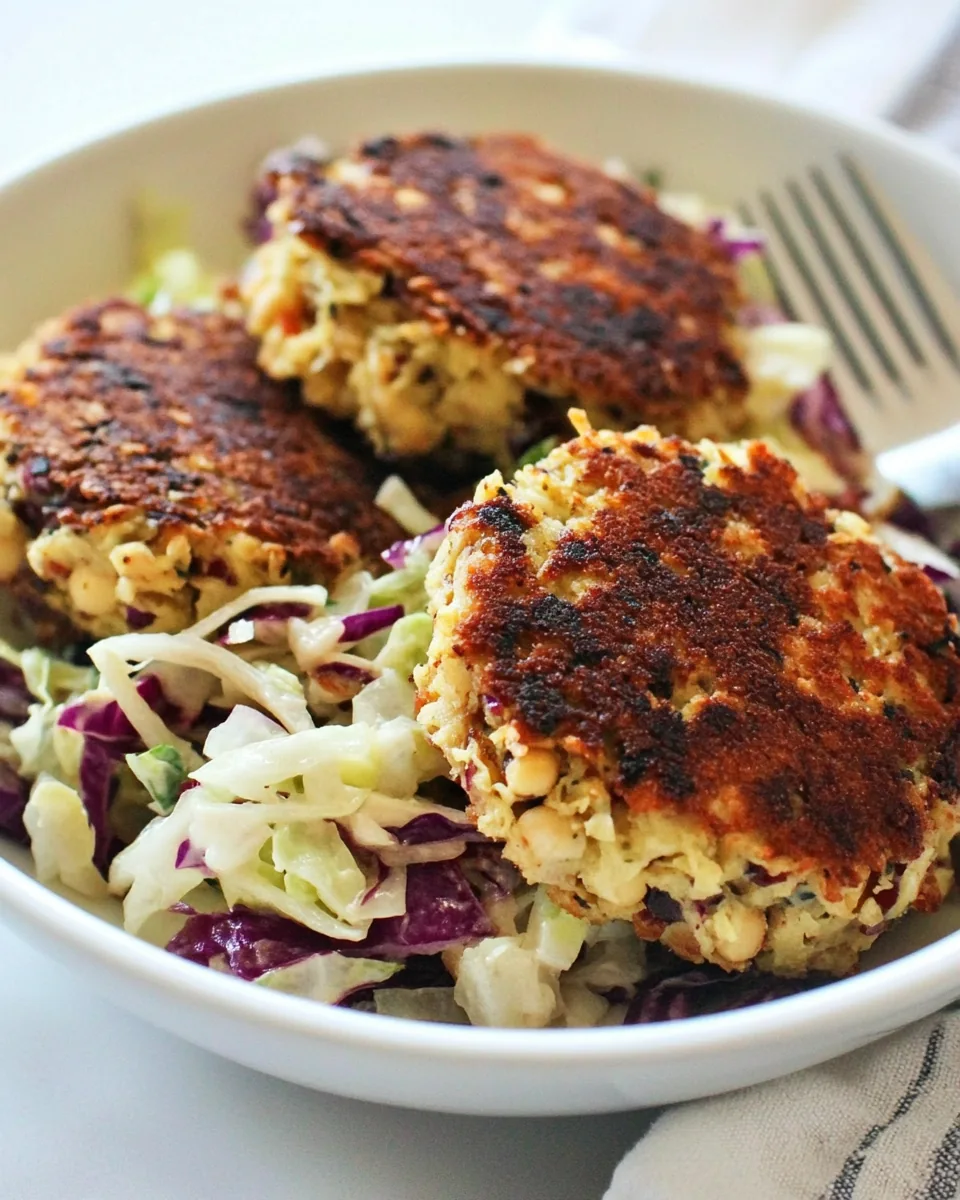
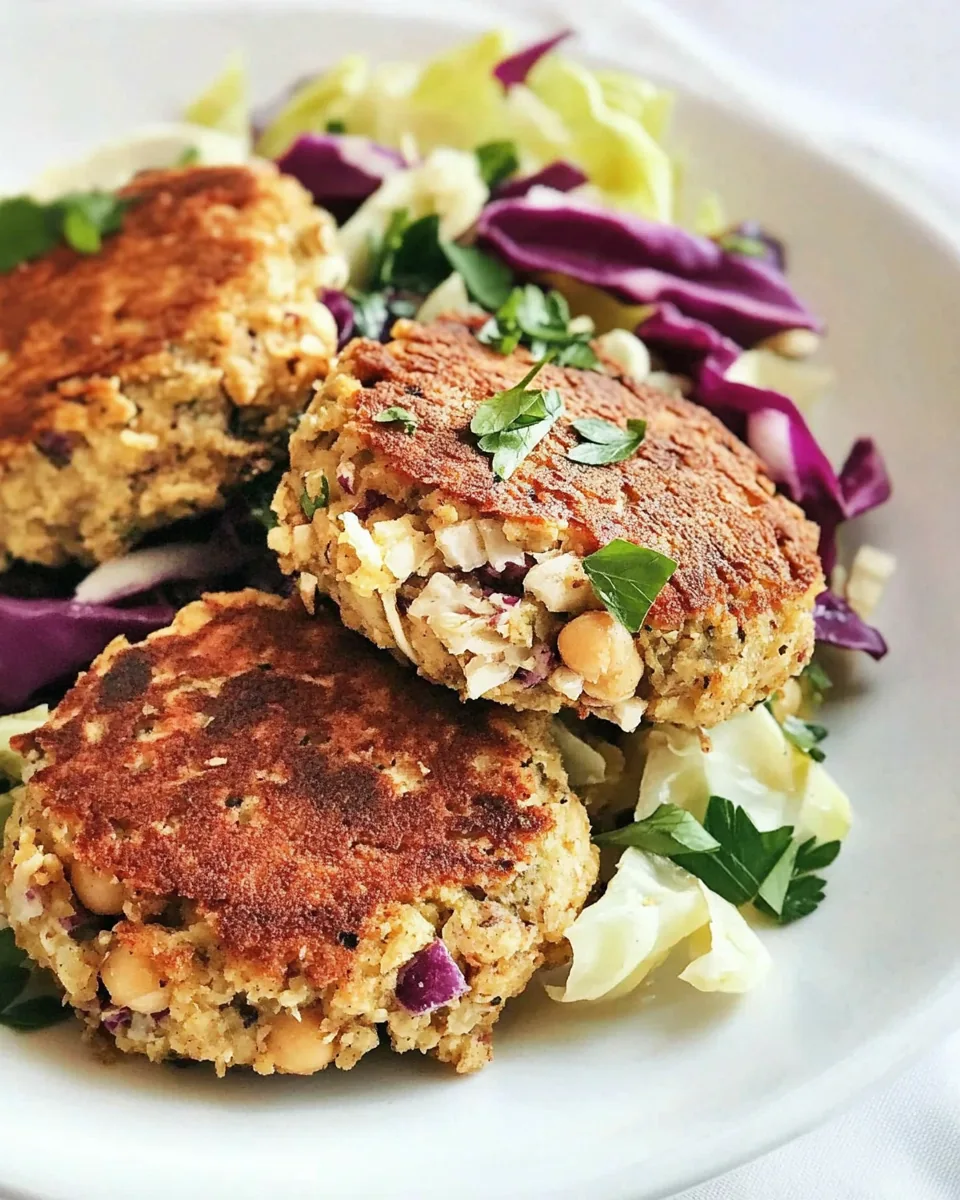
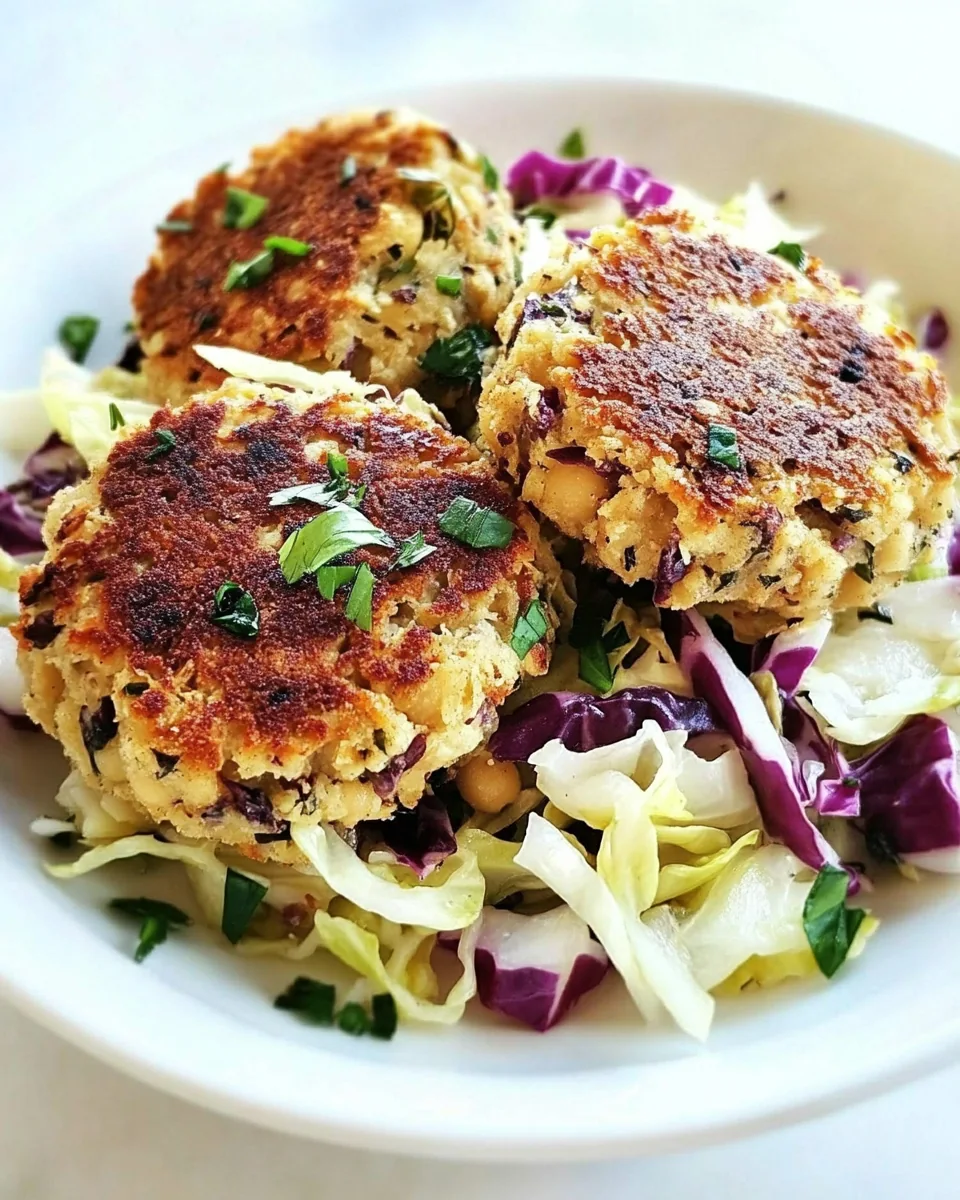
Crispy Chickpea Cakes
There’s something magical about creating dishes that come together easily and celebrate fresh ingredients. That’s exactly how I feel about these Crispy Chickpea Cakes. Imagine a sunny afternoon, the aroma of sautéed vegetables wafting through the air, and the vibrant colors of a fresh salad waiting to be devoured. That’s the experience I want to share with you. When I first stumbled upon this recipe, I was captivated by how simple it was yet packed with flavor. The beauty of Crispy Chickpea Cakes lies in their versatility; they can be a delightful appetizer or a hearty main dish, perfect for any gathering or a cozy dinner at home. Plus, they are plant-based, making them a fantastic option for everyone, whether you’re a full-time vegan or simply looking to incorporate more healthy choices into your meals.
Recipe Snapshot
60 mins
0 mins
0 mins
Easy
220 kcal
8 g
Keto, Vegan, Gluten-Free
10 g
Skillet, Grater, Mixing Bowl, Chef’s Knife, Wooden Spoon
The Best Thing About This Crispy Chickpea Cakes
1. Flavor Explosion
The first time I took a bite of these Crispy Chickpea Cakes, I was blown away by the explosion of flavor. The combination of ginger, sesame oil, and lime juice comes together to create a delightful balance that dances on your palate. Each ingredient plays a vital role, enhancing the overall taste and making every bite a joy.
2. Nutrient-Dense Goodness
This recipe is not only delicious; it’s also packed with nutrients. Chickpeas are a great source of protein and fiber, making these cakes a filling option. Add in the fresh cabbage salad, and you’ve got a dish rich in vitamins and minerals. Eating healthy has never been so enjoyable!
3. Quick and Easy
In our busy lives, finding time to cook can be challenging. That’s why I love how quickly these Crispy Chickpea Cakes come together. With just a few simple steps, you’ll have a meal ready to enjoy, making it perfect for weeknight dinners or impromptu gatherings. Who doesn’t love a quick, satisfying meal after a long day?
4. Versatile Serving Options
Another reason to love this recipe is its versatility. You can serve these Crispy Chickpea Cakes on a bed of greens, alongside a tangy sauce, or even in a wrap. They adapt beautifully to various cuisines, allowing you to showcase your creativity in the kitchen. Whether you’re serving them at a family dinner or a picnic, they never fail to impress.
5. A Perfect Make-Ahead Meal
Preparing meals in advance can save so much time during a busy week. The Crispy Chickpea Cakes can be made ahead of time, stored in the fridge, and quickly reheated when you’re ready to eat. This feature is a game-changer for meal planning, ensuring you always have something tasty on hand.
What Goes Into Crispy Chickpea Cakes
When it comes to the ingredients for Crispy Chickpea Cakes, each one has its own personality and purpose. The key players like chickpeas and fresh vegetables come together to create a delightful dish that’s both nutritious and satisfying. The combination of fresh and vibrant ingredients not only elevates the flavor but also contributes to a colorful presentation, making it appealing to all ages.
- Green Cabbage: 1 cup, shredded – This crunchy vegetable provides a refreshing base for the salad, adding texture and a vibrant color that brightens up the plate.
- Purple Cabbage: 1 cup, shredded – Rich in antioxidants, this cabbage not only adds a pop of color but also enhances the overall health benefits of the dish.
- Lite Soy Sauce: 2 tablespoons, optional tamari – A dash of this sauce adds umami flavor, elevating the taste of your chickpea cakes.
- Lime: 1, juiced – The acidity from lime brightens the dish and enhances the flavors, making every bite more vibrant.
- Sesame Oil: 1 teaspoon – This oil contributes a nutty flavor that harmonizes beautifully with the other ingredients.
- Sesame Seeds: 1 tablespoon – These tiny seeds add a delightful crunch and a rich, nutty flavor to the cakes.
- Olive Oil: 1 teaspoon, plus more for sautéing – A staple in many kitchens, olive oil enhances flavor and helps achieve that perfect golden-brown crust.
- Shallot: 1, minced – With a milder taste than onion, shallots bring a gentle sweetness to the mix.
- Garlic: 1 clove, minced – A kitchen hero, garlic adds depth and richness to the cakes.
- Chickpeas: 1 cup, cooked (if using canned, rinse and drain) – The star of the dish, chickpeas are packed with protein and give the cakes their hearty texture.
- Green Onions: 2, chopped – These add a fresh, mild onion flavor to the cakes, balancing the richness of other ingredients.
- Ginger: 1/2 tablespoon, fresh, grated – Ginger delivers a zesty kick that brightens the dish and aids digestion.
- Lemon Juice: 1 teaspoon – This adds another layer of acidity, balancing the richness of the chickpeas.
- Eggs: 2, slightly beaten – Eggs help bind the ingredients together, ensuring the cakes hold their shape when cooked.
- Cilantro: 1/4 cup, chopped – Fresh cilantro rounds out the flavors and adds a pop of freshness to every bite.
How to Prepare Crispy Chickpea Cakes
Preparing these Crispy Chickpea Cakes is an enjoyable process that invites you to engage with your food. Let’s take this step by step to ensure you create delicious cakes that will impress your family and friends.
- Start by making the salad. In a large bowl, toss together the shredded green cabbage and purple cabbage. Mix well to combine. You can season it with salt and pepper to taste, and then set it aside. This fresh salad will complement the rich flavors of the cakes perfectly.
- Next, heat a small skillet over medium heat. Add the olive oil followed by the minced shallot and garlic. Cook until they soften and become fragrant, stirring occasionally to avoid burning. This will create a savory base for your cakes.
- Once softened, turn off the heat and transfer the mixture to a large bowl. It’s important to add this step to preserve the flavors and allow them to meld.
- Now, add the cooked chickpeas to the bowl. Use a fork or a potato masher to mash them lightly. You want a coarse texture; don’t turn them into a smooth paste. This will give your cakes a delightful texture.
- Stir in the remaining ingredients: lite soy sauce, lime juice, sesame oil, ginger, green onions, eggs, and cilantro. Mix everything until well combined while being careful not to overwork the mixture.
- Form the mixture into 2-inch cakes. You can wet your hands slightly to help shape them without sticking. This step is crucial to ensure your cakes hold together while cooking.
- Next, heat a skillet over medium heat again. Add a bit more olive oil to coat the bottom of the pan. This will help achieve that beautiful golden-brown crust.
- Once hot, carefully place the cakes into the skillet, making sure not to overcrowd the pan. Sauté them until they are browned on both sides, about 3 to 4 minutes per side. Keep an eye on them to avoid burning.
- Once they are golden and crispy, remove the cakes from the skillet and place them on a paper towel to absorb any excess oil.
- Serve the Crispy Chickpea Cakes on top of the cabbage salad that you prepared earlier. This adds freshness and crunch, making for a delightful meal.
Things Worth Knowing
- Using Canned Chickpeas: If you’re short on time, using canned chickpeas is a great shortcut. Just make sure to rinse and drain them well to reduce sodium content.
- Adjusting Spice Levels: Feel free to adjust the amount of ginger and garlic according to your taste preferences. Adding a pinch of chili powder can also give it a nice kick!
- Cooking in Batches: If you have a large batch, cook the cakes in batches to ensure they brown evenly. Keep the first batch warm in a low oven while you finish the rest.
- Storing Leftovers: Store leftover cakes in an airtight container in the refrigerator for up to three days. Reheat in a skillet for the best texture.
Expert Tips about Crispy Chickpea Cakes
Creating the perfect Crispy Chickpea Cakes is easier with these expert tips. I’ve gathered some insights that can help you elevate your dish.
- Storage: Keep any leftovers in an airtight container in the fridge. They can be enjoyed cold or reheated in a skillet, ensuring they retain their crispiness.
- Freezing: You can freeze uncooked cakes. Just shape them and lay them on a baking sheet until frozen. Once solid, transfer them to a freezer bag for up to a month. Cook from frozen, adding a few extra minutes to the cooking time.
- Pairing: These cakes pair wonderfully with a tangy yogurt sauce or a spicy salsa for an extra flavor kick.
- Make Ahead: You can prepare the mixture a day in advance. Just keep it covered in the fridge, and form the cakes when you’re ready to cook.
- Vegetable Variations: Feel free to experiment with vegetables. Grated carrots or zucchini can add a different flavor and texture to your cakes.
- Presentation: Consider garnishing your cakes with extra cilantro or sesame seeds right before serving for an extra touch.
What Goes Well With This Crispy Chickpea Cakes
When it comes to serving Crispy Chickpea Cakes, there are countless possibilities that can elevate your meal. Here are some fantastic options to consider:
- Fresh Salad: Serve your cakes on a bed of mixed greens or alongside a crisp garden salad for a refreshing contrast.
- Yogurt Sauce: A tangy yogurt sauce drizzled on top or served on the side complements the cakes beautifully, adding a creamy texture.
- Wrap It Up: For a hearty lunch, wrap the cakes along with salad and sauce in a whole grain tortilla.
- Grains: Pair these cakes with a side of quinoa or brown rice for a more filling meal, making it perfect for lunch or dinner.
- Occasions: These cakes are ideal for lunch boxes, picnics, or as a part of a buffet spread during gatherings.
- Seasonal Pairings: In spring, serve with seasonal vegetables like asparagus and snap peas for a fresh touch.
FAQ
Conclusion
In summary, the Crispy Chickpea Cakes are not just a meal; they are an experience filled with flavor and nutrition. I encourage you to give this recipe a try. You’ll find it’s simple, satisfying, and perfect for any occasion, whether it’s a cozy dinner at home or a festive gathering with friends. Enjoy!
Crispy Chickpea Cakes
Ingredients
Equipment
Method
- Toss all the ingredients for the cabbage salad in a large bowl. Mix to combine and season with salt and pepper. Set aside.
- Heat a small skillet over medium heat and add the olive oil. Add the shallot and garlic, and cook until soft. Turn off heat and transfer to a large bowl.
- Add the chickpeas and mash lightly with a fork or potato masher. Add the rest of the ingredients and stir to combine. Form into 2 inch cakes.
- Heat a skillet over medium heat and add some olive oil. Lightly sauté the chickpea cakes until browned on both sides. Serve the cakes on top of the cabbage salad.
Notes
- Storage: Keep any leftovers in an airtight container in the fridge. They can be enjoyed cold or reheated in a skillet, ensuring they retain their crispiness.
- Freezing: You can freeze uncooked cakes. Just shape them and lay them on a baking sheet until frozen. Once solid, transfer them to a freezer bag for up to a month. Cook from frozen, adding a few extra minutes to the cooking time.
- Pairing: These cakes pair wonderfully with a tangy yogurt sauce or a spicy salsa for an extra flavor kick.
- Make Ahead: You can prepare the mixture a day in advance. Just keep it covered in the fridge, and form the cakes when you're ready to cook.
- Vegetable Variations: Feel free to experiment with vegetables. Grated carrots or zucchini can add a different flavor and texture to your cakes.
- Presentation: Consider garnishing your cakes with extra cilantro or sesame seeds right before serving for an extra touch.