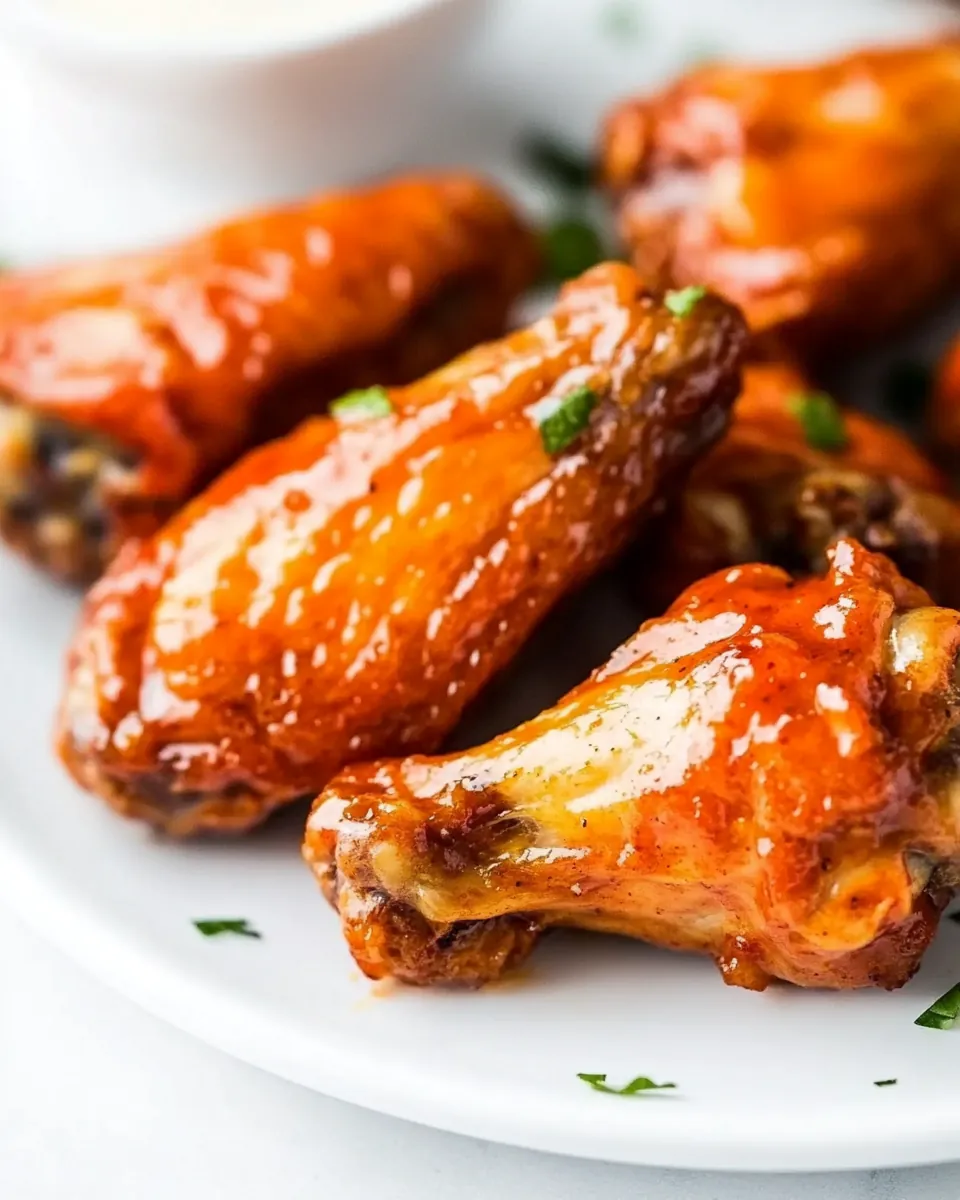
Baked Chicken Wings
As a lover of comfort food, there’s something incredibly satisfying about making Baked Chicken Wings at home. I remember the first time I tried my hand at making these crispy delights. It was a rainy Saturday, and I thought, why not fill the house with mouthwatering aromas? It turned out to be a game changer! The crispy, golden wings were devoured in no time, and the joy on my friends’ faces was priceless. Everyone was raving about how perfectly seasoned and flavorful they were. Not only do they make for a great snack during game nights, but they’re also perfect for any gathering or just a cozy dinner at home. Trust me, once you try these Baked Chicken Wings, they’ll become a regular feature in your meal rotation.
Recipe Snapshot
45 mins
5 mins
40 mins
Medium
350 kcal
23 g
Keto, Paleo, Whole30
27 g
Oven, Baking Sheet, Frying Pan
Why This Baked Chicken Wings Is a Winner
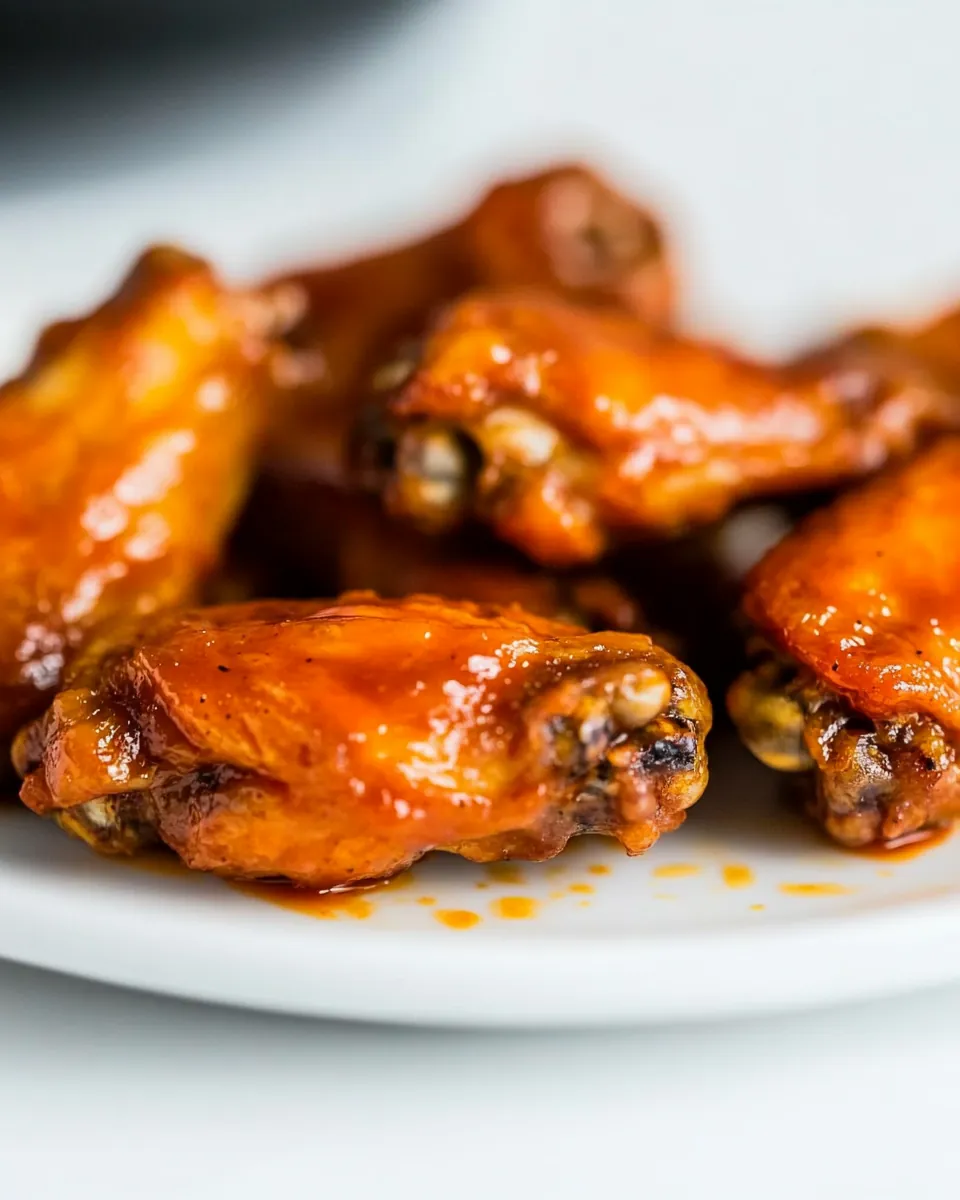
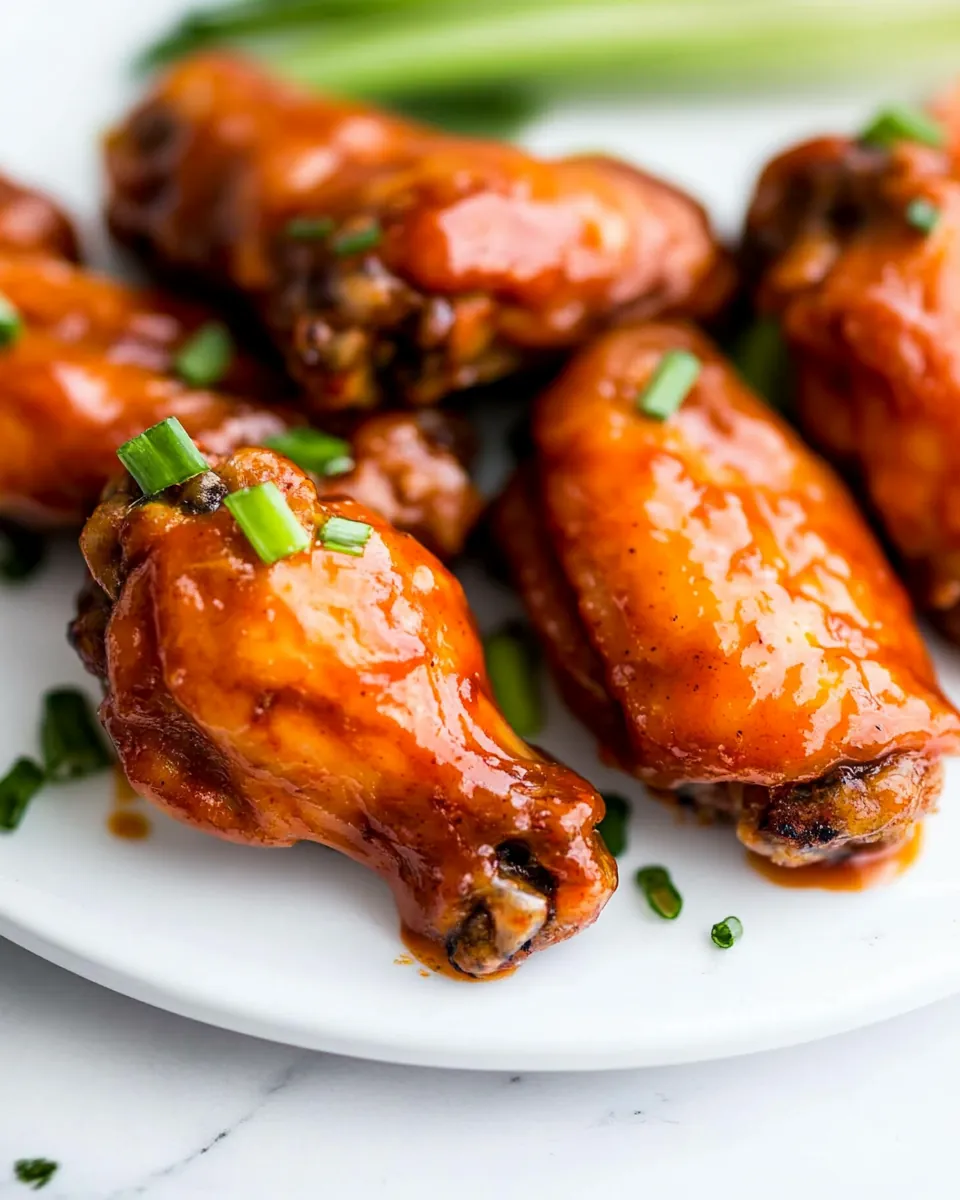
They’re Super Crispy
One of the standout features of my Baked Chicken Wings is their incredible crispiness. The trick is in the baking powder, which helps to create that coveted crunch without the need for deep frying. You get all the satisfaction of crispy wings while keeping it a bit healthier.
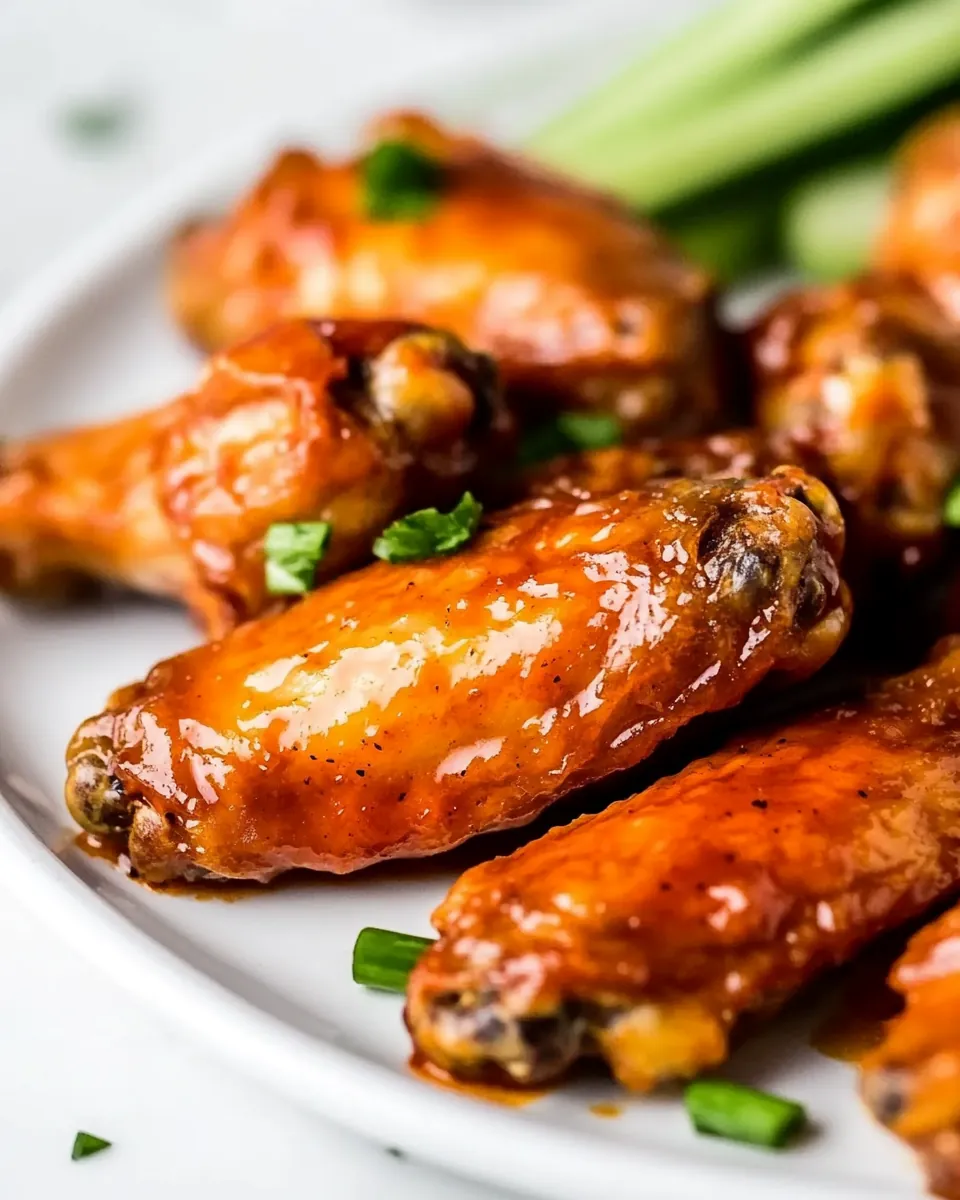
Flavorful Sauces Galore
Another reason to love these wings is the endless variety of sauces you can use. Whether you prefer a sweet teriyaki glaze, a tangy BBQ sauce, or a classic buffalo wing sauce, there’s a flavor for everyone. You can easily customize the sauce to suit your mood or the occasion.
Perfect for Any Occasion
These wings are incredibly versatile. They’re the perfect appetizer for game day, a fun snack for movie night, or a hearty main dish when paired with sides. Whenever I serve them, I always see smiles around the table, and they never last long!
Easy to Prepare
Making Baked Chicken Wings is surprisingly straightforward. With just a few simple steps, you can have a delicious meal ready without spending hours in the kitchen. That means more time to relax and enjoy with friends and family.
Great for Leftovers
If you happen to have any leftovers (which rarely happens), they make for a fantastic addition to salads or sandwiches the next day. Just reheat them in the oven or air fryer, and they’ll be just as crispy and flavorful as the first time!
Healthy Twist on a Classic
Lastly, I love that this recipe offers a healthier twist on a classic favorite. By baking instead of frying, you save on calories and grease while still satisfying that craving for delicious, crispy wings.
Baked Chicken Wings Shopping List
When preparing to make Baked Chicken Wings, it’s essential to choose high-quality ingredients that work in harmony to create the perfect flavor and texture. Each component plays a vital role in ensuring these wings are crispy on the outside and tender on the inside. Let’s take a look at what you’ll need.
- 1 ½ pounds of chicken wings (about 20 fresh, not frozen)
- 1 tablespoon of baking powder – This is the secret ingredient that makes the wings crispy.
- 1 teaspoon of salt – Essential for enhancing the flavor of the wings.
- ¼ teaspoon of pepper – Adds a touch of heat and depth to the wings.
- Teriyaki Sauce – A sweet and tangy glaze that pairs beautifully with the wings.
- BBQ Sauce – Perfect for those who love a smoky and sweet flavor.
- Buffalo Wing Sauce – For those who enjoy a spicy kick!
Instructions for Baked Chicken Wings
Cooking Baked Chicken Wings is an enjoyable process that brings out the chef in you! Follow these detailed steps, and you’ll end up with succulent, crispy wings that you can be proud of. Let’s dive into the process!
- Preheat your oven to 425ºF. This high temperature is what helps achieve that lovely crispiness we’re looking for. Line a baking sheet with foil and coat it with non-stick cooking spray to prevent the wings from sticking.
- If you prefer less greasy wings, place a wire rack on top of the baking sheet. This allows the hot air to circulate around the wings, making them even crispier.
- Now, let’s prepare the wings. Pat them dry with a paper towel to remove excess moisture. This step is crucial for achieving that crispy skin. Also, make sure any wing tips are removed and that they are separated into wings and drums if they aren’t already.
- Once the wings are dry, it’s time to coat them. In a zip-top bag, combine baking powder, salt, and pepper. Shake until combined.
- Next, add the dry wings to the zip-top bag, seal it, and shake until all the wings are evenly coated. The baking powder will create a deliciously crispy texture.
- Place the coated wings in a single layer on the wire rack (or directly on the baking sheet if you skipped the rack). This ensures they cook evenly.
- Now for the baking. Bake for 30 to 40 minutes or until the wings are golden brown and crispy. Halfway through, flip the wings to ensure both sides are nicely crisped. You want them to be a deep golden color.
- Once they are cooked and crispy, remove them from the oven and let them sit for a few minutes. This rest time allows the juices to redistribute, keeping the wings tender.
- Finally, it’s time for the fun part! Brush on your desired sauce, whether it’s teriyaki, BBQ, or a spicy buffalo sauce. Toss them gently to coat.
- Serve your Baked Chicken Wings while they are warm and crispy. Enjoy with your favorite dipping sauce and sides!
Things Worth Knowing
- Dry Wings Thoroughly: Ensuring the wings are completely dry before applying the coating is key to achieving crispiness.
- Use a Wire Rack: Elevating the wings on a wire rack during baking helps excess fat drip away, promoting crispiness.
- Coat Evenly: Make sure each wing is evenly coated in the dry mixture to achieve consistent texture and flavor.
- Watch the Time: Keep an eye on the wings as baking times can vary based on your oven and the size of the wings.
Helpful Hints
Cooking is all about making it easier and more enjoyable for you! Here are some tips to keep in mind when preparing Baked Chicken Wings:
- Storage: Store leftovers in an airtight container in the fridge for up to three days. Reheat in the oven or air fryer to maintain crispiness.
- Freezing: You can freeze uncooked, coated wings ahead of time. Just bake them straight from the freezer, adding a few extra minutes to the cook time.
- Pairing: Serve with a side of celery and carrot sticks, along with ranch or blue cheese dressing for dipping.
- Flavor Variations: Experiment with different sauces or spice mixes to find your favorite flavor combination.
- Watch the Sauce: Be careful not to oversaturate the wings with sauce, or they may lose their crispiness.
How to Serve Baked Chicken Wings
When it comes to serving Baked Chicken Wings, the possibilities are endless! Here’s how to elevate your dish:
- Appetizer Delight: These wings are perfect as a starter for any meal. Serve them with a variety of sauces for dipping.
- Game Day Snacks: They are an absolute must for game day gatherings! Pair them with chips and dips for a winning combination.
- Family Dinners: Make them the star of your family dinner. Serve with sides like coleslaw, baked beans, or roasted vegetables.
- Seasonal Pairings: During summer, pair them with fresh salads; during winter, serve them hot with hearty sides.
- Picnic Treats: These wings are great for outdoor picnics or barbecues. Pack them up and enjoy with friends and family!
FAQ
Conclusion
Making Baked Chicken Wings at home is a rewarding experience that brings the whole family together. Their crispy texture and flavorful sauces make them an irresistible treat. So, why not give this recipe a try? You’ll be impressed by how easy it is to whip up a batch of these delicious wings, perfect for any occasion!
Baked Chicken Wings
Ingredients
Equipment
Method
- Preheat your oven to 425ºF. This high temperature is what helps achieve that lovely crispiness we’re looking for. Line a baking sheet with foil and coat it with non-stick cooking spray to prevent the wings from sticking.
- If you prefer less greasy wings, place a wire rack on top of the baking sheet. This allows the hot air to circulate around the wings, making them even crispier.
- Now, let’s prepare the wings. Pat them dry with a paper towel to remove excess moisture. This step is crucial for achieving that crispy skin. Also, make sure any wing tips are removed and that they are separated into wings and drums if they aren’t already.
- Once the wings are dry, it’s time to coat them. In a zip-top bag, combine Baking Powder, Salt, and Pepper. Shake until combined.
- Next, add the dry wings to the zip-top bag, seal it, and shake until all the wings are evenly coated. The Baking Powder will create a deliciously crispy texture.
- Place the coated wings in a single layer on the wire rack (or directly on the baking sheet if you skipped the rack). This ensures they cook evenly.
- Now for the baking. Bake for 30 to 40 minutes or until the wings are golden brown and crispy. Halfway through, flip the wings to ensure both sides are nicely crisped. You want them to be a deep golden color.
- Once they are cooked and crispy, remove them from the oven and let them sit for a few minutes. This rest time allows the juices to redistribute, keeping the wings tender.
- Finally, it’s time for the fun part! Brush on your desired sauce, whether it’s Teriyaki, BBQ, or a spicy Buffalo sauce. Toss them gently to coat.
- Serve your Baked Chicken Wings while they are warm and crispy. Enjoy with your favorite dipping sauce and sides!