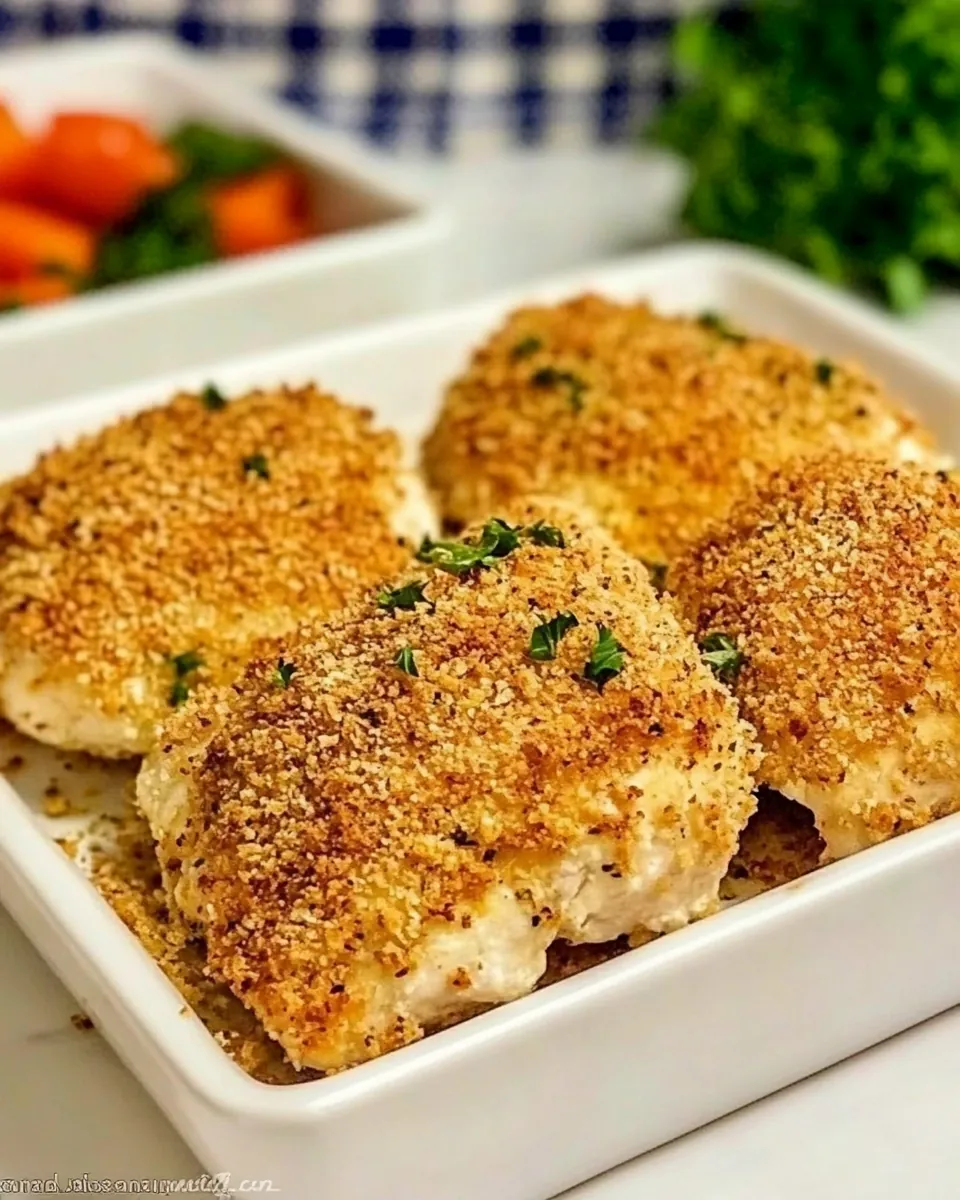
Baked Buttermilk Chicken
There’s something incredibly comforting about a plate of Baked Buttermilk Chicken. Growing up, my family would gather around the table to enjoy this dish. The aroma wafting from the oven would fill our home, making it impossible to resist. This dish holds a special place in my heart, not just for its taste but for the memories it brings. I remember how my mother would marinate the chicken in buttermilk, allowing it to soak up all those lovely flavors. The crispy coating, paired with the tender meat, makes for an unforgettable meal that is perfect for both special occasions and casual weeknights.
Recipe Snapshot
30 mins
10 mins
20 mins
Medium
320 kcal
34 g
Gluten-Free, Low FODMAP
10 g
Meat Pounder, Breading Trays, Rimmed Baking Sheet with Wire Rack
The Best Thing About This Baked Buttermilk Chicken
1. Perfectly Tender Chicken
The secret to the juiciness of the Baked Buttermilk Chicken lies in the buttermilk marinade. Soaking the chicken in buttermilk not only adds flavor but also tenderizes the meat. The acidity in the buttermilk breaks down tough proteins, resulting in chicken that’s moist and flavorful.
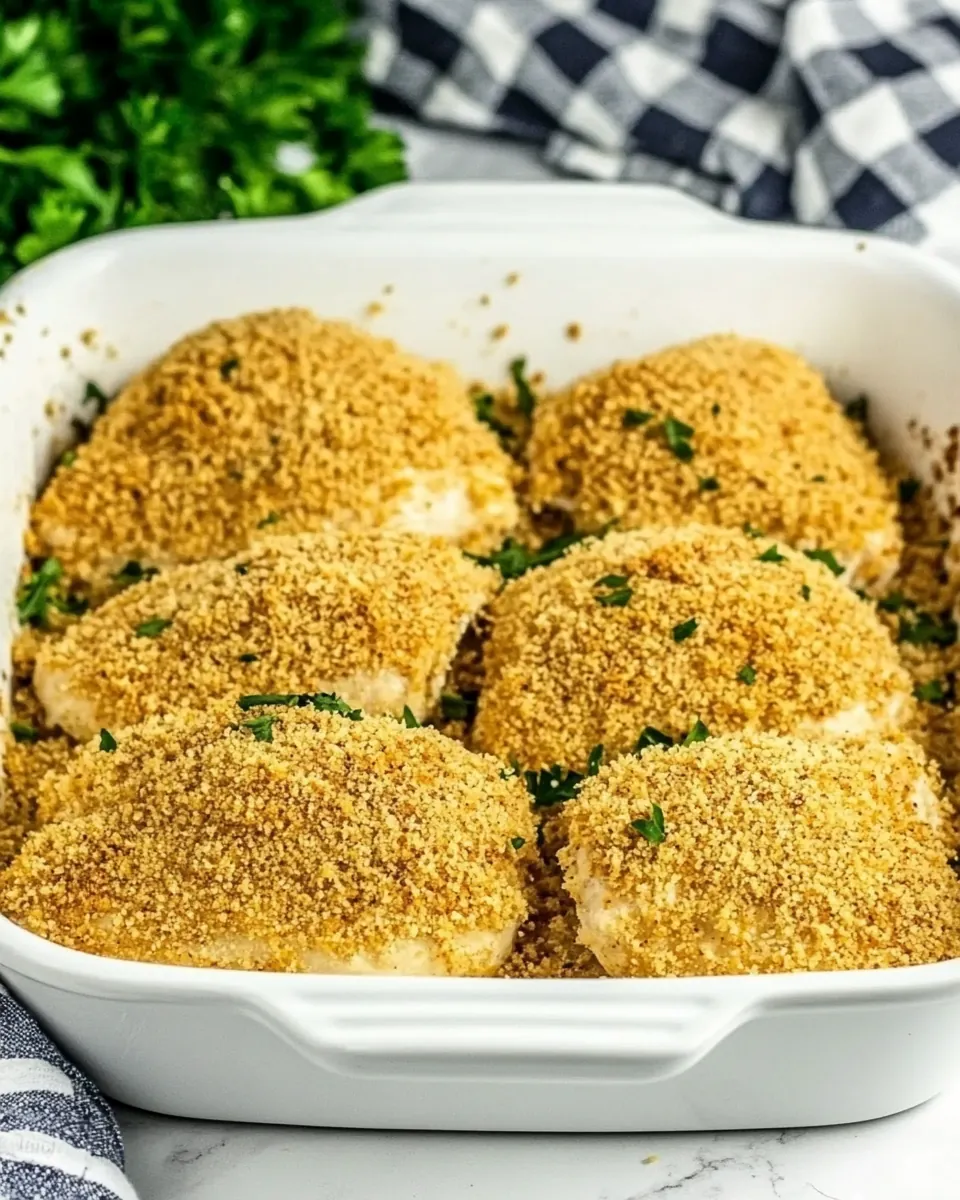
2. Crispy and Crunchy Coating
In addition to tenderness, the dish boasts an irresistibly crispy exterior. Thanks to the panko bread crumbs, every bite offers a delightful crunch that contrasts beautifully with the juicy chicken. It’s hard to resist going back for seconds!
3. Easy to Prepare
Even the busiest home cooks can appreciate how straightforward this recipe is. With just a few simple steps, you can create a delicious meal that looks and tastes like it took all day. It’s perfect for weeknight dinners when you want something hearty without the fuss.
4. Versatile and Customizable
Another reason to love Baked Buttermilk Chicken is its versatility. You can easily customize the seasoning in the panko mixture to suit your taste. Whether you prefer it spicy, herby, or just classic savory, there’s room for creativity. Also, this dish pairs wonderfully with a variety of sides like mashed potatoes or a fresh salad.
5. Family-Friendly Favorite
This recipe is a hit with both kids and adults. Who doesn’t love crispy chicken? It’s a fantastic way to introduce a healthier version of fried chicken to your family while still keeping it fun and appealing.
6. Great for Meal Prepping
Cooked Baked Buttermilk Chicken keeps well and can be easily stored in the fridge or freezer. It’s perfect for meal prepping or keeping leftovers on hand for quick lunches throughout the week.
Ingredients to Make Baked Buttermilk Chicken
The ingredients for Baked Buttermilk Chicken come together beautifully, each playing a vital role in achieving that perfect balance of flavor and texture. The star of the show is, of course, the chicken, which becomes incredibly tender thanks to the buttermilk. The combination of spices and the crispy panko bread crumbs create a delectable coating that elevates the dish even further.
- 4 boneless skinless chicken breasts – The main protein, providing a hearty base for the dish.
- 2 cups buttermilk – Acts as a marinade, tenderizing and flavoring the chicken.
- 6 garlic cloves, minced – Infuses the marinade with rich flavor.
- ¼ cup honey – Adds a touch of sweetness to balance the flavors.
- 2 tsp kosher salt – Essential for seasoning the chicken.
- 1 tsp black pepper – Provides a hint of spice.
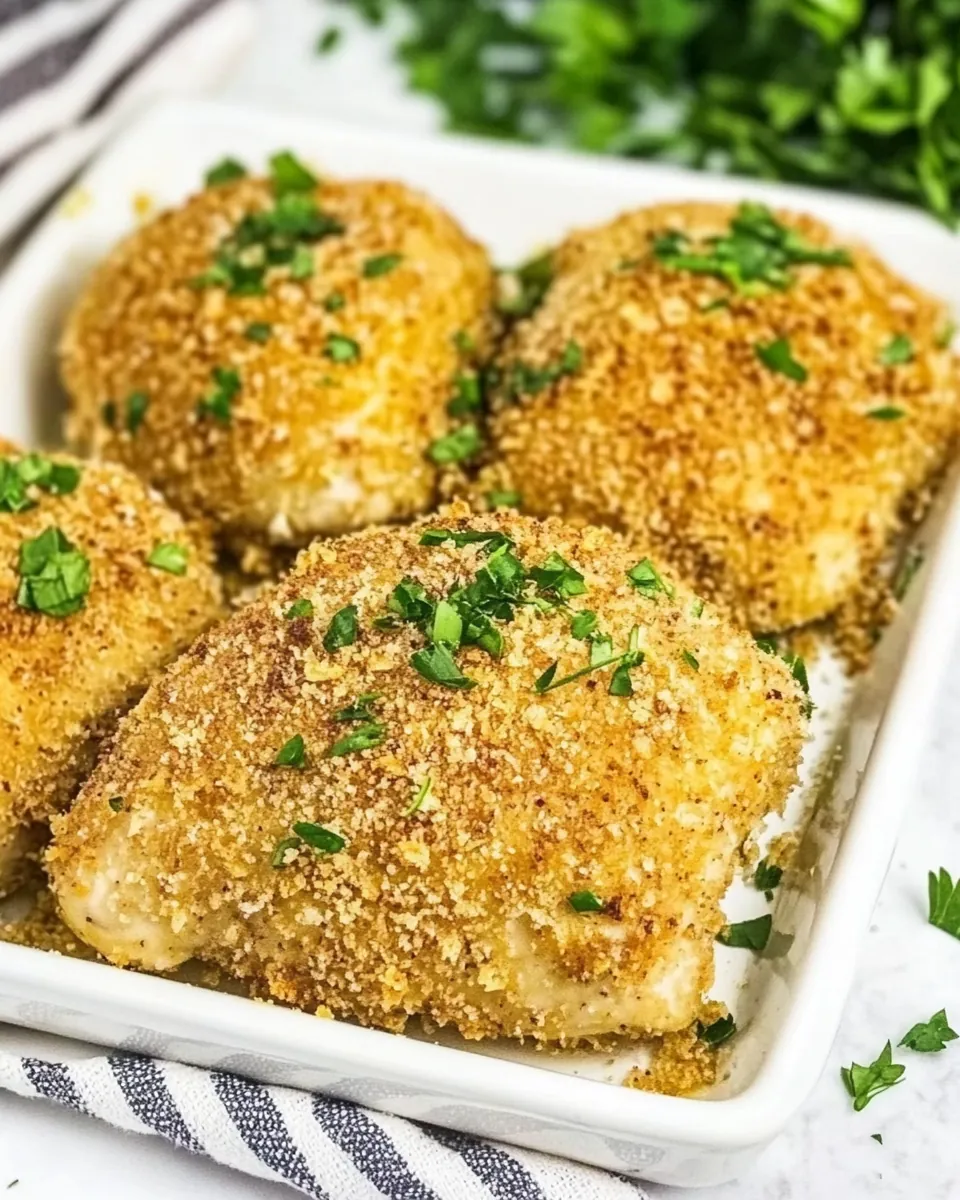
- 1½ cups panko bread crumbs – Creates a crunchy, golden-brown coating.
- ⅓ cup grated parmesan cheese – Adds richness and flavor to the coating.
- 2 tsp garlic powder – Enhances the garlicky flavor of the breading.
- 1 Tbsp Italian seasoning – A blend of herbs that complements the dish.
- ½ tsp paprika – Contributes a beautiful color and subtle smokiness.
Preparation Steps for Baked Buttermilk Chicken
Preparing Baked Buttermilk Chicken is a straightforward process that rewards you with mouthwatering results. Let’s dive into the steps that will lead you to crispy perfection. Follow each step carefully, and don’t forget to savor the aroma as you cook!
- Begin by placing the boneless, skinless chicken breasts into a resealable plastic bag. This will prepare them for marinating. You want to ensure they’re in a bag that seals tightly to avoid any leaks.
- Next, whisk together the buttermilk, minced garlic cloves, honey, kosher salt, and black pepper in a large bowl until well combined. The mixture should be creamy and fragrant.
- Pour the marinade over the chicken in the bag, making sure each piece is coated. Seal the bag tightly, removing as much air as possible. Place it in the refrigerator to marinate for at least a few hours, or even overnight for the best flavor.
- When you’re ready to bake, preheat your oven to 400ºF. This high temperature will help achieve a crispy finish.
- In a shallow bowl or plate, combine the panko bread crumbs, grated parmesan cheese, garlic powder, Italian seasoning, paprika, kosher salt, and black pepper. Mix them well to ensure even distribution of flavors.
- Take the chicken out of the marinade, allowing any excess to drain off. Then, coat each piece thoroughly in the panko mixture, pressing down lightly to ensure it adheres well.
- Prepare a baking tray by placing a wire rack on top of it. This setup allows the heat to circulate evenly around the chicken, which helps it cook evenly and stay crispy.
- Arrange the coated chicken on the wire rack. Make sure to give them some space so that they can crisp up without steaming one another.
- Lightly spray the chicken with cooking spray to promote browning. This step is crucial for that desirable golden color.
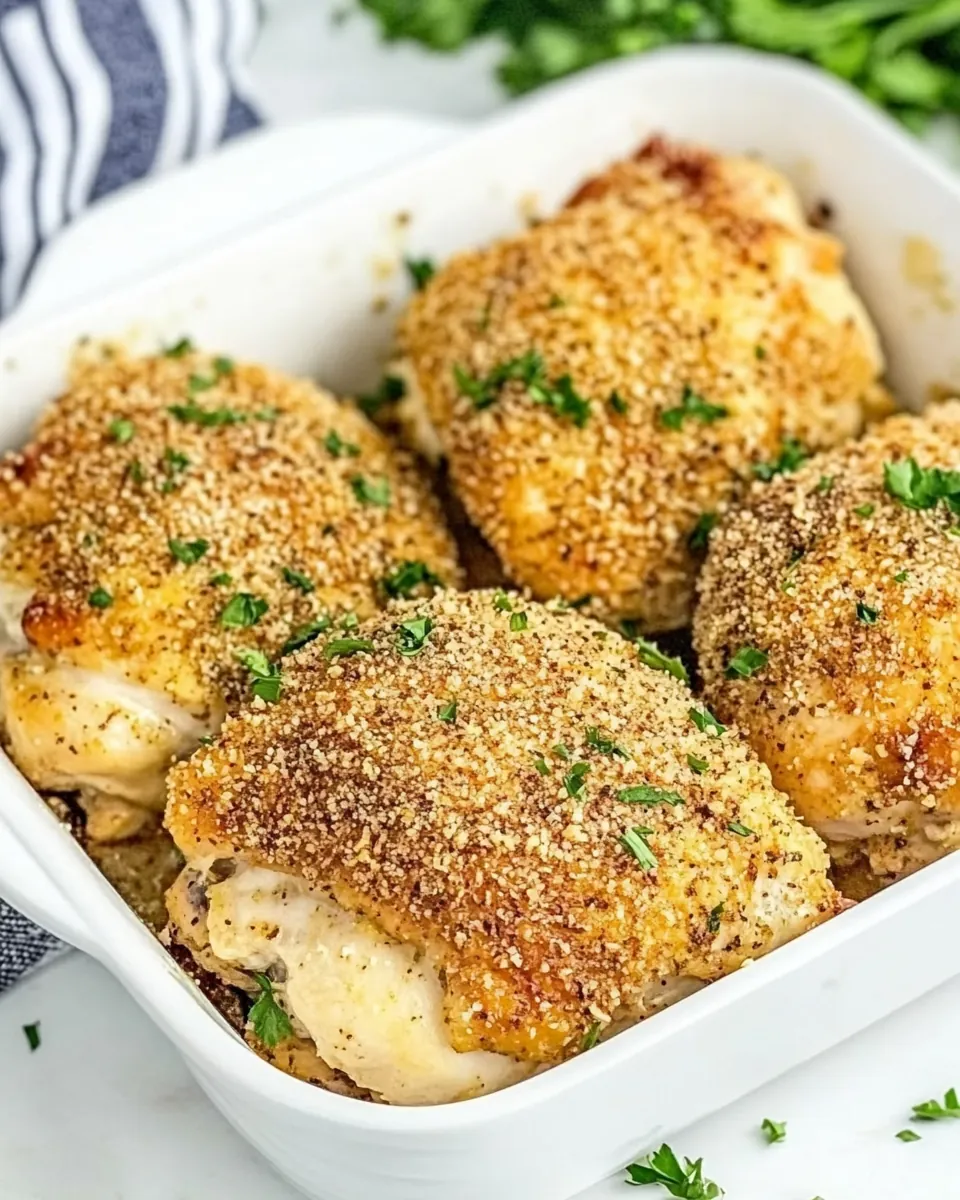
- Bake for 20 to 25 minutes, or until the juices run clear and the internal temperature reaches 165ºF on an instant-read thermometer. The chicken should be golden brown and fragrant.
- Once done, remove the chicken from the oven and let it rest for a few minutes before serving. Garnish with fresh parsley for an appealing touch.
Things Worth Knowing
- Marinating Time: Allowing the chicken to marinate for a few hours or overnight really enhances the flavor and tenderness. The longer, the better!
- Temperature Check: Use a meat thermometer to ensure the chicken is thoroughly cooked. It should reach an internal temperature of 165ºF for safety.
- Crispiness Tip: If you prefer extra crispiness, you can broil the chicken for the last few minutes of baking. Just keep an eye on it to prevent burning.
- Storing Leftovers: Store any leftover chicken in an airtight container in the fridge. It should last for up to three days.
Expert Tips about Baked Buttermilk Chicken
Cooking Baked Buttermilk Chicken is so much easier with a few helpful tips. Whether you’re a beginner or a seasoned chef, these insights can elevate your dish. Let’s explore some expert advice!
- Storage: Store leftovers in an airtight container in the refrigerator for up to three days. Reheat in the microwave or air fryer to maintain crispiness.
- Freezing: You can freeze cooked chicken for up to three months. Make sure it’s well-wrapped to avoid freezer burn.
- Pairing: This dish pairs wonderfully with mashed potatoes, a fresh salad, or steamed vegetables for a complete meal.
- Seasoning Variations: Don’t hesitate to experiment with the seasoning mix in the panko coating. Adding cayenne pepper can bring a kick of heat!
- Bone-in vs. Boneless: You can use bone-in chicken as well; just remember that bone-in pieces will require a longer cooking time. Make sure to adjust accordingly.
- Serving Size: This recipe serves four, but feel free to double it for larger gatherings. It’s a crowd-pleaser!
Serving Options for Baked Buttermilk Chicken
When it comes to serving Baked Buttermilk Chicken, the possibilities are endless! Here are some suggestions to make your meal even more enjoyable:
- Classic Sides: Serve with creamy mashed potatoes or fluffy rice to soak up any drippings.
- Fresh Salads: Pair with a refreshing green salad topped with a tangy vinaigrette for a light and balanced meal.
- Seasonal Vegetables: Roasted or steamed seasonal vegetables complement the dish beautifully, adding color and nutrition.
- Casual Gatherings: This dish is perfect for potlucks or family gatherings. Everyone loves crispy chicken!
- Lunch Leftovers: Use leftover chicken to make sandwiches or wraps for a quick and satisfying lunch the next day.
- Special Occasions: Elevate your dining experience by serving with a side of garlic bread and a glass of your favorite non-alcoholic beverage.
FAQ
Conclusion
Baked Buttermilk Chicken is truly a dish that brings warmth and comfort to the table. With its crispy exterior and tender, juicy meat, it’s bound to be a favorite in your home. I encourage you to try this recipe; it’s an easy way to impress your family or guests without spending hours in the kitchen. Enjoy every bite!
Baked Buttermilk Chicken
Ingredients
Equipment
Method
- Begin by placing the boneless, skinless chicken breasts into a resealable plastic bag.
- Next, whisk together the buttermilk, minced garlic cloves, honey, kosher salt, and black pepper in a large bowl until well combined.
- Pour the marinade over the chicken in the bag, making sure each piece is coated.
- Seal the bag tightly, removing as much air as possible, and place it in the refrigerator to marinate for at least a few hours, or even overnight.
- When you’re ready to bake, preheat your oven to 400ºF.
- In a shallow bowl or plate, combine the panko bread crumbs, grated parmesan cheese, garlic powder, Italian seasoning, paprika, kosher salt, and black pepper.
- Take the chicken out of the marinade, allowing any excess to drain off. Coat each piece thoroughly in the panko mixture.
- Prepare a baking tray by placing a wire rack on top of it. Arrange the coated chicken on the wire rack with some space between them.
- Lightly spray the chicken with cooking spray to promote browning.
- Bake for 20 to 25 minutes, or until the juices run clear and the internal temperature reaches 165ºF.
- Once done, remove from the oven and let it rest for a few minutes before serving. Garnish with fresh parsley.
Notes
- Tip 1: Store leftovers in an airtight container in the refrigerator for up to three days.
- Tip 2: You can freeze cooked chicken for up to three months.
- Tip 3: This dish pairs wonderfully with mashed potatoes, a fresh salad, or steamed vegetables.
- Tip 4: Don’t hesitate to experiment with the seasoning mix in the panko coating.
- Tip 5: You can use bone-in chicken; just adjust the cooking time accordingly.
- Tip 6: This recipe serves four, but feel free to double it for larger gatherings.