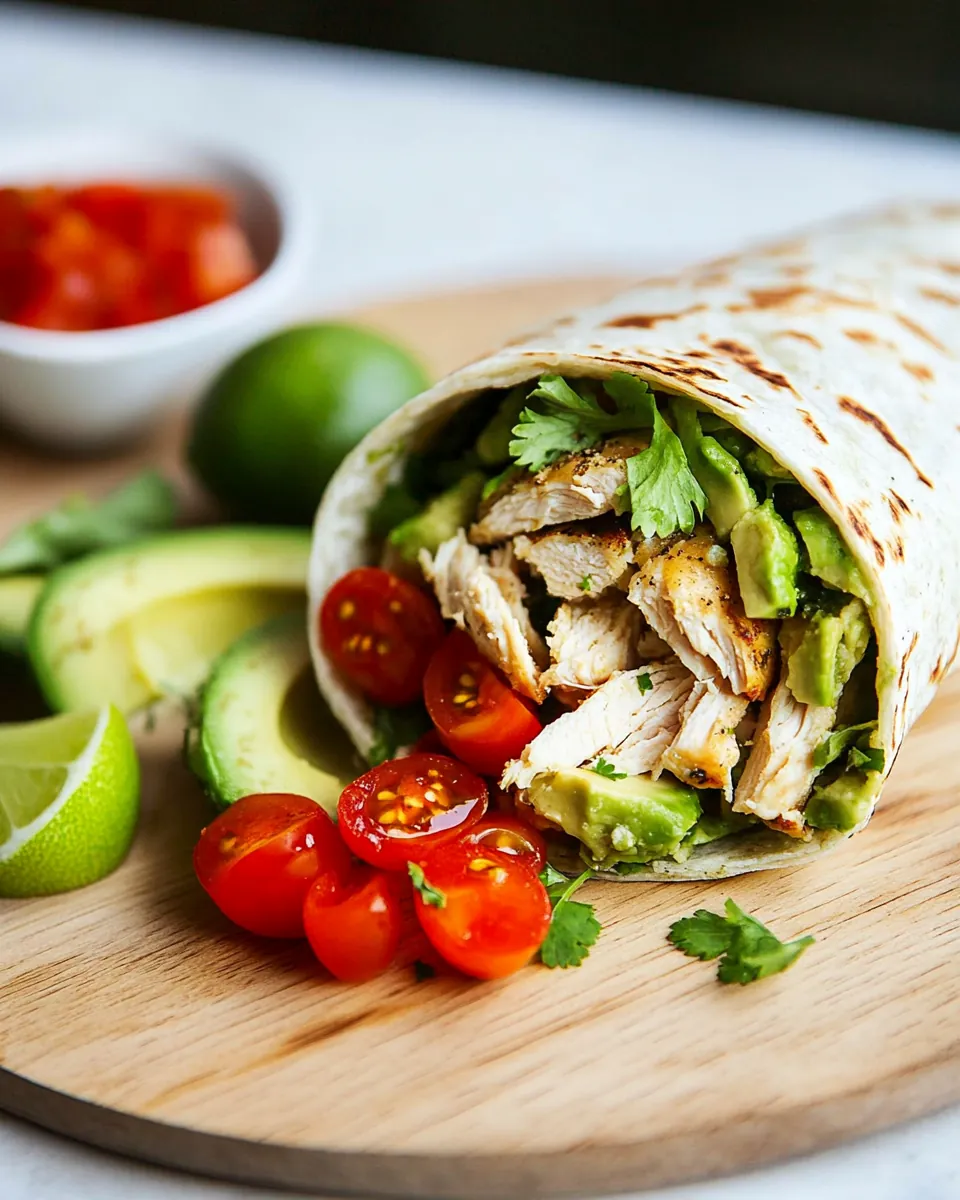
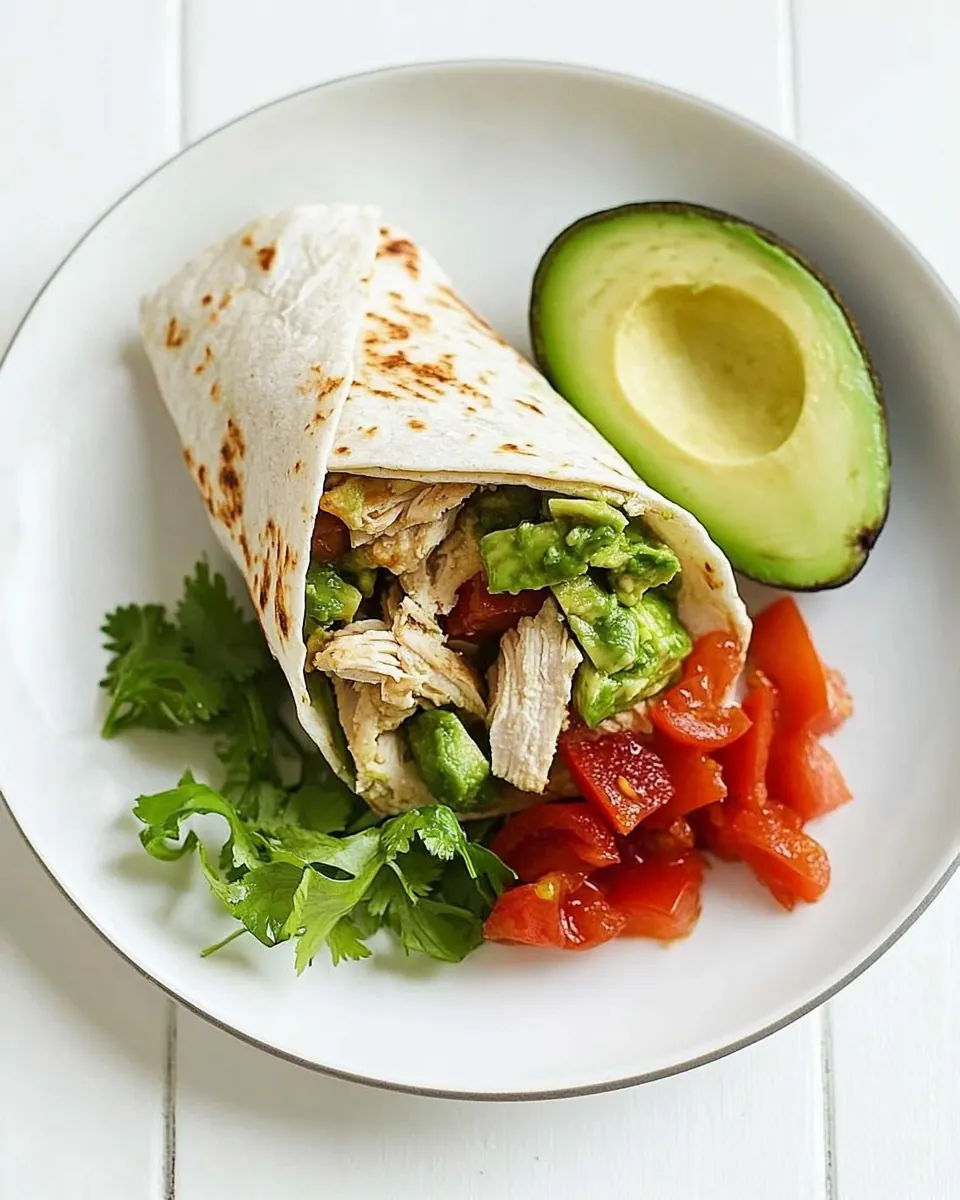
Avocado Chicken Wrap
There’s something so comforting about a well-made wrap, and the Avocado Chicken Wrap is no exception. I remember the first time I decided to whip up this dish for a casual lunch with friends. It was a sunny afternoon, and I wanted something light yet filling. As I gathered my ingredients, I could already imagine the flavors coming together. The creamy avocado paired with tender, shredded chicken and fresh veggies created a medley that not only satisfied our hunger but also tickled our taste buds. Each bite was a reminder of how simple ingredients can elevate a meal into something truly delightful. Ever since that day, this wrap has become my go-to recipe for gatherings, picnics, and even a quick dinner. It’s versatile, easy to make, and always a hit!
Recipe Snapshot
60 mins
0 mins
0 mins
Medium
450 kcal
30 g
Gluten-Free, Low FODMAP
20 g
Grater, Frying Pan, Peeler, Skillet, Oven, Mixing Bowl, Chef’s Knife, Baking Sheet
Why This Avocado Chicken Wrap Is a Winner
Quick to Prepare
One of the standout features of the Avocado Chicken Wrap is its speed. In less than an hour, you can create a delicious meal that looks impressive but requires minimal effort. This is perfect for those busy weeknights when you want something satisfying without spending hours in the kitchen.
Healthy Ingredients
This wrap is not just tasty; it’s packed with nutrition. The star ingredients, chicken and avocado, provide protein and healthy fats, making it a wholesome choice. Coupled with fresh vegetables like lettuce, tomatoes, and scallions, it’s a well-rounded meal.
Customizable
One of my favorite aspects of the Avocado Chicken Wrap is its versatility. You can easily tailor it to your taste preferences. Whether you want to add more veggies or switch the chicken for another protein, the options are endless. You can even make it vegetarian by substituting the chicken for beans!
Perfect for Any Occasion
This wrap is an excellent choice for various occasions, from casual family dinners to elegant gatherings. Its ease of preparation makes it suitable for any time of the year, be it a summer picnic or a cozy winter evening.
Delicious Leftovers
Another reason to love the Avocado Chicken Wrap is how well it keeps. The flavors meld beautifully when stored in the fridge, making it a great option for meal prep. You can enjoy it as a quick lunch or dinner throughout the week.
Fun to Eat
Who doesn’t love a wrap? It’s a fun and interactive way to enjoy your meal. You can serve the ingredients separately and allow everyone to build their own, making it a hit at parties or family meals.
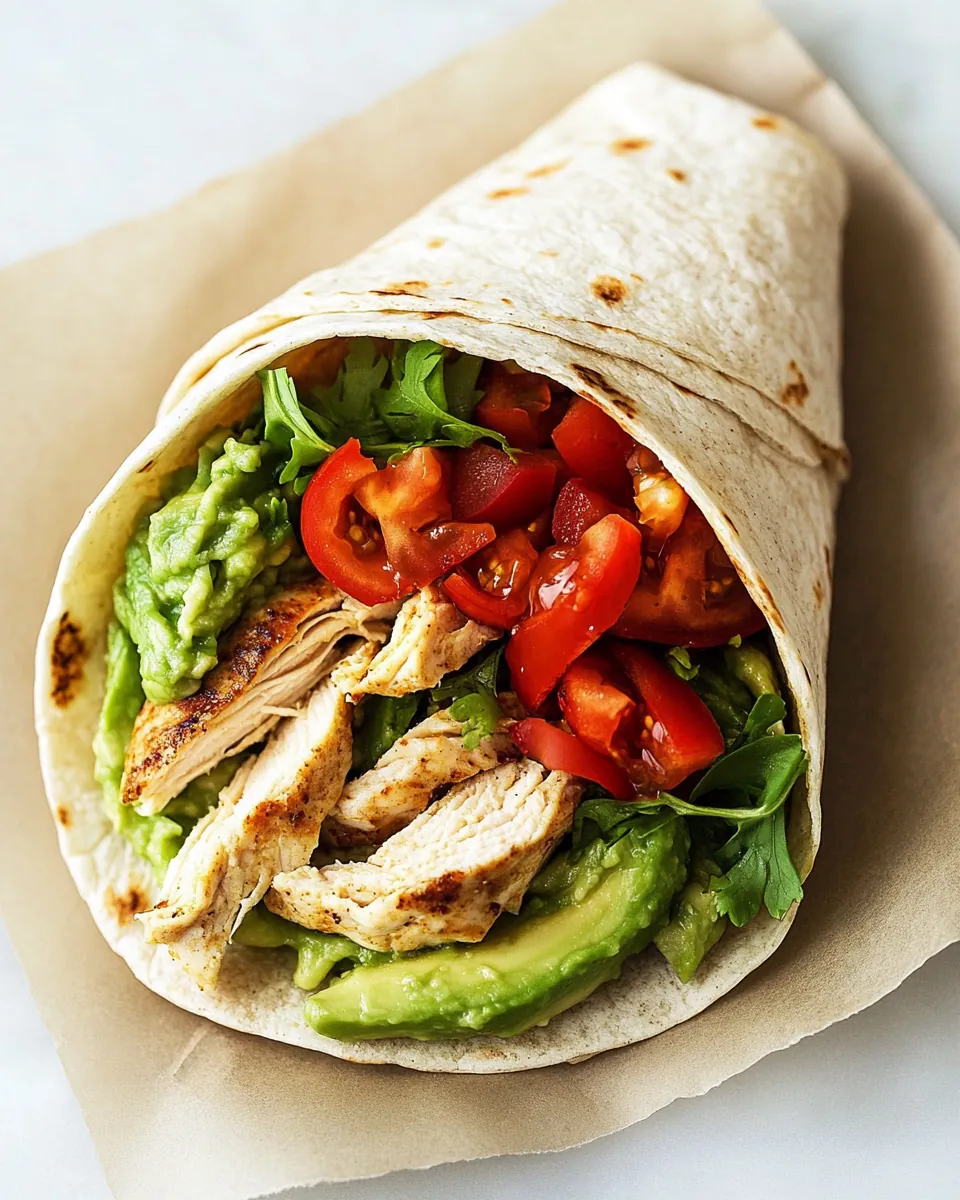
What’s In This Avocado Chicken Wrap
When it comes to the ingredients in the Avocado Chicken Wrap, each component plays a vital role in creating a balanced flavor profile. The combination of protein, healthy fats, and fresh vegetables not only satisfies hunger but also nourishes the body. Let’s take a look at the key players that make this wrap a favorite.
- 2 bone-in chicken breasts: A rich source of protein, these breasts provide the main filling for your wraps, ensuring that each bite is hearty and satisfying.
- 2 teaspoons extra virgin olive oil: This healthy fat helps to keep everything moist while adding a depth of flavor.
- 1/2 teaspoon kosher or sea salt: Essential for enhancing the flavors of all the ingredients.
- 1/2 teaspoon black pepper: Adds a touch of heat and complexity to the dish.
- 1/2 teaspoon chili powder: Brings a warm spiciness that complements the chicken beautifully.
- 1 ripe avocado: Creamy and rich, it adds a delightful texture and healthy fats.
- 1 tablespoon lime juice: Freshly squeezed lime juice brightens the flavors, balancing the creaminess of the avocado.
- 1 cup cherry tomatoes: Sweet and juicy, they add freshness and a pop of color to the wrap.
- 4 scallions: These add a mild onion flavor and crunchy texture.
- 2 cups bibb lettuce: This optional ingredient provides a light crunch and helps to wrap everything together.
- 15 ounces refried beans: A great protein source that adds a creamy element to the filling.
- 1/2 cup salsa: Adds zesty flavor and moisture to the wrap.
- 8 whole-grain tortillas: The foundation of the wrap, these provide a satisfying base for all the delicious fillings.
Recipe Steps for Avocado Chicken Wrap
Making the Avocado Chicken Wrap is a straightforward process that can be broken down into a few essential steps. It’s a great recipe for both beginner cooks and seasoned chefs looking for a quick and nutritious meal. Let’s dive into the process!
- Preheat your oven to 350 degrees. This ensures that your chicken cooks evenly and stays juicy.
- Rinse the chicken breasts under cold water and pat them dry with a paper towel. This helps the olive oil and seasonings adhere better.
- Brush the chicken generously with olive oil. This not only adds flavor but also helps to keep the chicken moist during cooking.
- Sprinkle the chicken with 1/4 teaspoon of salt, 1/4 teaspoon of black pepper, and the chili powder. Make sure to cover all sides to ensure every bite is seasoned well.
- Place the seasoned chicken in an oven-safe pan. Cover it with aluminum foil to lock in moisture. Bake for about one hour, or until the juices run clear when pierced with a fork. The chicken should be tender and fully cooked.
- Once baked, remove the chicken from the oven and let it cool slightly. This makes it easier to handle and shred.
- Using your hands or a fork, shred the chicken into strips. The chicken will be hot, so be careful! Set aside.
- In a mixing bowl, mash the avocado with a fork until smooth. Add the remaining salt, black pepper, and lime juice to the bowl. Mix until well combined. This creamy mixture will add a delicious layer to your wraps.
- In a saucepan, pour the refried beans and heat them over medium-low heat until warm. This will make them easier to spread on the tortillas.
- Warm the whole-grain tortillas on a dry skillet over medium heat for about one minute per side. You want them just warmed through and pliable.
- To assemble, spread an equal amount of refried beans, salsa, and shredded chicken on each tortilla. Add lettuce, tomatoes, and scallions as desired.
- Top each wrap with a generous spoonful of the mashed avocado mixture. This will add creaminess and bind the fillings together.
- Tuck the end of the tortilla under and roll each wrap tightly. Ensure all the fillings stay inside for a neat presentation.
- Enjoy your wraps immediately! They can also be served with optional toppings like Greek yogurt or sour cream, or grated cheese for added flavor.
Things Worth Knowing
- Rest the chicken: Allowing the chicken to cool before shredding helps retain moisture, making for juicier filling.
- Use ripe avocados: Ensure your avocado is perfectly ripe for optimal creaminess and flavor.
- Customize your fillings: Feel free to add any of your favorite vegetables or toppings to the wraps for a personal touch.
- Storage: These wraps can be stored in the refrigerator for up to three days, making them a great meal prep option.
Making Adjustments
Whether you want to tweak the flavors or simply adapt the recipe to your dietary preferences, here are some tips to help you make the Avocado Chicken Wrap your own.
- Storage: After preparing your wraps, store any leftovers in an airtight container in the refrigerator. They should stay fresh for up to three days.
- Freezing: If you want to make a batch ahead of time, consider freezing the fillings separately. Wrap the tortillas in foil and freeze them, so they’re ready to go when you need them.
- Pairing: These wraps are delicious on their own but can be served alongside a fresh salad, roasted vegetables, or your favorite chips for added crunch.
- Vegetarian Option: Substitute the chicken with grilled vegetables or tofu for a plant-based version that’s equally satisfying.
- Spice it up: If you enjoy some heat, consider adding jalapeños or hot sauce to the mix!
Serve This Avocado Chicken Wrap With
When it comes to serving the Avocado Chicken Wrap, you have a world of possibilities to elevate your meal. Here are some fantastic ideas:
- Summer Picnics: These wraps are perfect for outdoor gatherings. Pack them in a cooler and enjoy them at the park or beach.
- Casual Dinners: Serve the wraps alongside a fresh green salad drizzled with a light vinaigrette for a complete meal that’s both satisfying and healthy.
- Kids’ Lunches: Make these wraps for your little ones! They’re easy to eat and can be customized to suit their tastes.
- Game Day Snacks: Cut the wraps into bite-sized pieces for a fun appetizer during game day. Pair them with salsa or guacamole for dipping!
- Meal Prep: Prepare these wraps ahead of time for a quick lunch throughout the week. Just store the wraps separately from the toppings to keep everything fresh.
- Seasonal Variations: You can switch up the vegetables and toppings according to the season for a fresh take on this staple wrap.
FAQ
Conclusion
The Avocado Chicken Wrap is a delightful way to enjoy a quick and nutritious meal packed with flavor. With its combination of tender chicken and creamy avocado, it’s hard not to fall in love with this dish. I encourage you to give it a try and make it your own by adding your favorite ingredients or spices. It’s a versatile recipe that can easily become a staple in your kitchen!

Avocado Chicken Wrap
Ingredients
Equipment
Method
- Preheat your oven to 350 degrees. This ensures that your chicken cooks evenly and stays juicy.
- Rinse the chicken breasts under cold water and pat them dry with a paper towel. This helps the olive oil and seasonings adhere better.
- Brush the chicken generously with olive oil. This not only adds flavor but also helps to keep the chicken moist during cooking.
- Sprinkle the chicken with 1/4 teaspoon of salt, 1/4 teaspoon of black pepper, and the chili powder. Make sure to cover all sides to ensure every bite is seasoned well.
- Place the seasoned chicken in an oven-safe pan. Cover it with aluminum foil to lock in moisture. Bake for about one hour, or until the juices run clear when pierced with a fork. The chicken should be tender and fully cooked.
- Once baked, remove the chicken from the oven and let it cool slightly. This makes it easier to handle and shred.
- Using your hands or a fork, shred the chicken into strips. The chicken will be hot, so be careful! Set aside.
- In a mixing bowl, mash the avocado with a fork until smooth. Add the remaining salt, black pepper, and lime juice to the bowl. Mix until well combined. This creamy mixture will add a delicious layer to your wraps.
- In a saucepan, pour the refried beans and heat them over medium-low heat until warm. This will make them easier to spread on the tortillas.
- Warm the whole-grain tortillas on a dry skillet over medium heat for about one minute per side. You want them just warmed through and pliable.
- To assemble, spread an equal amount of refried beans, salsa, and shredded chicken on each tortilla. Add lettuce, tomatoes, and scallions as desired.
- Top each wrap with a generous spoonful of the mashed avocado mixture. This will add creaminess and bind the fillings together.
- Tuck the end of the tortilla under and roll each wrap tightly. Ensure all the fillings stay inside for a neat presentation.
- Enjoy your wraps immediately! They can also be served with optional toppings like Greek yogurt or sour cream, or grated cheese for added flavor.