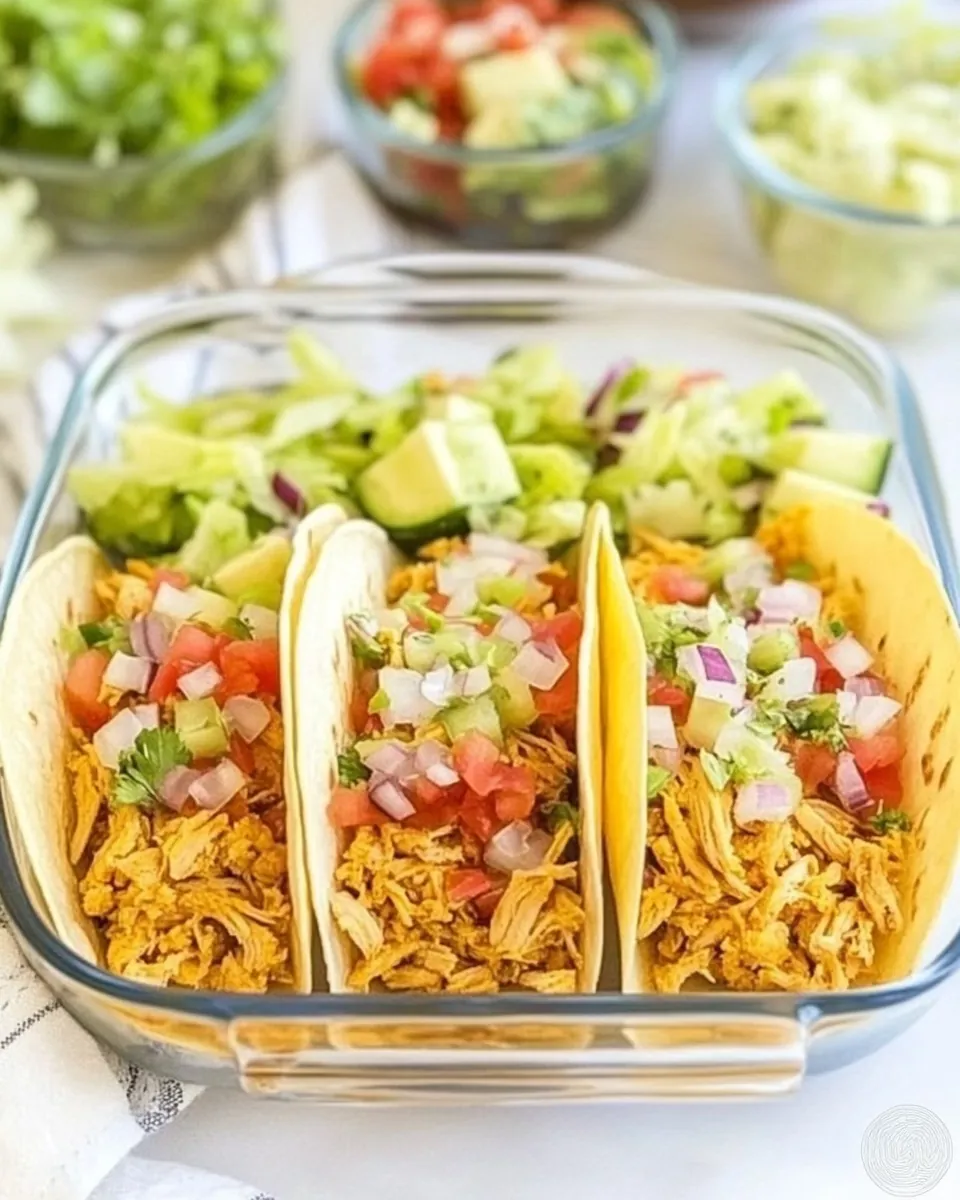
Baked Chicken Tacos
Baked Chicken Tacos are a fantastic way to spice up your weeknight dinners! I remember the first time I made these delightful tacos; the aroma of the spices filled the kitchen, making everyone’s mouths water. On a particularly busy day, I craved something comforting yet easy to prepare. That’s when I decided to whip up a batch of Baked Chicken Tacos. With just a few simple ingredients, I was able to create a meal that brought everyone to the table, eager to dig in. The crispy taco shells paired with savory chicken and vibrant toppings make for the ultimate satisfying dish.
Recipe Snapshot
51 mins
35 mins
16 mins
Medium
500 kcal
30 g
Gluten-Free
25 g
Large sheet pan (15″ x 21″), Food processor or blender, Large cast-iron pan
Why You Need This Baked Chicken Tacos
1. Flavor Explosion
What sets these Baked Chicken Tacos apart is the blend of spices that fill the chicken with an explosion of flavor. The combination of chili powder, cumin, and paprika creates a layered taste that is simply irresistible. I love how every bite offers a delightful burst of spices that dance on the palate.
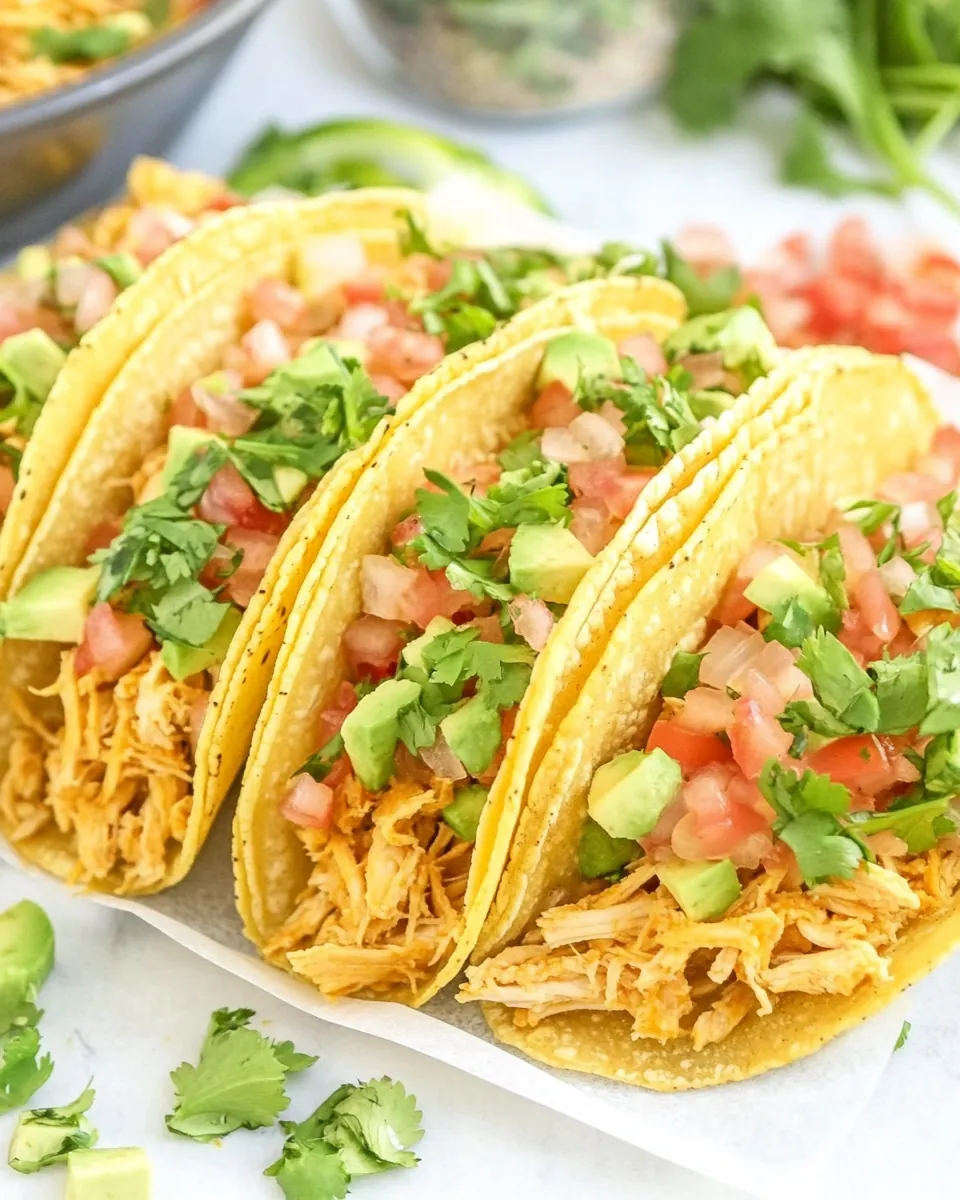
2. Crunch Factor
There’s something about a crispy taco shell that makes any meal feel special. The crispiness of the taco shells not only enhances the overall texture but also adds a satisfying crunch that contrasts beautifully with the tender chicken filling. Baking the tacos ensures that they stay crispy, so you can enjoy them just the way they should be.
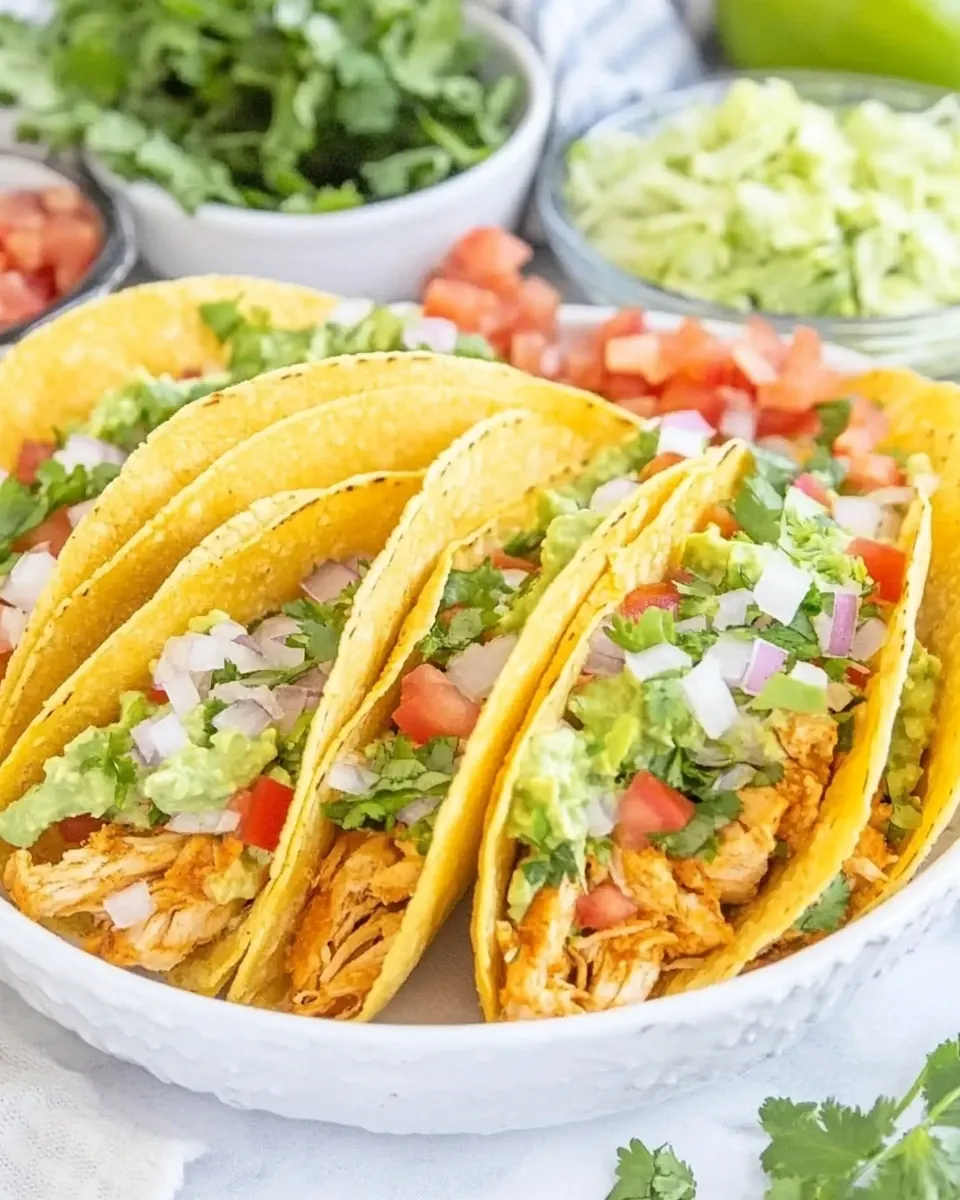
3. Customizable Toppings
One of my favorite aspects of Baked Chicken Tacos is the ability to personalize them with your choice of toppings. Whether you prefer creamy sour cream, fresh cilantro, or zesty jalapeños, the options are endless. This versatility allows everyone to create their perfect taco, catering to different tastes and dietary preferences.
4. Quick Assembly
Preparation is a breeze! In less than an hour, you can assemble and bake these tacos, making them an ideal option for busy weeknights or impromptu gatherings. The efficient cooking process means you can have a delicious meal on the table in no time, without sacrificing flavor or fun.
5. Family-Friendly
These tacos are a hit with kids and adults alike! The fun of building your own taco is always exciting for children, and the savory chicken filling satisfies even the pickiest of eaters. It’s the perfect dish to bring the family together for a cozy meal.
What You Need for Baked Chicken Tacos
The ingredients for Baked Chicken Tacos come together to create a symphony of flavors and textures. Each component plays a crucial role in crafting the perfect bite. From the tender, seasoned chicken to the crispy taco shells, these ingredients are carefully selected to ensure a satisfying meal. Let’s dive into the key players:
- 1 tablespoon olive oil: A base for sautéing the onion and garlic, adding depth to the dish.
- 1/2 cup finely diced yellow onion: Provides sweetness and aromatic qualities when cooked.
- 2 teaspoons minced garlic: Adds robust flavor and enhances the overall taste of the filling.
- 1 tablespoon ground chili powder: The star spice that brings warmth and color.
- 1 teaspoon ground cumin: Infuses an earthy flavor that complements the chicken perfectly.
- 1 teaspoon paprika: Adds a subtle smokiness and vibrant hue.
- 1/2 teaspoon onion powder: Enhances the onion flavor without added bulk.
- 1/2 teaspoon garlic powder: Boosts the garlicky goodness.
- 1/2 teaspoon dried oregano: Offers a hint of herbal freshness.
- 1/2 teaspoon salt: Essential for seasoning the filling.
- 1/2 teaspoon pepper: For a touch of heat.
- 1/2 tablespoon chicken bouillon powder: Intensifies the chicken flavor.
- 1 pound ground chicken thigh meat: The main protein that brings richness and flavor.
- 1/2 cup tomato sauce: Adds moisture and a tangy sweetness to the filling.
- 1-3/4 cups shredded Colby Jack cheese or extra-sharp Cheddar cheese: For that melty, gooey texture.
- 12 stand-up crispy corn tortillas: The perfect vessel for holding all the delicious fillings.
- 1 lime: Freshly squeezed juice brightens up the flavors.
- 1/2 cup fresh cilantro, loosely packed: A refreshing garnish that enhances every bite.
- 1/2 tablespoon minced jalapeño: For those who enjoy a spicy kick.
- 1/4 cup mayo: Adds creaminess to the toppings.
- 1/4 cup sour cream: A cooling element that balances the spices.
- 1/4 teaspoon salt: Additional seasoning for the toppings.
- 1/8 teaspoon pepper: Just a sprinkle for extra flavor.
- Toppings as desired: Choose from avocado, diced tomatoes, or more cilantro.
How to Assemble Baked Chicken Tacos
Now that you have all your ingredients prepared, let’s dive into the fun part—assembling your Baked Chicken Tacos! This is where the magic happens, and you’ll see how simple it is to create a delicious meal. Just follow these easy steps, and you’ll be well on your way to taco heaven.
- Zest the limes using a zester to obtain about 1/4 teaspoon of zest. Then, juice the lime using a citrus juicer until you have approximately 2 tablespoons of lime juice. This fresh flavor will elevate your tacos.
- Preheat your oven to 400°F. While the oven is heating, gather a very large sheet pan or two smaller ones. Having the right equipment will make your taco assembly easier.
- In a food processor, combine all the sauce ingredients and blend or pulse until smooth. Transfer the sauce to a Mason jar and refrigerate it while you prepare the rest. This allows the flavors to meld beautifully.
- Next, dice the onion and mince the garlic. In a large cast-iron pan, add the olive oil and heat it over medium-high heat. Once the oil is hot, add the diced onion. Sauté for about 3 to 5 minutes until it becomes soft and translucent.
- Add the minced garlic to the pan, cooking for an additional 20 to 30 seconds until fragrant. Be careful not to let it burn, as burnt garlic can ruin the flavor.
- Now, it’s time to add the spices! Sprinkle in the chili powder, ground cumin, paprika, onion powder, garlic powder, dried oregano, salt, pepper, and chicken bouillon powder. Stir everything together, allowing the spices to cook until fragrant for about 30 seconds. If things start to burn, reduce the heat immediately.
- Push the mixture to the sides of the pan, creating a space in the center. Add the ground chicken to this center space, crumbling the meat into small pieces. Cook until it’s no longer pink but still slightly undercooked, about 4 to 5 minutes. If using a nonstick pan, be cautious as it may take longer, and you may need to drain excess liquid.
- Pour in the tomato sauce, scraping the bottom of the pan to release any brown bits. These bits are packed with flavor. Let the mixture simmer for 3 to 5 minutes until the chicken is fully cooked through, then remove it from heat.
- Now, prepare your tortilla shells. Place them in the pans, fitting 9 to 10 in a 9 x 13-inch pan, and use an 8 x 8-inch pan for the rest. Bake the tortillas for about 5 minutes to keep them from getting soggy.
- Once the shells are baked, add a heaping 1/4 cup of the taco meat filling into each shell and top with 2 tablespoons of cheese. Repeat this process until all shells are filled.
- Return the pans to the oven and bake for another 8 to 15 minutes, or until the taco shells are crispy and the cheese is melted and bubbly. The smell will be irresistible!
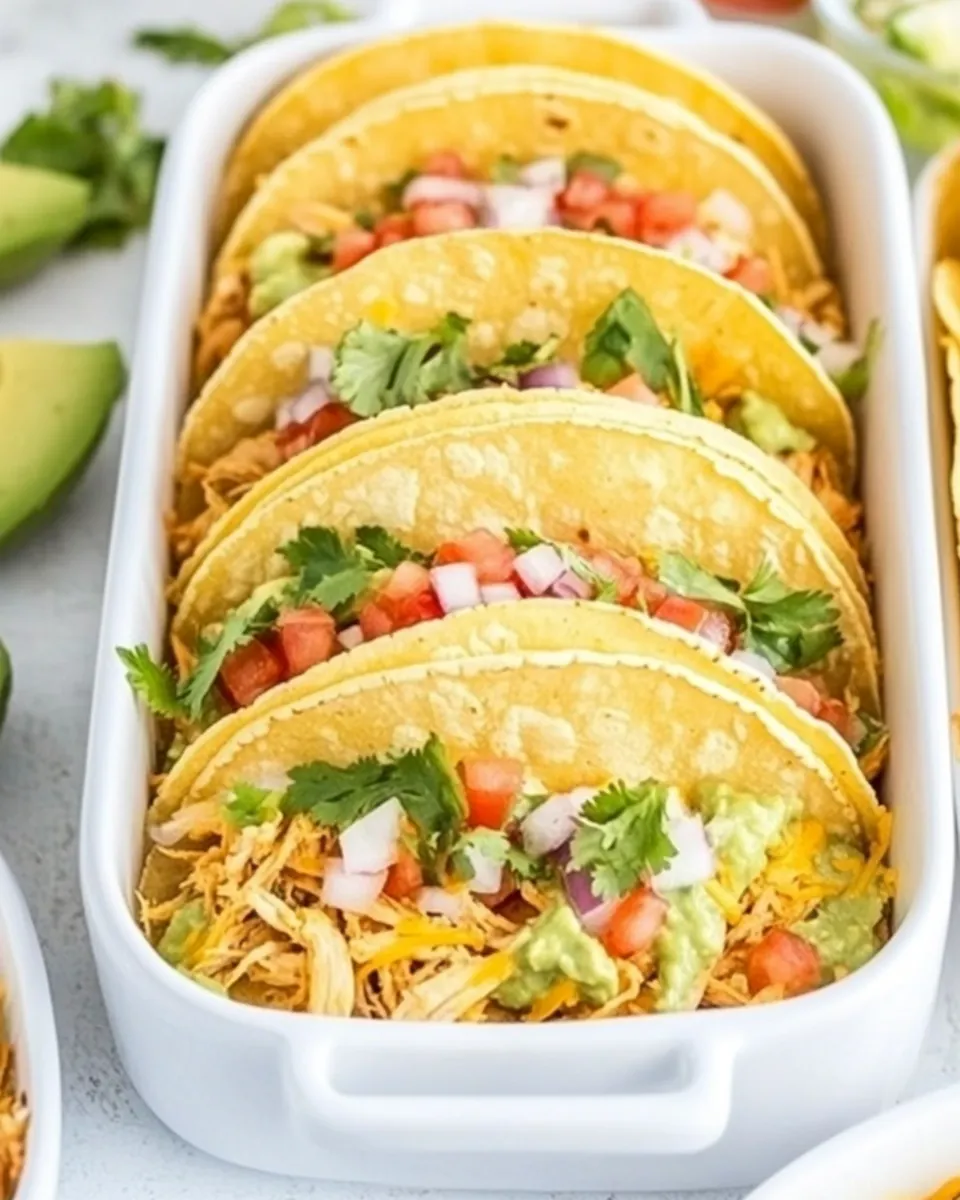
- Finally, add your favorite toppings on top of the tacos. I personally love to add thinly sliced avocado, diced cherry tomatoes, and a generous drizzle of cilantro-lime sauce. Enjoy your Baked Chicken Tacos right out of the oven!
Things Worth Knowing
- Check for Doneness: When cooking the ground chicken, make sure it is no longer pink in the center. This ensures that it is cooked through and safe to eat.
- Flavor Infusion: Allowing the sauce to chill helps the flavors blend beautifully. Don’t skip this step if you want a more aromatic sauce!
- Crispy Shells: Baking the taco shells before filling them prevents sogginess and promotes that delightful crunch you crave.
- Experiment with Spices: Feel free to adjust the spice levels to your liking. Add more chili powder for heat or some smoked paprika for added depth.
Make It Your Own
Creating Baked Chicken Tacos is not just a recipe; it’s an opportunity to personalize your meal. Here are some tips to make your tacos uniquely yours:
- Storage: Store any leftovers in an airtight container in the fridge. Keep the toppings separate to maintain freshness.
- Freezing: You can freeze the taco filling in a resealable bag for up to three months. Thaw it overnight in the fridge before reheating.
- Pairing: These tacos pair wonderfully with a light salad or elote (Mexican street corn) for a complete meal.
- Spice Variations: Experiment with different spices in the filling or try adding some heat with diced jalapeños or serranos.
- Alternate Proteins: Try swapping the ground chicken for ground turkey or even a plant-based meat for a vegetarian option.
- Fresh Herbs: Fresh cilantro adds brightness, but feel free to experiment with other herbs like parsley or green onions.
Serving Suggestions
Baked Chicken Tacos are a versatile dish that can be served on various occasions. Here are some delightful ways to enjoy them:- Family Dinners: Serve these tacos at your next family dinner; they’re a surefire way to bring everyone together.
- Game Day: Perfect for game day gatherings, set up a taco bar so guests can customize their tacos with different toppings.
- Lunch: Leftovers make a fantastic lunch option! Just reheat in the oven for that crispiness.
- Special Occasions: Whether it’s a birthday or holiday celebration, these tacos add a festive touch to any table.
- Side Dishes: Pair them with a light salad or some refried beans for a satisfying meal.
- Seasonal Pairings: Enjoy these tacos year-round, but don’t forget to bring in fresh seasonal toppings like tomatoes in summer or roasted veggies in fall.
FAQ
Conclusion
The Baked Chicken Tacos are not just a dish; they symbolize comfort, family, and delightful flavors. The combination of crispy shells and savory chicken makes for a wonderful meal that everyone will love. I encourage you to try this recipe for your next family gathering or casual dinner; it’s sure to impress!
Baked Chicken Tacos
Ingredients
Equipment
Method
- Zest the limes with a zester to get 1/4 teaspoon zest. Juice the lime using a citrus juicer to get 2 tablespoons lime juice. Preheat oven to 400°F. Use a very large sheet pan or 2 smaller ones.
- Add all the sauce ingredients to a food processor and blend or pulse until smooth. Transfer sauce to a Mason jar and refrigerate while preparing everything else so flavors can intensify.
- Dice the onion and mince the garlic. Add olive oil to a large cast-iron pan and place over medium-high heat. Once oil is hot, add diced onion. Cook for 3–5 minutes or until soft and translucent.
- Add garlic and cook for 20–30 seconds. Add chili powder, ground cumin, paprika, onion powder, garlic powder, dried oregano, salt, pepper, and chicken bouillon powder. Cook and stir the spices until fragrant, about 30 seconds.
- Press everything to the sides of the pan. Add ground chicken to the center. Crumble the meat into small pieces and cook until no longer pink but not cooked through all the way, about 4–5 minutes.
- This will take longer in a nonstick pan and you may need to drain off accumulated liquid here. Add in the tomato sauce and scrape the bottom of the pan to release any browned bits, this is where the flavor is!
- Let simmer for 3–5 minutes, or until fully cooked through, then remove from heat.
- Add tortilla shells to pans, fitting 9–10 in a 9 x 13-inch pan and add the rest to an 8 x 8-inch pan. Bake for 5 minutes to keep the shells from getting soggy quickly.
- To the baked shells, add a heaping 1/4 cup of the taco meat filling and 2 tablespoons cheese on top. Repeat until all the shells are filled.
- Bake for 8–15 minutes or until shells are crispy and cheese is very melted. Add your favorite toppings on top of the tacos.
- I love topping these tacos with thinly sliced avocado, diced cherry tomatoes, sour cream, and lots of cilantro-lime sauce. Enjoy right out of the oven!
Notes
- Tip 1: I love to top these tacos with thinly sliced avocado, diced cherry tomatoes, sour cream, and lots of the cilantro lime sauce.
- Tip 2: You can also use guacamole, pico de gallo, jalapeño, cilantro, green onions, fresh lime, cotija cheese, or pickled red onions—tons of delicious options!
- Tip 3: The nutrition information is calculated for 1 serving of 3 tacos.
- Tip 4: Store leftovers in the fridge, keeping toppings separate, and reheat tacos in the oven before serving.