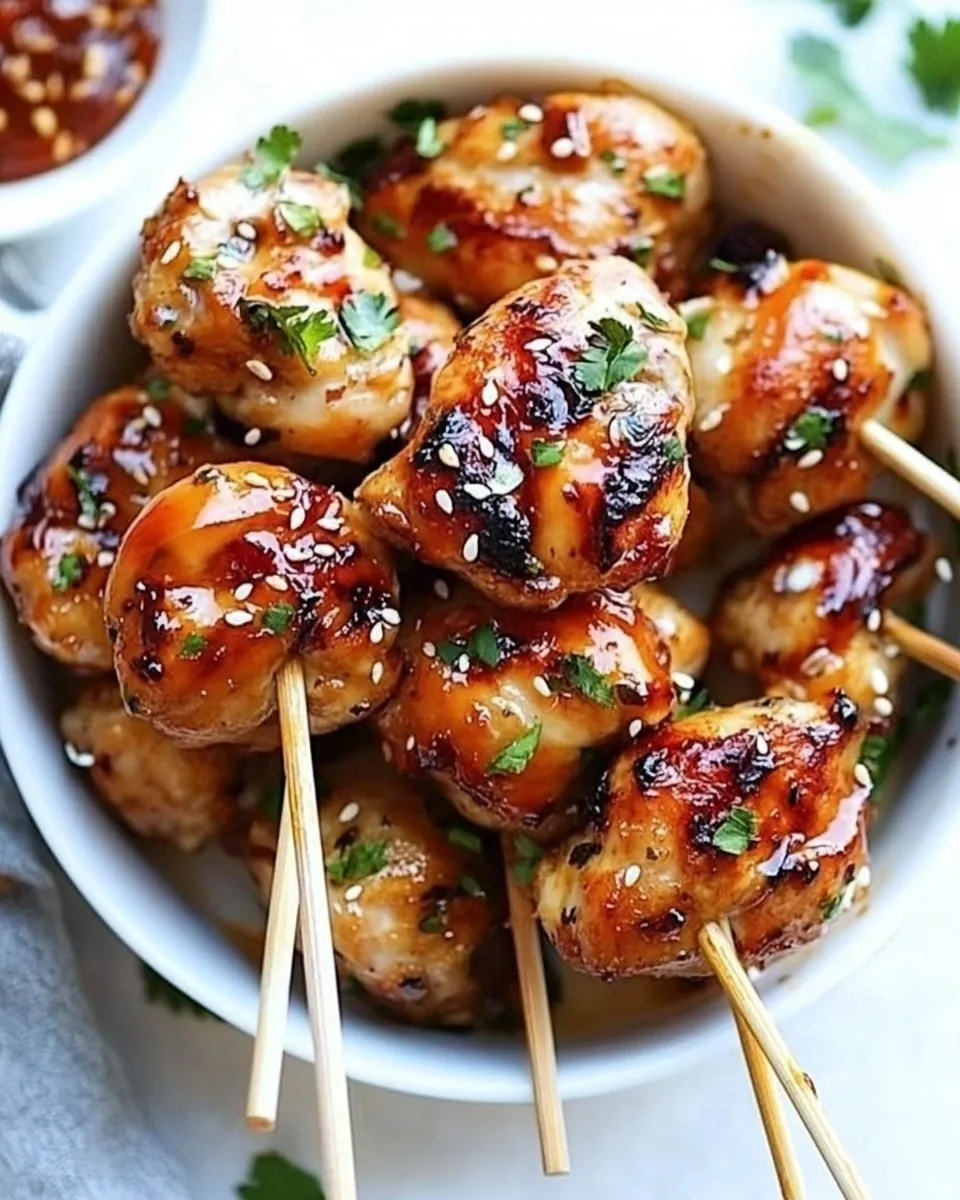
Baked Chicken Lollipop
When it comes to satisfying your cravings, there’s nothing quite like a delicious Baked Chicken Lollipop. Picture this: a lively gathering with friends, the aroma of tender chicken filling the air, and the laughter echoing around the table. This dish has become a staple in my home, often bringing people together for cozy dinners and casual parties. The best part? Making Baked Chicken Lollipop is an experience that engages all the senses, from the vibrant colors of the marinade to the satisfying crunch as you bite into the perfectly cooked chicken. As we dive into this recipe, I can’t wait to share the joy it has brought to my family and friends over the years.
Recipe Snapshot
50 mins
15 mins
35 mins
Medium
250 kcal
20 g
Vegan, Gluten-Free, Low FODMAP
12 g
Oven, Peeler, Baking Sheet, Frying Pan
Why You Need This Baked Chicken Lollipop
Fun and Interactive
One of the reasons I love making Baked Chicken Lollipop is that it’s such an interactive dish. Everyone can get involved, from preparing the ingredients to marinating the chicken. It’s a fantastic way to bond with family or friends while cooking, making it a perfect weekend project.
Flavor-Packed
The combination of hoisin sauce, ginger, and garlic creates an explosion of flavors in every bite. Each ingredient contributes to a rich profile that’s both sweet and savory, making these chicken lollipops irresistible. You’ll find yourself going back for seconds!
Versatile Dish
Another highlight of Baked Chicken Lollipop is its versatility. You can serve it as an appetizer at a party, a main dish for dinner, or even as a snack while watching a game. It’s the kind of recipe that adapts well to any occasion, ensuring that it never gets old.
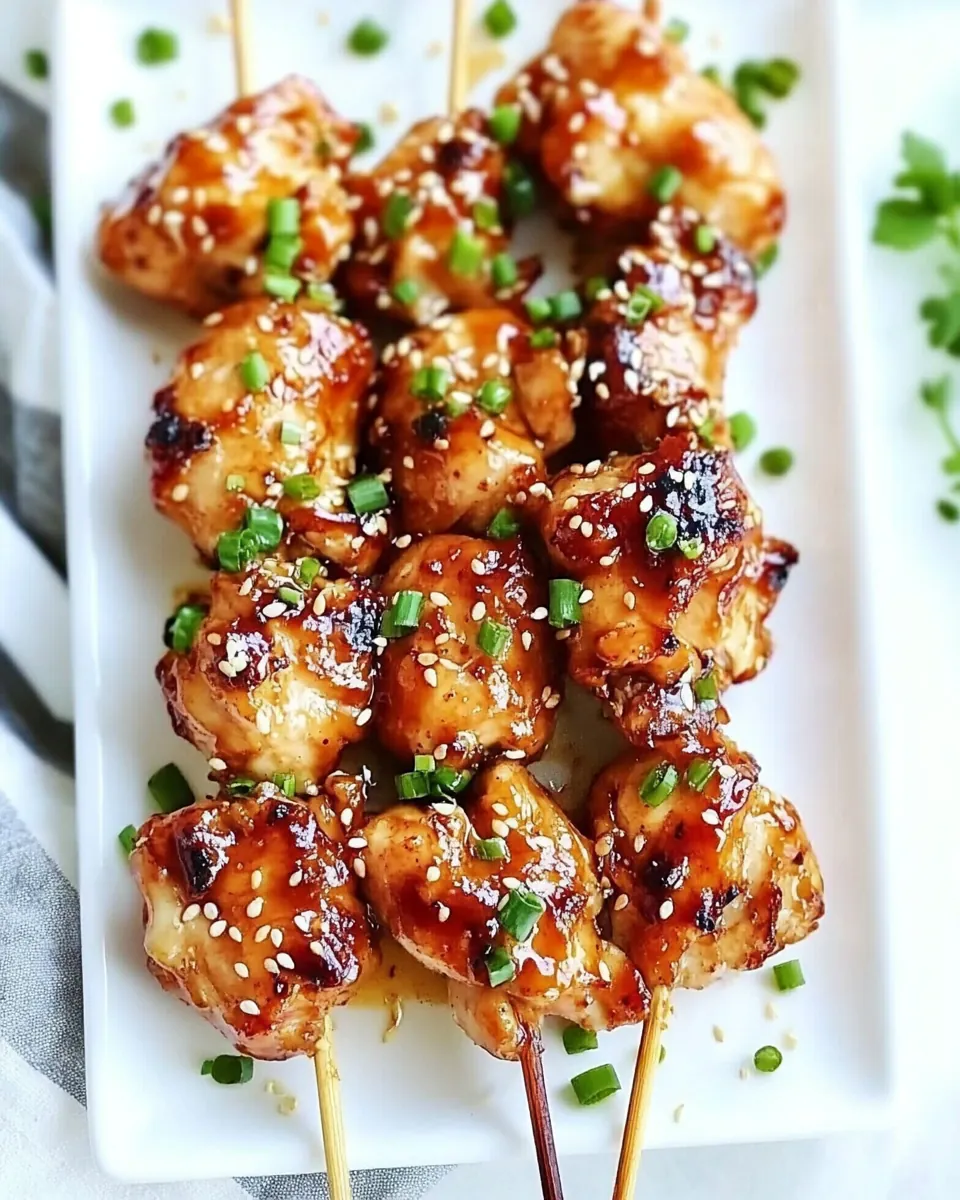
Beautiful Presentation
There’s something incredibly appealing about the way Baked Chicken Lollipop looks on a plate. The elegant presentation, with the meat shaped like lollipops, draws everyone’s attention. You can even garnish it with fresh herbs or serve it with colorful dipping sauces to elevate your dish visually.
Healthy Cooking Method
Baking instead of frying not only makes Baked Chicken Lollipop healthier but also allows the flavors to develop beautifully. The oven does the work for you, creating a crispy exterior while keeping the inside juicy and tender. It’s a guilt-free indulgence that you can feel good about.
Family Favorite
Lastly, this dish has quickly become a family favorite. My kids love eating it, and I appreciate how easy it is to make. It’s the perfect weeknight meal that pleases everyone, from the picky eaters to the adventurous ones.
Ingredients for Baked Chicken Lollipop
When preparing Baked Chicken Lollipop, the ingredients play a crucial role in achieving that impressive flavor. Each component adds its touch, creating a well-rounded dish that tantalizes your taste buds. The key players here are the chicken drumettes, which provide a juicy base, and the aromatic ginger and garlic, which infuse the meat with depth. Let’s take a closer look at what you’ll need.
- 10 chicken drumettes, skin attached, cleaned and pat-dry: These serve as the star of the dish, providing the delicious meat that will be transformed into lollipops.
- 2 inches ginger, peeled and minced: Adds a fresh, aromatic flavor that pairs beautifully with the chicken.
- 1 clove garlic, peeled and minced: Brings warmth and depth to the marinade.
- 3 tablespoons hoisin sauce: This sweet and savory sauce is key to achieving the dish’s signature flavor.
- 1/2 tablespoon mild chili sauce, optional: Adds a touch of heat without overwhelming the other flavors.
- 1/2 tablespoon soy sauce: Enhances the umami profile of the dish.
- 1/2 tablespoon honey, or sugar: Provides a delightful sweetness to balance the savory elements.
- 1/2 tablespoon water: Helps to combine the marinade ingredients smoothly.
Recipe Steps for Baked Chicken Lollipop
Making Baked Chicken Lollipop is truly a joy, and I promise it’s easier than you might think. Follow these simple steps to create a mouthwatering dish that will impress everyone at the table. Let’s dive into the process!
- Using a pair of scissors or a knife, carefully cut the skin and tendons around the base of each drumette. This step is crucial for shaping the chicken into a lollipop. As you do this, take your time to ensure you don’t cut too deep into the meat.
- Next, you’ll want to peel, scrape, and push the meat down towards the thick end to form a ball shape resembling a lollipop. This step is both fun and satisfying; you’ll be amazed at how much like a lollipop your chicken will look!
- Cut off the knuckle end with scissors or a knife, creating a clean shape. This also helps in holding the lollipop later when serving. Repeat the same process with the remaining chicken drumettes until all are prepared.
- In a large bowl, combine the marinade ingredients: hoisin sauce, ginger, garlic, mild chili sauce, soy sauce, honey, and water. Mix everything well until it’s evenly combined.
- Add the prepared chicken drumettes to the bowl and coat them thoroughly with the marinade. Ensure each piece is well covered with the flavorful mix. This step is vital for infusing the chicken with all those delicious flavors.
- For the best results, let the marinated chicken sit for at least 1 hour, or preferably overnight in the refrigerator. This allows the flavors to penetrate deeply into the meat, yielding a tastier outcome.
- When you’re ready to cook, preheat your oven to 350°F (176°C). A well-preheated oven ensures even cooking and browning.
- While the oven is heating, arrange the marinated chicken drumettes on a wire rack set over a baking pan. This setup allows air circulation, resulting in crispy lollipops.
- Bake the chicken until it’s nicely browned, slightly charred, and completely cooked through, which should take about 35 minutes. Keep an eye on the color; you want that perfect golden brown!
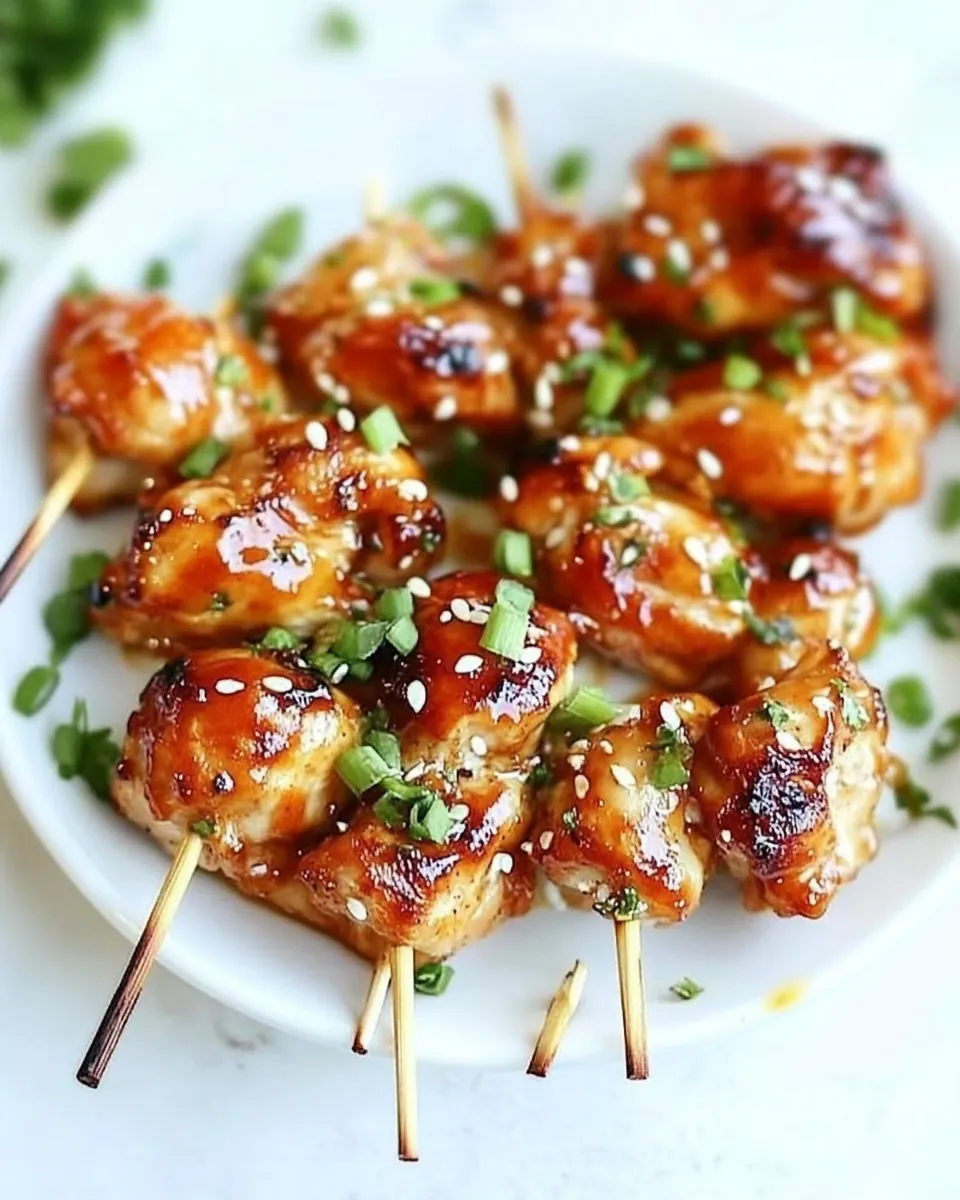
- Once done, remove the chicken from the oven and let it rest for a few minutes. Serve the Baked Chicken Lollipop with your favorite dipping sauce, or enjoy them as they are. They’re delicious on their own!
Things Worth Knowing
- Marinating Time: For the best flavor, let the chicken marinate for at least 1 hour, but overnight is even better.
- Cutting Technique: Take your time when cutting the drumettes to ensure a clean look; it enhances the presentation.
- Baking Tips: Position the chicken on a rack to allow air flow, which helps achieve a crispy texture.
- Flavor Variations: Experiment with different marinades by incorporating spices or sauces that you enjoy!
Pro Tips and Tweaks

If you’re looking to elevate your Baked Chicken Lollipop game, here are some pro tips that will help you nail this dish!
- Storage: Store leftover chicken in an airtight container in the refrigerator for up to 3 days. Reheat in the oven to maintain crispiness.
- Freezing: You can freeze the marinated chicken drumettes before baking. Just thaw and bake when you’re ready for a quick meal.
- Pairing: These lollipops pair wonderfully with a fresh salad or steamed vegetables for a balanced meal.
- Garnishing: Consider garnishing with sliced green onions or sesame seeds for added flavor and a beautiful touch.
- Serving Size: Depending on the appetite, you can adjust the number of drumettes per person; they can be quite addictive!
Pairing Suggestions for Baked Chicken Lollipop
When it comes to serving Baked Chicken Lollipop, the possibilities are endless. Here are some delightful pairings that complement this dish beautifully:
- Fresh Salad: A crisp green salad with a tangy vinaigrette balances the richness of the chicken perfectly.
- Steamed Vegetables: Lightly steamed broccoli or green beans add a pop of color and nutrition to your meal.
- Rice or Noodles: Serve with jasmine rice or stir-fried noodles for a complete dinner experience.
- Game Day Snack: These lollipops are a hit during sporting events or casual get-togethers. Set them out on a platter for guests to enjoy.
- Weekend Barbecue: Perfect for summer gatherings, these chicken lollipops can be the star of your outdoor barbecue!
- Seasonal Variations: In winter, serve with hearty sides like mashed potatoes, while in summer, opt for lighter options like coleslaw.
FAQ
Conclusion
The Baked Chicken Lollipop is truly a special dish that combines fun, flavor, and family togetherness in one delightful package. I encourage you to try making this recipe for your next gathering or even just a cozy night in. You won’t be disappointed by the joy it brings to your dining experience!
Baked Chicken Lollipop
Ingredients
Equipment
Method
- Using a pair of scissors or a knife, carefully cut the skin and tendons around the base of each drumette. This step is crucial for shaping the chicken into a lollipop. As you do this, take your time to ensure you don’t cut too deep into the meat.
- Next, you’ll want to peel, scrape, and push the meat down towards the thick end to form a ball shape resembling a lollipop. This step is both fun and satisfying; you’ll be amazed at how much like a lollipop your chicken will look!
- Cut off the knuckle end with scissors or a knife, creating a clean shape. This also helps in holding the lollipop later when serving. Repeat the same process with the remaining chicken drumettes until all are prepared.
- In a large bowl, combine the marinade ingredients: hoisin sauce, ginger, garlic, mild chili sauce, soy sauce, honey, and water. Mix everything well until it’s evenly combined.
- Add the prepared chicken drumettes to the bowl and coat them thoroughly with the marinade. Ensure each piece is well covered with the flavorful mix. This step is vital for infusing the chicken with all those delicious flavors.
- For the best results, let the marinated chicken sit for at least 1 hour, or preferably overnight in the refrigerator. This allows the flavors to penetrate deeply into the meat, yielding a tastier outcome.
- When you’re ready to cook, preheat your oven to 350°F (176°C). A well-preheated oven ensures even cooking and browning.
- While the oven is heating, arrange the marinated chicken drumettes on a wire rack set over a baking pan. This setup allows air circulation, resulting in crispy lollipops.
- Bake the chicken until it’s nicely browned, slightly charred, and completely cooked through, which should take about 35 minutes. Keep an eye on the color; you want that perfect golden brown!
- Once done, remove the chicken from the oven and let it rest for a few minutes. Serve the Baked Chicken Lollipop with your favorite dipping sauce, or enjoy them as they are. They're delicious on their own!