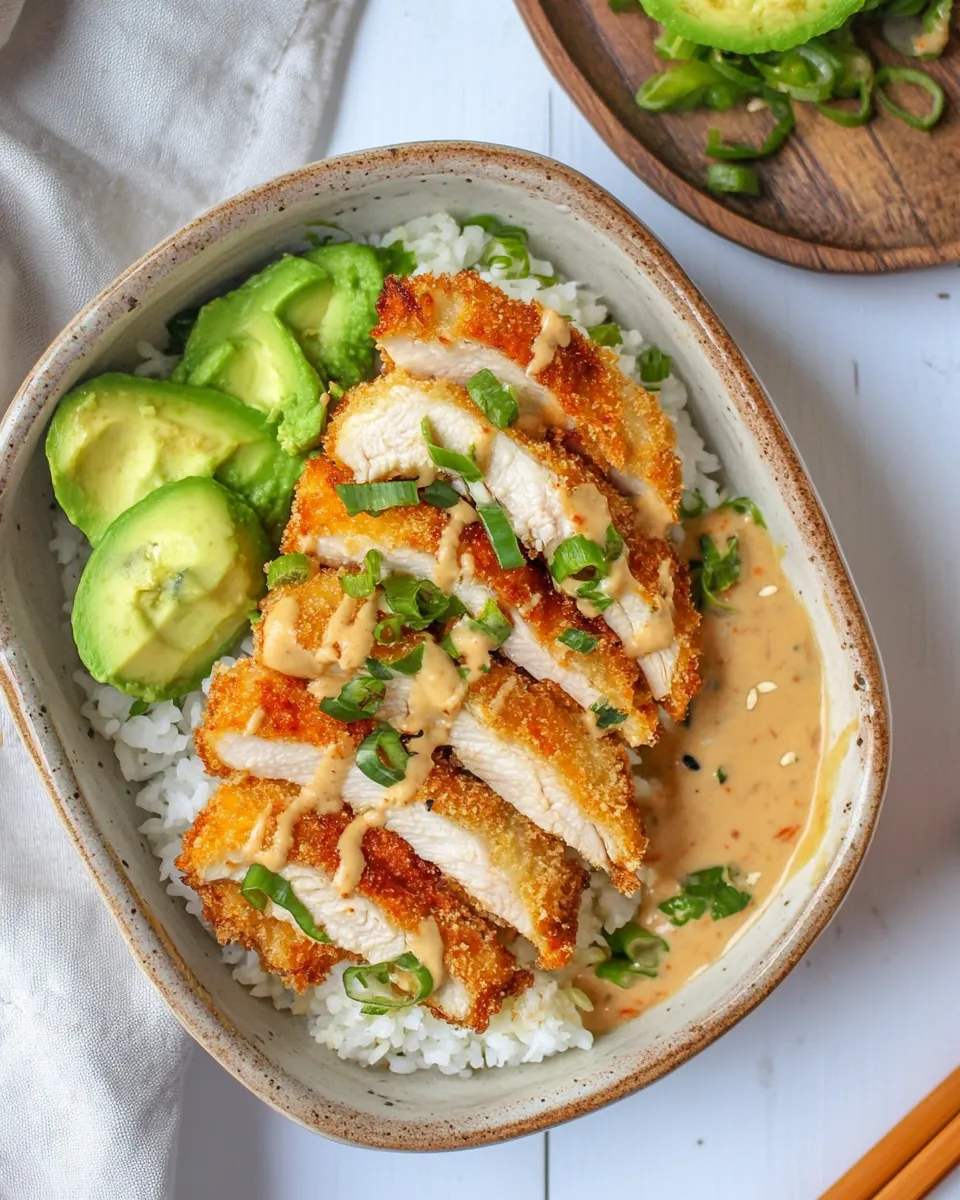
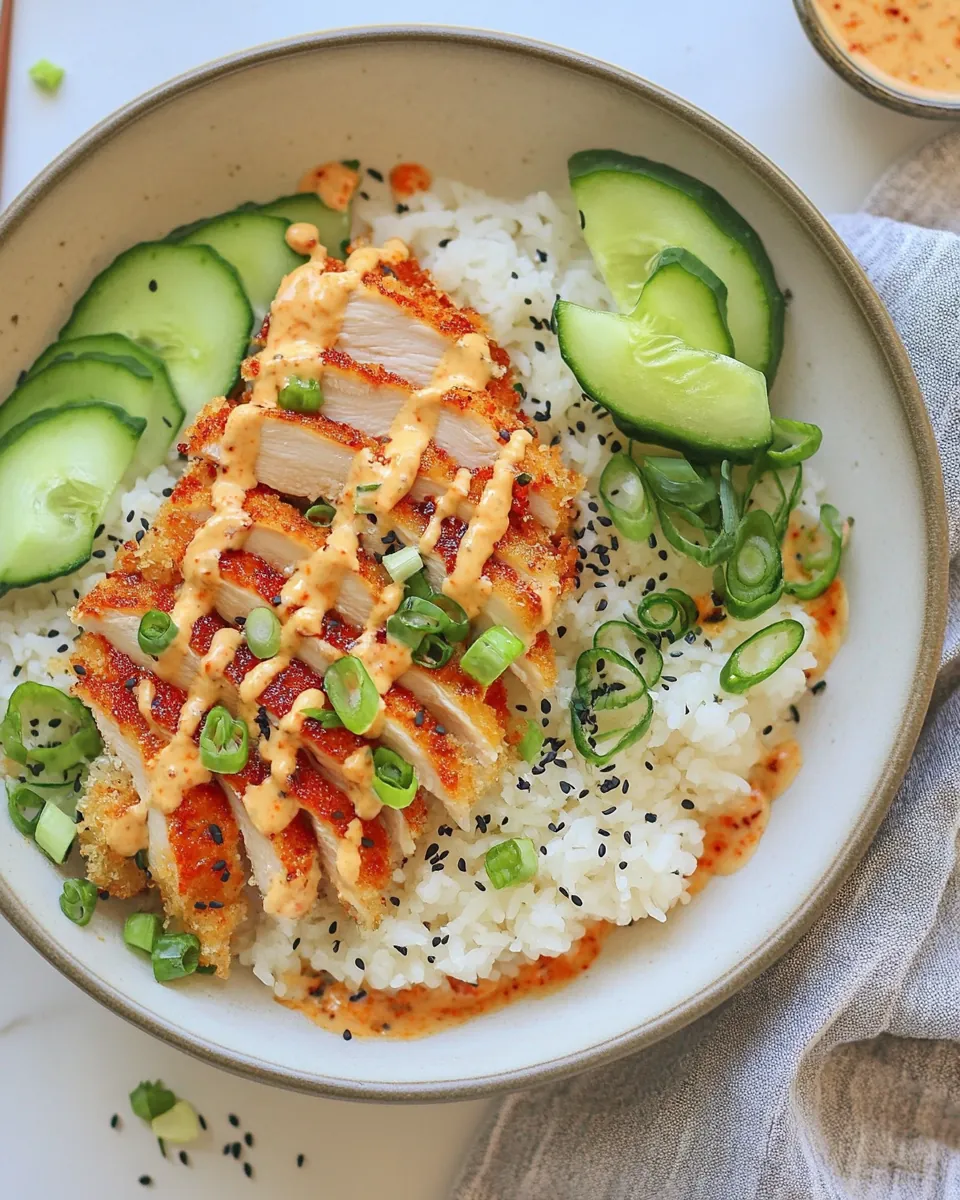
Baked Chicken Katsu
When it comes to comfort food, Baked Chicken Katsu is one of my all-time favorites. I first tasted it at a small Japanese restaurant in my neighborhood, and I was instantly hooked. The crispy exterior, tender chicken, and that spicy mayo sauce made my taste buds dance with joy! It became a regular request at home, and over time, I learned how to recreate that delicious dish in my kitchen. Every bite brings back memories of laughter-filled dinners and satisfied smiles. If you’re looking for an easy weeknight dinner that feels a bit special, this Baked Chicken Katsu will not disappoint!
Recipe Snapshot
25 mins
10 mins
15 mins
Medium
350 kcal
30 g
Paleo, Low FODMAP
15 g
Wooden Spoon, Frying Pan, Whisk, Oven, Mixing Bowl, Chef’s Knife, Baking Sheet
Why You Need This Baked Chicken Katsu
Why We Love This Dish
It’s Incredibly Flavorful
– The combination of chicken, crispy coating, and that creamy spicy sauce creates a flavor explosion. It’s a perfect balance of savory and spicy that keeps you coming back for more.Quick and Simple Preparation
– I love how easy it is to make Baked Chicken Katsu. With just a few steps, you can have a scrumptious dish ready to serve. You don’t need to spend hours in the kitchen, making it ideal for busy weeknights!Customizable Sauce
– You can tweak the sauce to suit your taste. Whether you like it milder or extra spicy, you can easily adjust the sriracha or honey levels to create your perfect dipping sauce.Perfect Texture
– The baking method ensures that the chicken remains juicy inside while achieving that golden, crispy exterior. You can enjoy the crunch without the guilt of frying!Kid-Friendly
– My kids love this dish! The crispy coating makes it fun to eat, and they often ask for seconds. It’s a great way to introduce new flavors to their palate.Great for Meal Prep
– If you’re looking to meal prep, Baked Chicken Katsu is a fantastic option. You can whip up a batch over the weekend and have delicious lunches ready for the week!
What to Buy for Baked Chicken Katsu
The ingredients for Baked Chicken Katsu work harmoniously to create a dish that’s both hearty and satisfying. Each component plays a crucial role, ensuring that the flavors and textures complement one another beautifully.
- 2 large chicken breasts – The star of the dish; these are cut into thinner filets to ensure even cooking and maximum crunch.
- 1 large egg – Acts as a binding agent for the breadcrumbs, giving that wonderful crispy texture.
- 3 tablespoons gluten-free all-purpose flour – Helps create a light crust that adheres to the chicken.
- 1 cup gluten-free Panko or breadcrumbs – Provides the signature crunch that makes this dish so irresistible.
- ½ teaspoon sea salt – Enhances the flavor of the chicken and the coating.
- ¼ teaspoon black pepper – Adds a subtle heat to the dish.
- ¼ cup mayonnaise – Forms the base for the dipping sauce, making it creamy and rich.
- 1 tablespoon soy sauce or liquid aminos – Adds a salty umami flavor to the sauce.
- 1 tablespoon honey or pure maple syrup – Provides a touch of sweetness to balance the flavors.
- 1 tablespoon sriracha or more to taste – Adds the perfect kick to the sauce!
Recipe Directions for Baked Chicken Katsu
Making Baked Chicken Katsu is a straightforward process that yields delicious results. Trust me, you’ll want to savor every bite! Let’s dive into the steps to bring this flavorful dish to life.
- Preheat your oven to 400 degrees F. Prepare a large casserole dish or baking sheet by lightly coating it with cooking oil. This step is crucial to ensure that the chicken doesn’t stick, and it helps achieve that golden color.
- Slice the chicken breasts through the center, creating four thinner cutlets. This is essential for even cooking. If they’re too thick, the insides might not cook through before the outside gets crispy.
- Crack the egg into a shallow bowl and whisk it until it’s well beaten. This will create a lovely coating for the chicken.
- On a large plate, combine the breadcrumbs, gluten-free flour, sea salt, and black pepper. Use a fork to mix everything together until it’s well combined.
- Dredge each chicken cutlet in the beaten egg, ensuring it’s well coated. Then, transfer it to the breadcrumb mixture, pressing down gently to fully cover both sides. This step is key to achieving that crispy texture.
- Place the breaded chicken cutlets on the prepared baking dish. Arrange them so they’re not overcrowded, allowing the hot air to circulate around each piece.
- Bake the chicken for 12 to 15 minutes. Use a meat thermometer to check that the internal temperature reaches 165 degrees F. You’ll want the outside to be crispy and golden.
- While the chicken bakes, prepare the dipping sauce. In a small bowl, mix together the mayonnaise, soy sauce, honey, and sriracha until smooth and creamy. Taste and adjust seasoning if needed.
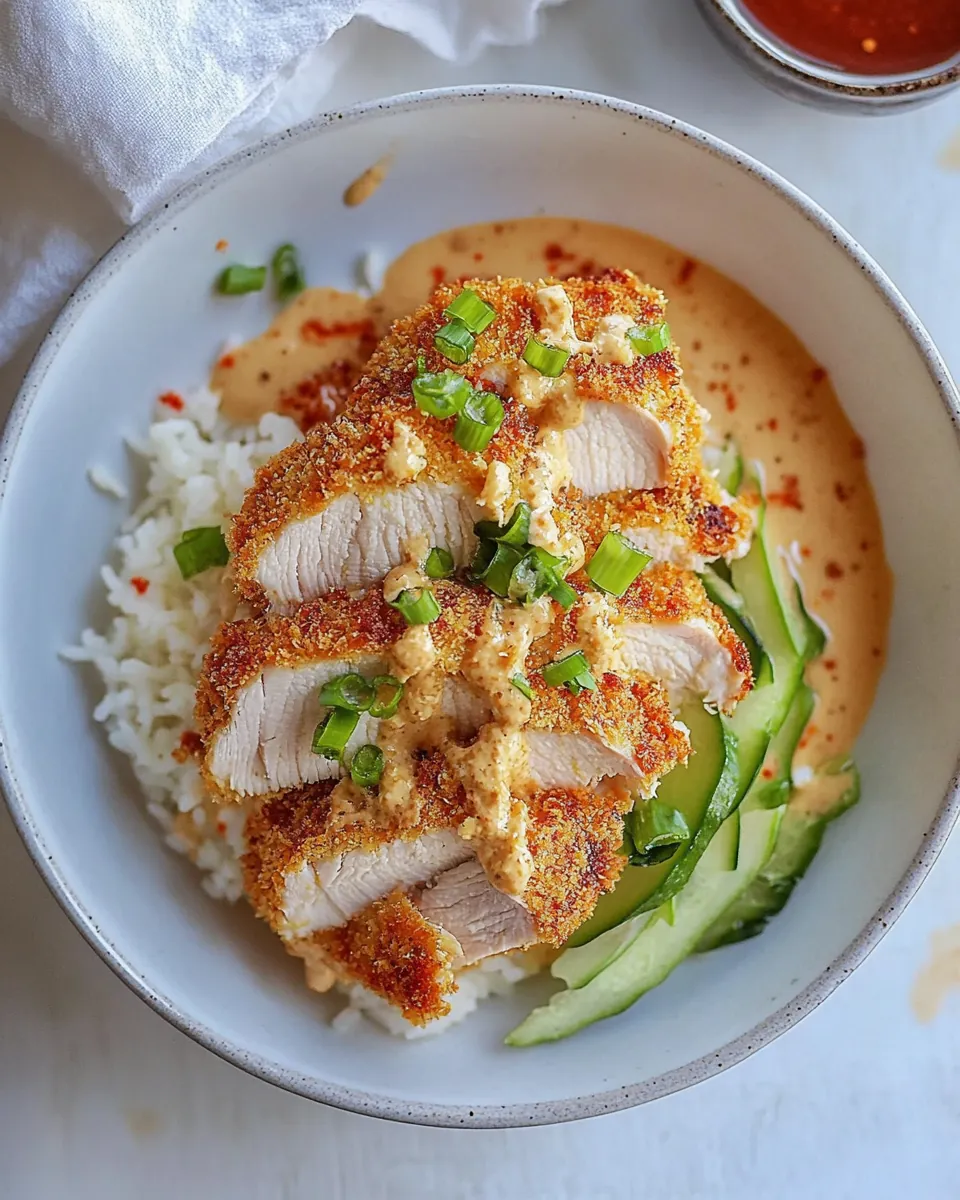
- Once the Baked Chicken Katsu is done, remove it from the oven and let it rest for a few minutes before serving. This allows the juices to redistribute.
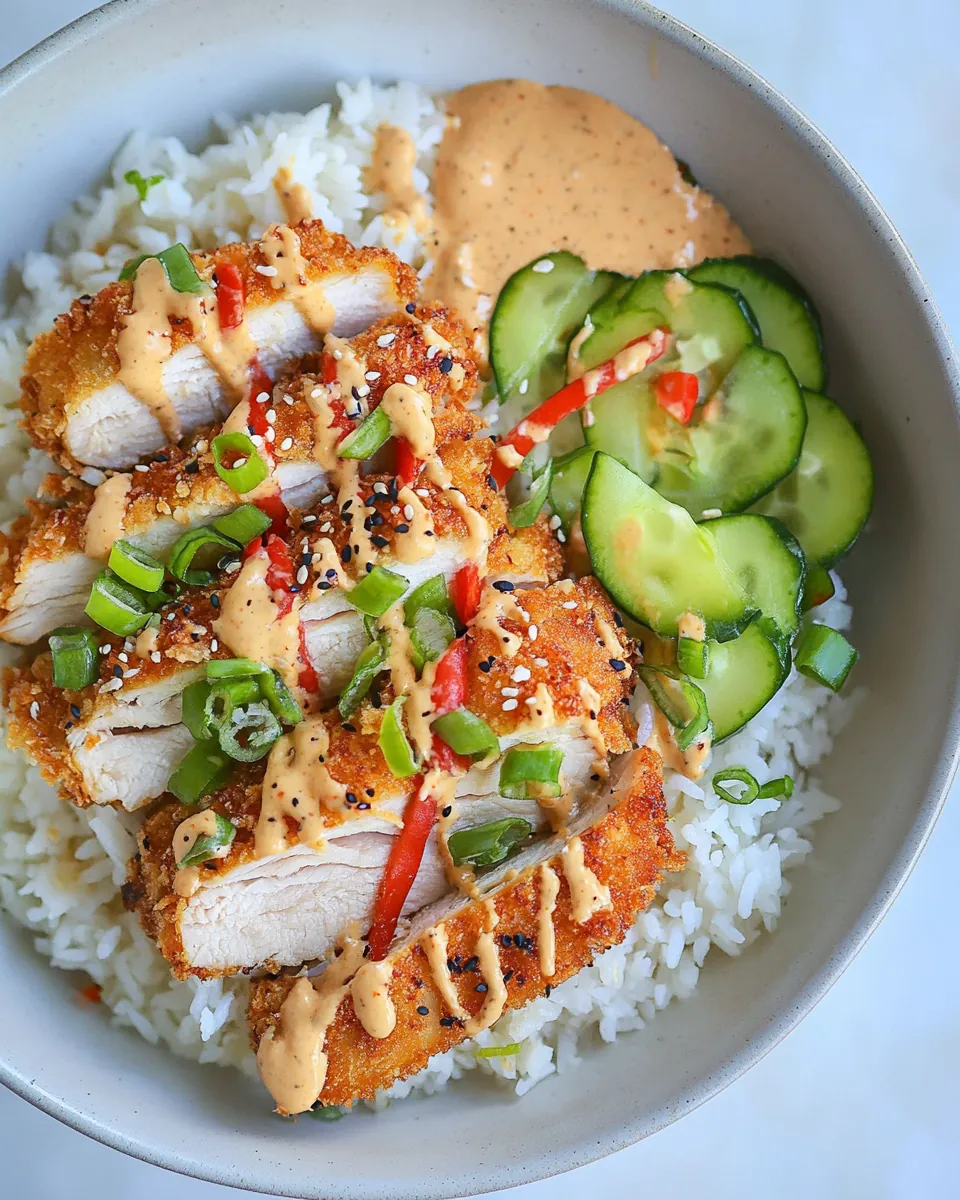
- Serve the Baked Chicken Katsu with your homemade spicy honey sriracha mayo and your favorite sides. Enjoy!
Things Worth Knowing
- Even Thickness is Key: Ensure all cutlets are of even thickness to guarantee they cook evenly and don’t dry out.
- Use a Meat Thermometer: This gadget is invaluable. It guarantees that your chicken is cooked through without overcooking.
- Let it Rest: Allowing the chicken to rest for a few minutes prevents it from drying and ensures juiciness.
- Experiment with Breadcrumbs: Try using different types of breadcrumbs for varied textures, like traditional breadcrumbs or panko.
Tips and Tricks about Baked Chicken Katsu
If you’re ready to try making Baked Chicken Katsu, here are some handy tips to make your experience even better:
- Storage: Store any leftover Baked Chicken Katsu in an airtight container in the refrigerator for up to five days. Reheat in the oven to retain crispiness.
- Freezing: You can freeze the uncooked breaded chicken. Just ensure it’s wrapped well. Bake directly from frozen, adding a few extra minutes to the cooking time.
- Pairing: This dish goes wonderfully with steamed rice, a fresh salad, or even some sautéed vegetables.
- Making it Ahead: Prep the chicken and breadcrumbs ahead of time. Just assemble and bake when you’re ready to eat!
- Vary the Spice: Adjust the amount of sriracha in the mayo to match your heat preference.
What to Serve Alongside Baked Chicken Katsu
Serving Baked Chicken Katsu alongside complementary dishes will elevate your meal. Here are some fantastic ideas:
- Steamed Rice: A classic choice! The fluffy rice pairs beautifully with the crispy chicken and sauce.
- Fresh Salad: A simple green salad dressed with a light vinaigrette can balance the richness of the chicken.
- Stir-Fried Vegetables: Colorful veggies like bell peppers, broccoli, and carrots sautéed in soy sauce make a vibrant side.
- Coleslaw: A crunchy coleslaw adds texture and freshness, making it a satisfying contrast to the crispy katsu.
- Asian Noodles: Serve with a side of sesame noodles for a delightful twist.
- Occasions: This dish is perfect for family dinners, casual gatherings, or even meal prep for the week!
FAQ
Conclusion
Baked Chicken Katsu is a dish that’s not only delicious but also versatile and easy to make. It brings together the wonderful crispy texture and rich flavors that everyone loves. I encourage you to give it a try; you might find it becomes a new family favorite. Enjoy the cooking process and the delightful results!
Baked Chicken Katsu
Ingredients
Equipment
Method
- Preheat your oven to 400 degrees F. Prepare a large casserole dish or baking sheet by lightly coating it with cooking oil. This step is crucial to ensure that the chicken doesn't stick, and it helps achieve that golden color.
- Slice the chicken breasts through the center, creating four thinner cutlets. This is essential for even cooking. If they’re too thick, the insides might not cook through before the outside gets crispy.
- Crack the egg into a shallow bowl and whisk it until it’s well beaten. This will create a lovely coating for the chicken.
- On a large plate, combine the breadcrumbs, gluten-free flour, sea salt, and black pepper. Use a fork to mix everything together until it's well combined.
- Dredge each chicken cutlet in the beaten egg, ensuring it's well coated. Then, transfer it to the breadcrumb mixture, pressing down gently to fully cover both sides. This step is key to achieving that crispy texture.
- Place the breaded chicken cutlets on the prepared baking dish. Arrange them so they’re not overcrowded, allowing the hot air to circulate around each piece.
- Bake the chicken for 12 to 15 minutes. Use a meat thermometer to check that the internal temperature reaches 165 degrees F. You'll want the outside to be crispy and golden.
- While the chicken bakes, prepare the dipping sauce. In a small bowl, mix together the mayonnaise, soy sauce, honey, and sriracha until smooth and creamy. Taste and adjust seasoning if needed.
- Once the Baked Chicken Katsu is done, remove it from the oven and let it rest for a few minutes before serving. This allows the juices to redistribute.
- Serve the Baked Chicken Katsu with your homemade spicy honey sriracha mayo and your favorite sides. Enjoy!
Notes
- Tip 1: Slice each chicken breast through the middle, creating thinner cutlets.
- Tip 2: I use corn flake crumbs, which are gluten-free.
- Tip 3: I use avocado oil mayonnaise, but pick your favorite mayo.
- Tip 4: Store any leftover chicken katsu in an airtight container in the refrigerator for up to 5 days.