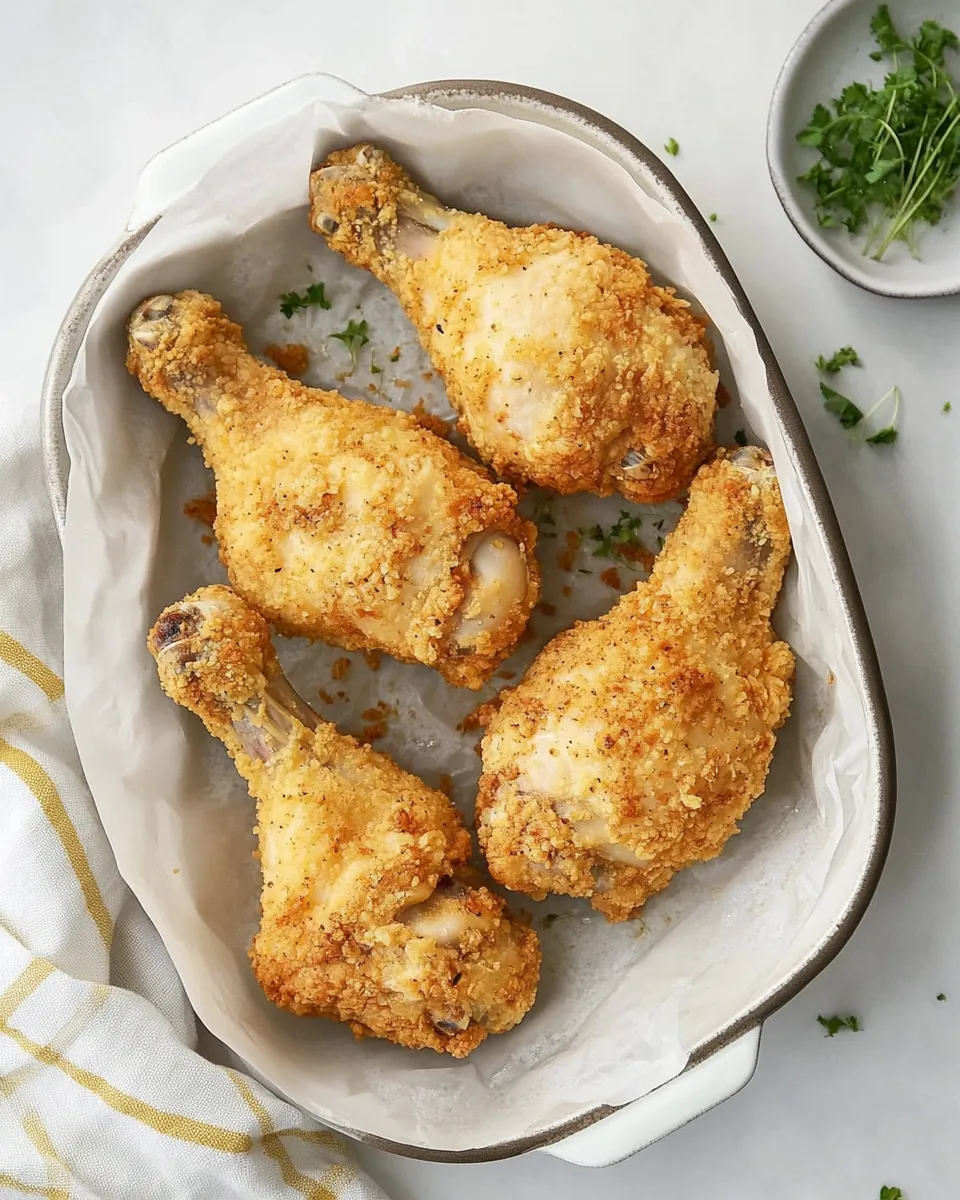
Breaded Chicken Drumsticks
There’s something incredibly comforting about a plate of Breaded Chicken Drumsticks. I remember the first time I made them; the crispy exterior and juicy interior brought smiles to my family’s faces. It was a chilly evening, and I wanted something warm and satisfying for dinner. These drumsticks not only filled the house with a tantalizing aroma but also became a favorite in my home. They’re perfect for gatherings, game nights, or just a cozy family dinner. I love serving them with a side of veggies or a fresh salad, and I can’t help but smile when I see everyone enjoying them. The best part? They’re surprisingly easy to make and require just a handful of ingredients!
Recipe Snapshot
60 mins
15 mins
45 mins
Medium
350 kcal
26 g
Paleo, Whole30, Vegan
16 g
Blender, Frying Pan, Whisk, Oven, Mixing Bowl, Baking Sheet
The Beauty of This Breaded Chicken Drumsticks
1. Crunchy Texture
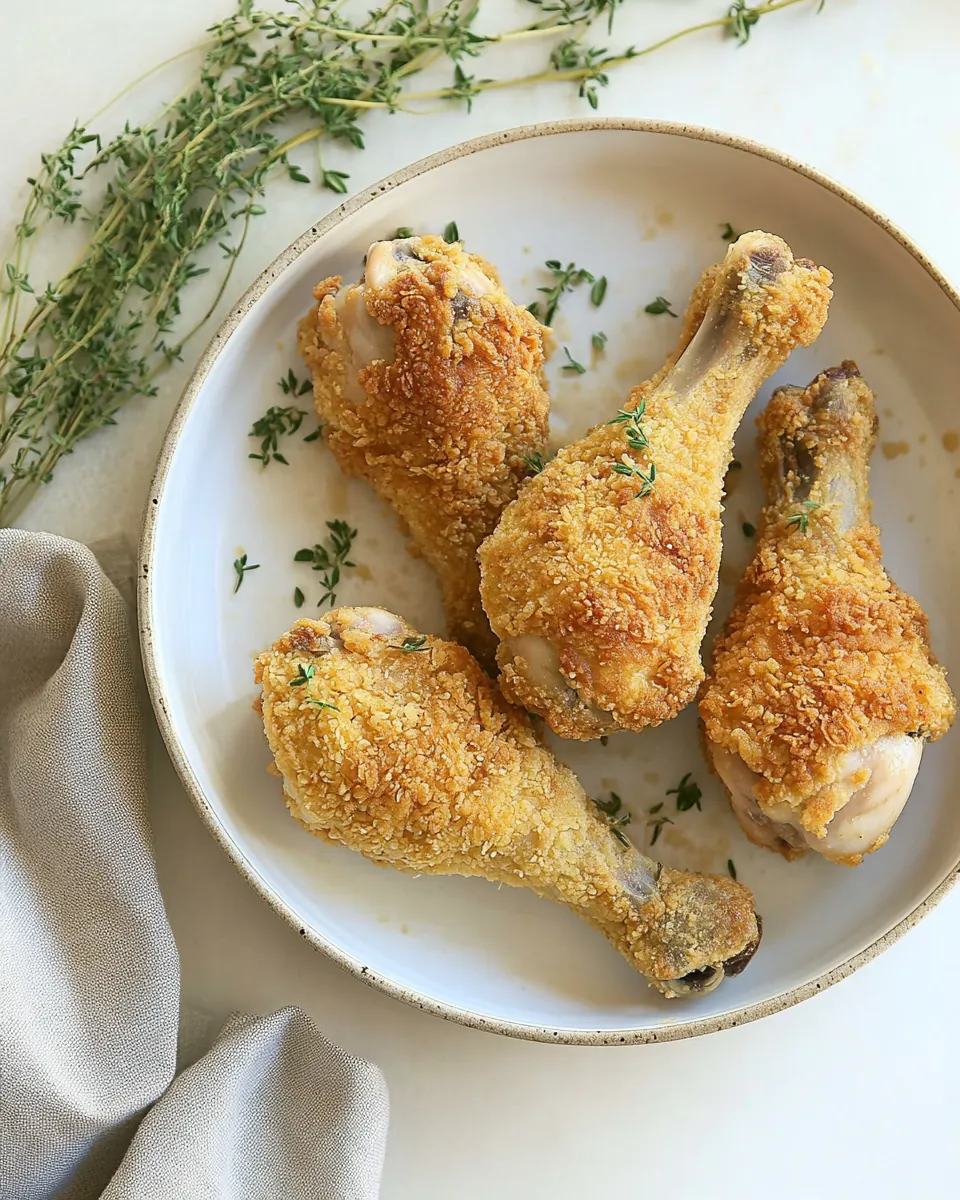
The first bite into a perfectly baked Breaded Chicken Drumstick reveals a delightful crunch that contrasts beautifully with the tender chicken inside. The crispy panko breadcrumbs create that satisfying texture that makes you crave more.
2. Versatile Flavor
Thanks to a blend of seasonings like dried oregano and smoked paprika, these drumsticks are bursting with flavor. Each bite is seasoned just right, making them a hit for both kids and adults alike.
3. Easy Preparation
You won’t need any complicated techniques to whip up these drumsticks. With just a few simple steps, you can have them ready for the oven in no time, meaning less time in the kitchen and more time with your loved ones.
4. Family-Friendly
Whether you’re cooking for picky eaters or adventurous foodies, these drumsticks cater to everyone. They’re finger-licking good and perfect for young hands, making them a family favorite.
5. Perfect for Meal Prep
These Breaded Chicken Drumsticks are ideal for meal prepping. You can easily make a batch ahead of time, store them in the fridge, and reheat for quick dinners during the busy week.
Key Ingredients for Breaded Chicken Drumsticks
When it comes to creating the best Breaded Chicken Drumsticks, the quality of your ingredients truly matters. Each key player in this recipe works harmoniously to create a dish that’s not only delicious but also satisfying. The combination of chicken, flour, and panko breadcrumbs gives you that perfect crunch, while the spices elevate the flavor profile, ensuring every bite is bursting with taste.
- 8 chicken drumsticks – These are the star of the show! Tender and juicy, chicken drumsticks provide a hearty base for this dish.
- 2/3 cup all-purpose flour – This helps create a crispy coating. The flour acts as a base for the seasoning to stick to the chicken.
- 1 tablespoon dried oregano – Adds a fragrant herbaceous note that complements the chicken beautifully.
- 3 large eggs – Beaten eggs help the breadcrumbs adhere to the flour-coated chicken, ensuring a thick, crunchy coating.
- 1 cup panko breadcrumbs – These Japanese-style breadcrumbs give the drumsticks their signature crunch.
- 2 teaspoons dried basil – Another layer of flavor that enhances the overall taste profile.
- 3/4 teaspoon garlic powder – Adds a subtle garlic flavor that complements the other spices.
- 3/4 teaspoon onion powder – Provides a sweet, mild onion flavor that deepens the overall taste.
- 1 1/4 teaspoons smoked paprika – Brings a smoky depth and vibrant color to the dish.
- 1 teaspoon table salt – Essential for flavor enhancement.
- 1/2 teaspoon ground black pepper – For a bit of heat and added flavor.
- Olive oil cooking spray – Helps the drumsticks crisp up nicely in the oven.
Recipe Steps for Breaded Chicken Drumsticks
Making Breaded Chicken Drumsticks is a delightful experience that guarantees satisfaction. Let’s walk through the process together, ensuring you get those perfect golden drumsticks that everyone will love.
- Preheat your oven to 400°F. This step is crucial as it ensures that your drumsticks will cook evenly and achieve that lovely golden color.
- Prepare your baking sheet. Place a rack over a baking sheet lined with foil to catch any drippings. Gently spray the rack with olive oil to prevent the chicken from sticking.
- Take your chicken drumsticks and use paper towels to pat them dry. This helps the coating stick better.
- In three separate shallow bowls, prepare your dredging stations. In the first bowl, mix together the flour and dried oregano. In the second bowl, whisk the eggs. In the third bowl, combine the panko breadcrumbs, dried basil, garlic powder, onion powder, smoked paprika, salt, and black pepper.
- Start the dredging process. Dip each drumstick in the flour mixture, ensuring it’s fully coated. Shake off the excess.
- Next, dip the floured drumstick in the whisked eggs, making sure it’s coated completely.
- Finally, roll the drumstick in the breadcrumb mixture, pressing it down to ensure the crumbs adhere thoroughly. This is what creates that delicious crunch!
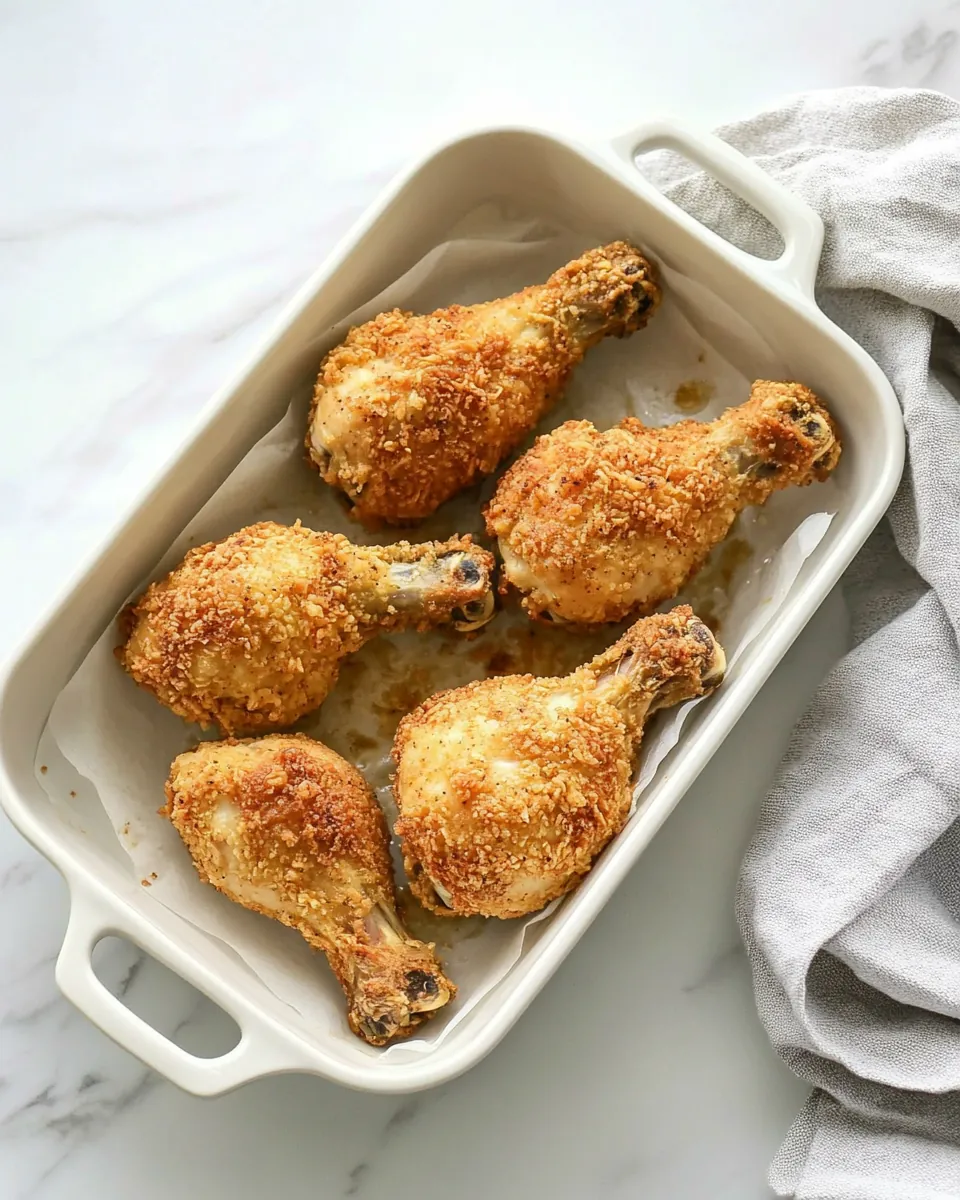
- Arrange the breaded drumsticks on the prepared rack. Space them out evenly to allow for air circulation.
- Lightly spray the drumsticks with olive oil. This will help them develop an even crispiness as they bake.
- Bake in the preheated oven for 45 minutes. Turn the drumsticks halfway through to achieve even browning. You’ll know they’re done when the internal temperature reaches 165°F.
Things Worth Knowing
- Tip for Crispiness: Ensure to pat the chicken dry before coating to avoid excess moisture, which can make the coating soggy.
- Checking Doneness: Always use a meat thermometer to check that the internal temperature has reached 165°F for safety.
- Batch Cooking: If you’re making a larger batch, consider baking them in multiple trays, rotating them in the oven for even cooking.
- Flavor Variations: Feel free to experiment with different spices like cayenne for heat or Italian seasoning for a different flavor profile.
Ways to Customize
Customizing your Breaded Chicken Drumsticks can make them even more enjoyable. Here are some ideas:
- Storage: To store leftovers, place them in an airtight container in the fridge for up to three days. Reheat in the oven to maintain crispiness.
- Freezing: You can freeze the fully cooked drumsticks. Just make sure to cool them first, then place them in a freezer-safe bag for up to three months.
- Pairing: These drumsticks pair wonderfully with a side of creamy coleslaw, roasted vegetables, or a fresh garden salad.
- Spice Level: Adjust the spice level by adding more smoked paprika or a pinch of cayenne pepper to the breadcrumb mixture.
- Herb Variations: Try using fresh herbs instead of dried for a more vibrant flavor.
- Gluten-Free Option: For a gluten-free version, substitute the all-purpose flour with a gluten-free flour blend and use gluten-free breadcrumbs.
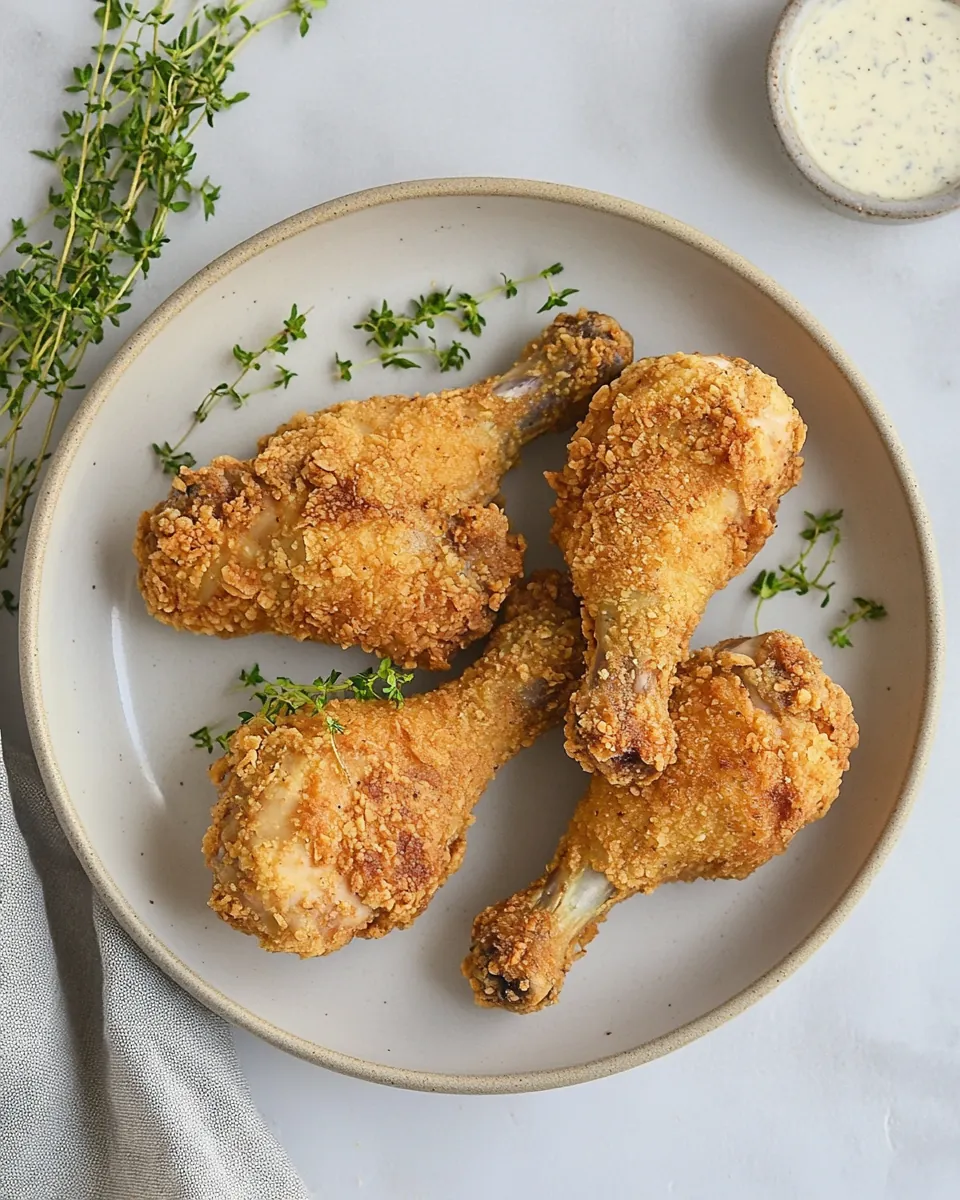
How to Enjoy Breaded Chicken Drumsticks
Enjoying your Breaded Chicken Drumsticks can be just as fun as making them. Here are some serving suggestions:
- Family Dinners: These drumsticks make a hearty centerpiece for any family meal. Serve them with mashed potatoes or macaroni and cheese for a comfort food feast.
- Game Day: Perfect for game day gatherings, pair them with your favorite dipping sauces like barbecue or ranch.
- Picnics: Pack them for a picnic with crunchy veggies and a light dip. They taste great cold or at room temperature!
- Holiday Feasts: Consider serving these drumsticks during holiday gatherings. They are a crowd-pleaser that pairs well with festive sides.
- Meal Prep: These drumsticks are excellent for meal prepping for busy weeks. They reheat well, making them great for quick lunches or dinners.
- Seasonal Vegetables: Pair with seasonal vegetables like roasted Brussels sprouts or a fresh corn salad for a balanced meal.
FAQ
Conclusion
The Breaded Chicken Drumsticks are a delightful balance of crispy and juicy that will surely impress. They’re easy to make and perfect for any occasion, from casual dinners to festive gatherings. Give this recipe a try, and I promise you won’t be disappointed!
So why wait? Gather your ingredients and whip up a batch of these drumsticks tonight!
Breaded Chicken Drumsticks
Ingredients
Equipment
Method
- Preheat your oven to 400°F. This step is crucial as it ensures that your drumsticks will cook evenly and achieve that lovely golden color.
- Prepare your baking sheet. Place a rack over a baking sheet lined with foil to catch any drippings. Gently spray the rack with olive oil to prevent the chicken from sticking.
- Take your chicken drumsticks and use paper towels to pat them dry. This helps the coating stick better.
- In three separate shallow bowls, prepare your dredging stations. In the first bowl, mix together the flour and dried oregano. In the second bowl, whisk the eggs. In the third bowl, combine the panko breadcrumbs, dried basil, garlic powder, onion powder, smoked paprika, salt, and black pepper.
- Start the dredging process. Dip each drumstick in the flour mixture, ensuring it's fully coated. Shake off the excess.
- Next, dip the floured drumstick in the whisked eggs, making sure it’s coated completely.
- Finally, roll the drumstick in the breadcrumb mixture, pressing it down to ensure the crumbs adhere thoroughly. This is what creates that delicious crunch!
- Arrange the breaded drumsticks on the prepared rack. Space them out evenly to allow for air circulation.
- Lightly spray the drumsticks with olive oil. This will help them develop an even crispiness as they bake.
- Bake in the preheated oven for 45 minutes. Turn the drumsticks halfway through to achieve even browning. You’ll know they’re done when the internal temperature reaches 165°F.
Notes
- Storage: To store leftovers, place them in an airtight container in the fridge for up to three days. Reheat in the oven to maintain crispiness.
- Freezing: You can freeze the fully cooked drumsticks. Just make sure to cool them first, then place them in a freezer-safe bag for up to three months.
- Pairing: These drumsticks pair wonderfully with a side of creamy coleslaw, roasted vegetables, or a fresh garden salad.
- Spice Level: Adjust the spice level by adding more smoked paprika or a pinch of cayenne pepper to the breadcrumb mixture.
- Herb Variations: Try using fresh herbs instead of dried for a more vibrant flavor.