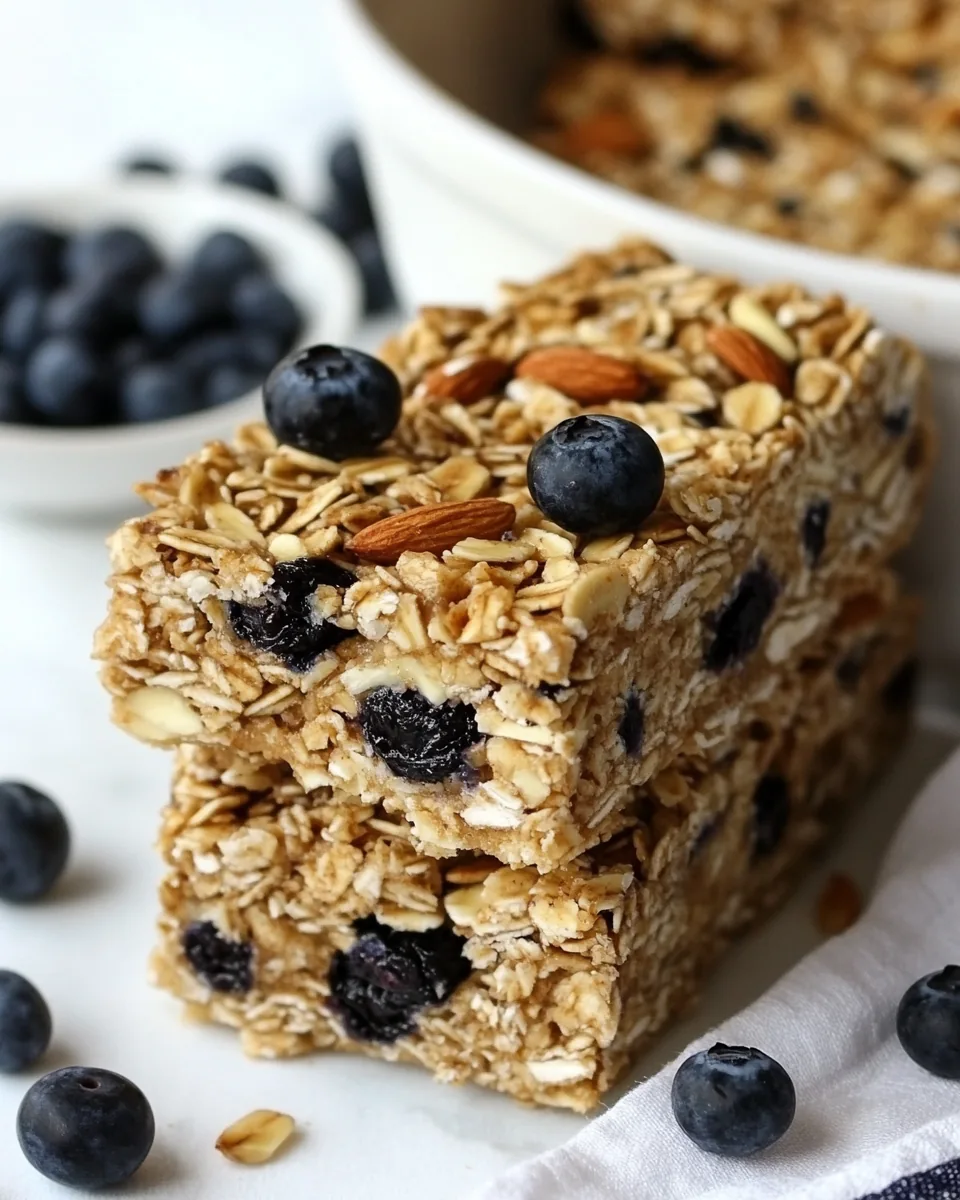
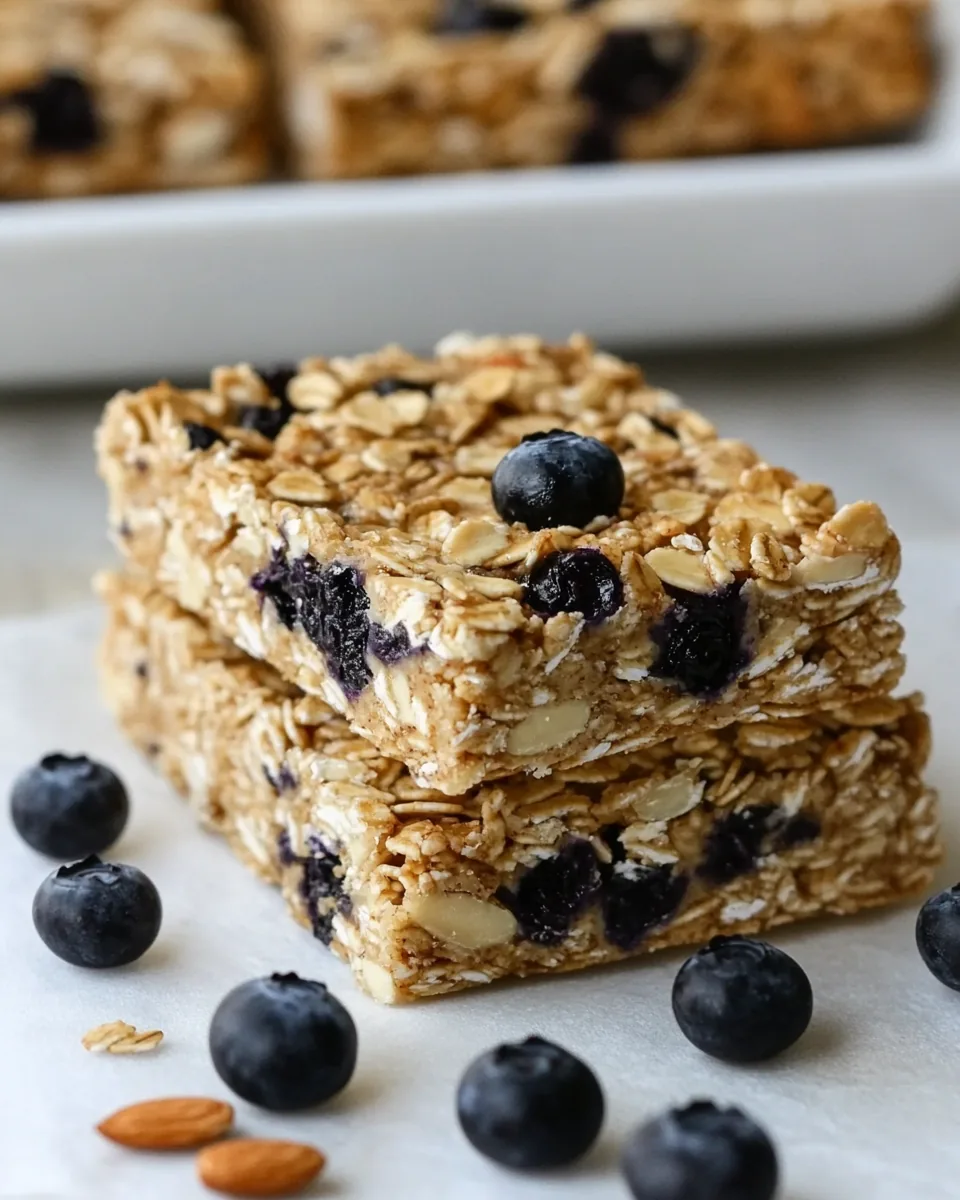
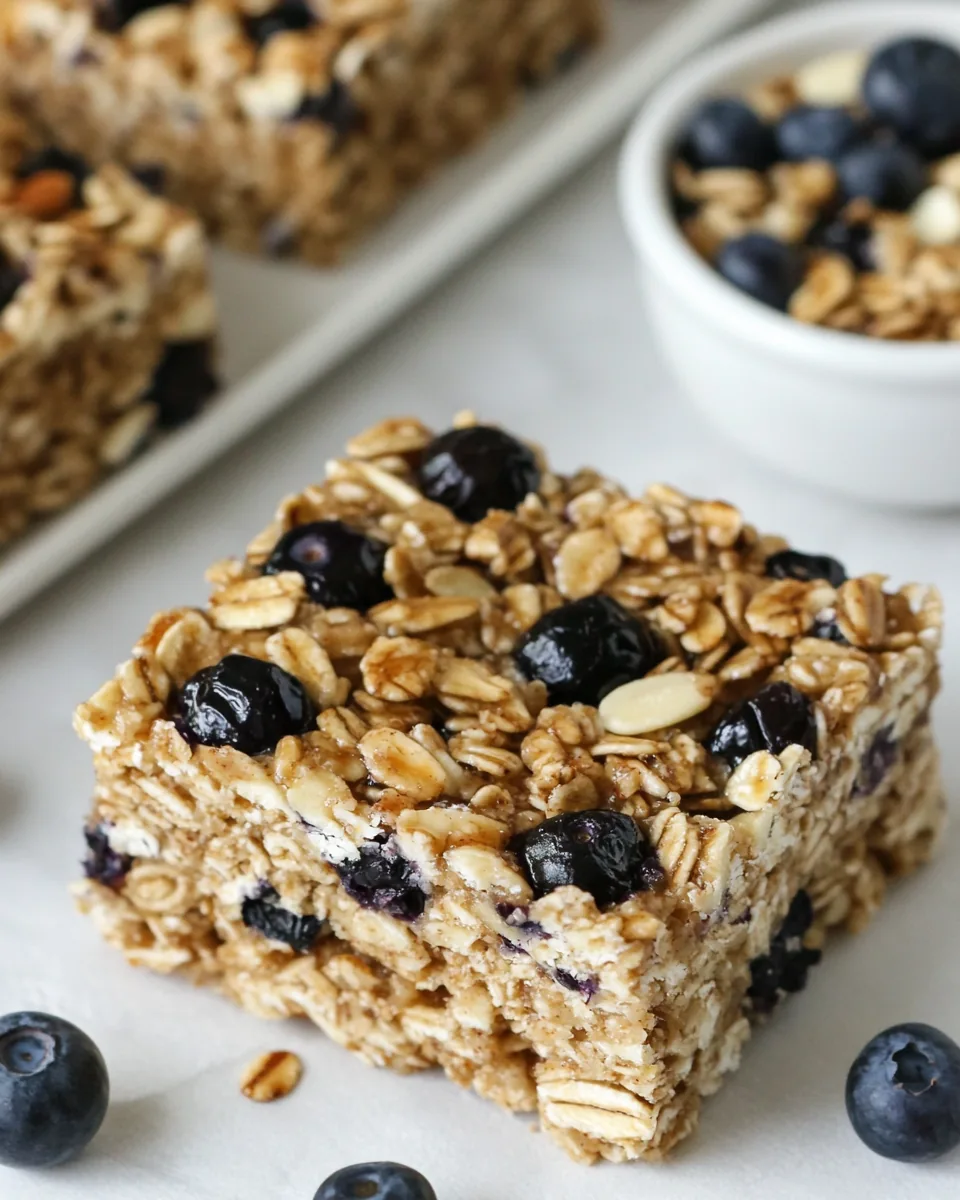
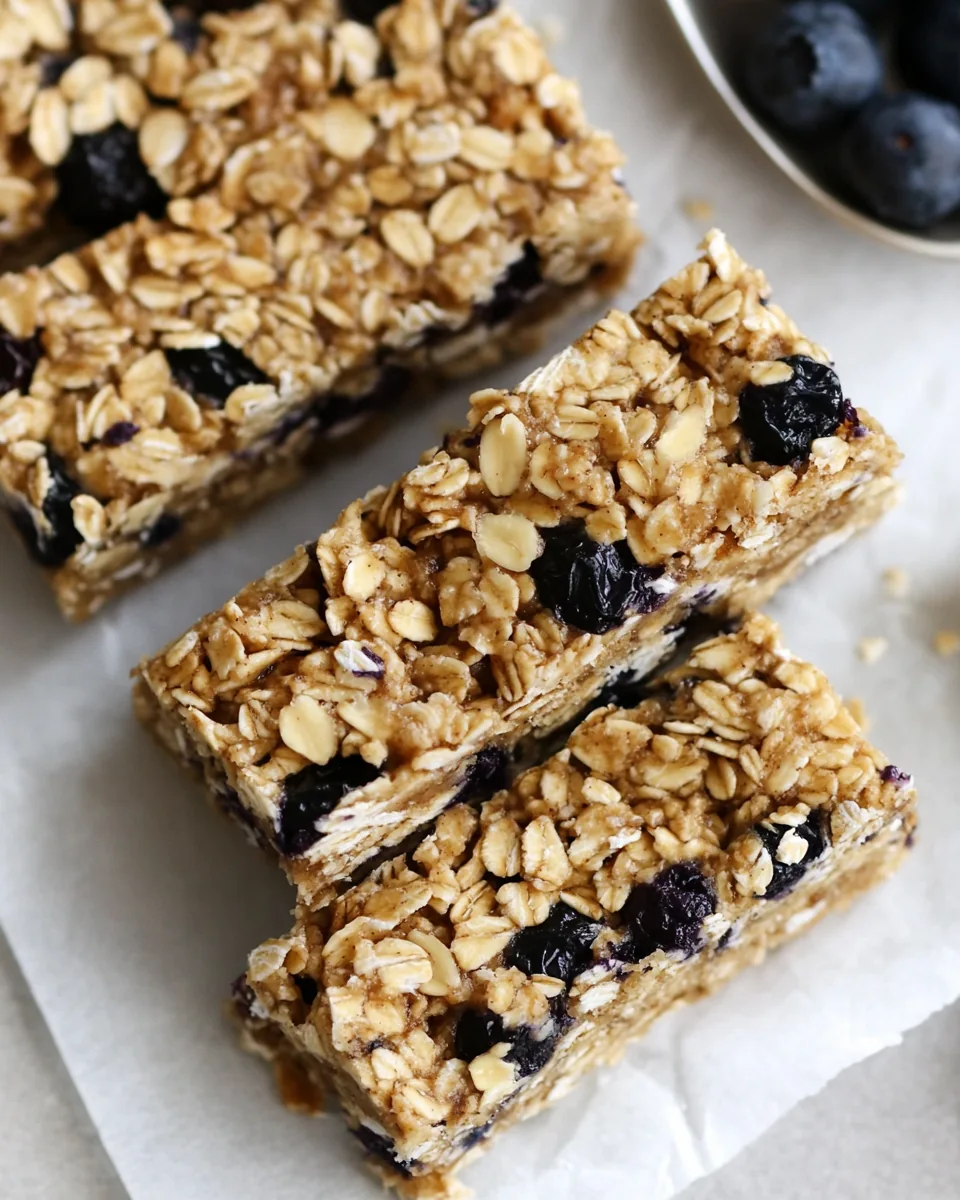
Chewy Granola Bars
There’s something special about making your own snacks at home, and Chewy Granola Bars are a perfect example of that joy. As I sat in my kitchen on a lazy Saturday morning, I had a craving for something sweet yet wholesome. I wanted a snack that would keep my energy levels up throughout the day, and that’s when these chewy delights came to mind. With just a handful of simple ingredients, I could create something delicious that would satisfy my sweet tooth without any guilt. The aroma of roasted nuts and wild blueberries filled my home, making it hard to resist sneaking a taste before they were even ready! These bars have been a staple in my household, perfect for breakfast on the go or a quick afternoon pick-me-up. I love how customizable they are, and I often experiment with different nuts and fruits to keep things interesting. Each bite is a perfect balance of chewy and crunchy, and I can already tell you that once you try these, you’ll never look back!
Recipe Snapshot
45 mins
15 mins
30 mins
Medium
180 kcal
4 g
Gluten-Free, Low FODMAP
7 g
Oven, Mixing Bowl, Baking Sheet, Chef’s Knife, Frying Pan, Wooden Spoon, Whisk
What Makes This Chewy Granola Bars Special
Nutritious and Wholesome
What I adore most about Chewy Granola Bars is how nutritious they are. Packed with rolled oats, nuts, and fruits, these bars provide a great source of fiber and essential nutrients. They help keep you full longer and are far healthier than store-bought alternatives.
Customizable to Your Liking
Another reason I love this recipe is its versatility. You can swap out the wild blueberries for any dried fruit you prefer, such as cranberries or apricots. The same goes for the nuts—feel free to use whatever you have on hand. This makes it easy to tailor the bars to your personal taste or dietary needs.
Perfect for Meal Prep
These bars are ideal for meal prep! I often make a big batch during the weekend, so I have healthy snacks ready throughout the week. They store well in the fridge or freezer, making them a convenient option for those busy days when you need something on the go.
Quick and Easy to Make
If you’re short on time, Chewy Granola Bars are incredibly quick and easy to prepare. With just a few simple steps, you can have a batch ready to pop in the oven. It’s a lovely way to engage the kids in the kitchen, too, as they can help mix the ingredients together.
Deliciously Satisfying
Let’s not forget the taste! The combination of peanut butter, honey, and brown sugar brings a delightful sweetness, while the almonds and coconut add a satisfying crunch. Every bite is packed with flavor that keeps you coming back for more.
Chewy Granola Bars Ingredients
When it comes to the ingredients for Chewy Granola Bars, I like to keep things simple yet effective. Each ingredient plays a vital role in creating the perfect texture and flavor. The key players, like quick rolled oats and roasted sliced almonds, work in harmony to deliver that irresistible chewiness and crunch.
- 1 ⅔ cups quick rolled oats
- ⅓ cup oat flour
- ¼ cup sugar
- ¼ cup packed brown sugar
- ½ teaspoon cinnamon
- ½ teaspoon kosher salt
- 8 ounces dried wild blueberries
- 4 ounces roasted sliced almonds
- 3 ounces unsweetened flaked coconut
- 6 tablespoons melted butter
- ⅓ cup creamy peanut butter
- ¼ cup honey
- 2 tablespoons light corn syrup
- 1 tablespoon water
- ½ teaspoon pure almond extract
The Process for Making Chewy Granola Bars
Making Chewy Granola Bars is a fun and straightforward process that anyone can do. You’ll be amazed at how simple it is to whip up a batch of these delicious snacks that are perfect for any time of day. Let’s dive into the steps!
Preheat your oven to 350°F. This temperature is crucial for getting that lovely golden brown color on the edges of your bars. As your oven heats, line an 8-inch square baking pan with parchment paper, leaving a 2-inch overhang on two sides. This will make it easier to lift the bars out later. Lightly spray the parchment with nonstick spray to ensure nothing sticks!
In a large mixing bowl, combine 1 ⅔ cups quick rolled oats, ⅓ cup oat flour, ¼ cup sugar, ¼ cup packed brown sugar, ½ teaspoon cinnamon, ½ teaspoon kosher salt, 8 ounces dried wild blueberries, 4 ounces roasted sliced almonds, and 3 ounces unsweetened flaked coconut. Stir everything together until well combined. The mixture should be dry yet fragrant, with the nuts and fruits evenly distributed.
In a separate small bowl, whisk together 6 tablespoons melted butter, ⅓ cup creamy peanut butter, ¼ cup honey, 2 tablespoons light corn syrup, 1 tablespoon water, and ½ teaspoon pure almond extract. This combination of wet ingredients will provide richness and binding power to your bars. Make sure everything is blended well and smooth before proceeding.
Pour the wet mixture into the dry ingredients. Use a spatula to fold everything together, ensuring that all the dry ingredients are evenly coated with the wet mixture. The texture should be crumbly yet cohesive. Take your time here—this step is key to achieving that perfect chewy texture.
Transfer the mixture into the prepared baking pan. Using the back of a spoon or the buttery side of the butter wrapper, press the mixture firmly into an even layer. Make sure to pack it down well; this helps the bars hold together once baked.
Place the pan in the oven and bake for 25 to 30 minutes. You’ll know they’re done when the edges are nicely browned, while the center remains a bit soft. This contrast in texture is what makes them so enjoyable!
Once baked, remove the pan from the oven and let the bars cool in the pan on a cooling rack. Patience is key here! Allow them to cool for at least 30 minutes. This cooling time is crucial because it allows the bars to set properly.
After cooling, gently cut around the edges of the pan to loosen the bars. Lift them out using the overhanging parchment paper. The bars should feel firm and will slice easily. Using a serrated knife, cut the bars into squares. A gentle sawing motion works best for cleaner cuts.
Store your Chewy Granola Bars in a sealed container, separated by layers of parchment or wax paper. If you’re not going to finish them within a few days, consider refrigerating or freezing them for long-term storage. They freeze very well, so you can enjoy them later!
Things Worth Knowing
- Cooling is crucial: Make sure you allow the bars to cool completely before cutting. This helps them set and makes cutting easier.
- Mixing technique: When combining wet and dry ingredients, be gently but thorough to ensure even distribution without overmixing.
- Ingredient substitutions: You can easily swap the nuts or dried fruits based on your preference, but keep the proportions similar for best results.
- Texture check: Bake until the edges are golden but the center is still slightly soft. It will firm up as it cools.
Make It Your Own
Customizing Chewy Granola Bars is part of the fun! Here are some tips to help you create your perfect snack.
- Storage: Keep your bars in an airtight container at room temperature for up to a week. For longer freshness, they can be refrigerated.
- Freezing: You can freeze these granola bars for up to one month. Just make sure to layer them with parchment paper to avoid sticking.
- Pairing: Serve these granola bars with a side of fresh fruit or yogurt for a well-rounded snack or breakfast.
- Variations: Consider adding chocolate chips or seeds like pumpkin or sunflower for extra flavor and nutrition.
- Sweetness level: Adjust the amount of honey or sugar based on your preferred sweetness level. You can even use alternatives like maple syrup!
Great Combinations for Chewy Granola Bars
When it comes to pairing Chewy Granola Bars, the possibilities are endless! Here are some ideas on how to enjoy them:
- Perfect for Breakfast: These bars make a fantastic breakfast option. Pair them with a smoothie or a cup of yogurt for a balanced meal.
- Post-Workout Snack: They’re an excellent energy boost after a workout. Grab a bar to replenish your energy levels and enjoy the benefits of wholesome ingredients.
- Lunchbox Treat: Pack them in lunchboxes for your kids or yourself. They are a great way to add a healthy option to your midday meal.
- Road Trip Snack: Planning a road trip? These bars are compact, travel-friendly, and provide sustained energy for the journey.
- Seasonal Additions: In the fall, try adding some chopped pumpkin seeds or spices like nutmeg for a seasonal twist.
FAQ
Conclusion
What makes Chewy Granola Bars special is how they perfectly balance health and indulgence. They are packed with wholesome ingredients, making them a nutritious snack option that doesn’t compromise on taste. I encourage you to try making these bars yourself! They are a fantastic way to enjoy a homemade treat that you can customize to suit your tastes. Whether you eat them for breakfast, after a workout, or as an afternoon snack, they are sure to be a hit!
Chewy Granola Bars
Ingredients
Equipment
Method
- Preheat your oven to 350°F. This temperature is crucial for getting that lovely golden brown color on the edges of your bars. As your oven heats, line an 8-inch square baking pan with parchment paper, leaving a 2-inch overhang on two sides. This will make it easier to lift the bars out later. Lightly spray the parchment with nonstick spray to ensure nothing sticks!
- In a large mixing bowl, combine 1 ⅔ cups quick rolled oats, ⅓ cup oat flour, ¼ cup sugar, ¼ cup packed brown sugar, ½ teaspoon cinnamon, ½ teaspoon kosher salt, 8 ounces dried wild blueberries, 4 ounces roasted sliced almonds, and 3 ounces unsweetened flaked coconut. Stir everything together until well combined. The mixture should be dry yet fragrant, with the nuts and fruits evenly distributed.
- In a separate small bowl, whisk together 6 tablespoons melted butter, ⅓ cup creamy peanut butter, ¼ cup honey, 2 tablespoons light corn syrup, 1 tablespoon water, and ½ teaspoon pure almond extract. This combination of wet ingredients will provide richness and binding power to your bars. Make sure everything is blended well and smooth before proceeding.
- Pour the wet mixture into the dry ingredients. Use a spatula to fold everything together, ensuring that all the dry ingredients are evenly coated with the wet mixture. The texture should be crumbly yet cohesive. Take your time here—this step is key to achieving that perfect chewy texture.
- Transfer the mixture into the prepared baking pan. Using the back of a spoon or the buttery side of the butter wrapper, press the mixture firmly into an even layer. Make sure to pack it down well; this helps the bars hold together once baked.
- Place the pan in the oven and bake for 25 to 30 minutes. You'll know they're done when the edges are nicely browned, while the center remains a bit soft. This contrast in texture is what makes them so enjoyable!
- Once baked, remove the pan from the oven and let the bars cool in the pan on a cooling rack. Patience is key here! Allow them to cool for at least 30 minutes. This cooling time is crucial because it allows the bars to set properly.
- After cooling, gently cut around the edges of the pan to loosen the bars. Lift them out using the overhanging parchment paper. The bars should feel firm and will slice easily. Using a serrated knife, cut the bars into squares. A gentle sawing motion works best for cleaner cuts.
- Store your Chewy Granola Bars in a sealed container, separated by layers of parchment or wax paper. If you’re not going to finish them within a few days, consider refrigerating or freezing them for long-term storage. They freeze very well, so you can enjoy them later!
Notes
- Tip: To make oat flour, simply process quick rolled oats in a food processor or blender until finely ground.