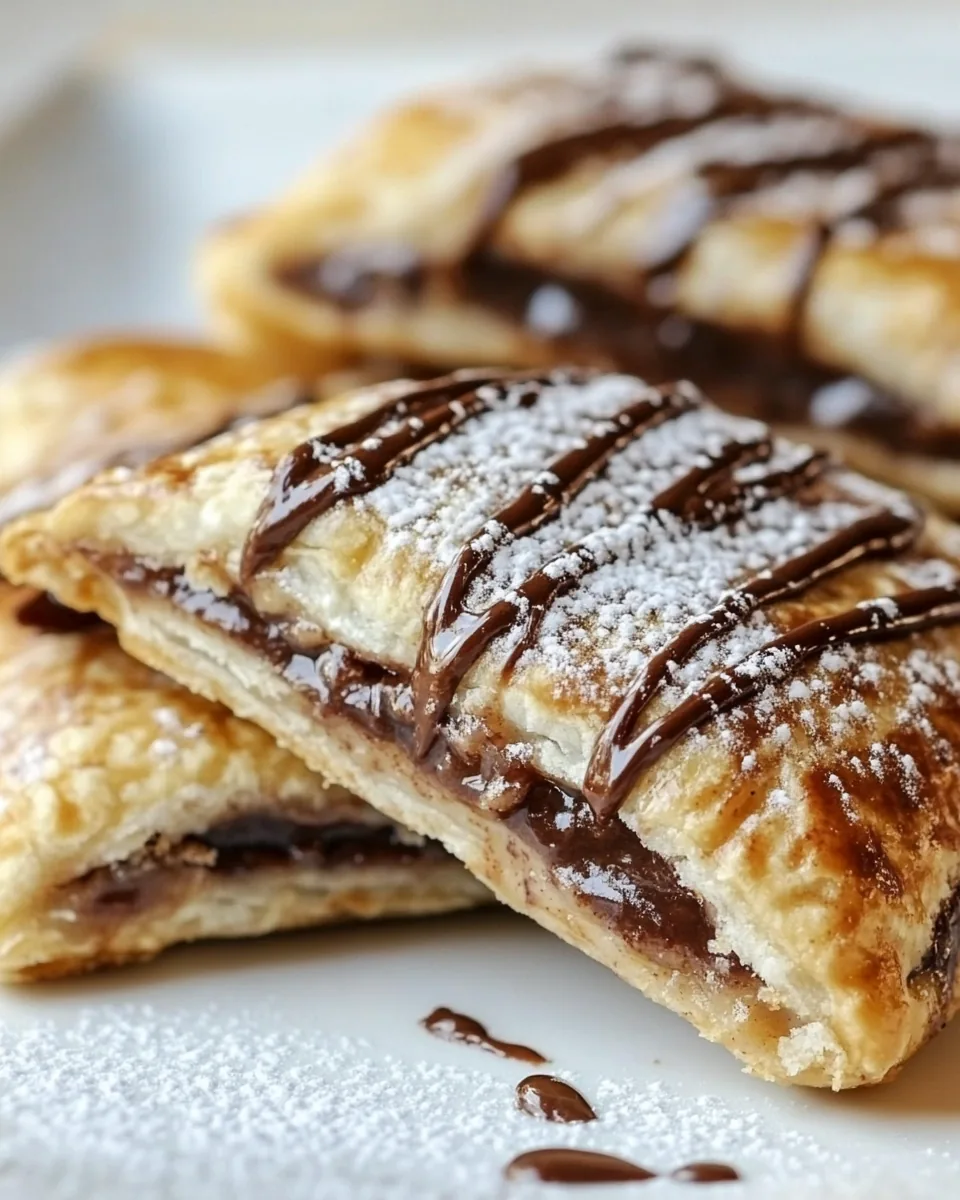
Nutella Pop Tarts
There’s something magical about the combination of pastry and rich, creamy Nutella. When I first created these Nutella Pop Tarts, I was reminiscing about my childhood, when I would sneak a bite of my mom’s delicious pastries. The aroma filled the kitchen, and the anticipation was almost unbearable. I remember the joy of having a sweet treat after school, and I wanted to recreate that feeling. These pop tarts are not just pastries; they are a slice of nostalgia, evoking cherished memories and warm family moments. With a flaky, golden crust surrounding that delightful chocolate-hazelnut filling, every bite is a reminder of carefree days and sweet indulgence.
Recipe Snapshot
1 hr 30 mins
60 mins
30 mins
Medium
310 kcal
3 g
Gluten-Free, Low FODMAP
16 g
Chef’s Knife, Baking Sheet, Food Processor, Whisk
Why This Nutella Pop Tarts Is So Good
They Are Incredibly Easy to Make
One of the reasons I adore these Nutella Pop Tarts is just how straightforward they are to prepare. You can whip up a batch with just a handful of ingredients that you likely already have in your pantry. Even if you’re not a seasoned baker, the steps are simple enough to follow. You can impress friends and family with your baking skills without spending hours in the kitchen!
Perfect for Any Occasion
Whether it’s a cozy weekend brunch or a festive gathering, these pop tarts fit right in. Everyone loves a sweet treat, and these are sure to be a crowd-pleaser. They’re just as great for a casual family breakfast as they are for a celebratory dessert at a party. There’s something about homemade pastries that brings people together.
Customizable to Your Taste
While I love the classic flavor of Nutella, you can easily modify these pastries to suit your taste. Feel free to mix in other fillings like fruit preserves or even peanut butter, creating a delightful twist every time you bake. The possibilities are endless, making these pop tarts a fun baking adventure!
Great for Kids!
These Nutella Pop Tarts are also a fantastic project to do with kids. They can help roll out the dough, cut the shapes, and fill them with their favorite fillings. It’s a wonderful way to bond and create lasting memories while also teaching them some basic baking skills. Plus, who doesn’t love getting their hands a little messy in the kitchen?
They Freeze Beautifully
One of my favorite aspects of these pastries is that they freeze wonderfully. You can prepare a large batch, freeze them before baking, and have a stash of homemade pastries ready for any cravings. Just pop them directly from the freezer into the oven when you need a sweet pick-me-up, and they’ll be just as delicious as fresh.
They Taste Better Than Store-Bought
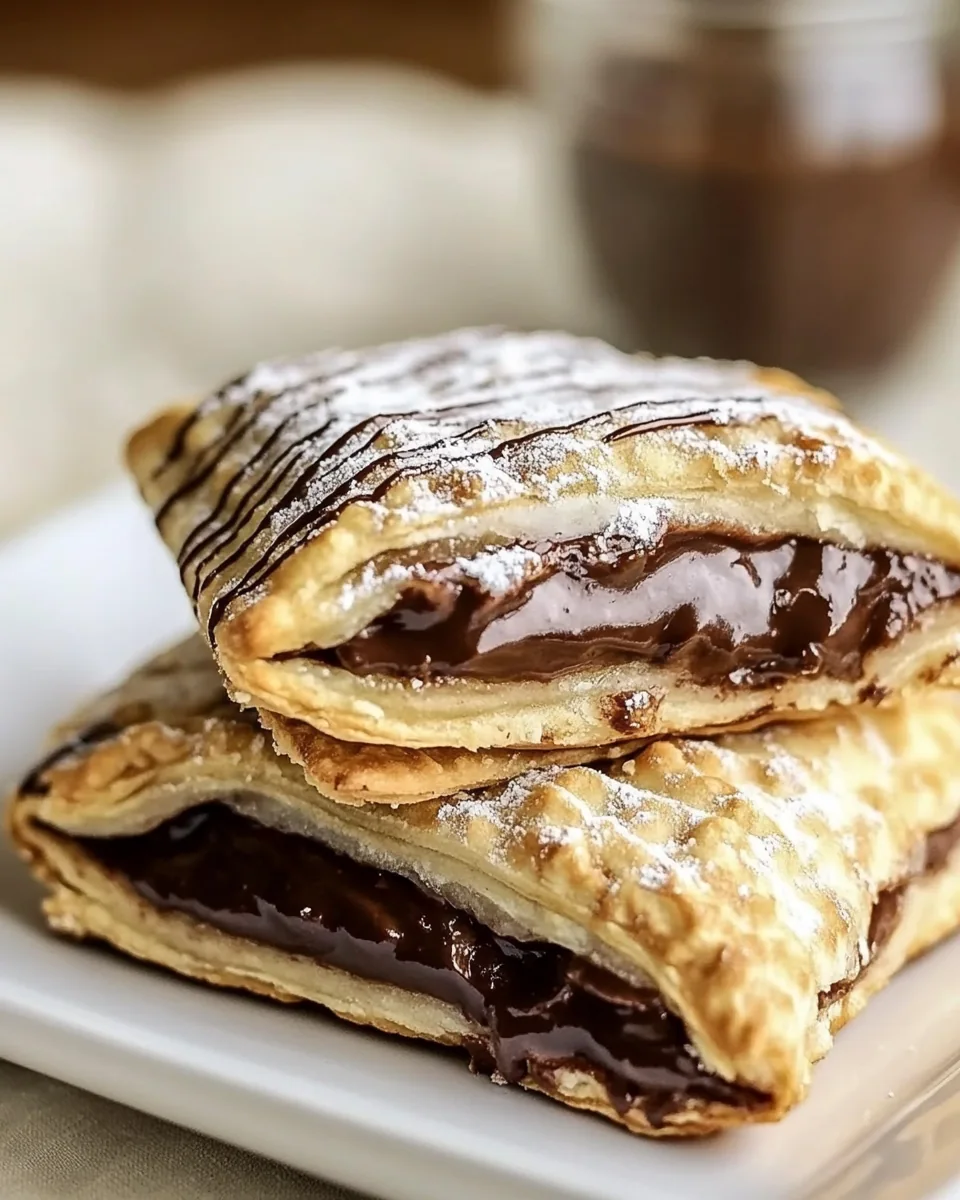
Nothing compares to the taste of a freshly baked pastry. These Nutella Pop Tarts are rich, flaky, and filled with gooey goodness, far surpassing anything you could find at the store. Once you’ve tasted homemade, you’ll never want to go back!
Ingredients Required for Nutella Pop Tarts
When it comes to creating delicious Nutella Pop Tarts, the ingredients are simple yet essential for crafting that flaky, mouthwatering pastry. Each element plays a crucial role in achieving the perfect balance of texture and flavor. The key players include all-purpose flour for the base, Nutella as the star filling, and a few additional sweeteners to enhance the experience. Let’s gather these ingredients and get started on this tasty journey!
- 2½ cups all-purpose flour: The foundation for our flaky pastry. This flour gives the pop tarts their body and structure.
- 2 teaspoons granulated white sugar: Adds a touch of sweetness to the dough, balancing the flavors.
- 1 teaspoon salt: Enhances the flavors of the other ingredients and keeps the dough from tasting bland.
- 10 tablespoons very cold unsalted butter: The key to a flaky crust. Cold butter creates steam, which results in that lovely, airy texture.
- ¼ cup chilled vegetable shortening: Adds tenderness and lightness to the dough.
- 6 tablespoons ice cold water: Helps bind the dough without melting the butter, preserving flakiness.
- 9 tablespoons Nutella: The heart of our pop tarts; rich and creamy hazelnut chocolate goodness.
- 3 tablespoons brown sugar: Adds a deeper sweetness and a hint of caramel flavor.
- 1 teaspoon cinnamon: A warm spice that enhances the flavor of the filling.
- 1 large egg: Whisked, for the egg wash that gives the pastries a beautiful golden finish.
- 1 cup sifted powdered sugar: Used for glazing, adding a sweet touch on top.
- 1 tablespoon milk: Helps to adjust the consistency of the glaze.
- ½ teaspoon ground cinnamon: A final hint of spice for the glaze.
- ½ teaspoon vanilla extract: A flavor enhancer that rounds out the sweetness of the glaze.
Putting Together Nutella Pop Tarts
Making these Nutella Pop Tarts is a joyful experience that can bring the whole family together. Let’s take a step-by-step journey to create these delightful pastries. You’ll see how easy it is to bring a bit of homemade goodness into your kitchen!
- Start by adding the flour, sugar, and salt into a food processor. Pulse a few times to evenly combine these dry ingredients. You want them well-mixed before introducing any fat.
- Next, add the cold unsalted butter and vegetable shortening into the processor. Pulse about eight times until the mixture resembles coarse crumbs. You should see some larger pieces of butter—this is good for flakiness.
- With the processor running, carefully pour in the ice cold water down the feed tube. Pulse just until the dough starts to clump together. Don’t overdo it; you want a nice dough without overworking it.
- Turn the clumped dough out onto a floured surface. Gather it into a ball, then divide it into two even portions. Flatten each portion into approximately a 6-inch disc and wrap tightly in plastic wrap. Chill in the refrigerator for at least one hour to firm up.
- Preheat your oven to 350 degrees F and line two baking sheets with parchment paper. Set these aside as you roll out your dough.
- Take one disc from the refrigerator and let it rest for about 10 minutes to soften slightly. On a lightly floured cutting board, roll the dough into a rectangle larger than 9×12 inches. Use a ruler and pizza cutter to cut it into nine 3×4-inch rectangles. Space them evenly on one of the prepared baking sheets and refrigerate.
- For the second disc of dough, repeat the process and roll it out into the same sized rectangles. Place these onto the other baking sheet.
- Now, take the rectangles from the second baking sheet and brush the edges with the whisked egg to create a seal. Add 1 tablespoon of Nutella down the center of each rectangle, ensuring to leave a ½ inch dough perimeter. Sprinkle the brown sugar and cinnamon mixture over the Nutella.
- Carefully place the first set of rectangles over the filled ones, pressing the edges firmly to seal. Use a fork to crimp the edges and ensure a tight seal. Prick the top of each pastry several times to allow steam to escape while baking.
- Freeze the pastries for 30 minutes or refrigerate for up to one hour, which helps to maintain their shape while baking.
- When you’re ready to bake, brush the tops with any remaining egg wash. Bake in the preheated oven for 25 to 30 minutes, or until lightly golden. Rotate once while baking for even cooking.
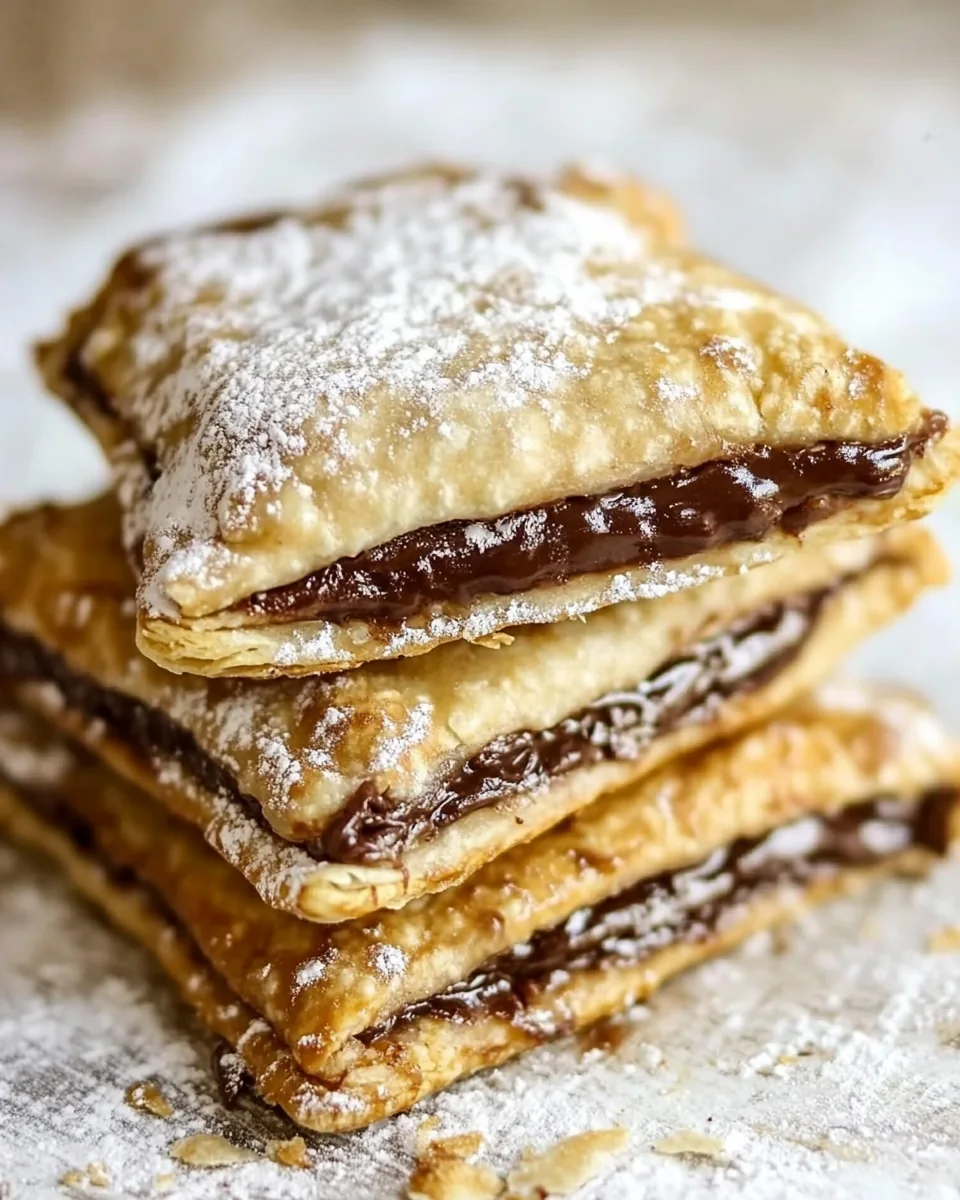
- After baking, let the Nutella Pop Tarts cool for about 5 minutes, then transfer them to a wire rack. Prepare the glaze by whisking together the powdered sugar, milk, ground cinnamon, and vanilla extract until smooth. Spread the glaze over the cooled pastries and allow it to harden for about 30 minutes.
Things Worth Knowing
Things Worth Knowing
- Chilling the dough: It’s crucial to chill the dough to keep the butter cold, which leads to a flaky texture when baked.
- Don’t overwork the dough: Overworking can lead to tough pastries. Just mix until combined.
- Egg wash: This adds a beautiful golden color to your pastries and helps them look professional.
- Filling options: Feel free to experiment with different fillings like fruit preserves or peanut butter for variety.
- Storing: Store any leftover pop tarts in an airtight container to keep them fresh.
Helpful Hints
When making Nutella Pop Tarts, there are a few tips that can elevate your baking experience. From storage to serving suggestions, here are some helpful hints to keep in mind!
- Storage: Keep your baked pop tarts in an airtight container at room temperature for up to three days.
- Freezing: You can freeze unbaked pastries for up to three months. Just prepare them and place them on a baking sheet before freezing.
- Pairing: These pastries taste delicious with a side of fresh fruit or a scoop of ice cream for dessert.
- Serving: Try serving them warm for a gooey filling experience, or allow them to cool completely for a firmer texture.
- Variation: Add a sprinkle of sea salt on top of the glaze for a sweet and salty combination!
Great Combinations for Nutella Pop Tarts
These Nutella Pop Tarts are versatile and can be enjoyed in various ways. Here are some great combinations and serving suggestions:
- Breakfast Treat: Perfect for a sweet breakfast paired with a cup of coffee or tea.
- Brunch Delight: Serve alongside fresh fruits and yogurt for a complete brunch spread.
- Snack Time: Ideal as a mid-afternoon snack, these pastries are satisfying yet light.
- Picnic Must-Have: Pack them for a picnic; their portability makes them great for outdoor eating.
- Special Occasions: Use them for birthday parties or holiday gatherings to impress your guests.
- Seasonal Pairing: Enjoy them with hot cocoa during winter or iced coffee in the summer.
FAQ
Conclusion
The Nutella Pop Tarts recipe combines nostalgia with a delightful sweet treat that everyone will love. The homemade aspect elevates them far beyond what you find in stores. I encourage you to give this recipe a try; it’s a fun and rewarding baking adventure that yields delicious results. Your family and friends will be so impressed when you serve these delightful pastries, and they’ll never want store-bought again!

Nutella Pop Tarts
Ingredients
Equipment
Method
- Start by adding the flour, sugar, and salt into a food processor. Pulse a few times to evenly combine these dry ingredients. You want them well-mixed before introducing any fat.
- Next, add the cold unsalted butter and vegetable shortening into the processor. Pulse about eight times until the mixture resembles coarse crumbs. You should see some larger pieces of butter—this is good for flakiness.
- With the processor running, carefully pour in the ice cold water down the feed tube. Pulse just until the dough starts to clump together. Don't overdo it; you want a nice dough without overworking it.
- Turn the clumped dough out onto a floured surface. Gather it into a ball, then divide it into two even portions. Flatten each portion into approximately a 6-inch disc and wrap tightly in plastic wrap. Chill in the refrigerator for at least one hour to firm up.
- Preheat your oven to 350 degrees F and line two baking sheets with parchment paper. Set these aside as you roll out your dough.
- Take one disc from the refrigerator and let it rest for about 10 minutes to soften slightly. On a lightly floured cutting board, roll the dough into a rectangle larger than 9x12 inches. Use a ruler and pizza cutter to cut it into nine 3x4-inch rectangles. Space them evenly on one of the prepared baking sheets and refrigerate.
- For the second disc of dough, repeat the process and roll it out into the same sized rectangles. Place these onto the other baking sheet.
- Now, take the rectangles from the second baking sheet and brush the edges with the whisked egg to create a seal. Add 1 tablespoon of Nutella down the center of each rectangle, ensuring to leave a ½ inch dough perimeter. Sprinkle the brown sugar and cinnamon mixture over the Nutella.
- Carefully place the first set of rectangles over the filled ones, pressing the edges firmly to seal. Use a fork to crimp the edges and ensure a tight seal. Prick the top of each pastry several times to allow steam to escape while baking.
- Freeze the pastries for 30 minutes or refrigerate for up to one hour, which helps to maintain their shape while baking.
- When you’re ready to bake, brush the tops with any remaining egg wash. Bake in the preheated oven for 25 to 30 minutes, or until lightly golden. Rotate once while baking.
- After baking, let the Nutella Pop Tarts cool for about 5 minutes, then transfer them to a wire rack. Prepare the glaze by whisking together the powdered sugar, milk, ground cinnamon, and vanilla extract until smooth. Spread the glaze over the cooled pastries and allow it to harden for about 30 minutes.
Notes
- Tip 1: Keep your baked pop tarts in an airtight container at room temperature for up to three days.
- Tip 2: You can freeze unbaked pastries for up to three months. Just prepare them and place them on a baking sheet before freezing.
- Tip 3: These pastries taste delicious with a side of fresh fruit or a scoop of ice cream for dessert.
- Tip 4: Try serving them warm for a gooey filling experience, or allow them to cool completely for a firmer texture.
- Tip 5: Add a sprinkle of sea salt on top of the glaze for a sweet and salty combination!