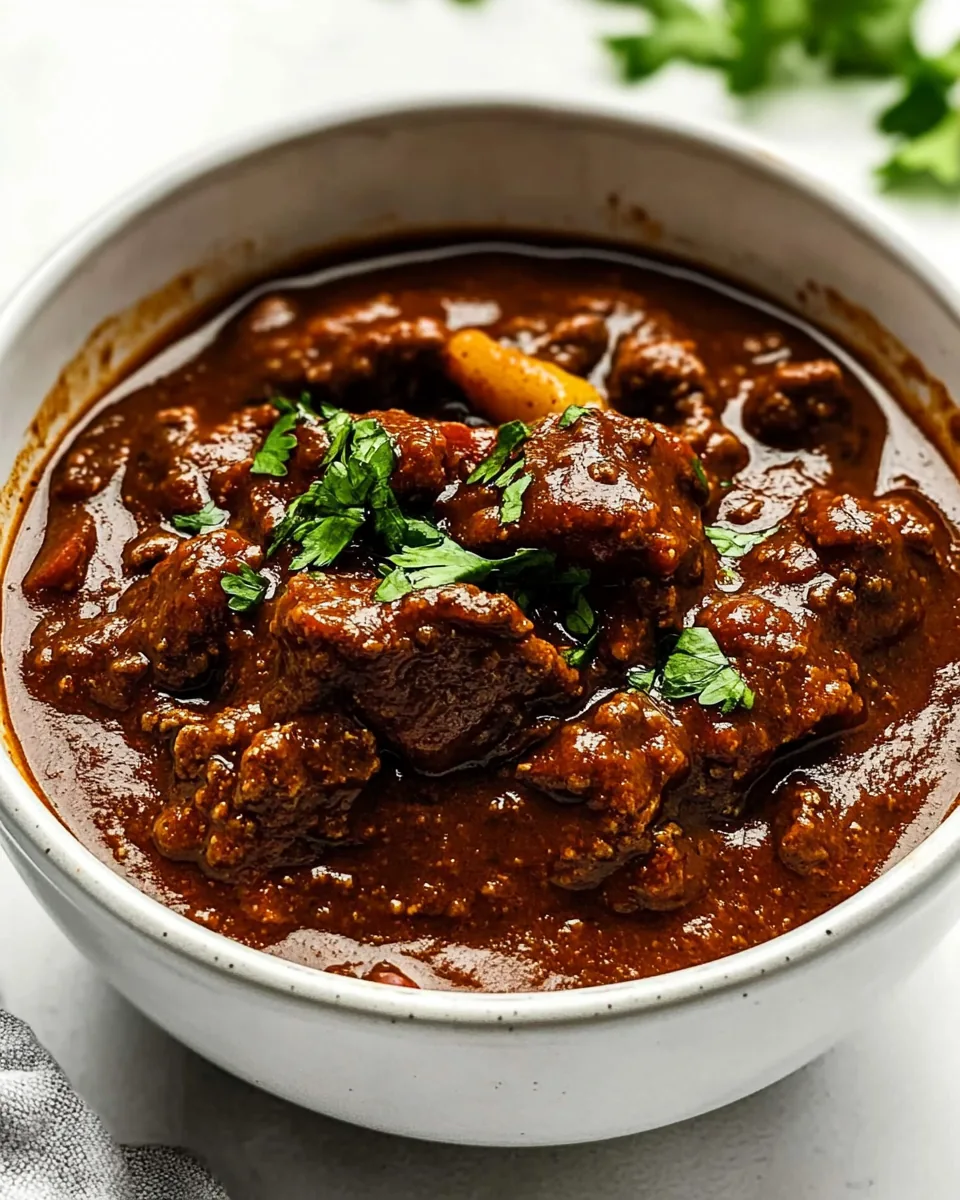
Texas Chili
Every time I think of warm, comforting meals, the thought of Texas Chili instantly comes to mind. This is more than just a recipe; it’s a cherished tradition in my home. Growing up, chilly winter evenings were often marked by the rich aroma of chili simmering on the stove, filling the house with a warmth that complemented the cold outside. I remember my family gathering around the table, eagerly anticipating the first spoonful. Each bite was a celebration of flavors and textures, with just the right amount of heat that made our hearts race. Over the years, I’ve refined my version of this classic, and it never fails to impress. Whether it’s game day or a cozy family dinner, Texas Chili brings everyone together, just as it did in my childhood. Let me take you on a culinary journey where spices dance and beef melts in your mouth.
Recipe Snapshot
2 hr 50 mins
20 mins
150 mins
Hard
400 kcal
30 g
Gluten-Free, Low FODMAP
25 g
Saucepan, Oven, Large Pot, Baking Sheet, Chef’s Knife, Wooden Spoon, Cutting Board
The Magic of This Texas Chili
Rich and Hearty Flavor
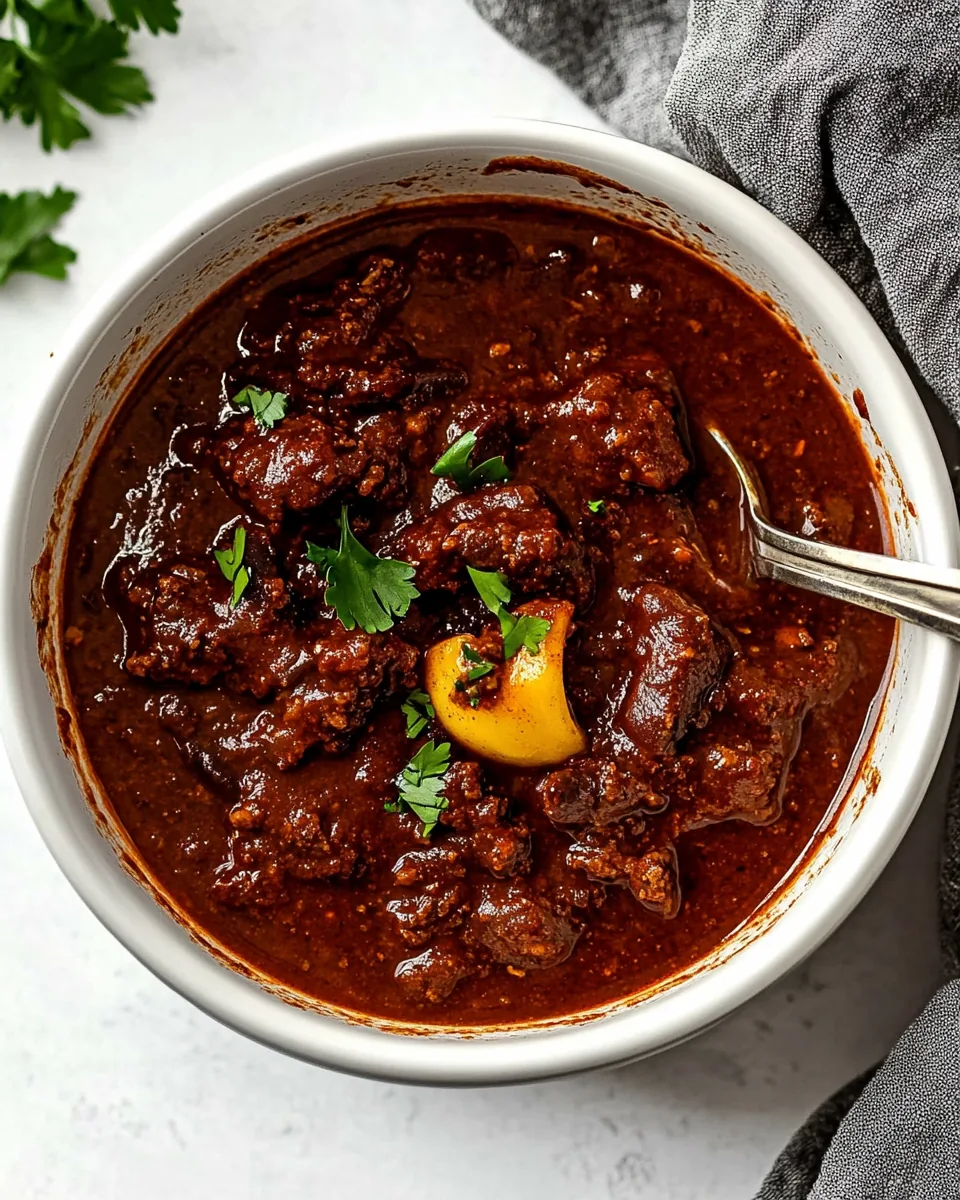
What sets Texas Chili apart from all other chilis is its deep, rich flavor profile. This dish isn’t just about adding beans or tomatoes; it’s about layering flavors that tell a story. The use of various chili powders adds a unique depth that you won’t find in many other recipes. Each type brings its own character to the dish, ensuring every bite is bursting with flavor.
Perfect for Gatherings
If you’re looking for the perfect dish to serve at a gathering, look no further. Texas Chili is the ultimate crowd-pleaser. Its robust flavors and hearty texture make it a satisfying choice for anyone. Plus, it’s easy to make in large batches, so you can feed a hungry crowd without breaking a sweat.
Customizable to Your Taste
One of my favorite aspects of Texas Chili is its versatility. You can adjust the spiciness to suit your taste or add different toppings like fresh cilantro or diced onions for added crunch. It’s a dish that invites creativity, allowing you to make it your own.
Comfort Food at Its Best
Nothing screams comfort like a warm bowl of Texas Chili. On those cold winter nights, there’s nothing better than coming home to the aroma of chili simmering on the stove. It warms you from the inside out and is a dish that everyone will love.
Great for Meal Prep
Another reason I adore Texas Chili is that it makes for excellent leftovers. You can easily store it in the fridge or freezer, making it a perfect meal prep option. The flavors only get better as they meld together, making the next day’s serving even more delicious!
Ingredients You’ll Need for Texas Chili
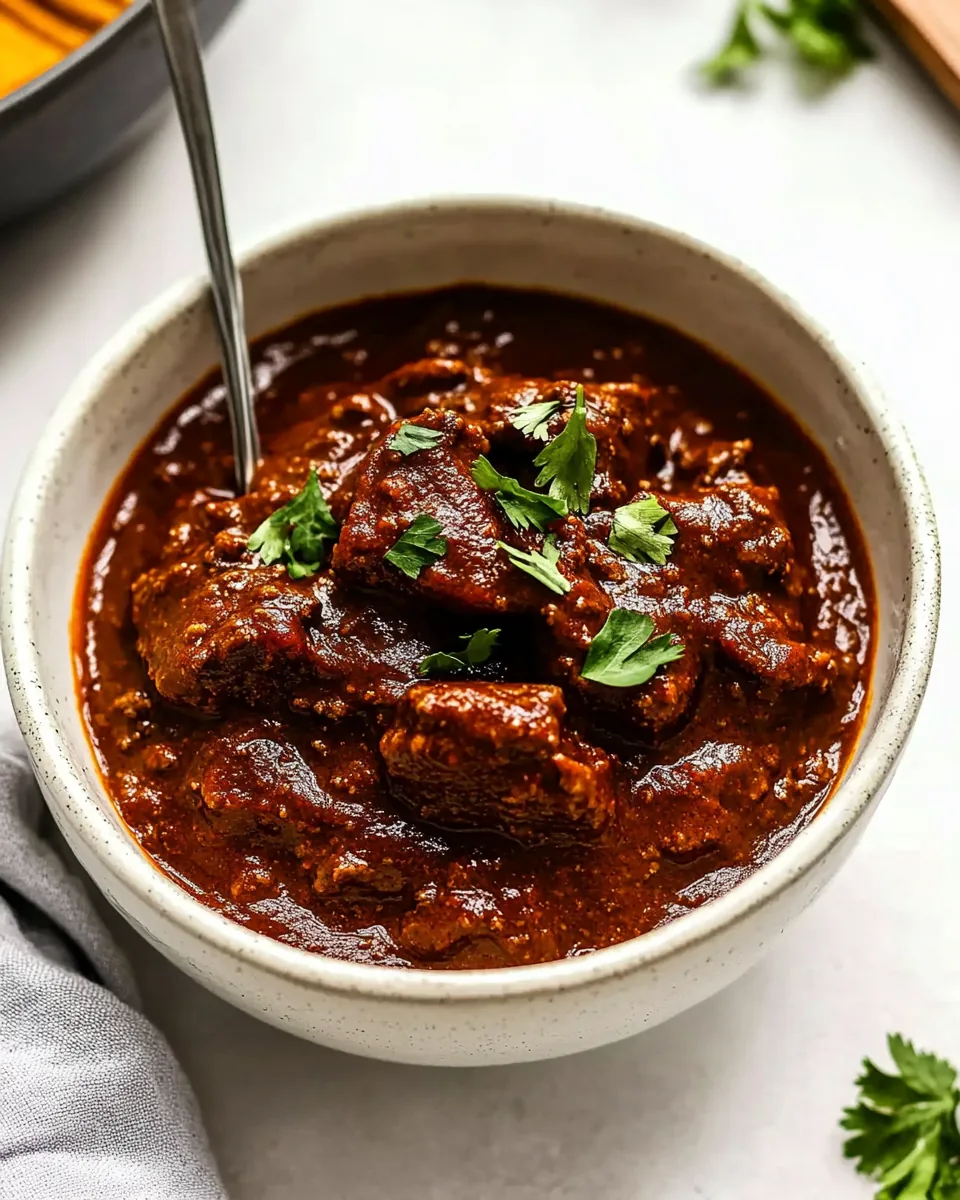
When making Texas Chili, the ingredients play a crucial role in achieving that signature flavor. Each component works harmoniously to create a dish that’s both satisfying and memorable. The key players include tender beef, a variety of chili powders, and fresh ingredients that elevate the dish. Together, they create a bowl of warmth that’s perfect for any occasion.
- 3-4 pounds boneless beef chuck roast, cut into 1-inch pieces – The star of the show! This cut of meat is ideal for chili as it become tender and flavorful when slow-cooked.
- 3 teaspoons kosher salt, divided – Essential for seasoning the beef and balancing the flavors.
- 1 teaspoon ground black pepper, divided – Adds a subtle warmth that enhances the overall flavor.
- 2 tablespoons vegetable oil – Used for browning the beef, adding richness to the dish.
- 3 jalapeno peppers, diced – For a touch of heat and freshness.
- 8 cloves garlic, minced – A flavor powerhouse that brings depth to the chili.
- 2 tablespoons ground pasilla chili powder – Adds a rich, smoky flavor.
- 2 tablespoons dried ancho chili powder – Provides sweetness and complexity.
- 1-2 teaspoons dried New Mexico chili powder – Adjust to taste for extra heat.
- 2 cups low-sodium beef broth – The base for the chili, adding moisture and flavor.
- 2-2½ cups water – Helps to adjust the consistency of the chili.
- 1 cup canned crushed tomatoes – Adds acidity and sweetness to balance the spices.
- 2 tablespoons corn flour (aka: masa harina) – Thickens the chili while adding a unique flavor.
- 1 tablespoon brown sugar – Balances the heat and acidity with a hint of sweetness.
- 2 teaspoons dried oregano – Adds a fragrant herbal note.
- 2 teaspoons ground cumin – Warm and earthy, it’s essential for chili.
- ½ teaspoon ground cinnamon – A surprise ingredient that brings warmth.
- Chopped fresh cilantro (optional, for serving) – For garnish, adding brightness and freshness.
Cooking Instructions for Texas Chili
Making Texas Chili is a rewarding experience that fills your home with a delightful aroma. Follow these steps to create a dish that will impress family and friends. Let’s get cooking!
- Start by patting the beef dry with paper towels. This will help achieve a good sear. Season all sides with 1 teaspoon of salt and ½ teaspoon of pepper. This simple step ensures that the meat is well-seasoned and flavorful.
- Next, heat 2 tablespoons of vegetable oil in a large Dutch oven or a heavy-bottomed soup pot over medium-high heat. When the oil is shimmering, carefully add the seasoned beef in a single layer. If your pot isn’t large enough, do this in batches to avoid overcrowding, which can cause steaming rather than browning. Brown the beef on both sides for about 10 minutes.
- Once the beef is nicely browned, remove it from the pot and set it aside. Leave any oil behind for the next step. Lower the heat to medium and add the diced jalapeno peppers and minced garlic. Cook them for about 3 to 4 minutes until they become soft and fragrant, stirring occasionally.
- Now, it’s time to stir in the pasilla chili powder, ancho chili powder, and New Mexico chili powder. Cook this mixture while stirring constantly for about 1 minute until you can smell the spices. This step is crucial as it helps to release the essential oils, enhancing the flavors.
- Next, add the beef broth, 2 cups of water, crushed tomatoes, corn flour, brown sugar, dried oregano, cumin, cinnamon, and the remaining salt and pepper to the pot. Stir everything well to combine.
- Now, return the browned beef back into the pot. Bring the mixture to a boil over high heat. Once boiling, reduce the heat to a gentle simmer. Cover the pot, leaving the lid slightly askew to allow steam to escape. This will help concentrate the flavors while cooking.
- Let the chili simmer for about 2 hours, stirring occasionally. During this time, the beef will become incredibly tender, and the flavors will meld beautifully. You want the beef to be fork-tender and full of flavor.
- After 2 hours, taste the chili and adjust the seasoning as necessary. If you prefer it spicier, now’s the time to add more New Mexico chili powder.
- Once you’ve achieved the desired flavor, serve the Texas Chili hot, garnished with chopped fresh cilantro if desired. This adds a refreshing touch.
Things Worth Knowing
- Slow Cooking is Key: The longer you let the chili simmer, the more the flavors develop. Don’t rush this step!
- Choosing the Right Meat: Opt for a good quality chuck roast that has some marbling. This fat will help keep the meat tender.
- Adjusting Spice Levels: Taste as you go! You can always add more spices, but it’s hard to take them out once added.
- Use Fresh Ingredients: Fresh cilantro and jalapenos can brighten the dish considerably.
Change It Up
There are so many ways to customize Texas Chili to make it your own. Here are some ideas to consider:
- Storage: Leftover chili can be stored in an airtight container in the refrigerator for up to 3 days. Reheat on the stove or microwave.
- Freezing: You can freeze Texas Chili for up to 3 months. Allow it to cool before transferring it to freezer-safe containers.
- Pairing: Serve it with warm cornbread or over rice for a comforting meal.
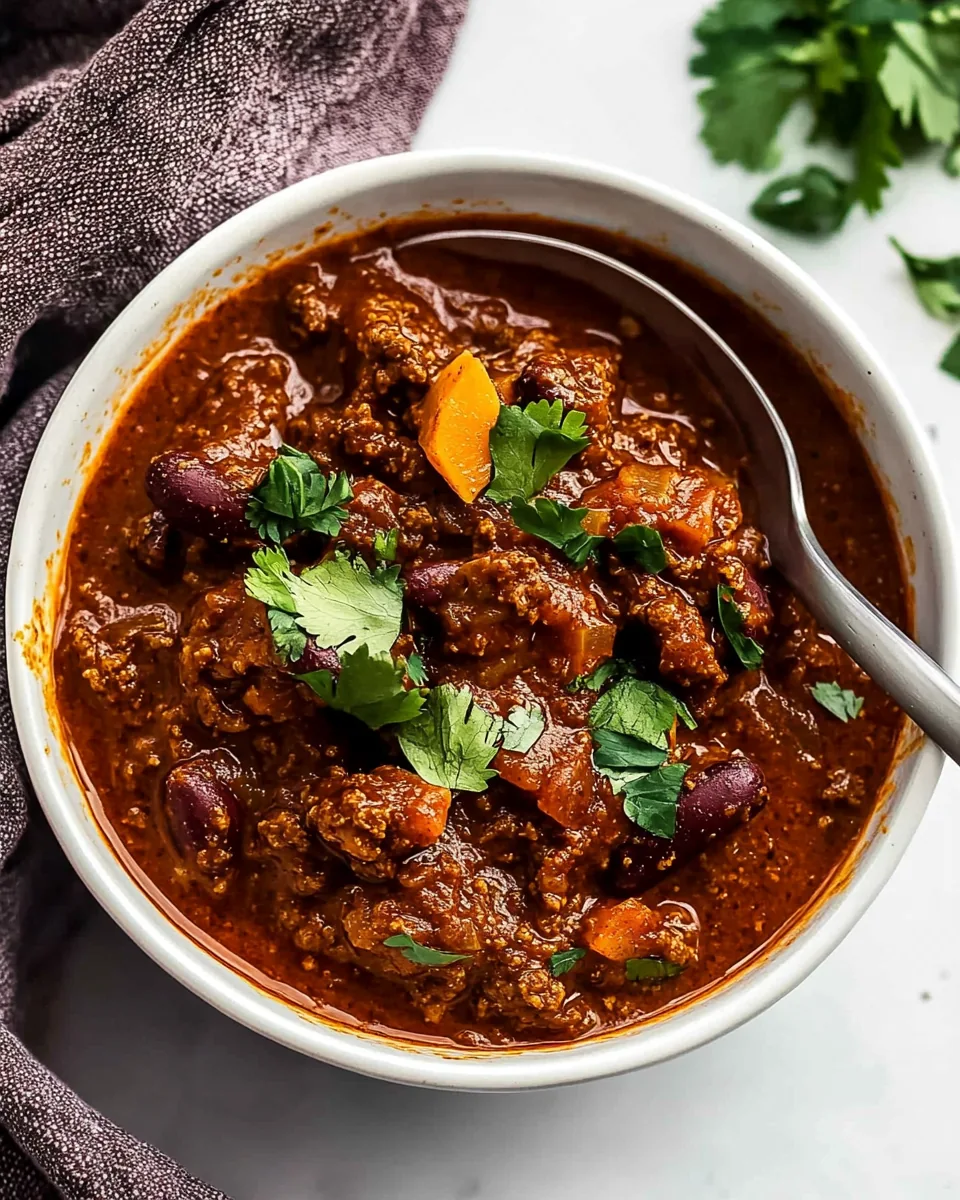
- Adding Beans: While traditional Texas Chili doesn’t include beans, feel free to add black beans or kidney beans for texture.
- Vegan Option: Substitute the beef with lentils or jackfruit for a hearty vegan chili.
- Spice Variations: If you prefer different kinds of heat, try adding chipotle powder or cayenne pepper for an extra kick.
- Serving Style: Serve with toppings like diced onions, shredded cheese, or sour cream for added flavor and texture.
How to Serve Texas Chili
Serving Texas Chili is as delightful as making it. Here are some of my favorite ways to enjoy this dish:
- On a Cold Day: There’s nothing quite like enjoying a bowl of Texas Chili on a chilly winter evening. It warms your soul and fills you with comfort.
- Game Day: Serve it during your next game day gathering. Set up a chili bar with a variety of toppings, allowing guests to customize their bowls.
- For a Crowd: Make a large batch for parties or family gatherings. Texas Chili is perfect for feeding a hungry crowd!
- As a Filling Option: Serve it over rice or with cornbread for a complete meal. You can also use it as a filling for tacos or burritos.
- Seasonal Pairings: Serve with seasonal sides like cornbread in the fall or fresh salads in the summer to balance the hearty flavors.
- Storage Tips: Store any leftovers in the refrigerator and reheat for a quick, satisfying meal during the week.
FAQ
Conclusion
In conclusion, Texas Chili is a dish that embodies comfort and warmth, making it perfect for any occasion. Its rich flavors and hearty ingredients create a meal that not only satisfies but also brings people together. I encourage you to try this recipe and experience the joy it brings to your table. Whether it’s a cold winter night or a lively gathering, Texas Chili is sure to be a hit!
Texas Chili
Ingredients
Equipment
Method
- Pat the beef dry and season it all over with 1 teaspoon salt and ½ teaspoon pepper.
- Heat the oil in a large Dutch oven or heavy-bottomed soup pot over medium-high heat. Add the beef in a single layer, cooking in batches if needed, and brown on two sides, about 10 minutes.
- Remove the beef from the pot. Leave any oil behind and turn the heat down to medium. Add the jalapeno peppers and garlic. Cook until softened, about 3-4 minutes.
- Stir in the pasilla chili powder, ancho chili powder, and New Mexico chili powder and cook, stirring constantly until fragrant.
- Add the beef broth, 2 cups water, crushed tomatoes, corn flour, brown sugar, dried oregano, cumin, cinnamon and remaining salt and pepper. Stir well to combine.
- Add in the cooked beef and bring to a boil. Reduce to a simmer, cover leaving the lid slightly askew to let some steam escape, and cook for about 2 hours until the beef is very tender.
- Taste the chili and adjust the seasoning as necessary. If you prefer it spicier, now’s the time to add more New Mexico chili powder.
- Serve hot, garnished with chopped fresh cilantro if desired.
Notes
- Tip 1: Using ground chili powders is a great way to add depth of flavor without the hassle of whole dried peppers.
- Tip 2: Be mindful of how spicy you want your chili; adjust chili powder levels accordingly.
- Tip 3: Cooking low and slow ensures tender beef and a flavorful broth.
- Tip 4: Enjoy with various toppings like cheese, sour cream, or fresh herbs.
- Tip 5: This chili is great for meal prep, allowing you to enjoy it again later!