Strawberry Layer Cake
The Strawberry Layer Cake has always held a special place in my heart. Each bite transports me back to my childhood, where family gatherings were incomplete without this vibrant dessert gracing the table. My mother would spend hours preparing it, her laughter filling the kitchen as the sweet scent of strawberries wafted through the air. I can still hear her saying, “This cake is a labor of love!” It’s not just a cake; it’s a celebration of spring, a time when strawberries are bursting with flavor, and the world is alive with color. Whether it’s a birthday, a holiday, or a simple Sunday dinner, the Strawberry Layer Cake makes every occasion a bit sweeter.
Recipe Snapshot
1 hr 40 mins
60 mins
40 mins
Medium
350 kcal
6 g
Gluten-Free, Low FODMAP
18 g
Mixing Bowl, Baking Sheet, Blender, Food Processor, Frying Pan, Whisk
The Best Thing About This Strawberry Layer Cake
Fresh Ingredients Shine Through
The first reason I love the Strawberry Layer Cake is the freshness of the ingredients. Using ripe, juicy strawberries truly elevates the cake. Their sweetness balances perfectly with the rich cream cheese frosting, making each slice a heavenly treat.
A Visual Delight
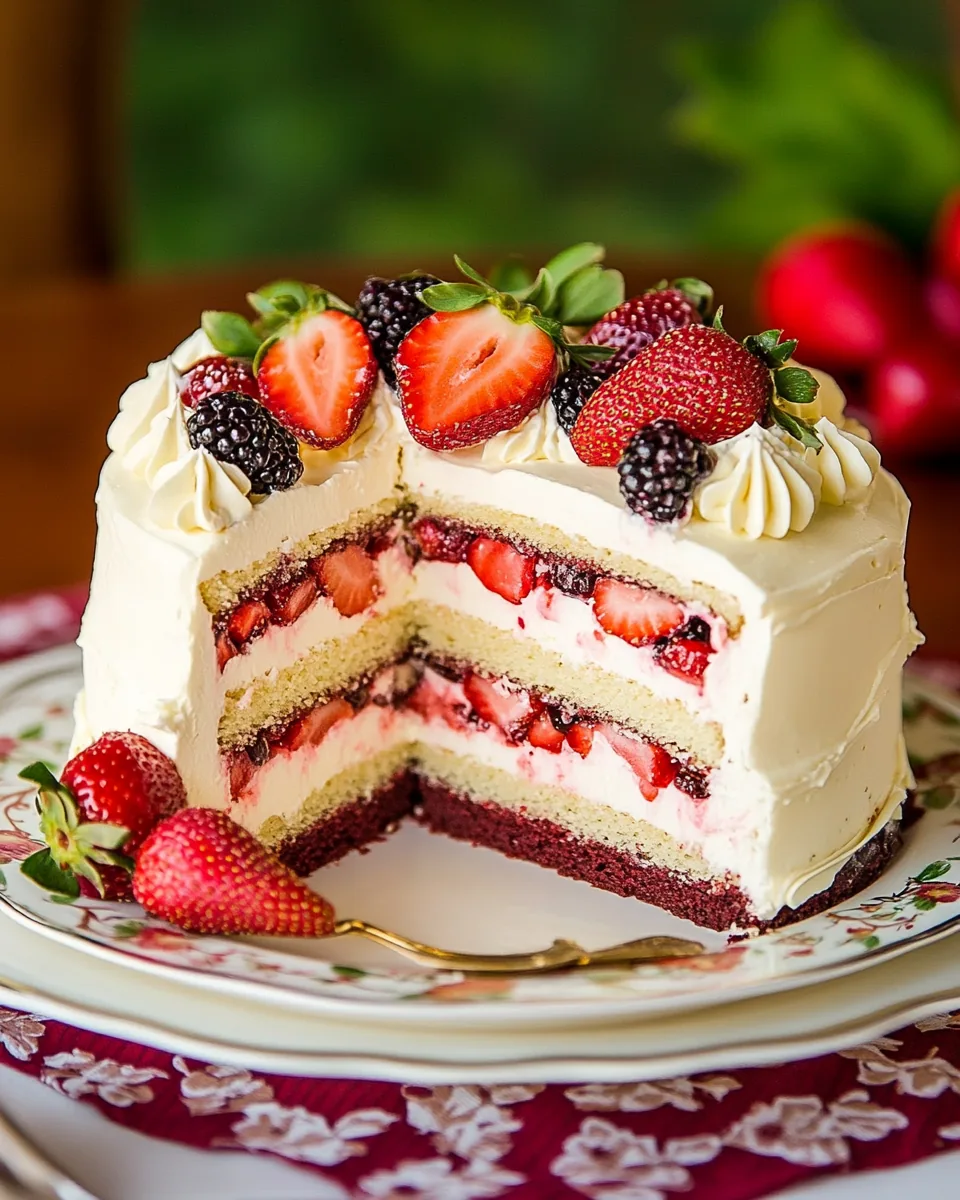
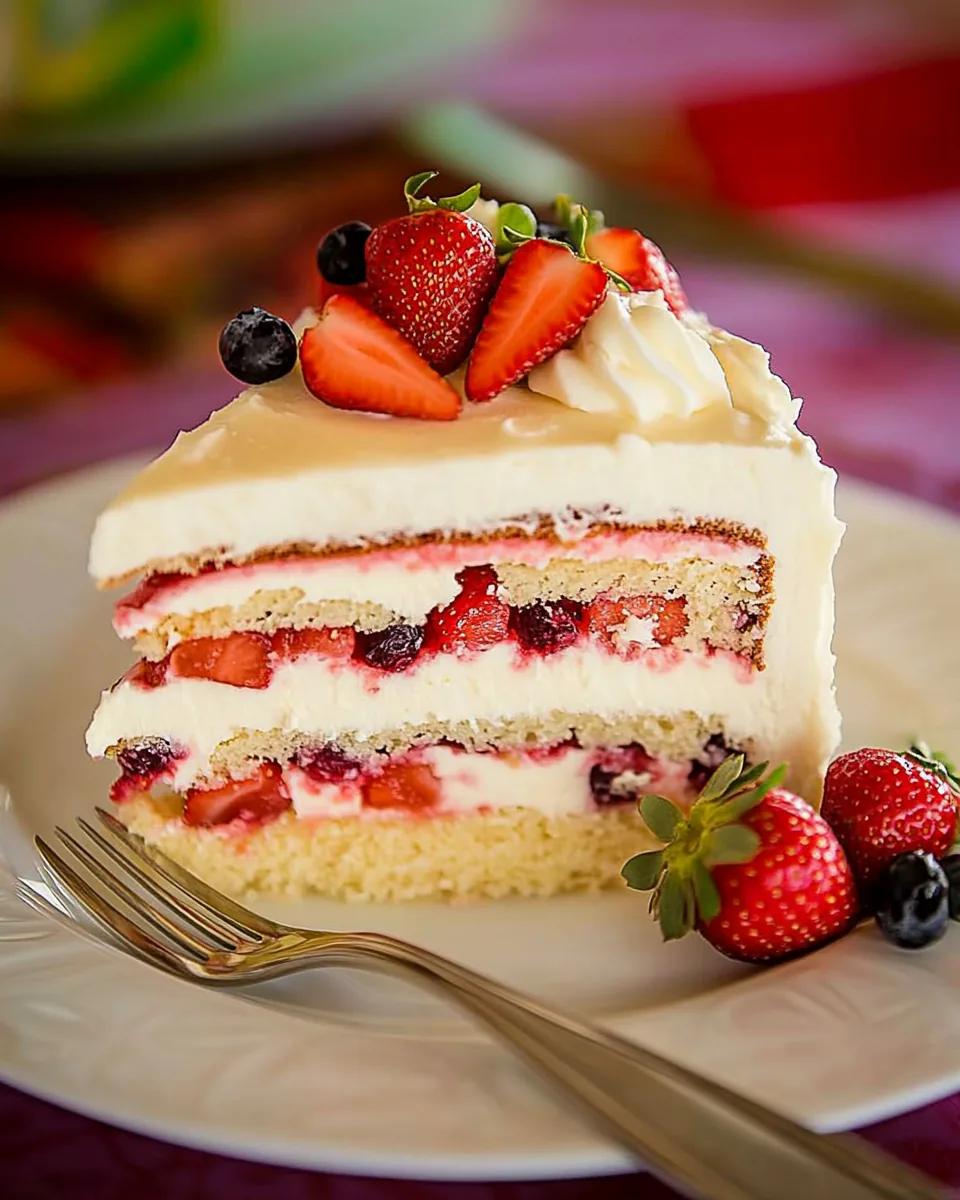
Next, let’s talk about presentation. This cake is a showstopper; its layers of vibrant red strawberries against the creamy white frosting create a stunning contrast. It’s the kind of dessert that leaves guests reaching for their cameras before their forks!
Perfect for Any Occasion
Another standout feature is its versatility. Whether you’re throwing a summer barbecue or a cozy winter gathering, the Strawberry Layer Cake fits right in. It’s the perfect centerpiece for celebrations, and its taste is just as delightful regardless of the season.
Memories Attached
For many, this cake is more than just a treat; it’s a tradition. I remember my own children helping me layer the cake, their little hands covered in frosting and laughter filling the kitchen. Making this cake has become a cherished family ritual that I hope will carry on for generations.
Easy to Make
Lastly, I appreciate how approachable this recipe is. With some basic baking skills, anyone can create this masterpiece. It’s a rewarding experience that brings joy not just to the baker, but to everyone who gets to enjoy a slice.
Ingredients Required for Strawberry Layer Cake
When it comes to creating the perfect Strawberry Layer Cake, selecting the right ingredients is crucial. Each component plays a role in delivering a deliciously moist and flavorful cake. The key players in this recipe are fresh strawberries, which provide a burst of sweetness and vibrant color. The heavy whipping cream adds a rich and creamy texture, while cream cheese contributes a delightful tanginess that balances the sweetness. Together, they create a harmonious blend that elevates this cake to new heights.
- 12 large eggs (room temperature, divided): These provide the necessary structure and moisture for the cake layers.
- 2 cups granulated sugar (divided): Sweetness is key in this cake, and sugar is crucial for fluffy layers and creamy frosting.
- 2 cups all-purpose flour (divided): The foundation of your cake, ensuring it holds together beautifully.
- 1 cup heavy whipping cream: This ingredient adds richness and a velvety texture to the frosting.
- 16 oz cream cheese (softened at room temperature): Essential for the frosting, it gives a delicious tang and creamy consistency.
- 3/4 cup granulated sugar: This will sweeten the frosting, balancing the flavors.
- 2 lbs Fresh strawberries (1 and a half lbs to blend and put inside the cake and half lb to decorate the top): The star of the show, adding freshness and natural sweetness.
- Chocolate chips (to melt and decorate the top; optional): A delightful option for adding a little extra flair to your cake.
Cooking Instructions for Strawberry Layer Cake
Making the Strawberry Layer Cake is a rewarding experience that fills your kitchen with delightful aromas. Follow these detailed steps to create a cake that’s sure to impress. Take your time with each layer, as each step builds toward that beautiful, towering cake!
Start by preheating your oven to 350°F (175°C). Grease and line only the bottom of a 9×13 inch cake pan with parchment paper. I recommend lining two pans if you have them, as this cake is typically layered. Avoid lining or greasing the sides of the pan; this keeps the cake layers from becoming misshapen when they bake.
In the bowl of an electric mixer, whisk together 6 large eggs and 1 cup granulated sugar on high speed for about 10 minutes. You’ll notice the mixture will increase to about three to four times its original volume, becoming light and fluffy.
Next, sift in 1 cup all-purpose flour and gently fold it in using a spatula. Be cautious to mix just until well incorporated; overmixing can deflate the batter. You want to scrape the bottom of the bowl to ensure there are no flour pockets but handle it delicately.
Transfer the batter to your prepared baking pan. Bake in the preheated oven until the top is golden and a toothpick inserted in the center comes out clean, typically around 17 to 20 minutes.
While the first layer is baking, repeat steps 2-4 for the second cake layer using the remaining ingredients. This way, both layers can bake simultaneously if you have two pans.
Once your cake layers are baked, remove them from the oven. Carefully run a thin-edged spatula around the sides of the pan to loosen the cake before allowing it to cool in the pan for a few minutes. Then, transfer to a wire rack to cool to room temperature.
While the cakes are cooling, prepare the strawberry filling. Cut the Fresh strawberries into halves or quarters and place them in a food processor. Pulse about 15 times or until you achieve a chunky applesauce consistency. Set this aside for later.
In another bowl, beat together 16 oz cream cheese and 3/4 cup granulated sugar until smooth. This should take about 1 minute. Then, add 1 cup heavy whipping cream and beat on high speed until fluffy and light, about 2 to 3 minutes.
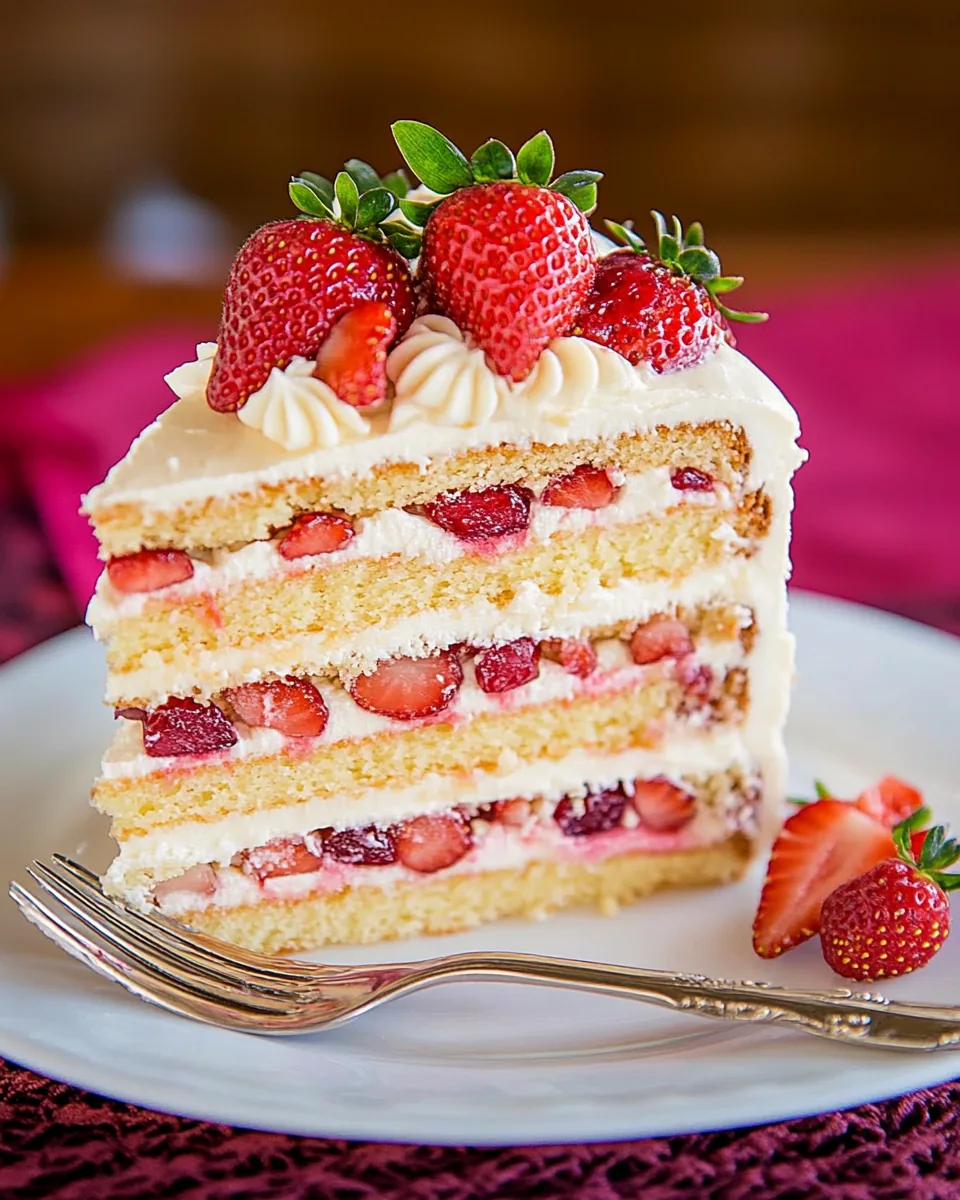
Once your cake layers are completely cooled, carefully cut each layer in half horizontally. This way, you’ll have four layers in total. Place the first layer on your serving dish (it’s best to do this on the dish you’ll serve it on, as this cake is large and heavy).
Spread about one-third of the strawberry puree on top of the first layer. Then, spread a very thin layer of frosting on the second half before carefully placing it over the first layer. The frosting helps hold the strawberries and cream in place.
Repeat the layering process until all layers are stacked. The correct order is: cake; strawberry; cream; cake; strawberry; cream; cake; strawberries; cream; cake; and finish with frosting on the top and sides using the remaining frosting.
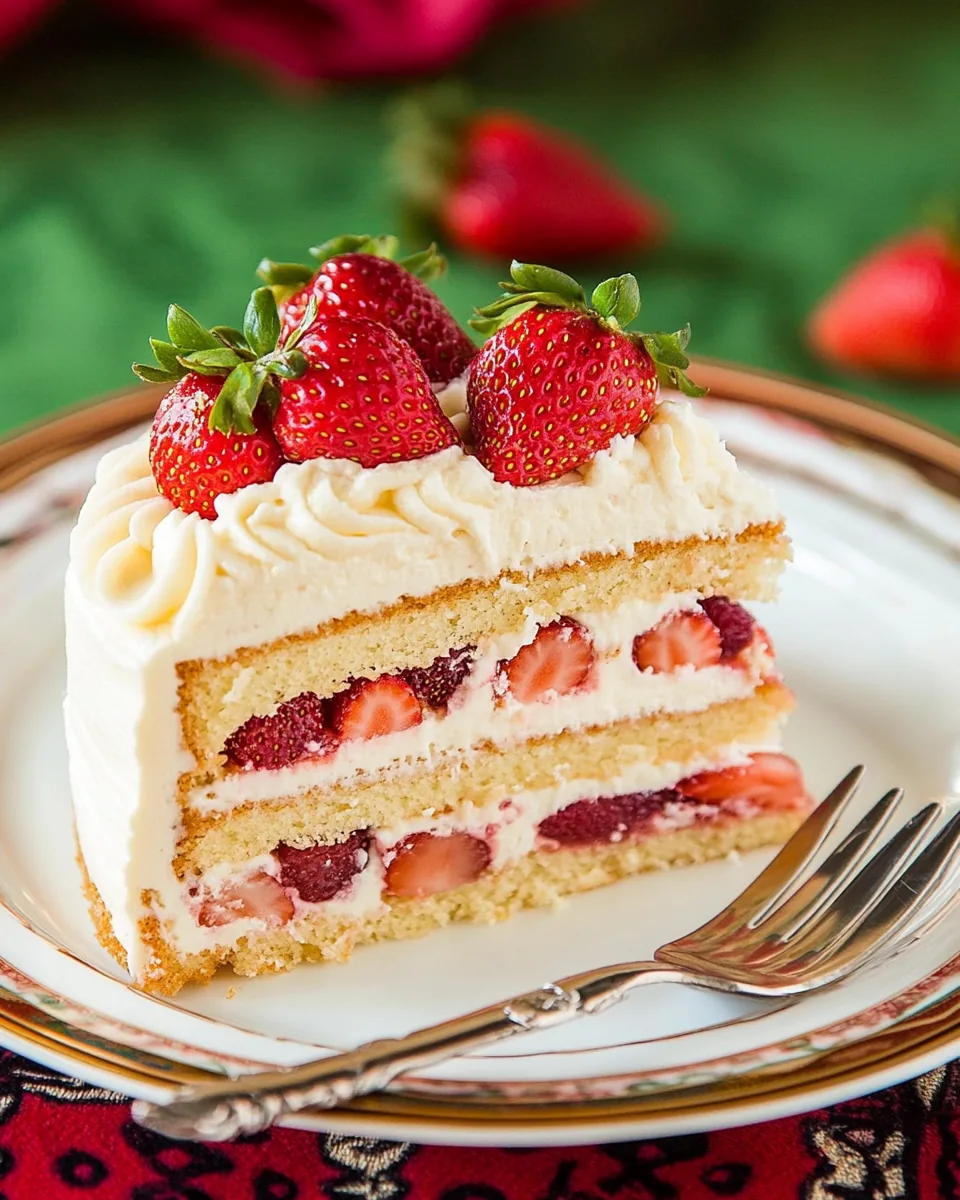
For a finishing touch, decorate the top with fresh strawberries and optional melted chocolate chips. This not only adds flavor but enhances the visual appeal of your Strawberry Layer Cake.
Things Worth Knowing
- Use Room Temperature Ingredients: This helps create an even batter and results in a fluffier cake.
- Don’t Overmix: When combining the flour, mix just until incorporated to prevent a dense cake.
- Check for Doneness: Use a toothpick inserted into the center to check if the cake is done; it should come out clean.
- Cool Completely: Let your cake layers cool fully before assembling to avoid melting the frosting.
Tips for Success
To help you master the art of making the Strawberry Layer Cake, here are some essential tips:
- Storage: Keep the cake in the refrigerator, covered, to maintain its freshness. It’s best enjoyed within three days.
- Freezing: You can freeze the cake layers before frosting them. Wrap them tightly in plastic wrap and store them for up to a month.
- Pairing: Serve alongside a scoop of vanilla ice cream for an added treat.
- Layering: Feel free to add more layers for a taller cake, just ensure you have enough frosting to go around.
- Variations: Consider adding a layer of lemon curd or whipped cream for a twist on flavors.
- Presentation: Dust the top with powdered sugar just before serving for an elegant finish.
What Complements This Strawberry Layer Cake
The Strawberry Layer Cake pairs beautifully with a variety of dishes and occasions. Here are some suggestions:
- Seasonal Fruits: Serve with a medley of seasonal fruits for a refreshing side.
- Tea Parties: Perfect for afternoon gatherings, alongside a selection of herbal or fruit teas.
- Summer Barbecues: This cake is a great addition to outdoor events, bringing a touch of elegance.
- Picnics: Cut into slices; it’s easy to transport and share at picnics.
- Special Celebrations: Ideal for birthdays, anniversaries, or graduation parties.
- Light Lunches: Serve a slice with a light salad for a delightful lunch option.
FAQ
Conclusion
The Strawberry Layer Cake truly shines as a beautiful and delicious dessert that’s perfect for any occasion. Its layers of fluffy cake, creamy frosting, and fresh strawberries come together to create a delightful treat that everyone will love. I encourage you to try making this cake; it’s an experience filled with joy, nostalgia, and delicious flavors that will leave you and your loved ones craving more. Happy baking!
Strawberry Layer Cake
Ingredients
Equipment
Method
- Start by preheating your oven to 350°F (175°C). Grease and line only the bottom of a 9x13 inch cake pan with parchment paper. I recommend lining two pans if you have them, as this cake is typically layered. Avoid lining or greasing the sides of the pan; this keeps the cake layers from becoming misshapen when they bake.
- In the bowl of an electric mixer, whisk together 6 large eggs and 1 cup granulated sugar on high speed for about 10 minutes. You’ll notice the mixture will increase to about three to four times its original volume, becoming light and fluffy.
- Next, sift in 1 cup all-purpose flour and gently fold it in using a spatula. Be cautious to mix just until well incorporated; overmixing can deflate the batter. You want to scrape the bottom of the bowl to ensure there are no flour pockets but handle it delicately.
- Transfer the batter to your prepared baking pan. Bake in the preheated oven until the top is golden and a toothpick inserted in the center comes out clean, typically around 17 to 20 minutes.
- While the first layer is baking, repeat steps 2-4 for the second cake layer using the remaining ingredients. This way, both layers can bake simultaneously if you have two pans.
- Once your cake layers are baked, remove them from the oven. Carefully run a thin-edged spatula around the sides of the pan to loosen the cake before allowing it to cool in the pan for a few minutes. Then, transfer to a wire rack to cool to room temperature.
- While the cakes are cooling, prepare the strawberry filling. Cut the Fresh strawberries into halves or quarters and place them in a food processor. Pulse about 15 times or until you achieve a chunky applesauce consistency. Set this aside for later.
- In another bowl, beat together 16 oz cream cheese and 3/4 cup granulated sugar until smooth. This should take about 1 minute. Then, add 1 cup heavy whipping cream and beat on high speed until fluffy and light, about 2 to 3 minutes.
- Once your cake layers are completely cooled, carefully cut each layer in half horizontally. This way, you’ll have four layers in total. Place the first layer on your serving dish (it’s best to do this on the dish you’ll serve it on, as this cake is large and heavy).
- Spread about one-third of the strawberry puree on top of the first layer. Then, spread a very thin layer of frosting on the second half before carefully placing it over the first layer. The frosting helps hold the strawberries and cream in place.
- Repeat the layering process until all layers are stacked. The correct order is: cake; strawberry; cream; cake; strawberry; cream; cake; strawberries; cream; cake; and finish with frosting on the top and sides using the remaining frosting.
- For a finishing touch, decorate the top with fresh strawberries and optional melted chocolate chips. This not only adds flavor but enhances the visual appeal of your Strawberry Layer Cake.
Notes
- Storage: Keep the cake in the refrigerator, covered, to maintain its freshness. It’s best enjoyed within three days.
- Freezing: You can freeze the cake layers before frosting them. Wrap them tightly in plastic wrap and store them for up to a month.
- Pairing: Serve alongside a scoop of vanilla ice cream for an added treat.
- Layering: Feel free to add more layers for a taller cake, just ensure you have enough frosting to go around.
- Variations: Consider adding a layer of lemon curd or whipped cream for a twist on flavors.
- Presentation: Dust the top with powdered sugar just before serving for an elegant finish.