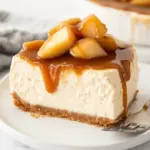
Homemade Caramel Apples
There’s something undeniably nostalgic about Homemade Caramel Apples. I remember the first time I made them as a child during the crisp autumn days when leaves painted the ground in shades of orange and red. My family and I would gather at the kitchen counter, laughter filling the air as we dipped the fresh, chilled apples into a bubbling pot of creamy caramel. The sweet, buttery aroma would wrap around us, making our mouths water in anticipation. It’s a treat that’s not just delicious but also brings everyone together, creating cherished memories. Whether it’s for Halloween or just a fun weekend project, making Homemade Caramel Apples feels like an annual rite of passage. Each bite is a delightful crunch, followed by the smoothness of caramel that coats the apples, making it hard to stop at just one. So, roll up your sleeves and let’s dive into this delicious adventure!
Recipe Snapshot
60 mins
45 mins
15 mins
Medium
210 kcal
1 g
Vegan, Gluten-Free
10 g
Large Pot, Wooden Spoon, Mixing Bowl, Frying Pan
The Appeal of This Homemade Caramel Apples
Perfect for Any Occasion
What I love about Homemade Caramel Apples is their versatility. They can be a fun activity for kids or an elegant dessert for a gathering. No matter the occasion, these lovely treats can brighten any event.
Simple Ingredients
With just a few simple ingredients, you can create something magical. You likely have most of the items in your pantry already. It’s all about combining them in a way that creates something extraordinary.
Customizable Toppings
One of the best parts of making Homemade Caramel Apples is the freedom to personalize them. From nuts to sprinkles, you can create a variety of flavors and textures that everyone will love.
A Fun Family Activity
Gather your loved ones, and turn this cooking process into a family event. It’s a wonderful way to bond, share stories, and create lasting memories while making delicious treats.
Seasonal Treat
There’s no denying that caramel apples are a staple of fall festivities. The crispness of the apples perfectly complements the rich, sweet caramel, making them an ideal treat for the season.
Main Ingredients for Homemade Caramel Apples
When creating Homemade Caramel Apples, the ingredients are as important as the love you put into making them. Each ingredient plays a role in creating that perfect blend of sweet and crunchy. The apples serve as the star, while the caramel adds a luscious coating that brings everything together. Here’s what you’ll need:
- 8 small apples: Crisp and fresh, these will form the base of your treat. Choose your favorite variety!
- Caramel apple sticks: Essential for dipping and eating your delicious creations.
- 1 cup water: Helps to dissolve the sugar in the caramel recipe.
- 1 1/2 cups granulated sugar: This will create the sweet caramel coating.
- 2 tablespoons light corn syrup: Adds smoothness to the caramel.
- 1 teaspoon salt: Balances the sweetness of the caramel.
- 2 cups heavy cream: Makes the caramel rich and creamy.
- 1 teaspoon vanilla: Adds a warm, aromatic flavor.
Making Homemade Caramel Apples
Creating Homemade Caramel Apples is a delightful process that’s both fun and rewarding. Follow these steps to make your own delicious treats!
- Start by washing the apples in warm water. This helps remove any waxy coating, ensuring the caramel sticks better. Once washed, dry them thoroughly.
- Using a folded dish towel, carefully insert the caramel apple sticks into the top of each apple, right where the stem is. Push the stick down the center of the apple, making sure it’s secure. Place the prepared apples in the refrigerator while you make the caramel.
- In a medium-sized, heavy-bottomed saucepan, combine the water, granulated sugar, corn syrup, and salt. Turn the heat to medium-high, stirring constantly with a wooden spoon until the sugar completely dissolves.
- Once the mixture reaches a boil, stop stirring and keep a close eye on it. Watch as it starts to transform into a beautiful amber color. This should take about 10 minutes but be careful not to let it darken too much.
- If you notice any areas darkening faster, gently swirl the pot without stirring. Stirring can cause the caramel to crystallize, which is something you definitely want to avoid.
- When the mixture reaches a medium amber color, reduce the heat to medium-low. Very carefully stir in the heavy cream. Expect a lot of bubbling and steaming during this step! Keep stirring until the mixture reaches 246°F, then remove it from heat.
- Stir in the vanilla to infuse a lovely flavor into the caramel.
- Now comes the fun part! Dip each apple into the hot caramel, swirling to coat evenly. Let the excess caramel drip off, then place the dipped apples on a piece of parchment paper or a silicone baking mat that’s been sprayed with cooking spray.
- Allow the apples to cool completely, which should take about 30 minutes. This is the perfect time to prepare any additional toppings if you want to get creative!
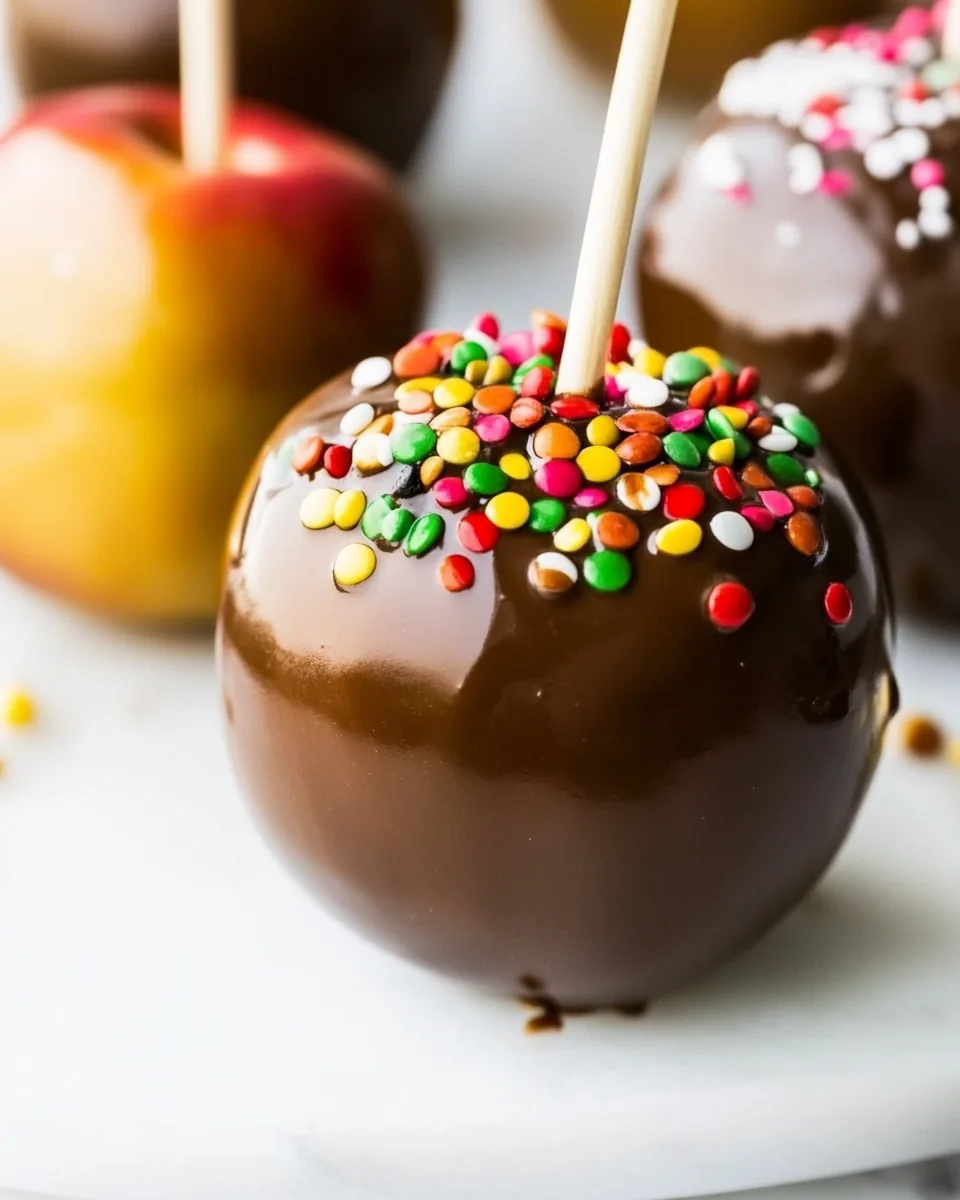
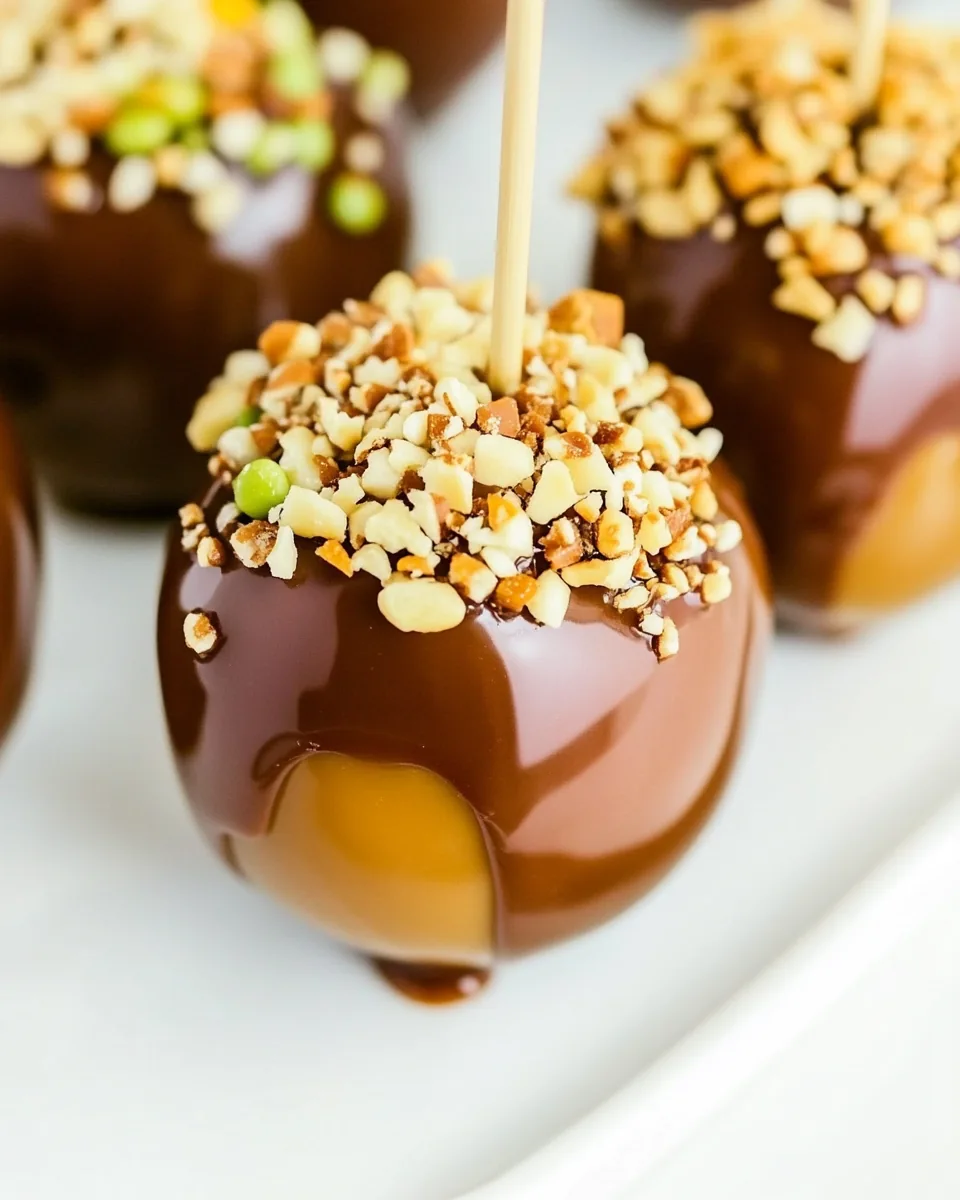
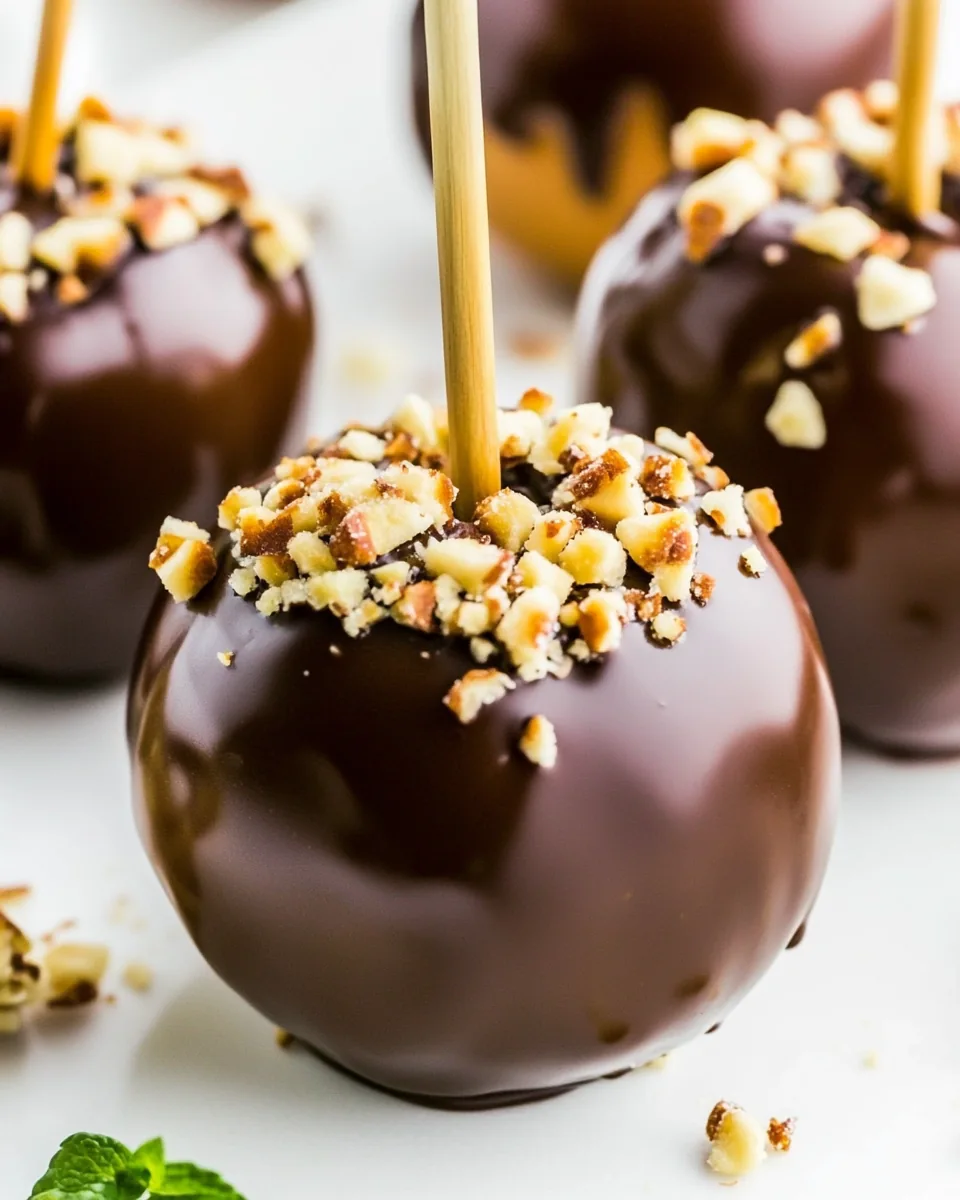
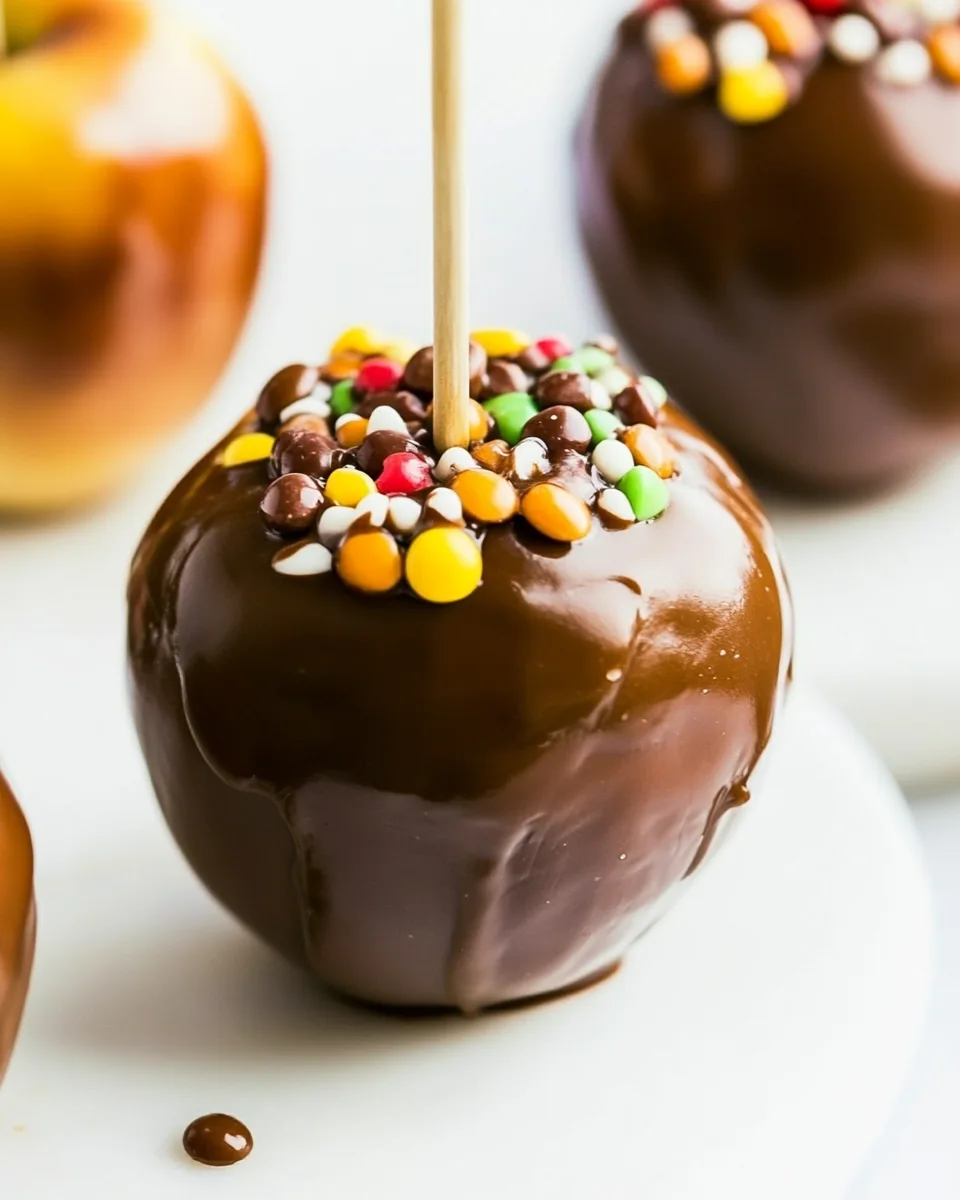
- If desired, you can dip the cooled apples in chocolate and sprinkle your favorite toppings over them for an extra special touch!
Things Worth Knowing
- Watch the temperature: Use a candy thermometer to ensure the caramel reaches the right temperature for the perfect consistency.
- Be patient: Allow the caramel to cool slightly before dipping the apples. This will help it adhere better.
- Experiment with flavors: Add spices like cinnamon or nutmeg to the caramel for a unique twist.
- Handle with care: The caramel can be very hot; be careful while dipping!
How to Switch It Up
There are countless ways to customize your Homemade Caramel Apples. Here are some fun tips to help you switch it up!
- Add toppings: Consider rolling the dipped apples in crushed nuts, sprinkles, or cookie crumbs to add some crunch.
- Flavor variations: Try adding different extracts like almond or orange for a unique flavored caramel.
- Chocolate coating: Dip the cooled apples in melted chocolate for an extra layer of sweetness.
- Seasonal spices: Roll your apples in cinnamon sugar for a delicious fall flavor.
- Storage: Store leftover caramel apples in a cool, dry place to keep them fresh.
- Freezing: You can freeze the apples, but be aware that the texture may change once thawed.
Pairing Suggestions for Homemade Caramel Apples
When it comes to serving Homemade Caramel Apples, the possibilities are endless. Here are some great pairing suggestions:
- Sweet drinks: Serve them with warm apple cider or a glass of fresh milk for a comforting treat.
- Fall gatherings: They make for perfect treats during Halloween parties or fall festivals.
- Picnics: Pack them along for a picnic in the park. They’re easy to transport and always a hit!
- Family movie nights: Enjoy these delicious apples while watching your favorite films together.
- Warm up the caramel: If they sit for a while, warm the caramel slightly before serving for a gooey, enjoyable treat.
- Decorate your table: Arrange them on a platter for a festive look at your fall gatherings.
FAQ
Conclusion
Homemade Caramel Apples are a delightful combination of sweet and tart, making them a favorite treat for many. They’re perfect for fall festivities or as a fun family activity. I urge you to try making these amazing apples; you won’t regret it! Gather your ingredients, invite some loved ones, and create sweet memories together.
Homemade Caramel Apples
Ingredients
Equipment
Method
- Wash the apples in warm water and then dry each one. This will remove the waxy coating on the apple and help the caramel stick. Using a folded dish towel, insert the sticks in the top of the apples, right where the stem is. Use the folded towel to push the stick as straight as you can down the entire center of the apple. Place prepped apples in the fridge.
- In a medium-sized heavy-bottomed saucepan, add the water, sugar, corn syrup, and salt. Turn the heat to medium-high and stir constantly with a wooden spoon until the sugar is completely dissolved.
- Once the mixture is boiling, stop stirring and watch closely until it turns an amber color. It may take about 10 minutes, but the change will happen fairly quickly. If it appears to be turning darker in one area much faster than the rest, gently swirl the whole pot. DON’T STIR IT! Stirring will cause the caramel to crystalize and it will become unusable.
- Once it is a medium amber color, reduce the heat to medium-low and very carefully and slowly stir in the heavy cream. The mixture will bubble up and steam significantly. Continue stirring until the mixture reaches 246° and then remove from the heat. Stir in the vanilla.
- Dip the apples in the hot caramel, swirling to evenly coat each one. Let the excess caramel drip off and then set the dipped apple on a piece of parchment sprayed with cooking spray or on a silicone baking mat sprayed with cooking spray. Allow cooling completely, about 30 minutes.
- Once the apples are completely cooled if desired you can proceed to dip them in chocolate and then in the toppings of your choice.
Notes
- Storage: Store leftover caramel apples in a cool, dry place to keep them fresh.
- Freezing: You can freeze the apples, but be aware that the texture may change once thawed.
- Pairing: Enjoy with warm apple cider or milk for a comforting treat.
- Variations: Consider rolling dipped apples in nuts or sprinkles for added fun.