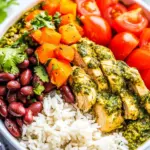
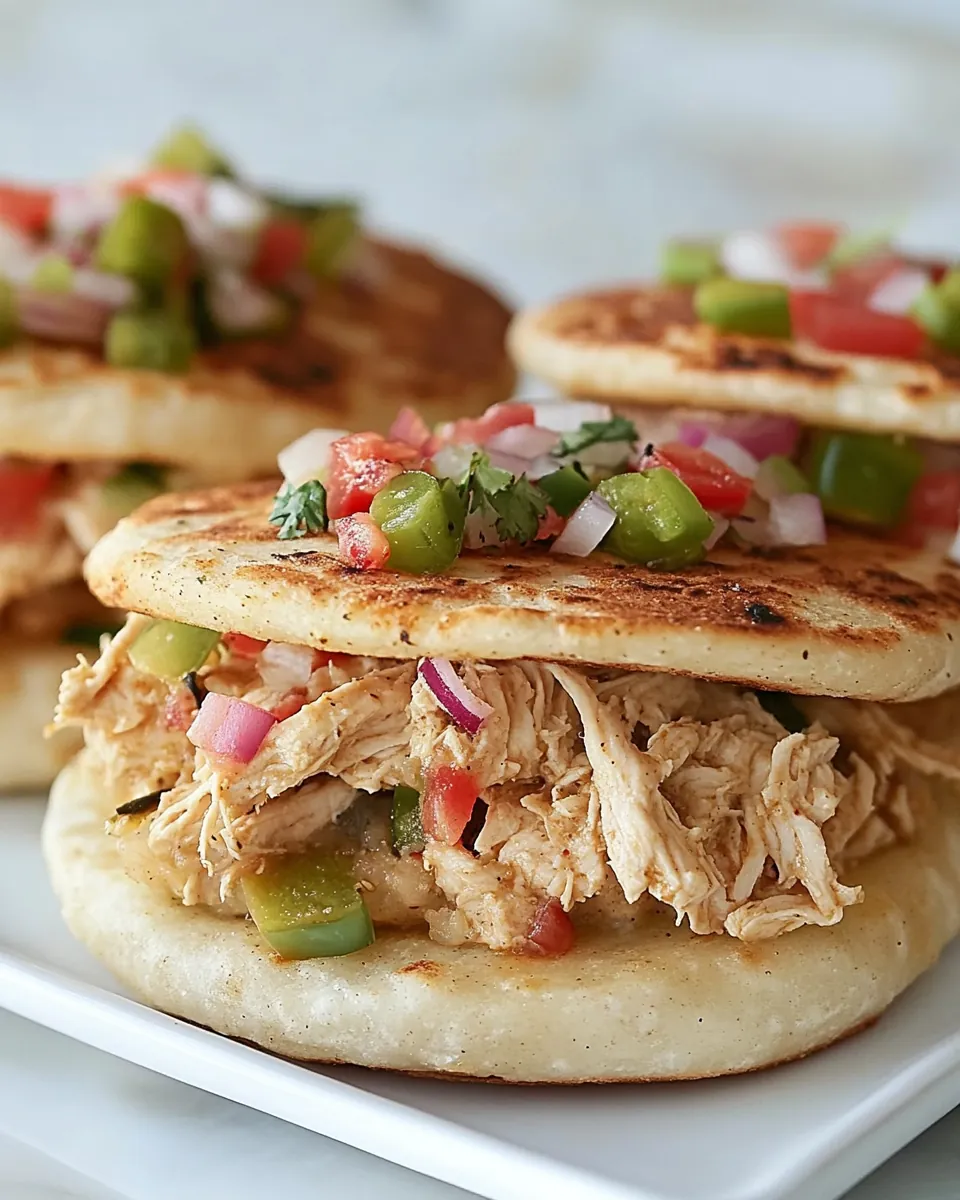
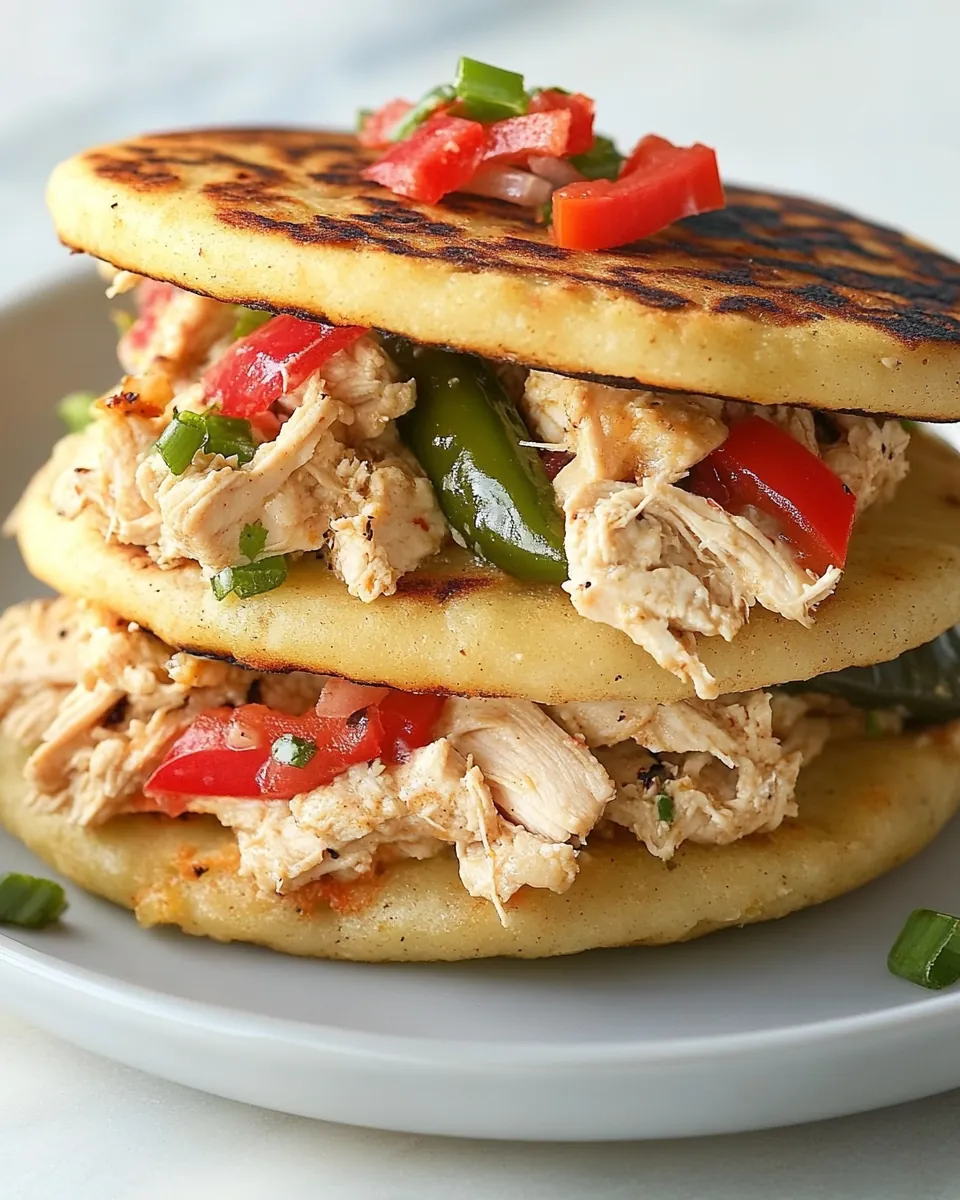
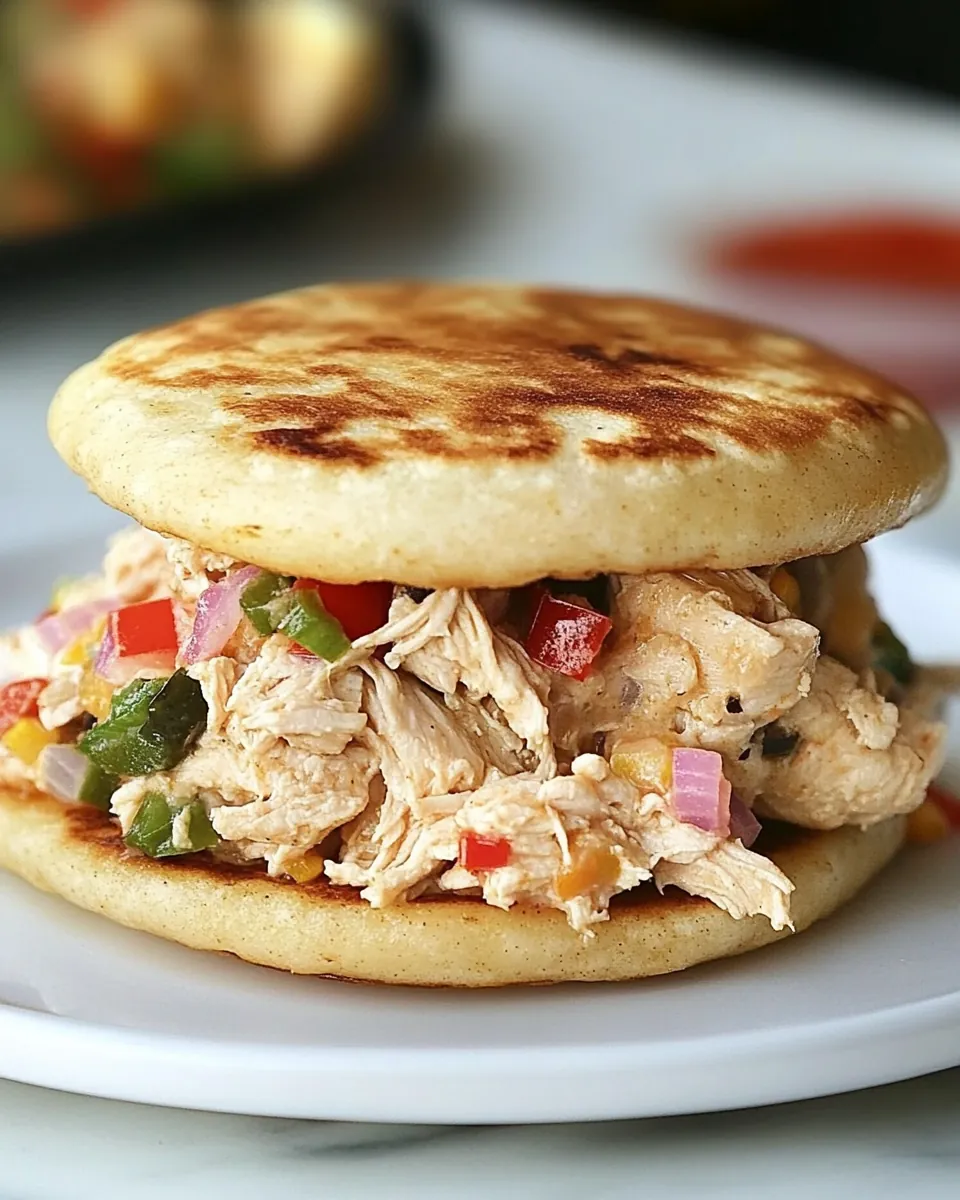
Arepas with Pulled Poblano Chicken
Cooking has always been a passion of mine, and I find joy in sharing my culinary creations with family and friends. One of my all-time favorites is Arepas with Pulled Poblano Chicken. These delightful corn cakes paired with tender, shredded chicken are a staple in my kitchen, bringing warmth and comfort to our dinner table. Every time I make them, I’m reminded of the vibrant flavors and the heartwarming experience of gathering around good food.
Recipe Snapshot
30 mins
10 mins
20 mins
Medium
400 kcal
23 g
Keto, Paleo, Whole30
15 g
Wooden Spoon, Frying Pan, Cutting Board, Skillet, Mixing Bowl, Chef’s Knife
Why Try This Arepas with Pulled Poblano Chicken
A Flavorful Experience
The first reason I adore Arepas with Pulled Poblano Chicken is their incredible flavor profile. The combination of smoky poblano peppers, tender chicken, and zesty lime creates a dish that’s bursting with flavor in every bite.
Great for Any Occasion
These arepas are perfect for any occasion. Whether it’s a casual weeknight dinner or a festive gathering, they always impress. I love serving them at family gatherings, where everyone can share their own fillings and toppings.
Easy to Make
You might think that making arepas is complex, but I assure you it’s quite simple. The dough comes together easily, and the cooking process is straightforward, making them a perfect weeknight meal.
Customizable
Another great aspect is their versatility. You can customize the fillings to suit your taste. If you’re feeling adventurous, try adding different vegetables or proteins!
A Comforting Meal
There’s something nostalgic about biting into a warm arepa filled with comforting flavors. It reminds me of home-cooked meals and gathering around the table with loved ones.
Healthy Ingredients
Finally, I appreciate that Arepas with Pulled Poblano Chicken incorporates wholesome ingredients. From the fresh veggies to protein-packed chicken, it’s a dish I feel good about sharing.
Ingredients for Arepas with Pulled Poblano Chicken
The ingredients in Arepas with Pulled Poblano Chicken come together to create a delightful blend of textures and flavors. Each ingredient plays a crucial role in achieving the perfect result. The key players include the Masarepa, which is essential for making the arepas, and the poblano pepper, which adds a smoky depth to the dish.
- 6 teaspoons olive oil, divided – A staple in cooking, this oil adds richness and flavor.
- 1 large red onion, chopped and divided – Sweet and aromatic, it enhances the overall taste.
- 2 garlic cloves, minced – A must-have in many dishes for its robust flavor.
- 2 boneless skinless chicken breasts (about 1 pound) – The main protein in this dish, ensuring it’s hearty.
- 1 poblano pepper, seeded, ribs removed and diced – Adds a smoky flavor that elevates the dish.
- 1 red bell pepper, seeded, ribs removed and diced – Sweet and colorful, this pepper rounds out the filling.
- 1 lime, zested and juiced – Provides a fresh, zesty element that brightens the dish.
- chopped cilantro – A fresh herb that adds a burst of flavor.
- 1 teaspoon kosher salt, divided – Enhances all the flavors in the dish.
- 1 1/2 cups Masarepa or PAN pre-cooked white cornmeal – Essential for making the arepas.
- 1 1/2 cups water – Binds the dough together.
- 4-5 ounces Cotija, thinly sliced – A delicious cheese that adds creaminess.
Recipe Steps for Arepas with Pulled Poblano Chicken
Cooking is always a joy, especially when I’m making Arepas with Pulled Poblano Chicken. The steps are simple, and each one brings you closer to a plate of deliciousness. Let’s dive into the cooking process!
- In a large sauté pan, heat 2 teaspoons olive oil over medium heat. Once the oil is shimmering, add half of the chopped onion and the minced garlic. Cook for about 1 to 2 minutes, stirring frequently. You’re looking for the onion to become fragrant and translucent, which means it’s time to proceed.
- Add the chicken breasts into the pan along with the diced poblano and diced red bell pepper. Squeeze in the juice of the lime and season with 1/2 teaspoon kosher salt. Cook the mixture for about 7 to 8 minutes or until the chicken is no longer pink inside. It should be tender and cooked through. Once done, remove from heat and let it cool for a few minutes.
- Once the chicken is cool enough to handle, use two forks to shred it into bite-sized pieces. Place the shredded chicken back in the pan and mix in the chopped cilantro and remaining 1/2 teaspoon kosher salt. Set aside.
- In a large mixing bowl, combine the Masarepa, the zest of the lime, 1 1/2 cups of water, the remaining 2 teaspoons olive oil, and 1/2 teaspoon salt. Stir until a stiff dough forms; it should be cohesive and not sticky. If it feels too dry, add a bit more water.
- Transfer the dough to a clean, dry work surface. Knead it gently for about 30 to 40 seconds or until smooth. Allow the dough to rest for 3 to 4 minutes. This resting period helps the dough develop the right texture.
- Divide the dough into 8 equal pieces and roll each piece into a ball. Flatten each ball with the palm of your hands to create discs about 1/4 inch thick. Make sure they are even for uniform cooking.
- In the same sauté pan, heat another 2 teaspoons olive oil over medium-low heat until hot. Carefully place the dough discs in the pan. Cook each side for about 8 to 10 minutes or until they are golden brown and slightly crispy on the outside.
- Once the arepas are cooked, remove them from the pan and let them cool for a couple of minutes. Then, slice each arepa horizontally in half. This is where you’ll add your delicious filling!
- Take the bottom half of each arepa and generously fill it with the shredded chicken mixture. Top each with slices of Cotija cheese. Place the other half of the arepa on top and serve warm.
Things Worth Knowing
- Perfect Cooking: To achieve the perfect arepa, make sure your pan is hot enough before adding the dough. This ensures a crispy exterior.
- Variations: Feel free to experiment with different fillings. You can use beans, veggies, or even avocado for a fresh twist!
- Resting Dough: Allowing the dough to rest enhances its texture, making it easier to shape.
- Don’t Rush Cooking: Take your time when cooking the arepas to achieve the right golden color and texture.
Recipe Notes about Arepas with Pulled Poblano Chicken

Here are some great tips to keep in mind when making Arepas with Pulled Poblano Chicken. These will help you get the most out of your cooking experience!
- Storage: Store leftover arepas in an airtight container in the fridge for up to 3 days. Reheat on a skillet for the best texture.
- Freezing: You can freeze uncooked or cooked arepas. Just wrap them tightly in plastic wrap and place them in a freezer bag. They can last for up to 2 months.
- Pairing: For a complete meal, serve your arepas with a side salad or some avocado slices for a refreshing contrast.
- Serving: These arepas are best enjoyed warm, right after cooking, but they can also make a great lunch the next day.
- Adjusting Spice: If you love heat, feel free to add some diced jalapeños to the filling for an extra kick!
Serving This Arepas with Pulled Poblano Chicken
When it comes to serving Arepas with Pulled Poblano Chicken, there are many delightful options to consider. Here’s how I love to present this dish:
- Make a Meal of It: Serve the arepas alongside a fresh salad, adding a burst of color and nutrition to your plate.
- Casual Gatherings: They’re perfect for casual gatherings. Set out a variety of toppings like avocado, sour cream, and extra cilantro for guests to customize their arepas.
- Lunch on the Go: These are great for a quick lunch! Just pack a few arepas with your favorite fillings and enjoy them at work or school.
- Weekend Brunch: Surprise your family with a delightful weekend brunch. Arepas can easily become a favorite on the brunch table!
- Storage Tips: If you have leftovers, store them properly. Placing them in an airtight container keeps them fresh for the next meal.
- Seasonal Pairing: During summer, fresh mango salsa is a delightful side that pairs beautifully with the smoky flavors of the chicken.
FAQ
Conclusion
In conclusion, Arepas with Pulled Poblano Chicken is truly a special dish that combines flavor, comfort, and versatility. It’s not just a meal; it’s an experience filled with warmth and joy. I encourage you to try making them at home, as they are sure to bring happiness to your table. Enjoy this delightful dish with your loved ones, and watch it become a household favorite!
Arepas with Pulled Poblano Chicken
Ingredients
Equipment
Method
- In a large sauté pan heat 2 teaspoons olive oil, add half the onion, the garlic and cook for 1-2 minutes.
- Add the chicken, peppers and lime juice. Cook chicken 7-8 minutes or until chicken is cooked through. Set aside.
- Once chicken is cool enough to handle, take 2 forks and shred chicken. Add chopped cilantro and 1/2 teaspoon salt. Set aside.
- In a large bowl, add Masarepa, lime zest, 1 ½ cups water, 2 teaspoon olive oil and ½ teaspoon salt Stir to form a stiff dough.
- Transfer dough to clean, dry work space and knead dough for about 30-40 seconds or until smooth. Set aside for 3-4 minutes to rest.
- Form into 8 equal size balls. Flatten the balls with the palm of your hands to create 1/4 inch thick discs.
- In a large sauté pan, heat 2 teaspoons olive oil (you may need a little more during cooking) until very hot, add dough discs, and lower the heat to medium-low. Cook arepas for about 8-10 minutes per side or until cooked through.
- When cool enough to handle, cut Arepas horizontally in half. Place chicken mixture and cheese on the bottom half of Arepas. Top with other half and serve.
Notes
- Storage: Store leftover arepas in an airtight container in the fridge for up to 3 days. Reheat on a skillet for the best texture.
- Freezing: You can freeze uncooked or cooked arepas. Just wrap them tightly in plastic wrap and place them in a freezer bag. They can last for up to 2 months.
- Pairing: For a complete meal, serve your arepas with a side salad or some avocado slices for a refreshing contrast.
- Serving: These arepas are best enjoyed warm, right after cooking, but they can also make a great lunch the next day.
- Adjusting Spice: If you love heat, feel free to add some diced jalapeños to the filling for an extra kick!