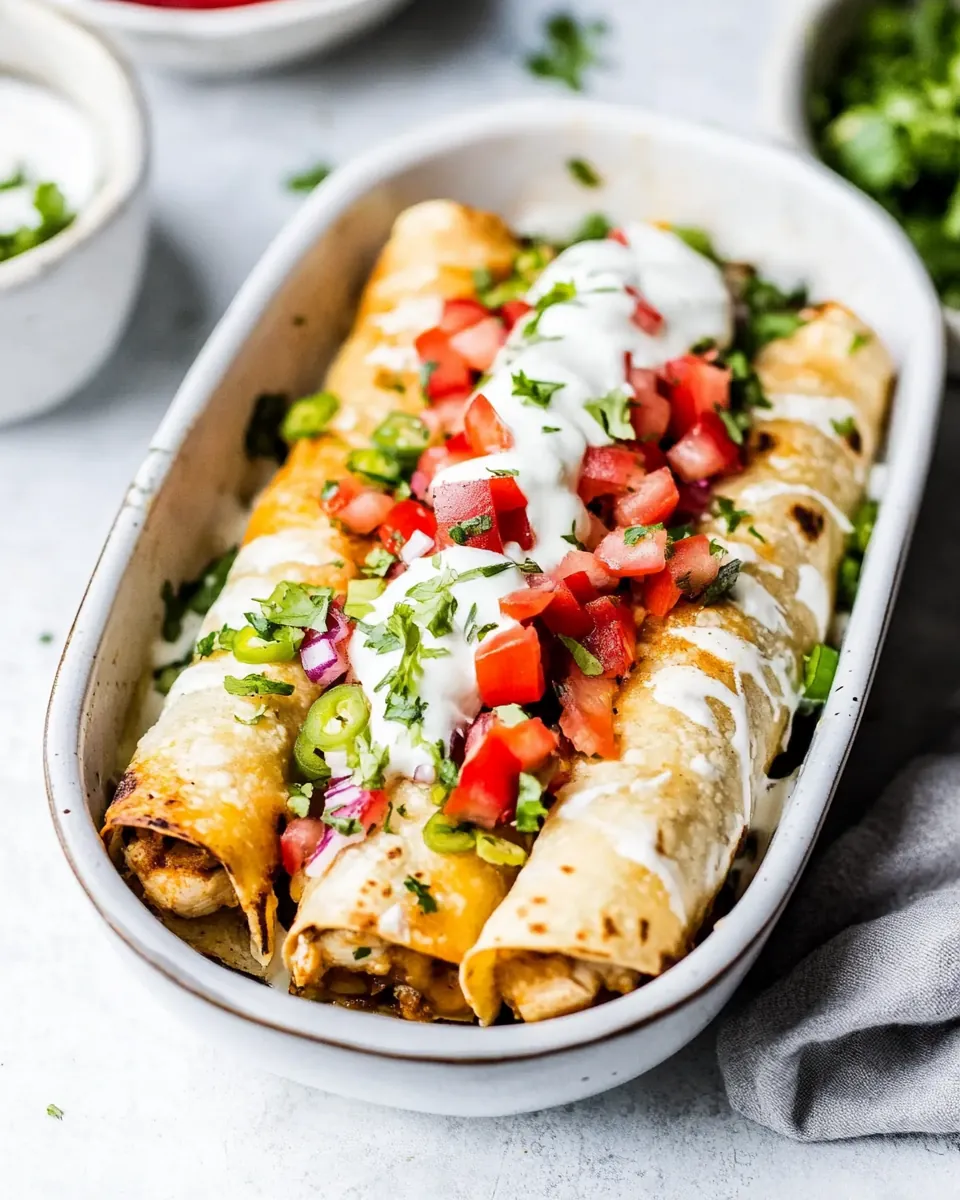
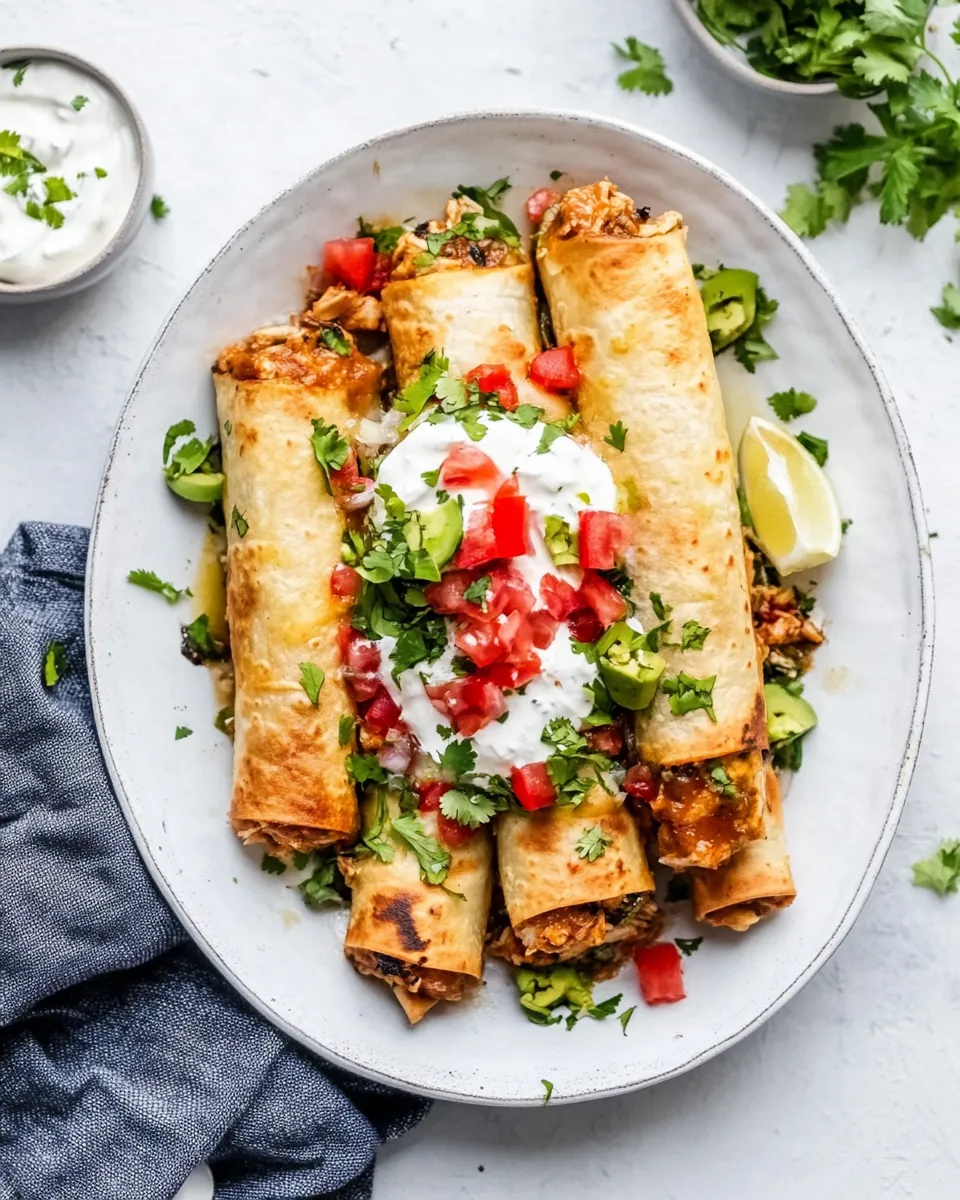
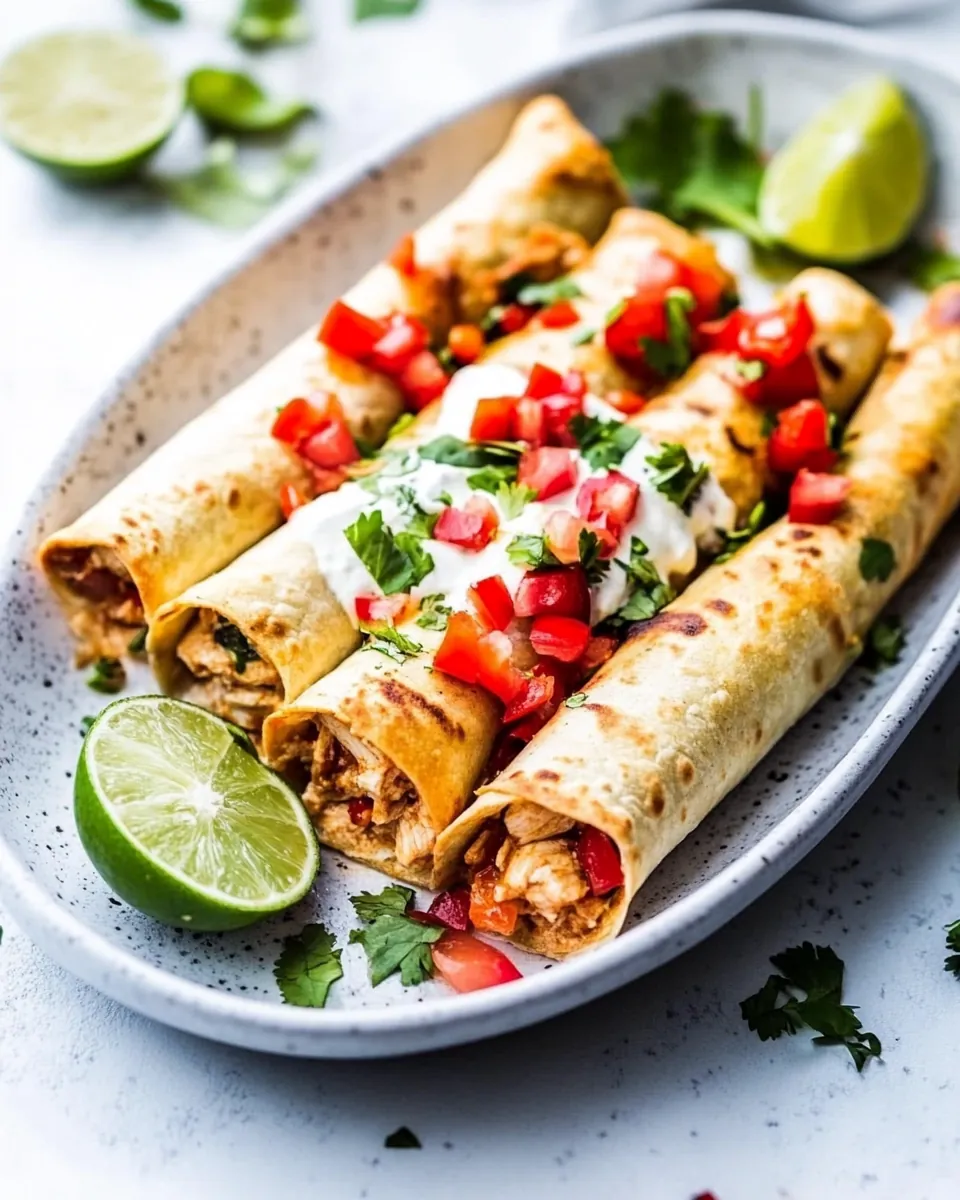
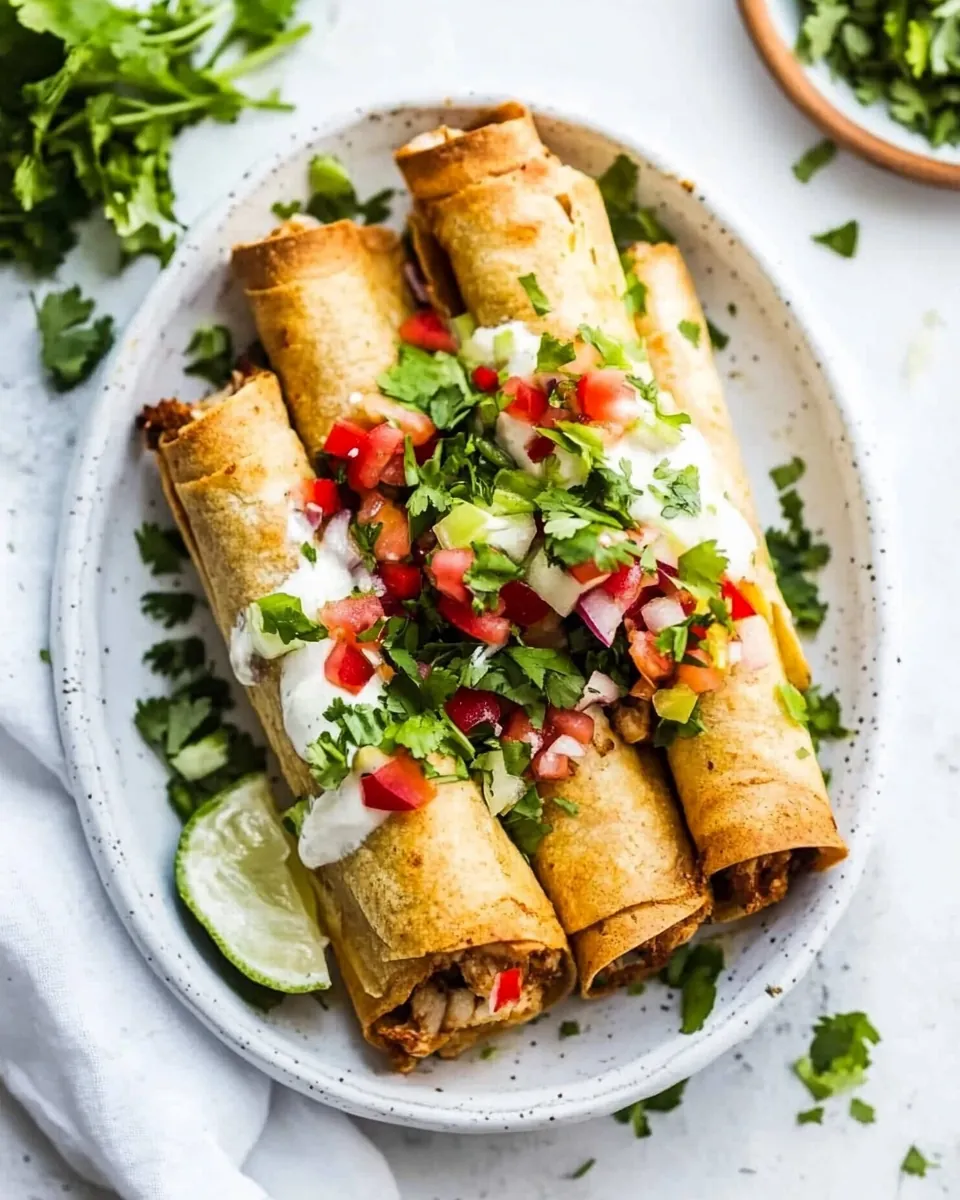
Baked Creamy Chicken Taquitos
There’s something incredibly comforting about Baked Creamy Chicken Taquitos that takes me back to family gatherings and cozy nights in. I remember the first time I made these little delights; the kitchen was filled with the savory aroma of the filling, and my family couldn’t wait to dig in. These taquitos are not just food; they’re a hug on a plate, the kind of dish you make when you’re craving warmth and love. When you take that first bite, the creamy filling wrapped in crispy tortillas is simply irresistible. It becomes more than just a meal; it’s a moment of joy. Whether you’re hosting a gathering or enjoying a quiet dinner, Baked Creamy Chicken Taquitos are sure to be a hit!
Recipe Snapshot
45 mins
25 mins
20 mins
Medium
320 kcal
20 g
Keto, Gluten-Free
14 g
Wooden Spoon, Frying Pan, Cutting Board, Food Processor, Skillet, Oven, Mixing Bowl, Chef’s Knife, Baking Sheet
What Makes This Baked Creamy Chicken Taquitos Special
They’re Incredibly Versatile
One of the reasons I adore Baked Creamy Chicken Taquitos is their versatility. You can customize the filling to suit any taste. Want to throw in some black beans or corn? Go for it! Love a spicy kick? Toss in some jalapeños. This recipe is a blank canvas, allowing you to express your culinary creativity.
Perfect for Meal Prep
If you’re like me and love to plan your meals ahead, these taquitos are a dream come true. You can make a big batch, freeze them, and then bake them right from frozen whenever the craving hits. Just imagine having a delicious, home-cooked meal ready in no time on a busy weeknight!
Great for Sharing
Baked Creamy Chicken Taquitos are perfect for sharing with friends and family. Whether it’s a casual get-together or game night, these little rolled wonders are perfect finger food. Just set out some dipping sauces like sour cream or guacamole, and watch them disappear!
Kid-Friendly
Kids can be picky eaters, but these taquitos are generally a surefire hit! They’re fun to eat, and the creamy filling is sure to please even the fussiest of eaters. Plus, they make a great addition to lunch boxes!
Deliciously Satisfying
There’s nothing like biting into a crispy taquito and tasting the creamy filling that comes from the combination of chicken, cream cheese, and spices. The balance of flavors is deliciously satisfying, and you’ll find yourself going back for seconds (or thirds!).
Quick to Make
Despite how fancy they might seem, Baked Creamy Chicken Taquitos come together quickly. With just a little prep and time in the oven, you can have a delicious meal ready in no time, making them perfect for those busy evenings.
Ingredients Overview for Baked Creamy Chicken Taquitos
The ingredients for Baked Creamy Chicken Taquitos are simple yet full of flavor. Each component plays a vital role in creating a delicious and creamy filling that pairs wonderfully with the crispy tortillas. The key players include the hearty chicken, rich cream cheese, and a medley of spices that add depth and warmth. Together, they create a comforting dish that’s perfect for any occasion.
- 2 1/2 cups cooked, shredded chicken breast: The star of the dish, providing protein and a savory base.
- 6-inch corn tortillas: These soft tortillas are perfect for wrapping each taquito, ensuring a lovely texture.
- 1 1/2 Tbsp canola oil, divided: Used for both sautéing and brushing on the taquitos for a golden finish.
- 1/2 cup finely chopped yellow onion: Adds flavor and sweetness to the filling.
- 1 clove garlic, minced: Provides a fragrant kick that elevates the flavor.
- 6 Tbsp salsa verde: Brings a zesty element that pairs beautifully with the creamy filling.
- 3 oz cream cheese: The key ingredient for that rich and creamy texture.
- 1 tsp chili powder: Adds a warm spice to the filling.
- 1/2 tsp paprika: Offers a subtle smokiness.
- 1/2 tsp ground cumin: Enhances the overall flavor profile.
- 1 Tbsp fresh lime juice: Brightens the filling with acidity.
- Salt and freshly ground black pepper: Essential for seasoning.
- 2 Tbsp chopped cilantro: Adds a fresh touch and complements the other flavors.
- 1 cup shredded Monterey jack cheese: Melts beautifully and adds another layer of creaminess.
Recipe Directions for Baked Creamy Chicken Taquitos
Making Baked Creamy Chicken Taquitos is a fun and rewarding experience! I love how simple the steps are, and the end result is always mouthwatering. Let’s dive into the process.
- Preheat your oven to 425 degrees Fahrenheit. This is the perfect temperature for achieving crispy taquitos.
- Heat the corn tortillas in a 12-inch non-stick skillet set over medium-high heat for about 10 to 15 seconds on each side. You want them to become pliable but not crispy. Once heated, transfer them to an airtight container or plate and cover with a pan lid to keep them warm.
- Repeat the process with the remaining tortillas and set aside. This step is crucial to prevent the tortillas from cracking while rolling.
- In the same skillet, heat 1/2 tablespoon of canola oil over medium-high heat. Add the yellow onion and sauté until soft and slightly golden, which should take about 4 minutes. Add the garlic during the last 30 seconds of cooking to avoid burning it.
- Remove the skillet from the heat and add the salsa verde and cream cheese. Reduce the heat to medium-low and return the skillet to the heat. Stir constantly until the cream cheese has melted and combined well with the salsa.
- Next, add in the chili powder, paprika, cumin, and season with salt and pepper to taste. Mix everything until well combined, then remove from heat.
- Stir in the shredded chicken, chopped cilantro, and Monterey jack cheese. Make sure everything is coated nicely with the creamy mixture.
- Spread about a scant 1/4 cup of the chicken mixture along one edge of each tortilla, about 1 inch from the edge. Roll the tortilla snugly to the opposite side, ensuring the filling is secure inside.
- Place the rolled taquitos on a parchment paper-lined baking sheet, spacing them at least 1 inch apart for even toasting.
- Brush the tops and sides of the rolled taquitos lightly with the remaining canola oil. This will help them achieve a beautiful golden brown color.
- Bake in the preheated oven for about 18 to 20 minutes, or until the edges are golden brown and the taquitos are crisp. Serve them warm with your choice of dipping sauce like sour cream, salsa verde, guacamole, or hot sauce.
Things Worth Knowing
- Using the Right Tortillas: For the best results, opt for firm corn tortillas. They hold the filling better and provide the perfect texture when baked.
- Don’t Overstuff: Avoid overfilling your taquitos. A scant 1/4 cup of filling is recommended to ensure they roll easily and bake evenly.
- Watch the Baking Time: Keep an eye on the taquitos as they bake. Oven temperatures can vary, so check for that perfect golden-brown color.
- Make Ahead: You can prepare the filling ahead of time and store it in the fridge. Just assemble and bake when you’re ready to serve.
How to Switch It Up
There are countless ways to enjoy Baked Creamy Chicken Taquitos. If you’re looking for ideas to mix things up, here are some great tips:
- Storage: To store leftovers, place them in an airtight container in the fridge. They’ll keep well for up to three days; simply reheat in the oven for crispiness.
- Freezing: You can freeze assembled taquitos before baking. Just place them in a single layer on a baking sheet, freeze until solid, and then transfer to a freezer bag. Bake directly from frozen, adding a few extra minutes to the cooking time.
- Pairing: Serve with a side of Mexican rice or a fresh salad for a complete meal. You can also pair these with a refreshing drink like agua fresca.
- Spice it Up: For a spicier kick, consider adding diced jalapeños or chipotle sauce to the filling.
- Different Cheeses: Experiment with different types of cheese for varied flavors. Cheddar or pepper jack can offer a delightful twist.
Serving This Baked Creamy Chicken Taquitos
When it comes to serving Baked Creamy Chicken Taquitos, the options are delicious and varied:
- Perfect for Parties: These taquitos make an excellent appetizer for parties or game day celebrations. Serve them with a variety of dipping sauces for guests to choose from.
- Casual Weeknight Dinner: They also work beautifully for a laid-back dinner meal. Pair them with a side of rice or a crisp salad for a balanced meal.
- Kids’ Lunchboxes: Packed with protein and flavor, they make for a fun lunch option for kids. Serve with a side of their favorite dipping sauce.
- Seasonal Favorites: These taquitos are versatile and can be served all year round, but they feel extra special during gatherings and celebrations.
- Storage Tips: If you have leftovers, store them in an airtight container in the fridge for up to three days. Reheat in the oven for the best texture.
- Special Occasions: Consider serving them during family gatherings, movie nights, or even as a fun addition to a taco bar!
FAQ
Conclusion
Baked Creamy Chicken Taquitos embody everything I love about comfort food—they’re warm, satisfying, and perfect for sharing. With their crispy exterior and creamy filling, they make any meal feel special. Whether you’re hosting a gathering or just looking for a cozy night in, I encourage you to try this recipe. You won’t be disappointed!
Baked Creamy Chicken Taquitos
Ingredients
Equipment
Method
- Preheat your oven to 425 degrees Fahrenheit. This is the perfect temperature for achieving crispy taquitos.
- Heat the corn tortillas in a 12-inch non-stick skillet set over medium-high heat for about 10 to 15 seconds on each side. You want them to become pliable but not crispy. Once heated, transfer them to an airtight container or plate and cover with a pan lid to keep them warm.
- Repeat the process with the remaining tortillas and set aside. This step is crucial to prevent the tortillas from cracking while rolling.
- In the same skillet, heat 1/2 tablespoon of canola oil over medium-high heat. Add the yellow onion and sauté until soft and slightly golden, which should take about 4 minutes. Add the garlic during the last 30 seconds of cooking to avoid burning it.
- Remove the skillet from the heat and add the salsa verde and cream cheese. Reduce the heat to medium-low and return the skillet to the heat. Stir constantly until the cream cheese has melted and combined well with the salsa.
- Next, add in the chili powder, paprika, cumin, and season with salt and pepper to taste. Mix everything until well combined, then remove from heat.
- Stir in the shredded chicken, chopped cilantro, and Monterey jack cheese. Make sure everything is coated nicely with the creamy mixture.
- Spread about a scant 1/4 cup of the chicken mixture along one edge of each tortilla, about 1 inch from the edge. Roll the tortilla snugly to the opposite side, ensuring the filling is secure inside.
- Place the rolled taquitos on a parchment paper-lined baking sheet, spacing them at least 1 inch apart for even toasting.
- Brush the tops and sides of the rolled taquitos lightly with the remaining canola oil. This will help them achieve a beautiful golden brown color.
- Bake in the preheated oven for about 18 to 20 minutes, or until the edges are golden brown and the taquitos are crisp. Serve them warm with your choice of dipping sauce like sour cream, salsa verde, guacamole, or hot sauce.
Notes
- Firm Tortillas: I don't recommend using the corn tortillas they've recently come out with that are now "softer and improved." The more firm tortillas actually work better here and don't break as much.
- Sealing Moisture: Be sure it's a lid that will basically seal on bottom, as in there shouldn't be any space between the plate and the lid. This should prevent tortillas from cracking.