Better Than Takeout Mongolian Chicken
There’s something incredibly satisfying about recreating a takeout favorite at home, and Better Than Takeout Mongolian Chicken is just the dish for it. Picture this: a busy weeknight, and instead of reaching for the phone to order, you decide to whip up this savory, sweet, and slightly tangy meal in your kitchen. The aroma of the garlic and ginger sizzling in the pan fills your home, making your mouth water before the first bite. It’s a family favorite that has quickly become my go-to recipe for impressing guests, satisfying cravings, and enjoying a fulfilling meal without the guilt of takeout. Plus, it’s a breeze to make, and I always have the ingredients on hand!
Recipe Snapshot
20 mins
10 mins
10 mins
Medium
350 kcal
30 g
Keto, Gluten-Free, Low FODMAP
10 g
Wooden Spoon, Whisk, Grater, Cutting Board, Skillet
Now, why is this dish so special? For starters, it’s not just about the flavors; it’s about the experience of bringing everyone together around the dinner table. The crispy exterior of the chicken, combined with a rich, glossy sauce, creates an irresistible combination that can elevate any ordinary evening into something special. I can’t wait to share the secrets of this fantastic dish with you!
The Charm of This Better Than Takeout Mongolian Chicken
1. Authentic Takeout Taste
The flavors in Better Than Takeout Mongolian Chicken are truly reminiscent of your favorite takeout place. The balance of sweet honey and the umami from the soy sauce creates a taste explosion that transports you straight to the streets of Mongolia without ever leaving your home.
2. Healthier Choice
By making this dish at home, you can control the ingredients. Using boneless, skinless chicken breasts allows you to create a healthier version without sacrificing flavor. You can adjust the levels of salt and sugar, ensuring it’s tailored to your taste and dietary needs.
3. Quick and Easy
Whipping up Better Than Takeout Mongolian Chicken is a snap! With just a few ingredients and minimal prep time, you can have a delicious meal on the table in no time. It’s perfect for busy weeknights when you want something quick yet satisfying.
4. Versatile Recipe
This recipe is incredibly versatile. You can easily customize it by adding vegetables like bell peppers or broccoli, or switch up the protein with tofu for a vegetarian option. This adaptability makes it a great choice for various dietary preferences.
5. Family-Friendly
Kids and adults alike will love this dish! The sweet and savory flavors appeal to younger palates while still being satisfying for adults. It’s a fantastic way to introduce new flavors to your family’s dinner rotation.
6. Great Leftovers
One of the best things about Better Than Takeout Mongolian Chicken is that it keeps well. You can store leftovers in the fridge and enjoy them the next day, making it a practical choice for meal prep. It also reheats beautifully, keeping the flavors intact!
What You’ll Need for Better Than Takeout Mongolian Chicken

In this recipe, each ingredient plays a crucial role in creating a flavorful dish. The key players include the chicken, which provides protein and substance, and the soy sauce, which adds depth and a savory umami kick. Combined with the sweetness of honey and the aromatic garlic and ginger, this dish is a perfect harmony of flavors. Let’s take a closer look at the ingredients you’ll need:
- 1 to 1 ¼ pounds boneless skinless chicken breasts, diced into bite-sized pieces
- 4 tablespoons cornstarch, divided
- 2 tablespoons olive oil
- 2 to 4 cloves garlic, finely minced
- 1 teaspoon ground ginger, or about 2 teaspoons freshly grated, or to taste
- ½ cup low-sodium soy sauce
- ½ cup honey
- ⅓ cup chicken broth, I use reduced sodium
- 1 tablespoon toasted sesame oil
- 1 tablespoon water
- Salt, as desired and to taste
- Black pepper, as desired and to taste
- Green onions and/or sesame seeds for garnishing, optional and to taste
How to Assemble Better Than Takeout Mongolian Chicken
Making Better Than Takeout Mongolian Chicken is simpler than you might think. Just follow these straightforward steps, and you’ll have a delicious meal in no time. Let’s dive in!
- Start by preparing the chicken. In a large bowl or a gallon-sized ziptop bag, add the chicken pieces and toss them with 3 tablespoons of cornstarch. This step is crucial because cornstarch helps create a crispy coating without frying. If you’re using a bag, seal it and shake it vigorously to ensure the chicken is evenly coated.
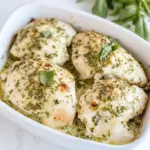
- Next, heat a large skillet over medium-high heat and add the olive oil. Once the oil is shimmering, carefully add the coated chicken to the skillet. Sauté the chicken for about 5 minutes, stirring and flipping frequently to ensure it’s cooked through and evenly browned. When the chicken is done, use a slotted spoon to remove it from the skillet and set it on a plate momentarily. If you prefer boneless skinless chicken thighs, feel free to use them; just keep in mind they may need an additional 1 to 2 minutes to cook through.
- Now, in the same skillet, don’t wipe it out! Add the finely minced garlic and ginger. If the skillet looks dry, add a little more oil. Sauté these aromatics for about a minute, stirring constantly to prevent the garlic from burning.
- Time to create that delicious sauce! Pour in the soy sauce, honey, chicken broth, and sesame oil. Stir well to combine all the ingredients. Set this mixture aside for a moment.
- In a small bowl, mix the remaining 1 tablespoon of cornstarch with 1 tablespoon of water. Stir until the cornstarch is fully dissolved; this is known as a slurry.
- Add the slurry to the skillet with the sauce mixture. Whisk everything together and cook for about 2 to 3 minutes, continuously whisking until the sauce thickens slightly. It’s essential to keep stirring to ensure that the cornstarch properly thickens the sauce. If you skip this step, the sauce will be too thin and won’t cling to the chicken.
- Once the sauce has thickened, add the sautéed chicken back into the skillet. Stir to coat the chicken evenly in the sauce. Taste the sauce and adjust the seasoning with salt and black pepper if needed. Depending on the brand of soy sauce and broth you used, you may find it’s already flavorful enough!
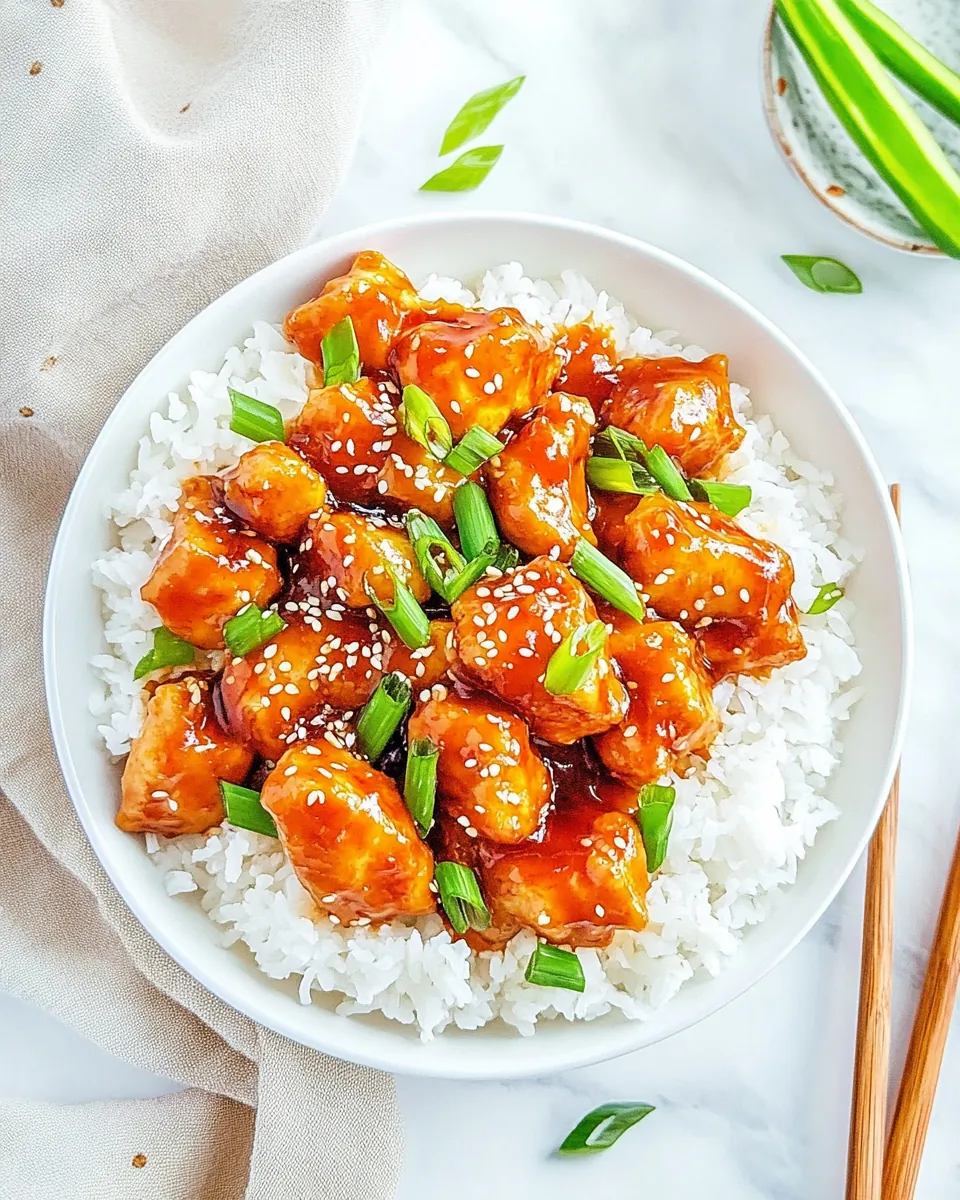
- If you like, garnish with chopped green onions and/or sesame seeds before serving. Serve Better Than Takeout Mongolian Chicken immediately, and pair it with rice or quinoa to soak up that delicious sauce.
- For storage, any leftover chicken can be kept in an airtight container in the fridge for up to 5 days or in the freezer for up to 3 months. To reheat, simply microwave for about 30 to 60 seconds or until heated through.
Things Worth Knowing
- Cooking Chicken Thoroughly: Always ensure that your chicken is cooked to an internal temperature of 165°F (74°C) for safety.
- Using Cornstarch: Don’t skip the cornstarch; it is vital for achieving that crisp texture.
- Adjusting Sweetness: You can adjust the sweetness of the dish by varying the amount of honey based on your taste preferences.
- Using Fresh Ingredients: Whenever possible, opt for fresh garlic and ginger to enhance the flavor profile.
Tips and Tricks about Better Than Takeout Mongolian Chicken
I’ll share my best tips to ensure your Better Than Takeout Mongolian Chicken turns out perfect every time. Here are some helpful hints:
- Storage: Leftover chicken can be stored in an airtight container in the refrigerator for up to 5 days. Reheating in the microwave for 30 to 60 seconds is ideal.
- Freezing: You can freeze the cooked chicken in an airtight container for up to 3 months. Thaw in the fridge overnight before reheating.
- Pairing: This dish pairs wonderfully with steamed rice, quinoa, or even a fresh salad to balance the flavors.
- Ingredient Quality: Use the best quality soy sauce and honey you can find, as they deeply influence the taste of the dish.
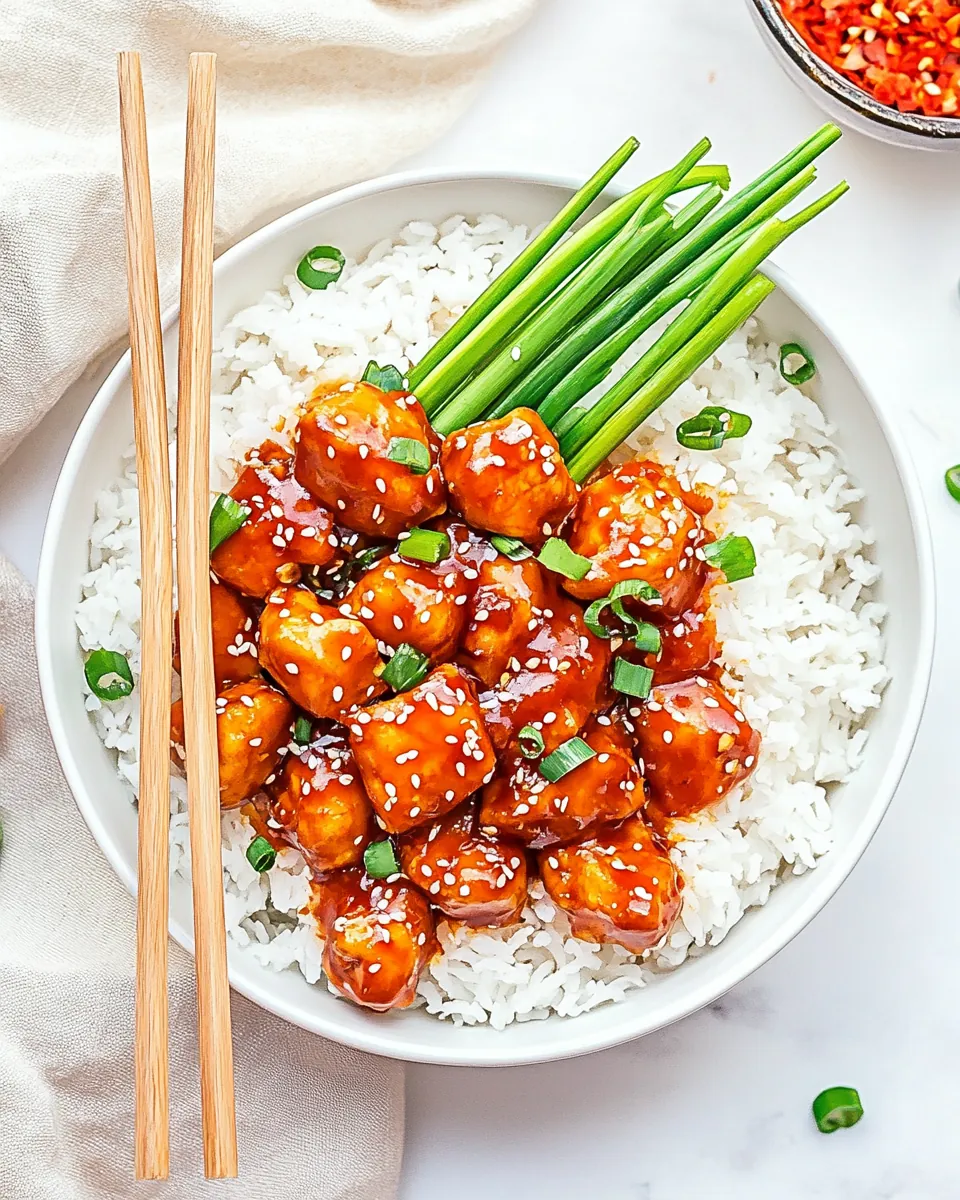
- Garnish: For an extra touch, top with additional green onions or sesame seeds for added texture and flavor.
- Meal Prep: This dish is perfect for meal prep. You can make a larger batch and portion it out for quick lunches during the week.
Serving Suggestions
When it comes to serving Better Than Takeout Mongolian Chicken, there are countless ways to enjoy it. Here are some of my favorite serving suggestions:
- Rice Bowls: Serve the chicken over a bed of fluffy steamed rice, allowing the savory sauce to soak in.
- Quinoa Delight: For a healthier alternative, spoon it over cooked quinoa. The nutty flavor of quinoa pairs beautifully with the sweet and savory sauce.
- Wrap It Up: Use lettuce leaves to create fresh wraps filled with chicken and your favorite veggies for a fun twist.
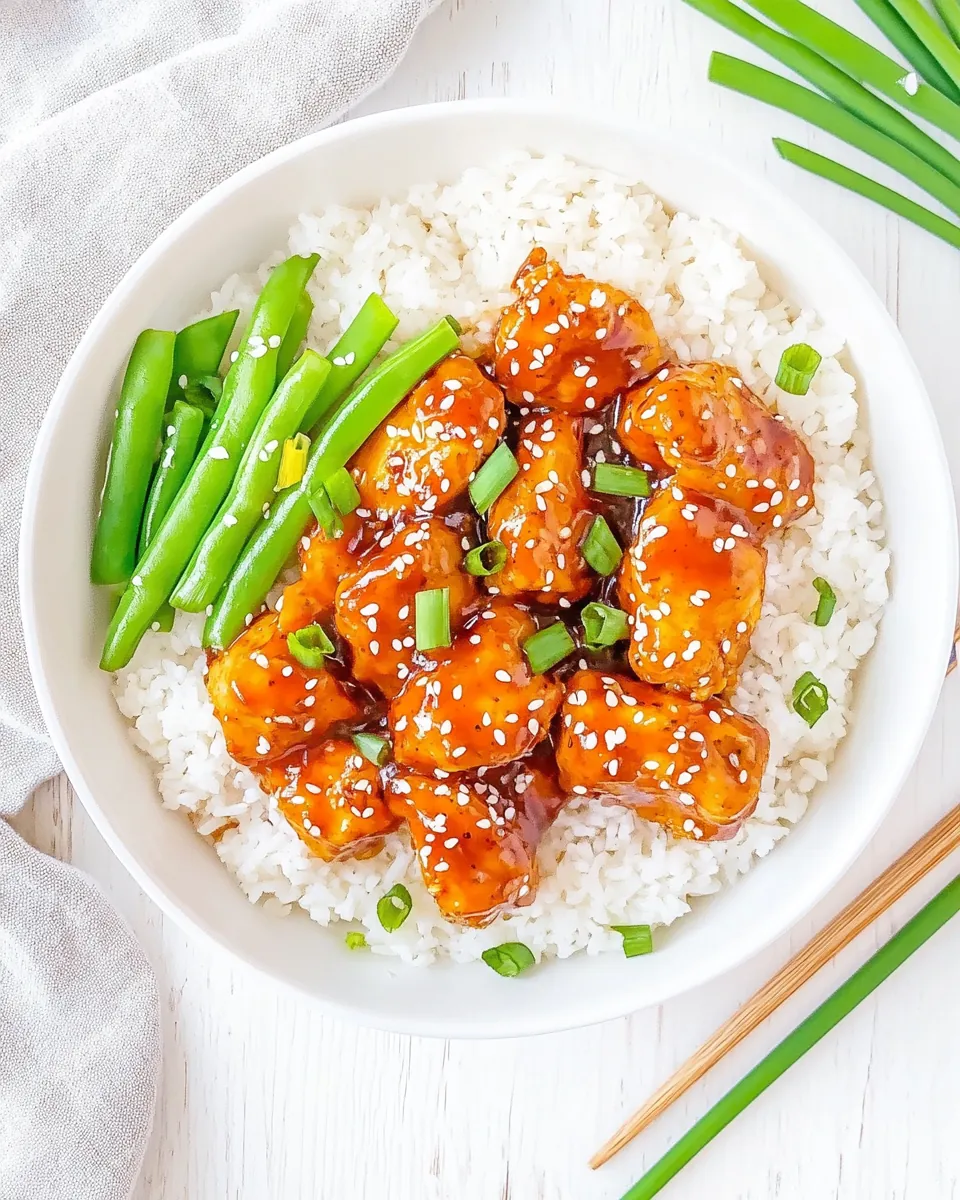
- Side Dishes: Complement the dish with a side of steamed broccoli or snap peas for a colorful and nutritious meal.
- Casual Gatherings: This dish is perfect for casual dinners with friends or family. Serve with a side of spring rolls for an Asian-inspired feast.
- Seasonal Touch: In summer, add fresh herbs like cilantro or basil for a bright, refreshing flavor.
FAQ
Conclusion
In summary, Better Than Takeout Mongolian Chicken is a fantastic recipe that brings the flavors of your favorite takeout right into your kitchen. With its blend of sweet and savory elements, this dish is bound to impress your family and friends. I encourage you to try it tonight for an easy yet delicious meal that everyone will enjoy!
Better Than Takeout Mongolian Chicken
Ingredients
Equipment
Method
- To a large bowl or gallon sized ziptop bag, add the chicken, 3 tablespoons cornstarch, and toss the chicken in the cornstarch in the bowl (or seal the bag and shake vigorously to coat evenly). Tip: Cornstarch helps the exterior of the chicken get lightly crispy without frying it, and shouldn't be omitted.
- To a large skillet, add the olive oil, chicken, and sauté over medium-high heat for about 5 minutes, or until chicken is cooked through and done. Stir and flip frequently to ensure even cooking. When the chicken is done, remove it using a slotted spoon and set it on a plate momentarily. Tip: Want to use boneless skinless chicken thighs? That's fine, they'll likely need an extra 1-2 minutes to cook through.
- To the same skillet (don't wipe it out), add the garlic, ginger, and if necessary add a bit more oil if your skillet is dry, and sauté for about 1 minute; stir constantly so garlic doesn't burn.
- Add the soy sauce, honey, broth, sesame oil, and whisk to combine. Set aside momentarily.
- To a small bowl, add the remaining 1 tablespoon cornstarch, 1 tablespoon water, and stir to combine and dissolve the cornstarch. This is called a slurry.
- Add the slurry to the skillet with the other liquids, and whisk to combine. Cook for about 2 to 3 minutes, whisking nearly constantly, until sauce thickens slightly. Tip: Cornstarch is essential because it helps the sauce thicken and can't be skipped or your sauce will be thinner and won't cling to the chicken. Sauces always seem thinner when they're in the pot, with the stove on, so it won't get overly thick, but thicker.
- Add the chicken into the sauce, stir to combine and coat evenly. Taste and if desired, add salt and black pepper, to taste. Flavoring Tips: Depending on the brand of soy sauce and broth you use, and your personal preference for salt, you may or may not need to add salt.
- Optionally garnish with green onions and/or sesame seeds, as desired, and serve immediately (with rice, quinoa, or something else to soak up the sauce is recommended).
- Storage: Extra chicken will keep airtight in the fridge for up to 5 days or in the freezer for up to 3 months. Reheat leftovers in the microwave for about 30-60 seconds, or as needed.
Notes
- Tip 1: Leftover chicken can be stored in an airtight container in the refrigerator for up to 5 days. Reheating in the microwave for 30 to 60 seconds is ideal.
- Tip 2: You can freeze the cooked chicken in an airtight container for up to 3 months. Thaw in the fridge overnight before reheating.
- Tip 3: This dish pairs wonderfully with steamed rice, quinoa, or even a fresh salad to balance the flavors.
- Tip 4: Use the best quality soy sauce and honey you can find, as they deeply influence the taste of the dish.
- Tip 5: For an extra touch, top with additional green onions or sesame seeds for added texture and flavor.
- Tip 6: This dish is perfect for meal prep. You can make a larger batch and portion it out for quick lunches during the week.