Blanch Vegetables
When I first discovered how to blanch vegetables, it felt like unlocking a hidden culinary secret. The joy of preserving vibrant colors and crisp textures in asparagus, broccoli, and green beans transformed my cooking game entirely. I remember the first time I prepared a fresh spring salad, the colors popping beautifully, thanks to my newfound technique. Blanching not only enhances the aesthetic appeal of my dishes but also retains nutrients, ensuring every bite is as healthy as it is delicious. Whether I’m prepping for a family gathering or just looking to store some veggies for later, the process of blanching feels like a delightful ritual. It’s incredibly satisfying to see how a brief dip in boiling water can bring life to any vegetable! You can enjoy the freshness of seasonal produce all year long.
Recipe Snapshot
10 mins
5 mins
5 mins
Easy
50 kcal
2 g
Keto, Paleo, Whole30
1 g
Large Pot, Chef’s Knife
Why You Need This Blanch Vegetables
Preserves Nutritional Value
Blanching is a fantastic method that helps retain essential nutrients. Unlike some cooking methods that can break down vitamins, blanching briefly cooks the vegetables while preserving their crunchy texture and vibrant colors. This means you can enjoy the full health benefits of your produce when you learn how to blanch.
Enhances Flavor and Color
There’s nothing like a burst of color to make a dish more appealing! Blanching vegetables like asparagus and green beans not only brightens their hues but also enhances their natural flavors. The quick cooking process locks in the freshness, making them taste even better.
Versatile and Convenient
Another reason I love blanching is its versatility. Whether you’re preparing for a family feast or just want to store veggies for weeknight meals, blanching makes it easier to manage your produce. You can freeze them for later use or toss them straight into salads for a fresh crunch!
Perfect for Meal Prep
Blanching is a game-changer for meal prep. Taking an hour to prepare a batch of blanched vegetables makes it easy to throw together quick meals throughout the week. Just toss them in your stir-fries or enjoy as a vibrant side dish!
Ideal for Freezing
If you’re like me and love to stock up on seasonal veggies, blanching is essential. This method prevents freezer burn and helps maintain the best flavor and texture during storage. It allows you to enjoy the taste of summer even in the depths of winter!
Recipe Ingredients for Blanch Vegetables
When it comes to blanching, the ingredients are simple yet essential. The combination of fresh vegetables and ice-cold water creates the perfect environment to lock in flavors and colors while retaining nutrients. Here’s what you’ll need:
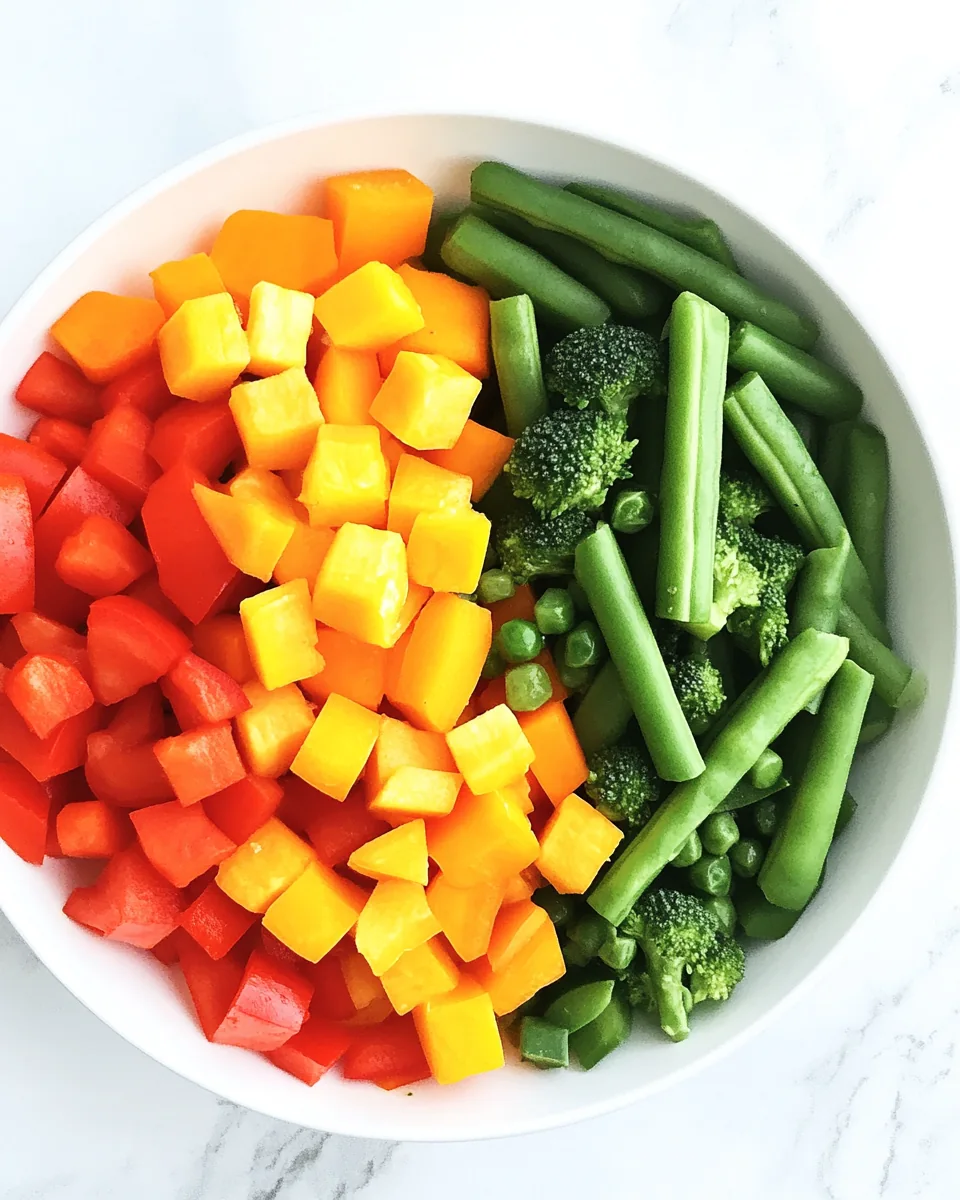
- Vegetables: Fresh asparagus, broccoli, green beans, or any seasonal vegetables you prefer. The key is to select vibrant, fresh produce that will stand out when blanched.
- Water: Enough to fill a large pot and submerge the veggies. Water acts as the cooking medium, so more is always better!
- Salt: A generous pinch to salt the boiling water. This enhances the flavor of the vegetables during cooking.
- Ice Water: To prepare the ice bath, ensuring that the veggies stop cooking immediately once removed from the boiling water.
Putting Together Blanch Vegetables
Blanching vegetables may sound technical, but it’s surprisingly simple! Follow along with these steps to get perfectly blanched veggies every time.
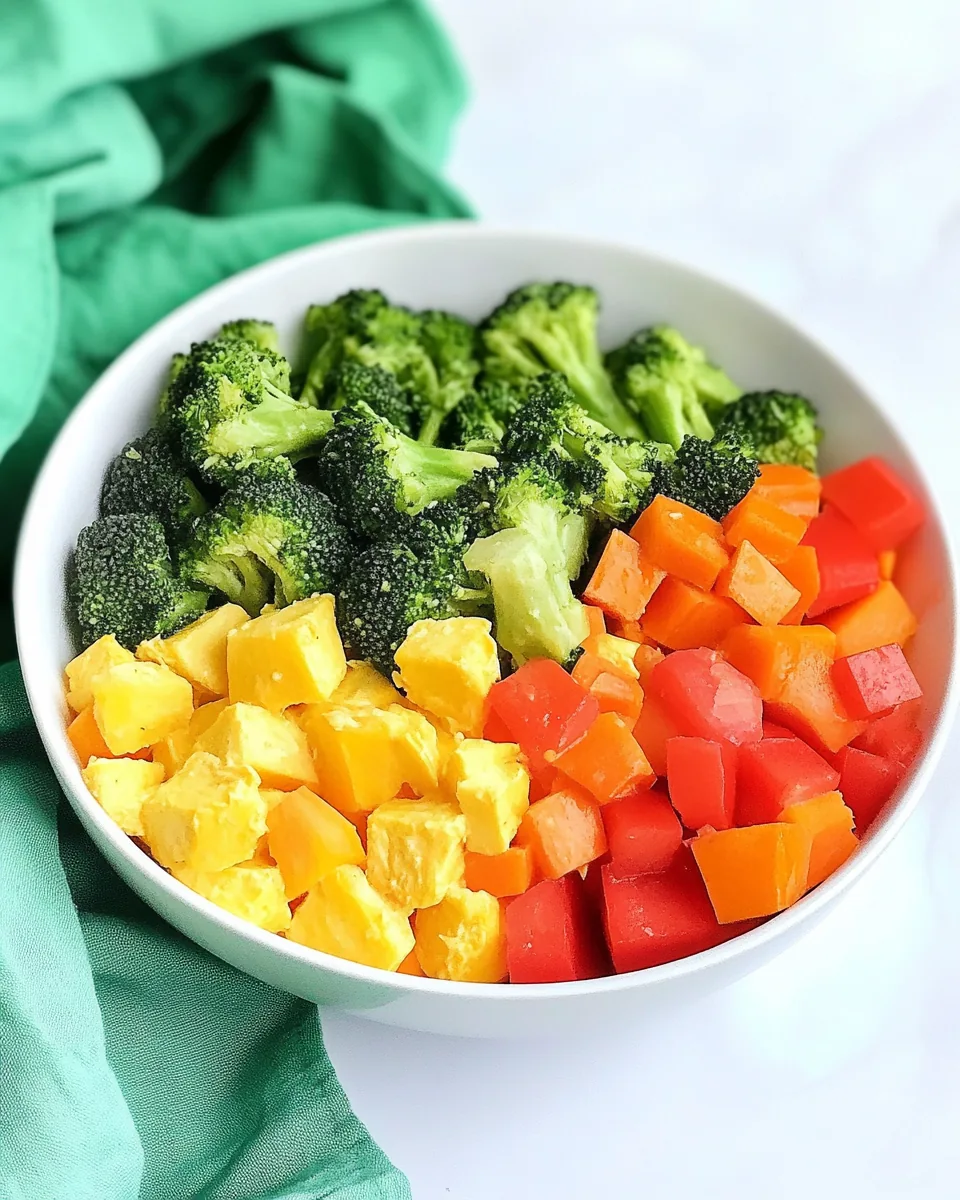
- Prepare Vegetables: Gather your fresh vegetables. I love using a mix of colorful asparagus, broccoli, and green beans. Cut them into uniform pieces; this ensures even cooking and makes them more visually appealing. You might want to slice broccoli into smaller florets and trim the ends of the asparagus.
- Boil Water: Fill a large pot with enough water to cover the vegetables, adding plenty of salt. The salt will flavor the veggies as they cook. Bring the water to a roaring boil over high heat. The bubbling water is crucial for blanching.
- Prepare Ice Bath: While waiting for the water to boil, fill a large bowl with ice-cold water. You want the water as cold as possible—this is what stops the cooking process. Having a towel nearby is handy for drying off the veggies post-blanching!
- Blanch Vegetables: Once the water is boiling, add your prepared vegetables in batches. You don’t want to overcrowd the pot! Let them cook for a brief time, usually 2-5 minutes, depending on the vegetable. For instance, green beans take about 3 minutes, while asparagus can be done in just 2.
- Shock the Vegetables: Once they’re slightly tender but still crisp, use a slotted spoon or tongs to remove the veggies from the boiling water. Quickly plunge them into the prepared ice bath to stop the cooking. Let them sit in the ice water until completely cool, about 2-3 minutes. This is crucial for retaining their vibrant color!
- Dry and Store: After they’re cooled, remove the vegetables from the ice bath and lay them on a clean dish towel or paper towels to dry out. You can use these blanched veggies right away or store them in the fridge for up to a week, or freeze them for longer storage.
Things Worth Knowing
- Don’t Overcrowd the Pot: Blanching works best when batches are small. This keeps the water temperature consistent, ensuring even cooking.
- Watch the Clock: Timing is crucial for perfect texture. Over-blanching can lead to mushy vegetables, while under-blanching can leave them raw.
- Use Plenty of Ice: The ice bath must be cold enough to stop cooking immediately. Don’t skimp on the ice!
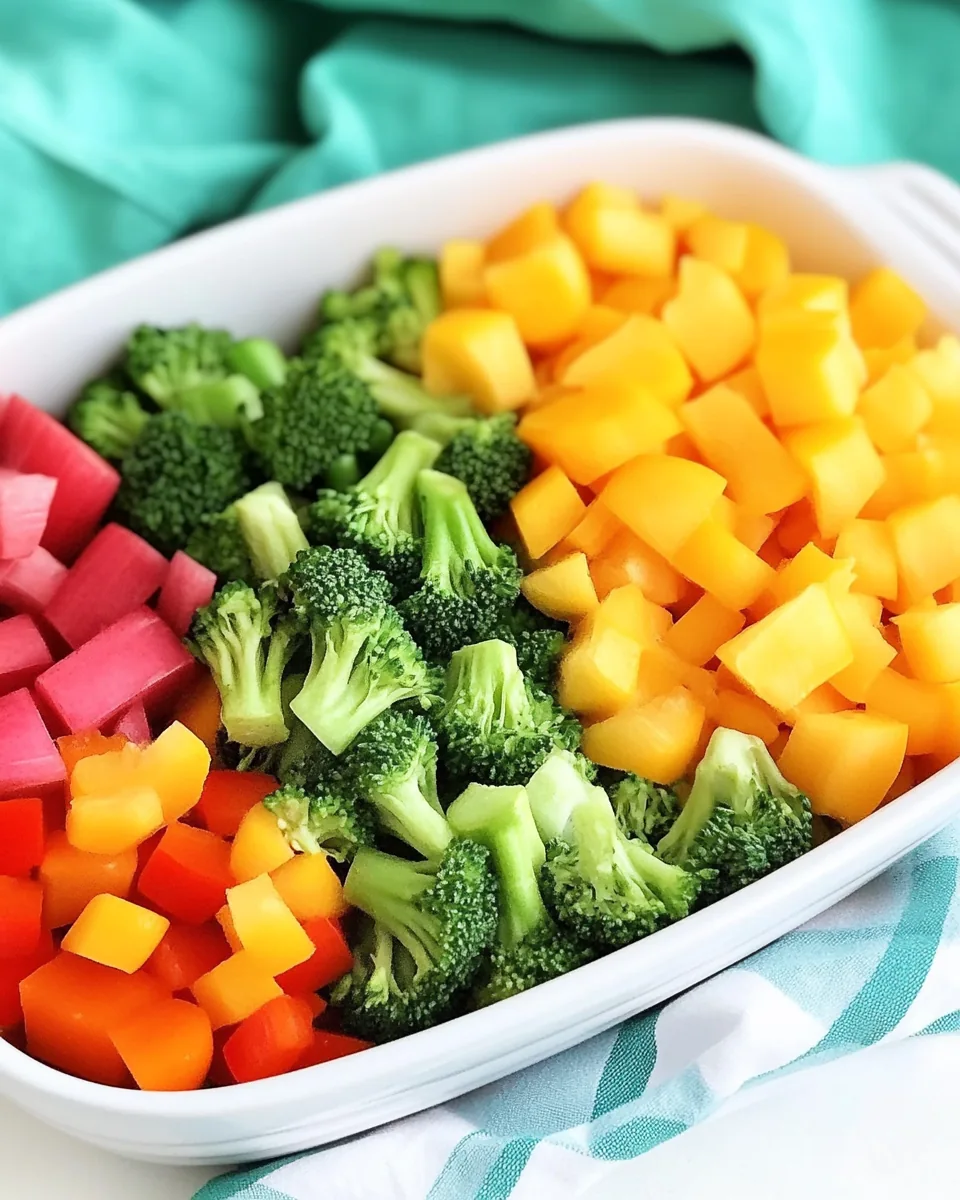
- Try Different Vegetables: Blanching works well with a variety of veggies. Experiment with carrots, peas, or bell peppers for different flavors.
Tips and Variations
Blanching is a versatile technique that can be adjusted based on your preferences. Here are some tips to elevate your blanched vegetables:
- Storage: Blanched vegetables can be stored in the refrigerator for up to a week. For longer storage, place them in freezer-safe bags after cooling to avoid freezer burn.
- Freezing: Ensure vegetables are completely dry before freezing. This prevents ice crystals from forming, which can affect texture.
- Pairing: Blanched vegetables make a great addition to salads, stir-fries, and pasta dishes. They can also be enjoyed cold with your favorite dip!
- Flavor Boost: For an extra kick, consider adding garlic or onion to the boiling water for flavor infusion. Just remember to discard them before blanching.
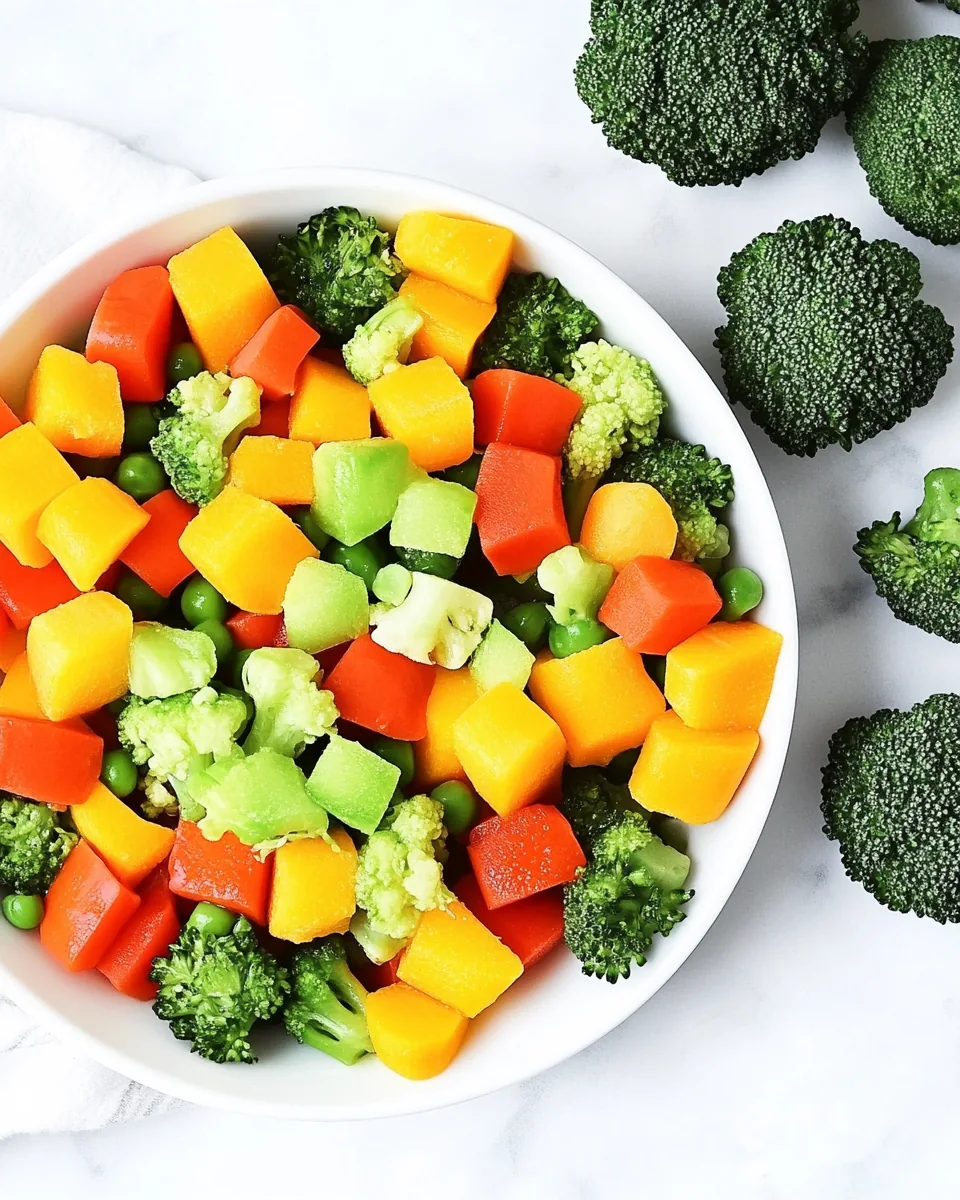
- Creative Uses: Use blanched vegetables in frittatas, omelets, or as toppings for pizza. They add not only nutrition but also a vibrant color!
- Experiment: Try different herbs or spices in the ice bath for unique flavors. Fresh herbs like basil or dill can add an unexpected twist.
What to Pair With Blanch Vegetables
Pairing blanched vegetables can result in a delightful meal experience. Here are some ideas:
- Quinoa Salad: Serve your blanched veggies mixed with quinoa, cherry tomatoes, avocado, and a light vinaigrette for a refreshing salad.
- Grilled Chicken: Blanched vegetables make a colorful and nutritious side to your grilled chicken. The contrast of flavors and textures will elevate your meal.
- Pasta Dishes: Toss blanched asparagus and green beans with olive oil and garlic for a quick pasta dinner.
- Wraps: Use blanched vegetables as a filling in wraps or sandwiches, adding a crunchy texture to your lunch.
- Rice Bowls: Layer blanched veggies on top of brown rice or cauliflower rice. Add a protein source like grilled tofu or shrimp for a complete meal.
- Vegetable Platter: Serve them cold with hummus or tzatziki as part of a vegetable platter for gatherings.
FAQ
Conclusion
Blanching vegetables is a simple yet transformative technique that preserves their vibrant colors and textures while enhancing their flavors. It’s a wonderful way to enjoy seasonal produce and makes meal prep a breeze. I encourage you to try this method in your kitchen; you’ll be amazed at how it elevates your dishes. Let’s make the most of our fresh veggies and bring them to life with a quick blanch today!
Blanch Vegetables
Ingredients
Equipment
Method
- Prepare Vegetables: Gather your fresh vegetables. I love using a mix of colorful asparagus, broccoli, and green beans. Cut them into uniform pieces; this ensures even cooking and makes them more visually appealing. You might want to slice broccoli into smaller florets and trim the ends of the asparagus.
- Boil Water: Fill a large pot with enough water to cover the vegetables, adding plenty of salt. The salt will flavor the veggies as they cook. Bring the water to a roaring boil over high heat. The bubbling water is crucial for blanching.
- Prepare Ice Bath: While waiting for the water to boil, fill a large bowl with ice-cold water. You want the water as cold as possible—this is what stops the cooking process. Having a towel nearby is handy for drying off the veggies post-blanching!
- Blanch Vegetables: Once the water is boiling, add your prepared vegetables in batches. You don’t want to overcrowd the pot! Let them cook for a brief time, usually 2-5 minutes, depending on the vegetable. For instance, green beans take about 3 minutes, while asparagus can be done in just 2.
- Shock the Vegetables: Once they’re slightly tender but still crisp, use a slotted spoon or tongs to remove the veggies from the boiling water. Quickly plunge them into the prepared ice bath to stop the cooking. Let them sit in the ice water until completely cool, about 2-3 minutes. This is crucial for retaining their vibrant color!
- Dry and Store: After they’re cooled, remove the vegetables from the ice bath and lay them on a clean dish towel or paper towels to dry out. You can use these blanched veggies right away or store them in the fridge for up to a week, or freeze them for longer storage.
Notes
- Tip 1: If you have a lot of vegetables, I recommend working in batches and blanching a small amount at a time. This will keep the water at boiling point and make it easier to get them all in the boiling water and then into the ice bath as quickly as possible.