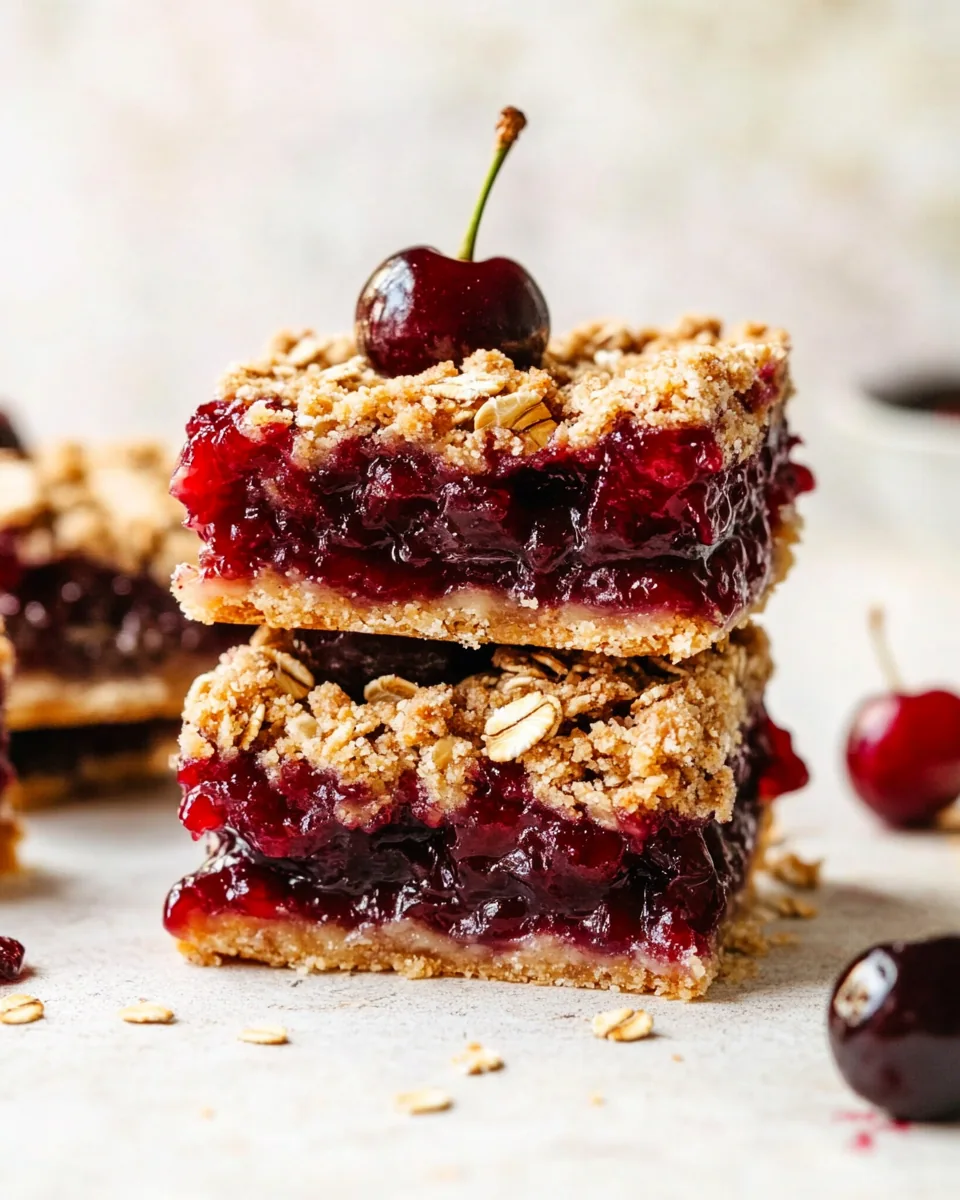
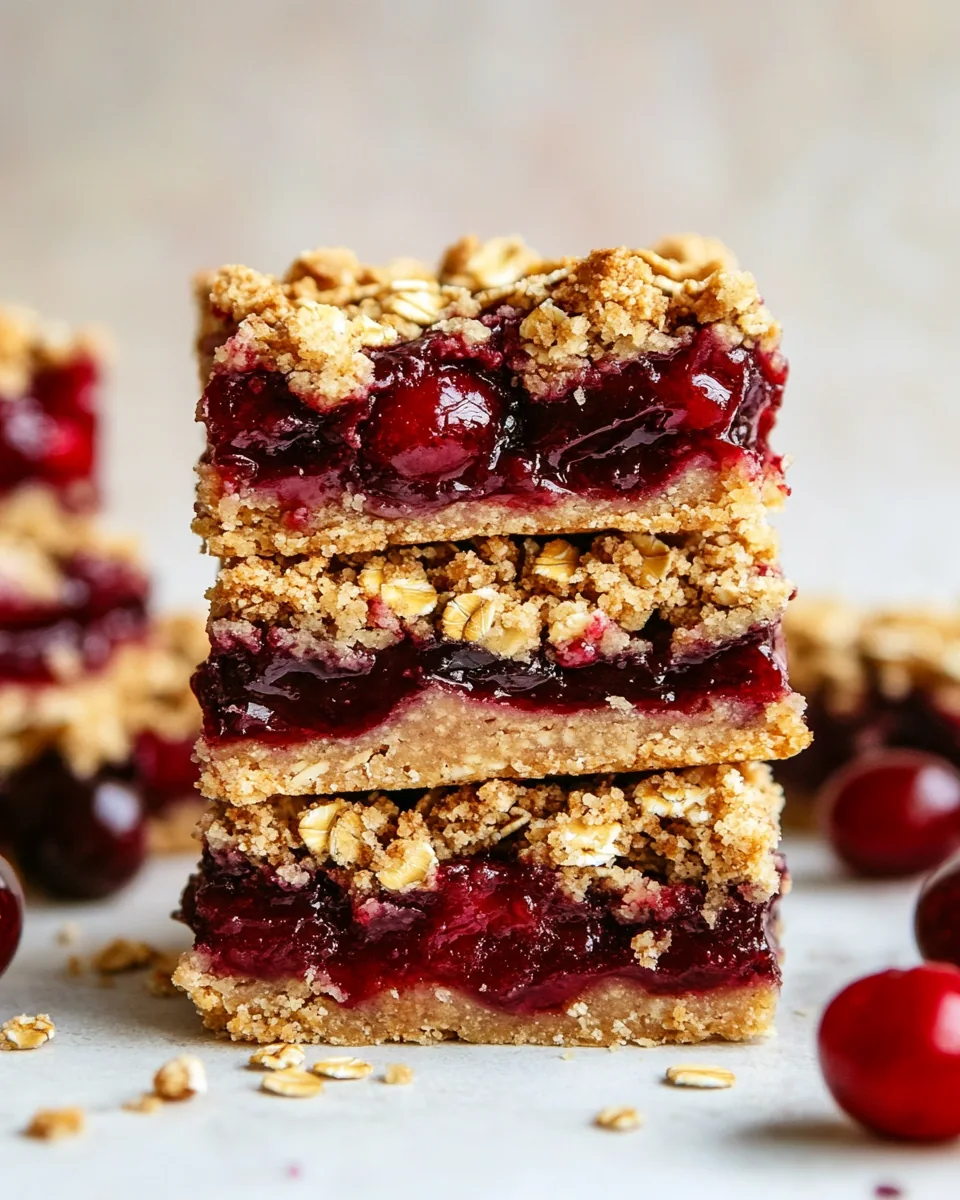
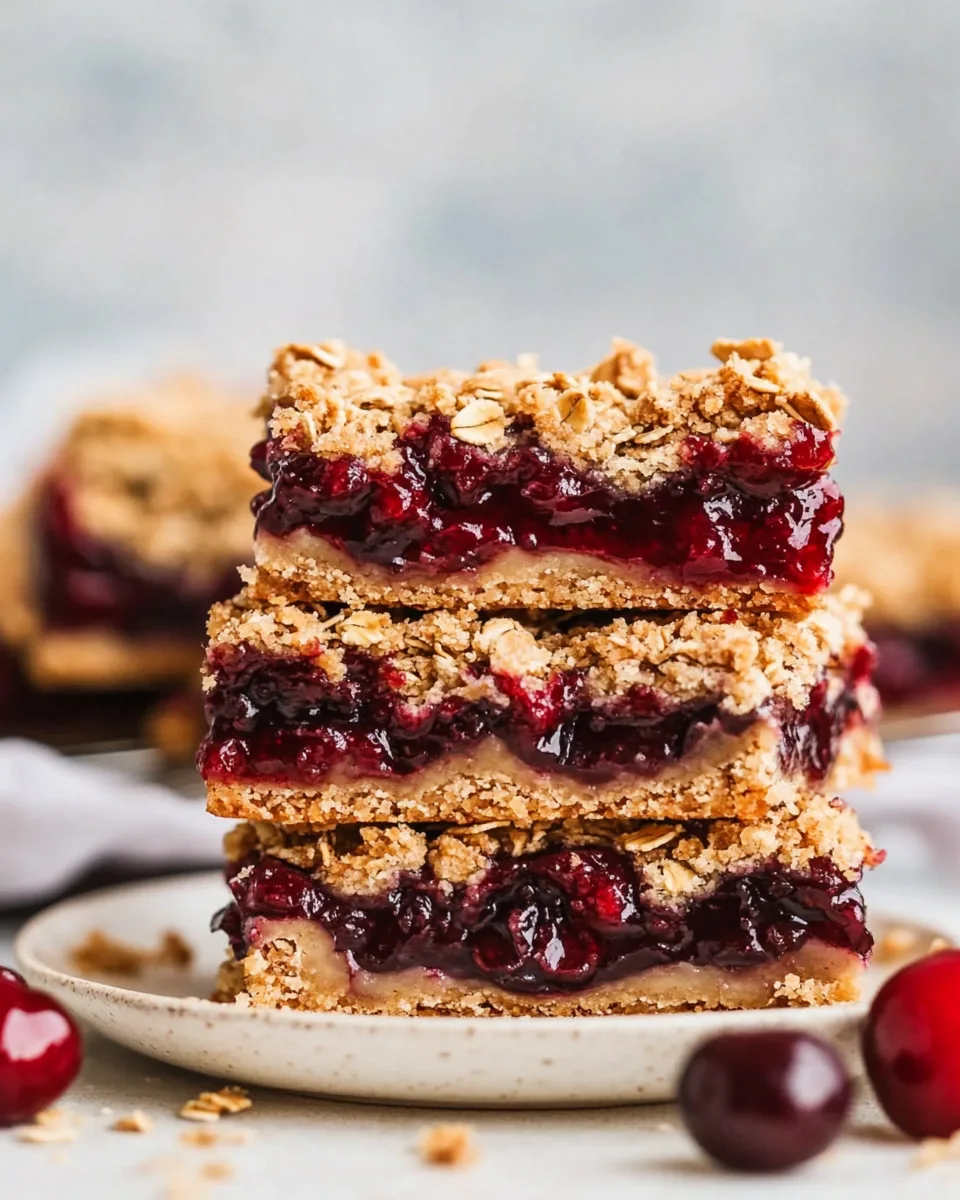
Cherry Pie Bars with Oatmeal Crumble
There’s something truly magical about baking during the summer months, and Cherry Pie Bars with Oatmeal Crumble encapsulate that spirit perfectly. I remember the first time I made these bars; the air was thick with the sweet smell of ripe cherries, and I could hardly wait to share them. As the sun streamed through the kitchen window, I felt like a mad scientist, mixing together the simplest of ingredients to create a dessert that brings everyone together. These bars are not just a dessert; they’re a celebration of summer, friendship, and the joy of cooking. Every bite offers a delightful combination of tart cherries and a buttery crumble that will leave you craving more.
Recipe Snapshot
45 mins
15 mins
30 mins
Medium
220 kcal
3g g
Gluten-Free, Low FODMAP
9g g
Oven, Large Pot, Mixing Bowl, Baking Sheet, Frying Pan, Wooden Spoon
The Best Thing About This Cherry Pie Bars with Oatmeal Crumble
They’re Easy to Make
One of the reasons I absolutely adore Cherry Pie Bars with Oatmeal Crumble is how straightforward the process is. You don’t need to be a master chef to whip up this delightful treat. With just a handful of ingredients and minimal steps, even novice bakers can create something truly delicious. The simplicity of this recipe means you can whip it up spontaneously, making it perfect for unexpected guests.
Perfect for Summer Gatherings
These bars are a hit at every summer gathering. Whether you’re hosting a barbecue or just enjoying a picnic in the park, they’re the ideal sweet treat to share. They transport beautifully and can be served at room temperature, which is perfect for outdoor events. I love seeing the smiles on my friends’ faces when they take their first bite; it’s truly rewarding.
Customizable to Your Taste
What’s great about this recipe is its versatility. While I stick to the classic cherry filling, you can easily swap in other fruits like raspberries or blueberries to suit your taste. The crumble topping is also a blank canvas; you can add nuts or spices to make it your own. This adaptability is one of the reasons I keep coming back to this recipe.
Healthy and Delicious
Unlike many desserts that are packed with refined sugars and unhealthy fats, these bars are made with wholesome ingredients. The use of gluten-free oat flour and oats means you’re getting some fiber with every bite. It’s a guilt-free indulgence that makes you feel good about treating yourself or serving it to loved ones. Plus, the best part? They’re vegan, so everyone can enjoy them!
Memory Making
Cooking isn’t just about feeding the body; it’s about feeding the soul. Making Cherry Pie Bars with Oatmeal Crumble brings back fond memories of my childhood, where my family would gather in the kitchen to bake together. The laughter and conversation that fill the air as we bake create memories that are cherished long after the last crumb is gone.
What You’ll Need for Cherry Pie Bars with Oatmeal Crumble
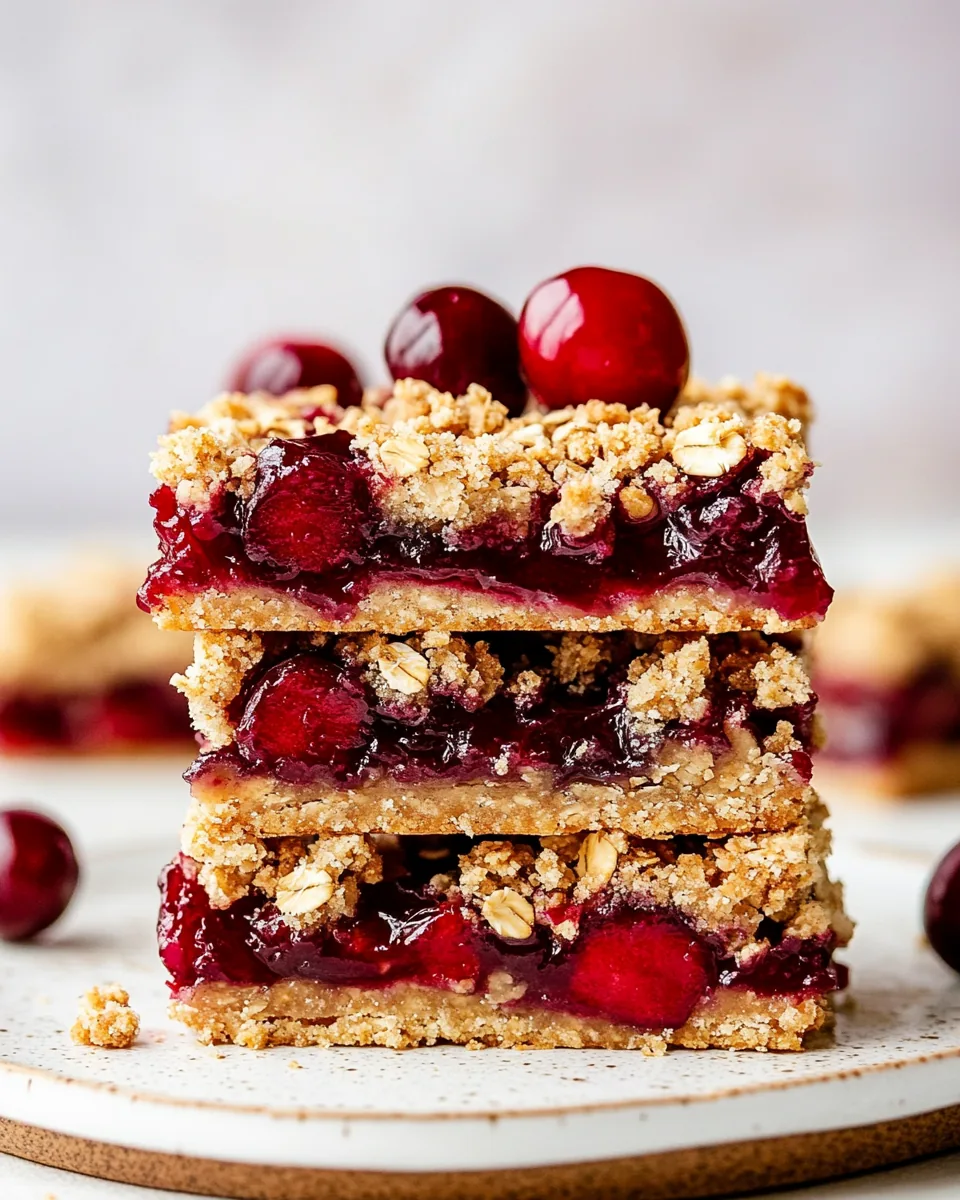
Gathering the right ingredients is essential for creating these delicious bars. Each component plays a vital role in building the flavors and textures you’ll love. The combination of sweet tart cherries with a crunchy oat crumble is not only satisfying but also cozy, perfect for those warm summer days. Let’s dive into the ingredients that come together to make this recipe shine.
- 1 ½ cups (138g) gluten-free oat flour (or sub all-purpose)
- 1 cup (95g) old-fashioned rolled oats, gluten-free if desired
- ½ cup (107g) brown sugar
- ½ teaspoon ground cinnamon
- ¼ teaspoon salt
- ½ cup (113g) butter or vegan buttery stick, melted
- 2 teaspoons vanilla extract
- ¼ teaspoon almond extract
- 3 heaping cups (420g) frozen tart cherries
- 3 tablespoons pure maple syrup
- 1 tablespoon cornstarch or arrowroot starch, plus 1-2 teaspoons more if necessary
- Pinch of kosher salt
The Process for Making Cherry Pie Bars with Oatmeal Crumble
Making Cherry Pie Bars with Oatmeal Crumble is a delightful experience that anyone can enjoy. From the moment you preheat the oven to that first bite, the anticipation builds in the best way possible. Let’s walk through each step together to ensure you achieve the perfect bars.
Preheat your oven to 350 degrees F (175 degrees C). This temperature is crucial for achieving the right texture in your bars. While the oven is heating, prepare an 8×8 inch pan by lining it with parchment paper and generously spraying it with nonstick cooking spray. This prevents sticking and makes cleanup a breeze.
In a large mixing bowl, combine the oat flour, old-fashioned rolled oats, brown sugar, ground cinnamon, and salt. Use a fork to mix these ingredients until they are well blended. You want to ensure that the sweetness of the sugar and the warmth of the cinnamon are evenly distributed throughout the dry ingredients.
Next, add in the melted butter, vanilla extract, and almond extract. Stir this mixture until a nice crumble forms, and the dough begins to clump together. You’re aiming for a texture that is somewhat crumbly but holds together well when pressed.
Set aside 1 ½ cups of this mixture to form the base of your bars. Press this mixture evenly into the bottom of your prepared pan using your hands. This step is important as it creates a solid foundation for your cherry filling.
Now for the cherry filling! Place a medium pot over medium heat and add in your frozen tart cherries, pure maple syrup, almond extract, cornstarch, and a pinch of kosher salt. Use a wooden spoon to gently press down and break down the cherries just a bit. This helps release their juices and flavors.
Bring the mixture to a gentle boil. Once boiling, reduce the heat and continue cooking for about 5 minutes. You want the filling to thicken nicely, coating the back of your spoon without being too drippy. If it appears too runny, stir in 1-2 teaspoons more of the cornstarch or arrowroot.
Pour this luscious cherry mixture over the pressed base in your pan. Use a spoon to spread it evenly, ensuring every part of the crust gets a taste of that sweet filling.
Retrieve the remaining crumble mixture from the fridge. By now, it should have clumped together nicely. Sprinkle this topping generously over the cherry filling, ensuring it’s evenly distributed for that perfect texture.
Place your pan in the preheated oven and bake for about 30 minutes, or until the filling is bubbly and the topping is golden brown. This is where the aroma of baking fills your kitchen and gets everyone excited!
Once done, allow the bars to cool completely on a wire rack. After cooling, transfer them to the fridge to chill. They can be served at room temperature or chilled; both options are absolutely delicious. When ready to serve, use a sharp knife to cut them into 16 squares, and watch everyone enjoy your creation!
Things Worth Knowing
- Know Your Cherries: Using tart cherries gives a nice balance to the sweetness of the crumble. If you prefer a sweeter filling, use sweeter cherries but adjust the sugar accordingly.
- Chill Your Bars: Allowing the bars to cool completely before cutting helps them hold their shape better. It’s worth the wait!
- Experiment with Flavors: Feel free to add spices like nutmeg or ginger to the crumble for an extra kick.
- Storage Tips: Keep any leftovers in an airtight container in the fridge for up to a week. They won’t last long, though!
Helpful Hints
Here are some helpful hints to ensure your Cherry Pie Bars with Oatmeal Crumble turn out perfectly every time. With these tips, you can master the art of baking these delicious treats and impress your friends and family.
- Storage: Keep leftovers in an airtight container in the fridge. They stay fresh for up to a week, but I bet they won’t last that long!
- Freezing: Yes, you can freeze these bars! Just wrap them individually in plastic wrap and place them in a freezer-safe container. They freeze well for up to three months.
- Pairing: These bars go wonderfully with a cup of tea or coffee for an afternoon snack.
- Serving Suggestion: Top with a scoop of vanilla ice cream or whipped cream for an extra treat!
- Variation: Swap out the cherries for other fruits like blueberries or peaches for a fun twist!
Serve This Cherry Pie Bars with Oatmeal Crumble With
These Cherry Pie Bars with Oatmeal Crumble are incredibly versatile and can be served in various delightful ways. Here are some suggestions to elevate your serving experience:
- Enjoy them fresh: Serve warm from the oven, offering a comforting dessert after dinner.
- Perfect picnic treat: Cut them into squares and pack them for a picnic. They travel well and are easy to share.
- Holiday gatherings: These bars make an excellent addition to your dessert table during holiday celebrations.
- Pair with beverages: They go well with coffee, tea, or even a fruity iced tea for a refreshing summer drink.
- Storing leftovers: Keep any leftover bars in an airtight container at room temperature for a few days, or refrigerate them to prolong freshness.
- Seasonal variations: Adjust the fruit based on the season. Peaches or apples in the fall make for a delicious alternative!
FAQ
Conclusion
The Cherry Pie Bars with Oatmeal Crumble are a delightful tribute to summer’s bounty, blending sweet tart cherries with a crunchy topping that is simply irresistible. I encourage you to try making these bars for your next gathering or just for a cozy evening at home. They’re sure to become a cherished favorite!
Cherry Pie Bars with Oatmeal Crumble
Ingredients
Equipment
Method
- Preheat your oven to 350 degrees F (175 degrees C). This temperature is crucial for achieving the right texture in your bars. While the oven is heating, prepare an 8x8 inch pan by lining it with parchment paper and generously spraying it with nonstick cooking spray. This prevents sticking and makes cleanup a breeze.
- In a large mixing bowl, combine the oat flour, old-fashioned rolled oats, brown sugar, ground cinnamon, and salt. Use a fork to mix these ingredients until they are well blended. You want to ensure that the sweetness of the sugar and the warmth of the cinnamon are evenly distributed throughout the dry ingredients.
- Next, add in the melted butter, vanilla extract, and almond extract. Stir this mixture until a nice crumble forms, and the dough begins to clump together. You’re aiming for a texture that is somewhat crumbly but holds together well when pressed.
- Set aside 1 ½ cups of this mixture to form the base of your bars. Press this mixture evenly into the bottom of your prepared pan using your hands. This step is important as it creates a solid foundation for your cherry filling.
- Now for the cherry filling! Place a medium pot over medium heat and add in your frozen tart cherries, pure maple syrup, almond extract, cornstarch, and a pinch of kosher salt. Use a wooden spoon to gently press down and break down the cherries just a bit. This helps release their juices and flavors.
- Bring the mixture to a gentle boil. Once boiling, reduce the heat and continue cooking for about 5 minutes. You want the filling to thicken nicely, coating the back of your spoon without being too drippy. If it appears too runny, stir in 1-2 teaspoons more of the cornstarch or arrowroot.
- Pour this luscious cherry mixture over the pressed base in your pan. Use a spoon to spread it evenly, ensuring every part of the crust gets a taste of that sweet filling.
- Retrieve the remaining crumble mixture from the fridge. By now, it should have clumped together nicely. Sprinkle this topping generously over the cherry filling, ensuring it's evenly distributed for that perfect texture.
- Place your pan in the preheated oven and bake for about 30 minutes, or until the filling is bubbly and the topping is golden brown. This is where the aroma of baking fills your kitchen and gets everyone excited!
- Once done, allow the bars to cool completely on a wire rack. After cooling, transfer them to the fridge to chill. They can be served at room temperature or chilled; both options are absolutely delicious. When ready to serve, use a sharp knife to cut them into 16 squares, and watch everyone enjoy your creation!
Notes
- Storage: Keep leftovers in an airtight container in the fridge. They stay fresh for up to a week, but I bet they won't last that long!
- Freezing: Yes, you can freeze these bars! Just wrap them individually in plastic wrap and place them in a freezer-safe container. They freeze well for up to three months.
- Pairing: These bars go wonderfully with a cup of tea or coffee for an afternoon snack.
- Serving Suggestion: Top with a scoop of vanilla ice cream or whipped cream for an extra treat!
- Variation: Swap out the cherries for other fruits like blueberries or peaches for a fun twist!