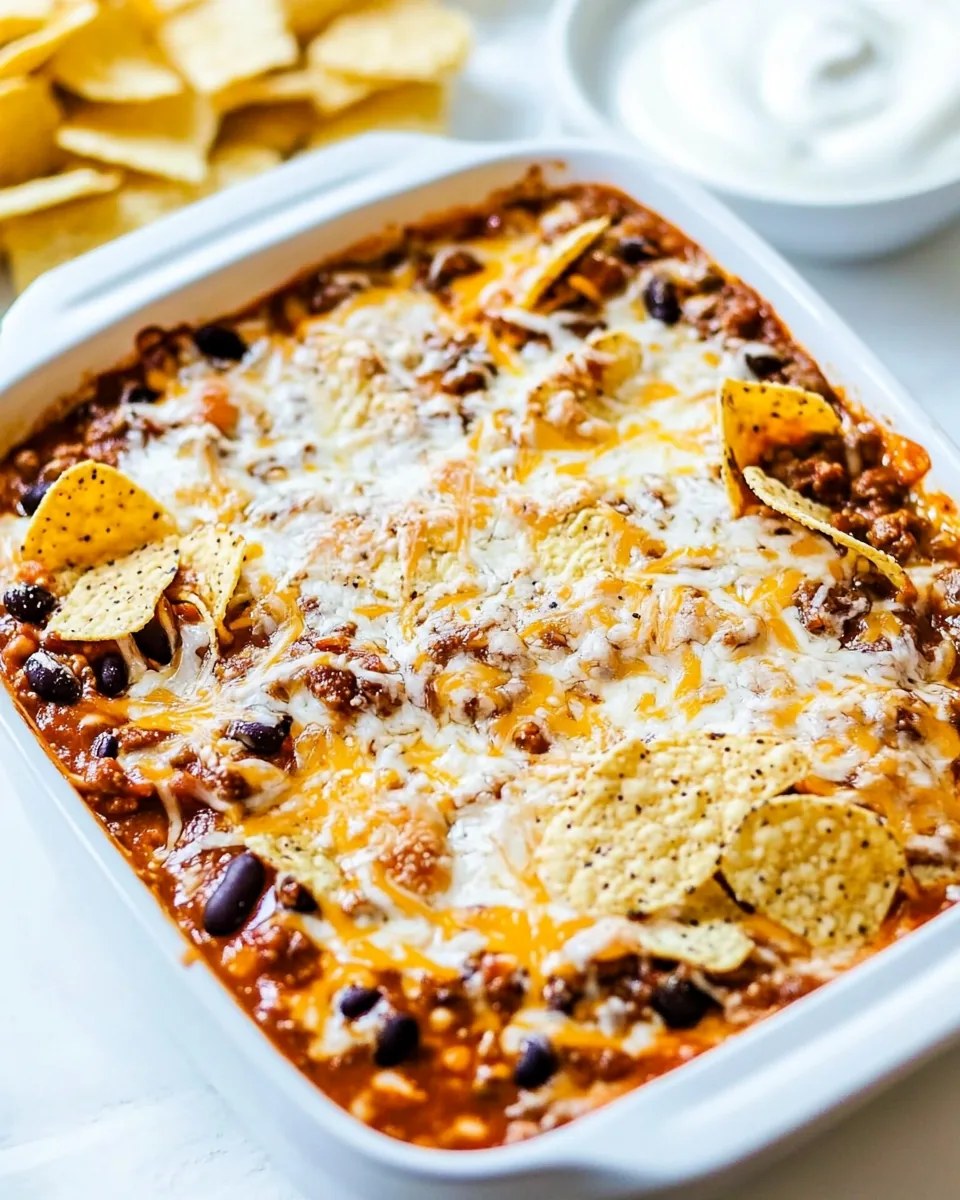
Chips and Cheese Chili Casserole
There’s nothing quite like the comfort of a good casserole, and the Chips and Cheese Chili Casserole is the ultimate crowd-pleaser. I remember the first time I made it; it was a chilly fall evening, and my friends were over for a movie night. I wanted to create something hearty, warm, and satisfying, and this dish did not disappoint. The blend of crispy corn chips, creamy cheese, and zesty chili created a symphony of flavors that had everyone coming back for seconds. As we gathered around the table, laughter and chatter filled the air, and I realized that food has a magical way of bringing people together. This casserole is not just a meal; it’s a memory waiting to happen, whether for family dinners or casual gatherings with friends. Plus, it’s easy to whip up, which is always a bonus!
Recipe Snapshot
40 mins
10 mins
30 mins
Medium
350 kcal
12 g
Gluten-Free, Low FODMAP
14 g
Oven, Mixing Bowl, Baking Sheet, Chef’s Knife, Blender, Frying Pan, Wooden Spoon
The Best Thing About This Chips and Cheese Chili Casserole
A Comforting Classic
The Chips and Cheese Chili Casserole has that perfect combination of textures and flavors that makes it a hit at any gathering. The crunch of the chips paired with the gooey, melted cheese creates a mouthwatering experience that’s hard to resist. This dish is perfect for those chilly nights when you crave something warm and filling.
Adaptable and Flexible
One of the things I love most about this casserole is its adaptability. You can easily modify the ingredients based on what you have at home. Have some leftover beans or a jar of salsa sitting in your pantry? Toss them in! This recipe is forgiving, allowing you to get creative and make it your own.
Make-Ahead Marvel
If you’re looking to save time, this casserole is your best friend. It can be prepared ahead of time and stored in the fridge until you’re ready to bake it. This makes it ideal for meal prep or when you have guests coming over.
Perfect for Parties
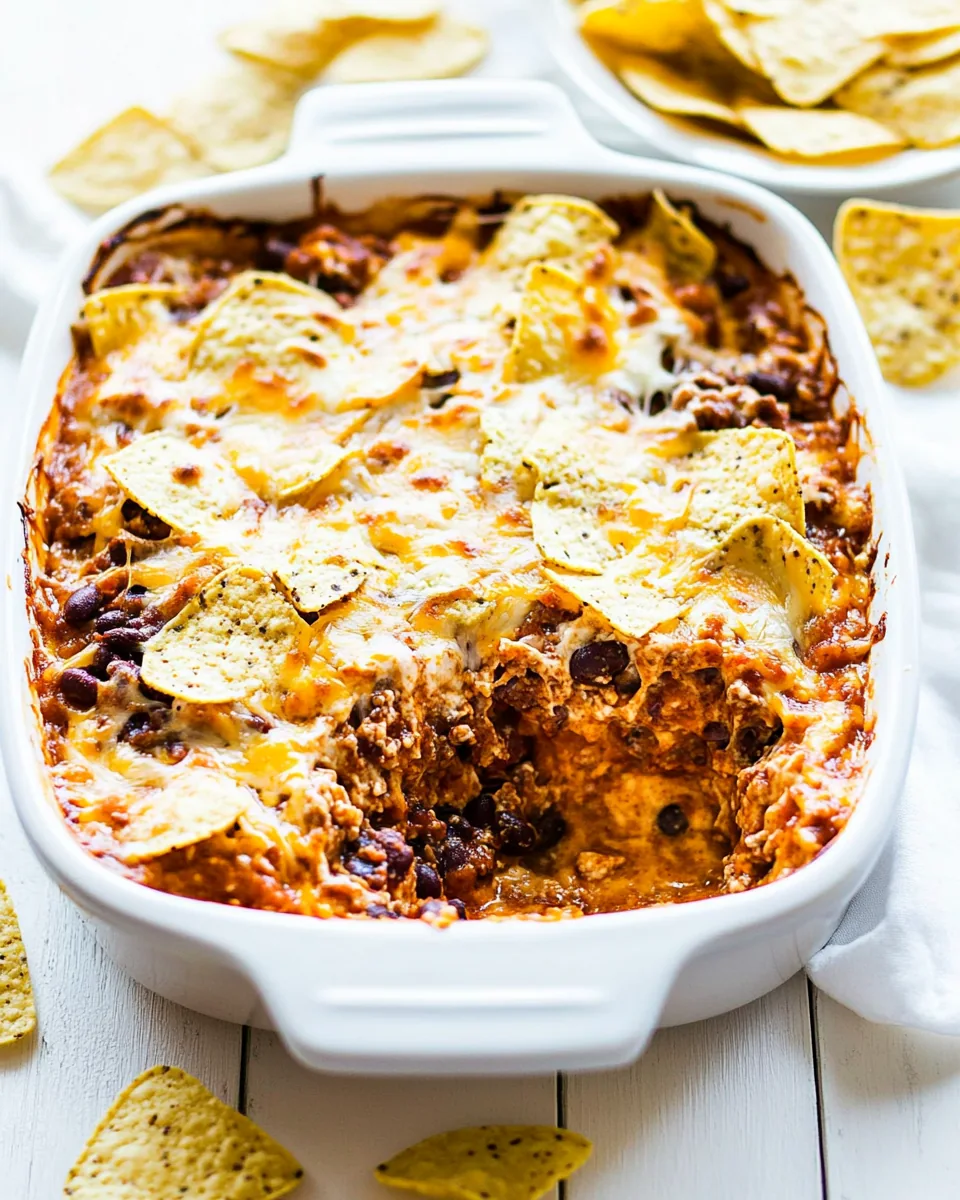
Whether it’s a game day, potluck, or simply a cozy night in, the Chips and Cheese Chili Casserole is sure to impress. It serves a crowd, making it a fantastic option when entertaining. Your guests can help themselves and enjoy the layers of flavor while you relax and enjoy their company.
Comfort for Everyone
This dish is not only delicious, but it can also cater to different dietary needs. Want to keep it vegan? Simply swap out the cheese and sour cream for plant-based alternatives. This way, everyone can enjoy a warm, hearty meal without compromising their dietary preferences.
Everything You Need for Chips and Cheese Chili Casserole
When it comes to the ingredients for this casserole, they work together in perfect harmony. The combination of corn chips, cheese, and chili creates a rich and satisfying flavor profile that’s both comforting and delicious. Each ingredient plays an essential role, from the crunch of the chips to the creaminess of the sour cream on top. Here’s what you’ll need:
- 5 ½ cups whole corn chips, crushed (about 2 ½ cups after crushing to the size of a dime): These chips provide the crunchy base for your casserole, adding texture and flavor.
- 1 (10-ounce) can chili: The heart of the dish, bringing warmth and a flavorful kick to each bite.
- 1 (10-ounce) can of black beans, red beans, refried beans, or bean medleys: These add protein and a wonderful creaminess, balancing the crispiness of the chips.
- 1 (10-ounce) jar salsa or tomato sauce: A zesty addition that enhances the overall flavor profile of the casserole.
- 1 (8-ounce) package of shredded cheese blend such as Mexican-style: This melty goodness binds everything together and adds creaminess.
- 1 ¼ cups sour cream: This provides a smooth, tangy finish when spread on top, balancing the flavors beautifully.
- 2 ½ cups whole corn chips, crushed again (about 1 to 1 ½ cups after crushing to the size of a dime): A final crunch topping that bakes to perfection.
Step by Step Guide for Chips and Cheese Chili Casserole
Now that we’ve gathered all the ingredients, let’s dive into the step-by-step instructions! Making the Chips and Cheese Chili Casserole is straightforward and enjoyable. You’ll love how easily everything comes together.
Preheat your oven to 375°F (190°C). This step is crucial as it ensures your casserole bakes evenly.
Line a 9-by-9-inch baking pan with aluminum foil and spray it with cooking spray to prevent sticking. This will make serving and cleaning up a breeze!
In a large mixing bowl, add 5 to 6 cups of chips (about 5 big handfuls from the bag). Use a wooden spoon to poke and crush the chips to the size of a dime. You want them small but not powdered.
Add the chili, beans, salsa, and 2 loosely packed cups of cheese (about two-thirds of the package) to the crushed chips. Stir well to combine everything. Make sure each chip is coated in the delicious mixture.
Pour the mixture into the prepared baking pan, spreading it evenly. This will be the base of your casserole.
Place the pan in the preheated oven and bake for 20 minutes. During this time, the flavors will meld together beautifully.
After 20 minutes, remove the pan from the oven. Spread the sour cream in an even, flat layer over the casserole. This step adds a creamy texture that complements the other flavors.
Sprinkle the remaining cheese (about 1 to 1 ½ cups) evenly over the top of the sour cream. Let that cheesy goodness overflow!
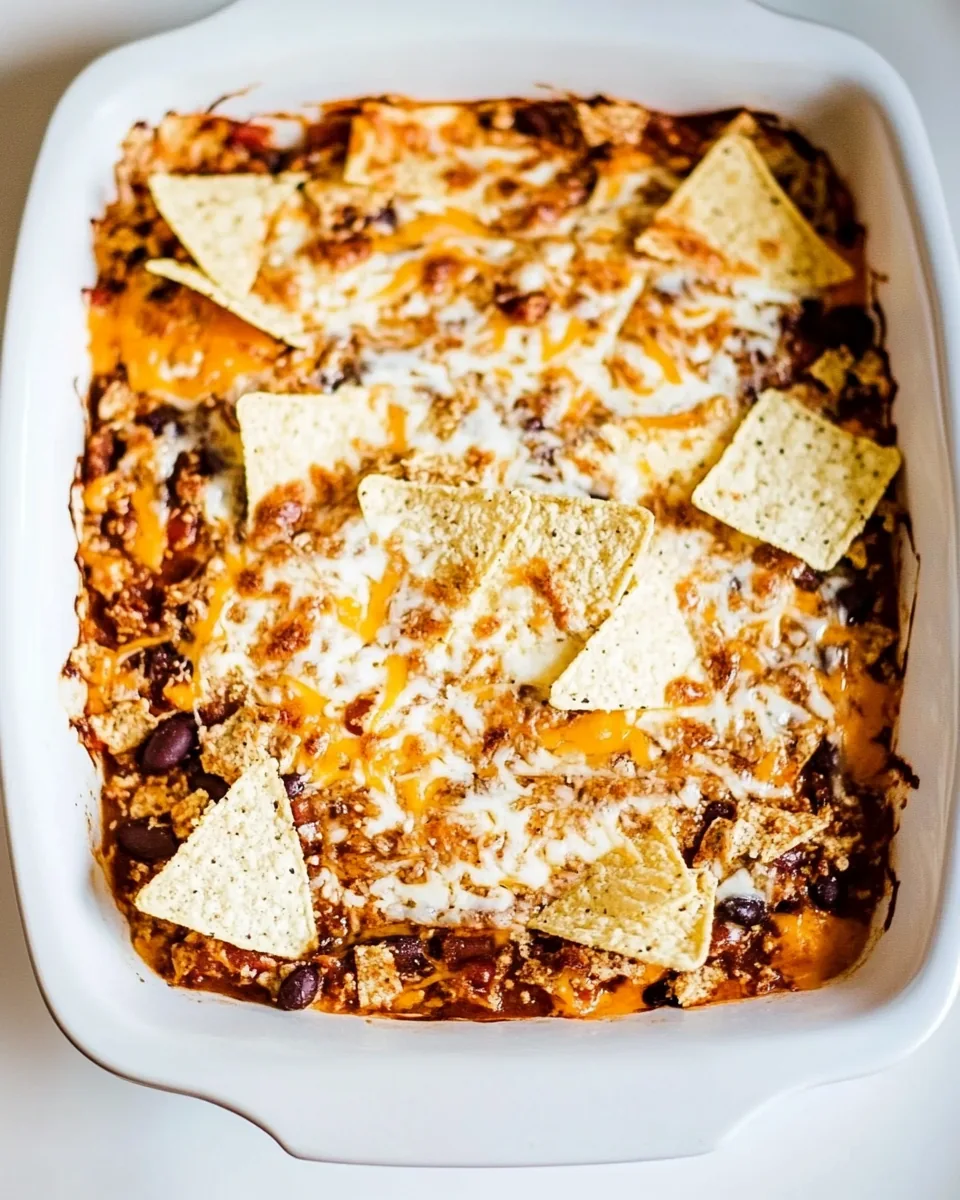
Top with an additional 1 ¼ cups of crushed corn chips. This will create a crispy, golden topping that everyone will love.
Return the pan to the oven and bake for another 9 to 12 minutes, or until the top is browned to your desired level. Keep an eye on it to prevent burning.
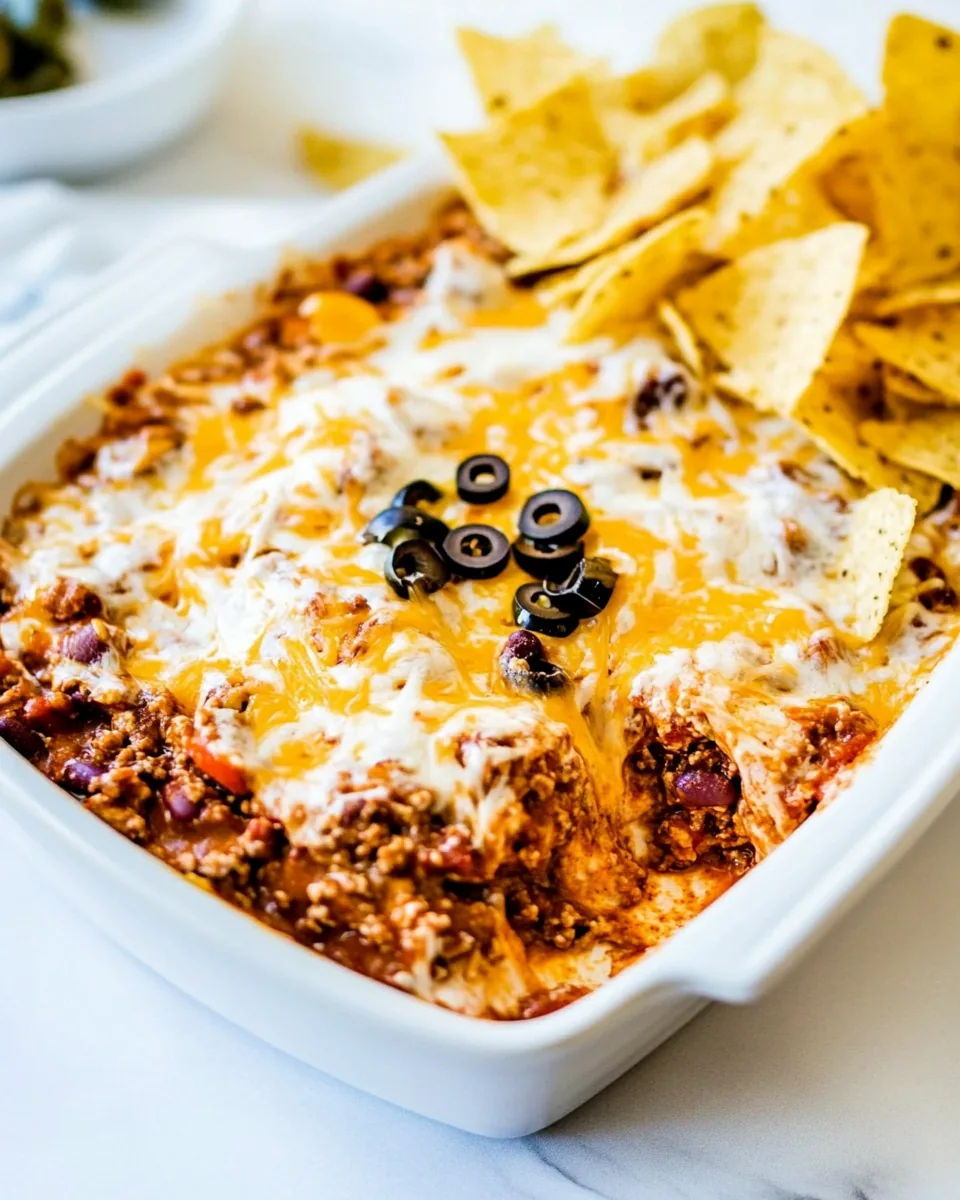
Serve immediately. You can optionally garnish with a dollop of sour cream, a sprinkling of cheese, or a pinch of chopped cilantro or onion for added flair.
Store any leftovers in a Glad Freezerware container or similar airtight container in the refrigerator for up to 5 days or in the freezer for up to 3 months.
Things Worth Knowing
- Texture Matters: The right texture is key to a great casserole. Ensure your chips are crushed to a dime size, allowing them to hold up well in the mix while still providing crunch.
- Layering is Key: Layering the sour cream and cheese creates a delightful contrast in flavor and texture, enhancing the overall experience.
- Adjust Cooking Time: Depending on your oven, you may need to adjust baking times slightly. Keep an eye on the casserole as it bakes to achieve the perfect golden top.
- Experiment with Ingredients: Feel free to add in extra vegetables or proteins to customize the dish to your liking. Just make sure to keep the wet ingredients balanced.
Pro Tips and Tweaks
If you want to take your Chips and Cheese Chili Casserole to the next level, here are some pro tips to consider:
- Storage: Store leftovers in an airtight container in the refrigerator for up to 5 days. When reheating, you can cover it with foil to keep it moist.
- Freezing: This casserole freezes well! Simply cover tightly with foil or plastic wrap and store for up to 3 months. Reheat in the oven for the best results.
- Pairing: Serve this casserole with a side of fresh salad or guacamole for a refreshing contrast.
- Flavor Boost: Try adding taco seasoning to the chili for an extra flavor kick.
- Serving Style: This casserole is perfect for potlucks! Just bake it in a disposable aluminum pan, and you can leave it for your friends to enjoy without worrying about returning dishes.
- Vegetarian Option: For a vegetarian version, ensure your chili and cheese are meat-free!
Serve This Chips and Cheese Chili Casserole With
The Chips and Cheese Chili Casserole is incredibly versatile and can be enjoyed in various ways. Here are some fantastic ideas on how to serve it:
- On Game Day: It’s the ultimate snack for watching sports, paired with a refreshing drink to keep the fun going!
- With a Side Salad: A fresh green salad with a light vinaigrette complements the richness of the casserole.
- For Family Gatherings: This dish is great for potlucks and family dinners, where it serves a large crowd easily.
- As a Comfort Food: Enjoy it on a cozy night in with your favorite movie, making it a go-to comfort meal.
- Seasonal Pairings: Serve it during the fall with roasted vegetables, adding a seasonal touch to your meal.
- Storing and Reheating: If you have leftovers, simply store them in an airtight container in the refrigerator or freezer, enjoying them later!
FAQ
Conclusion
The Chips and Cheese Chili Casserole is a dish that embodies comfort and deliciousness. With its layers of flavor and satisfying textures, it’s a meal that brings people together. So why not give it a try? It’s not just a dinner; it’s a delightful experience that you’ll want to share with family and friends.
Chips and Cheese Chili Casserole
Ingredients
Equipment
Method
- Preheat your oven to 375°F (190°C). This step is crucial as it ensures your casserole bakes evenly.
- Line a 9-by-9-inch baking pan with aluminum foil and spray it with cooking spray to prevent sticking. This will make serving and cleaning up a breeze!
- In a large mixing bowl, add 5 to 6 cups of chips (about 5 big handfuls from the bag). Use a wooden spoon to poke and crush the chips to the size of a dime. You want them small but not powdered.
- Add the chili, beans, salsa, and 2 loosely packed cups of cheese (about two-thirds of the package) to the crushed chips. Stir well to combine everything. Make sure each chip is coated in the delicious mixture.
- Pour the mixture into the prepared baking pan, spreading it evenly. This will be the base of your casserole.
- Place the pan in the preheated oven and bake for 20 minutes. During this time, the flavors will meld together beautifully.
- After 20 minutes, remove the pan from the oven. Spread the sour cream in an even, flat layer over the casserole. This step adds a creamy texture that complements the other flavors.
- Sprinkle the remaining cheese (about 1 to 1 ½ cups) evenly over the top of the sour cream. Let that cheesy goodness overflow!
- Top with an additional 1 ¼ cups of crushed corn chips. This will create a crispy, golden topping that everyone will love.
- Return the pan to the oven and bake for another 9 to 12 minutes, or until the top is browned to your desired level. Keep an eye on it to prevent burning.
- Serve immediately. You can optionally garnish with a dollop of sour cream, a sprinkling of cheese, or a pinch of chopped cilantro or onion for added flair.
- Store any leftovers in a Glad Freezerware container or similar airtight container in the refrigerator for up to 5 days or in the freezer for up to 3 months.
Notes
- Tip 1: Recipe is highly adaptable based on what kinds of canned goods you have on hand. Aim for about 30 ounces of wet ingredients, such as one 20-ounce can of beans and a 10-ounce jar of salsa.
- Tip 2: Based on how chunky or wet your batter mixture is before baking, you may need to adjust baking times slightly.
- Tip 3: You can bulk this up with canned corn, fresh or canned bell peppers, crushed tomatoes, or almost any vegetable you have on hand; add crumbled tofu, tempeh, pre-cooked meatballs, or soy meatballs.
- Tip 4: To keep it vegan, use vegan cheese and vegan sour cream (or thicker-style vegan yogurt).
- Tip 5: Make sure all ingredients are suitable for your dietary needs.