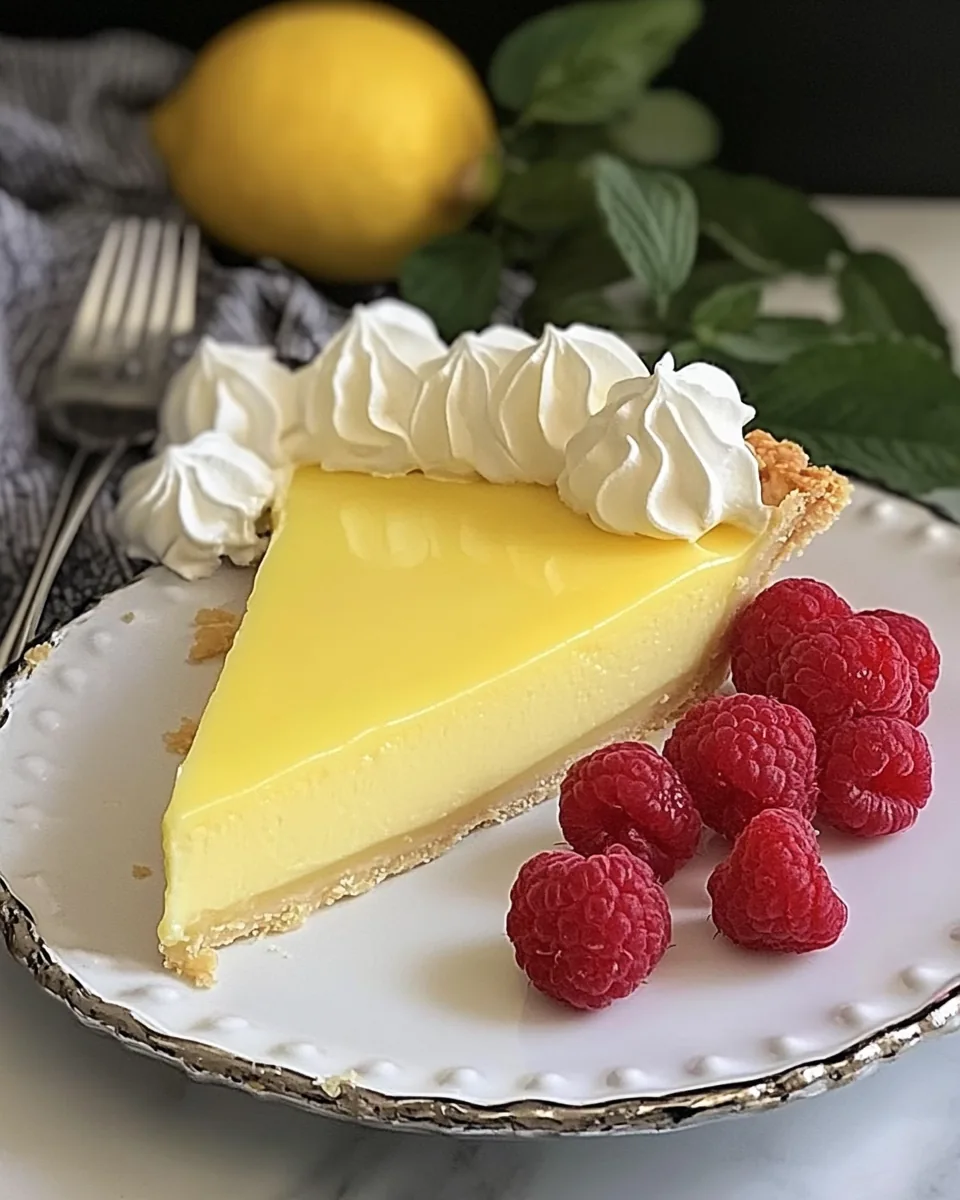
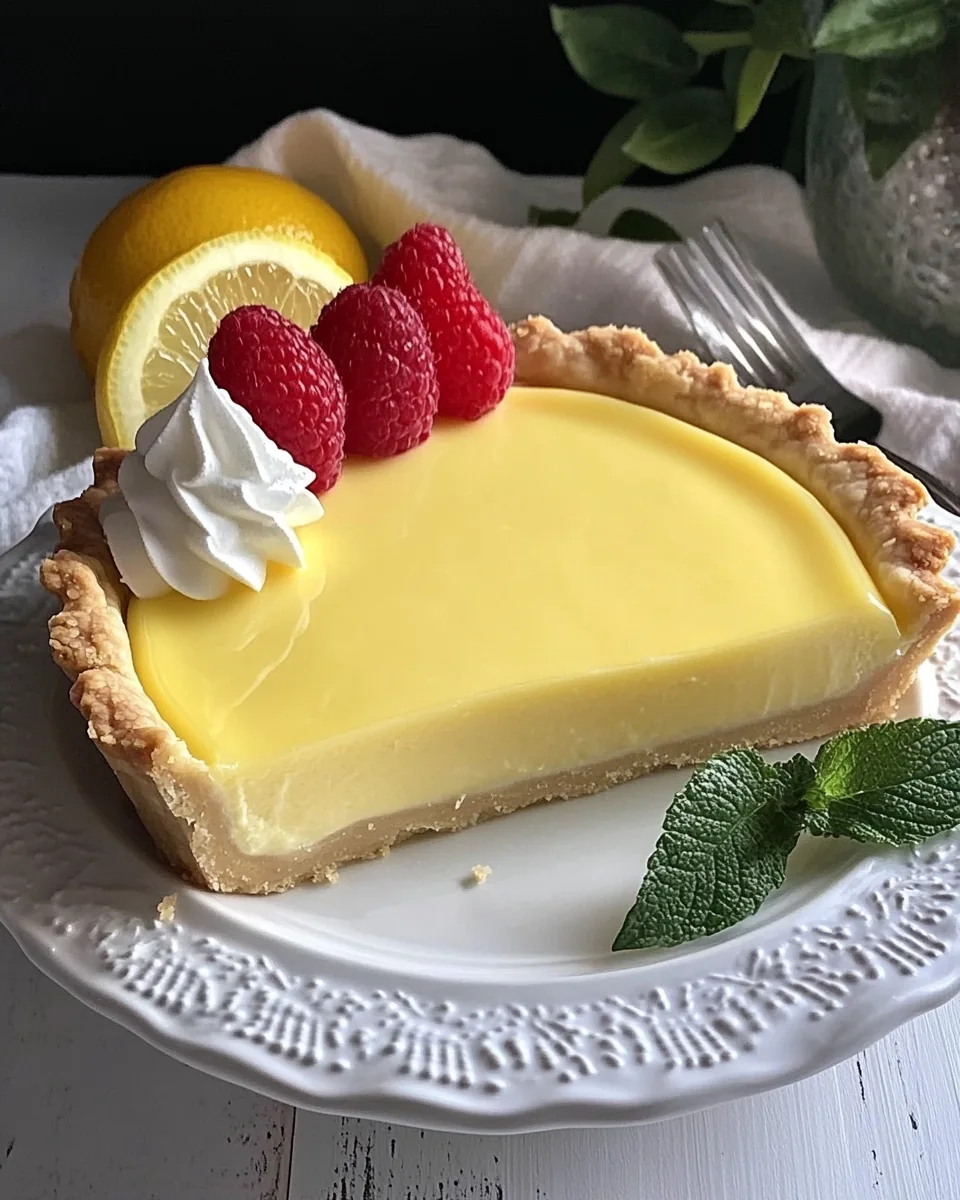
Creamy Lemon Tart
There’s something so inviting about a Creamy Lemon Tart, especially when the sun starts shining after a long winter. I remember the first time I made this dessert; it was for a spring gathering with friends. The moment I pulled it out of the fridge, the vibrant yellow filling caught everyone’s eye. The tangy aroma filled the kitchen, teasing our taste buds. As I cut the first slice, my heart raced with excitement. Would they love it as much as I do? With the first bite, it was pure magic! The creamy texture balanced perfectly with the zesty lemon flavor, making it a refreshing treat. Since then, this has become my go-to recipe for brunches, picnics, and even just a cozy night in.
Recipe Snapshot
60 mins
0 mins
0 mins
Medium
350 kcal
4 g
Gluten-Free, Low FODMAP
20 g
Saucepan, Large Pot, Grater, Mixing Bowl, Baking Sheet, Blender, Frying Pan, Whisk
There’s something about the combination of flavors in a Creamy Lemon Tart that keeps you coming back for more. The acidity of the lemons mingles beautifully with the sweetness of the sugar and the richness of the butter, creating a sensation that’s both indulgent and refreshing. Whenever I slice into this tart, I’m reminded of sunny days and laughter shared with loved ones. It’s the kind of dessert that brings people together, and I love making it for those special moments.
What’s Great About This Creamy Lemon Tart
1. Bright and Refreshing Flavor
The Creamy Lemon Tart is a delightful burst of citrus that dances on your palate. Its zesty lemon filling cuts through the sweetness, making it the perfect dessert after a hearty meal. You really can’t beat the freshness it brings, especially when the lemons are in season.
2. Versatile Dessert
This tart isn’t just for spring gatherings; it’s great for any occasion! Whether you’re celebrating a birthday, hosting a bridal shower, or just need a sweet treat for a quiet evening at home, this recipe fits the bill. You can also top it with fresh berries or whipped cream for extra flair.
3. Simple Ingredients
Another reason I adore this recipe is the simplicity of its ingredients. You likely have most of them in your pantry already. The combination of sugar, butter, eggs, and lemons creates a custard-like filling that’s divine. It’s amazing how such basic components can come together to create something so luxurious.
4. Perfect for Sharing
There’s a joy in sharing homemade desserts, and the Creamy Lemon Tart is sure to impress your friends and family. The bright color and delicious taste make it visually appealing and memorable. Trust me, this tart is sure to become a favorite among your loved ones.
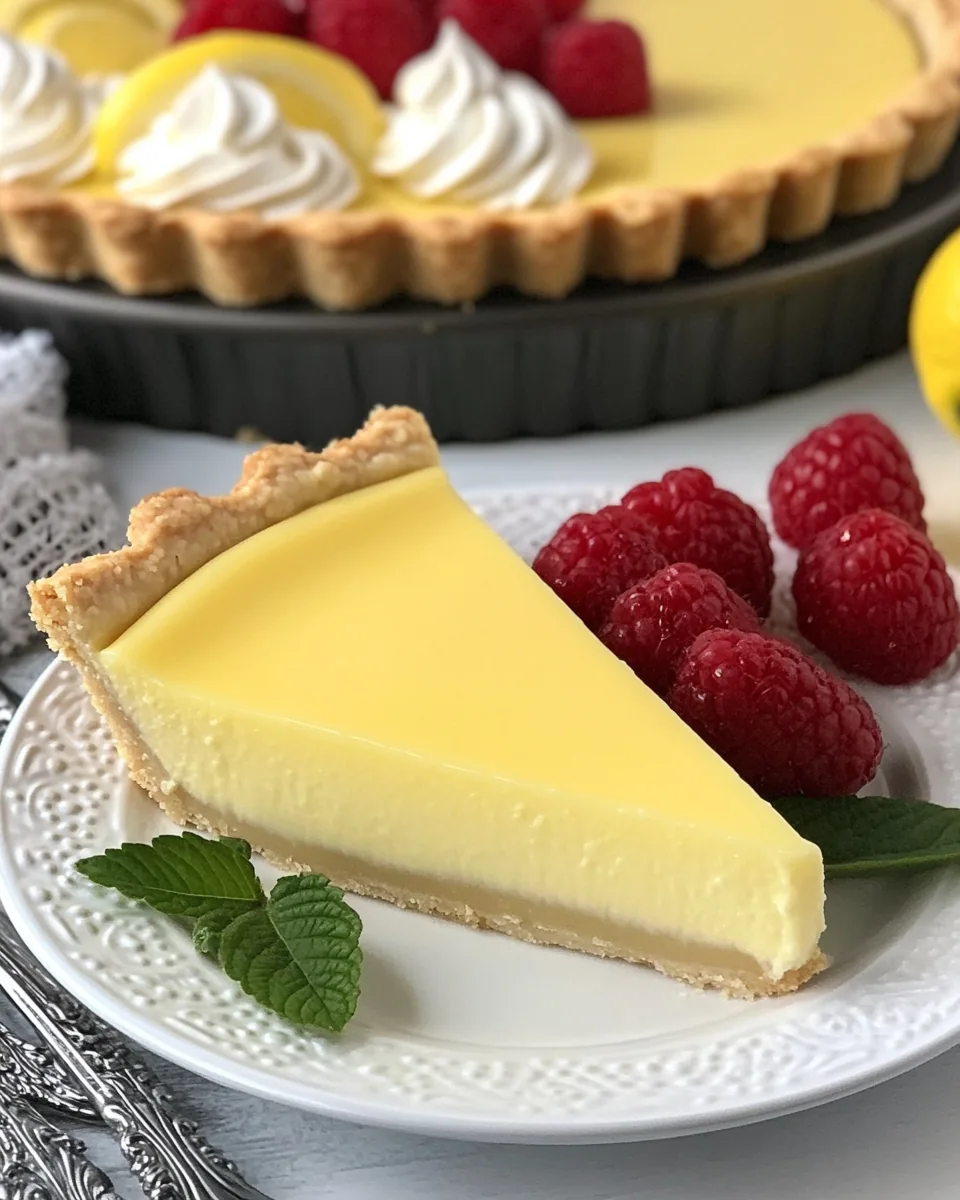
5. A Showstopper Dessert
Let’s not forget the presentation! When you serve a Creamy Lemon Tart, you’re not just serving a dessert, you’re creating an experience. The glossy lemon filling and crisp crust are a feast for the eyes. It’s guaranteed to be the star of the dessert table!
Creamy Lemon Tart Shopping List
When it comes to creating a delicious Creamy Lemon Tart, the ingredients are straightforward yet essential for that perfect balance of flavors. The star of this tart is undoubtedly the lemons, along with the rich butter that gives the filling its creamy texture. Each ingredient plays a vital role in achieving that delightful tartness paired with sweetness.
- 1 cup sugar: This will provide the sweetness needed to balance the tartness of the lemons. It’s essential for creating that smooth, delectable filling.
- Finely grated zest of 3 lemons: The zest adds a fragrant note that enhances the lemon flavor, making each bite even more vibrant.
- 4 eggs: Eggs are the binding agent that will help set the filling as it bakes, creating a rich custard-like texture.
- ¾ cup freshly squeezed lemon juice: Fresh juice is crucial for that tangy taste; avoid bottled juice for the best flavor.
- 2 sticks plus 5 tablespoons butter: This adds richness and creates a smooth, creamy filling that melts in your mouth.
- 1 9-inch pie crust or tart shell: Use a homemade or store-bought option; it provides the perfect base to hold the luscious filling.
Instructions for Creamy Lemon Tart
Making a Creamy Lemon Tart is an enjoyable process that may seem intimidating but is quite manageable. Let’s dive into the steps you’ll need to take to create this delightful dessert. Each step is filled with opportunities to infuse your personality into the tart!
- Start by setting up your double boiler. Fill a saucepan with a few inches of water and bring it to a gentle boil. Choose a bowl that fits snugly on top of the pan without touching the water. This setup allows for gentle heating, which is crucial for our custard.
- In your heat-proof bowl, combine 1 cup sugar and the finely grated zest of 3 lemons. Rub them together between your fingers for a minute or two. This process releases the oils from the zest, adding a beautiful fragrance and flavor to your mixture.
- Next, whisk in 4 eggs and then the ¾ cup freshly squeezed lemon juice. Whisk until everything is well combined and smooth.
- Place the bowl over the simmering water, making sure the bowl doesn’t touch the water. Keep whisking diligently. Monitor the mixture closely, and when it reaches a temperature of 180º F, you’ll notice it starting to thicken. This is key, as you want a smooth custard, not scrambled eggs.
- Once it thickens, remove the bowl from heat and strain the mixture into a blender. This step ensures that any bits of cooked egg are removed, leaving you with a silky custard.
- Let the mixture cool for about 10 minutes before blending it. Gradually add 2 sticks plus 5 tablespoons butter, cutting it into tablespoon-sized pieces. Blend on high until all the butter is incorporated and the filling is creamy.
- Pour the lemon filling into a container, pressing a piece of plastic wrap against the surface. This prevents a skin from forming; refrigerate it for at least 4 hours or overnight so it can set.
- When you’re ready to assemble the tart, simply whisk the filling again to loosen it. Spoon it into your pre-baked 1 9-inch pie crust or tart shell and smooth it out with an offset spatula for an elegant finish.
- For the best experience, serve it immediately! You can also chill it overnight if you want to make it ahead of time. The flavors deepen as it sits, making it even more delightful.
Things Worth Knowing
- Tip: Always use fresh lemons for the best flavor. The zest and juice from fresh lemons are key to a vibrant taste.
- Tip: Make sure to whisk continuously while the custard cooks to prevent any lumps from forming.
- Tip: If you prefer a sweeter tart, consider increasing the sugar slightly, but be cautious as too much sweetness can overpower the lemon.
- Tip: Cooling the filling before blending helps to achieve a smoother texture.
Tips and Tricks about Creamy Lemon Tart
Creating the perfect Creamy Lemon Tart comes with its own set of tips that can elevate your dessert game. Let’s dive into some handy insights!
- Storage: Store any leftovers in the fridge, tightly covered. It will keep for up to three days, but it’s best enjoyed fresh.
- Freezing: While the tart can be frozen, the texture may change upon thawing. If you must freeze it, do so without the crust, and defrost in the refrigerator before serving.
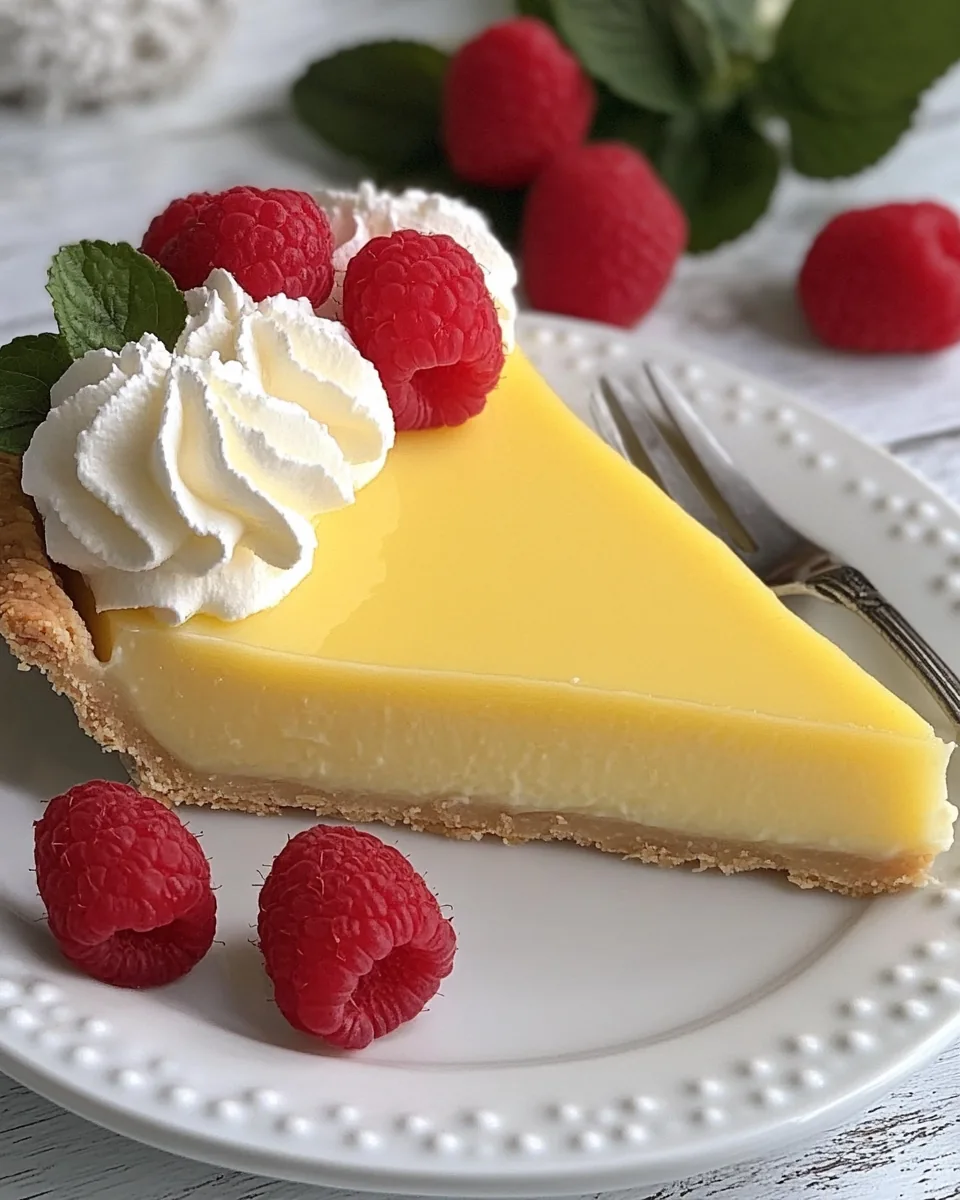
- Pairing: This tart pairs wonderfully with fresh berries on top or a dollop of whipped cream. Consider serving with a side of mint for added freshness.
- Presentation: Garnish with additional lemon zest or thin lemon slices for a stunning presentation that will wow your guests.
- Variations: Experiment with different citrus fruits! Orange or lime can add a unique twist to this classic tart.
Serving Suggestions
Serving a Creamy Lemon Tart can be as fun as making it! Here are some ideas on how to present this delightful dessert:
- Brunch Buffets: The tart stands out beautifully on any brunch table, making it a perfect fit for gatherings with friends and family.
- Summer Picnics: Pack slices of tart to take to a picnic. Its cool, creamy filling is refreshing on a warm day.
- Seasonal Occasions: This tart is delightful for spring celebrations such as Easter or Mother’s Day, adding a touch of brightness to the festivities.
- With Coffee or Tea: Serve slices alongside a cup of coffee or herbal tea for a lovely afternoon treat.
- Storage Tips: If you have leftover tart, store it in an airtight container in the refrigerator. It’s best consumed within three days.
- Pairing with Berries: Fresh berries like raspberries or blueberries complement the tart’s acidity and add a pop of color and flavor.
FAQ
Conclusion
The Creamy Lemon Tart is a wonderful dessert that combines brightness and richness in every bite. It’s not only visually appealing but also remarkably easy to make, making it a perfect choice for gatherings or a sweet treat at home. I encourage you to give this recipe a try; you won’t be disappointed!
Creamy Lemon Tart
Ingredients
Equipment
Method
- 1. Start by setting up your double boiler. Fill a saucepan with a few inches of water and bring it to a gentle boil. Choose a bowl that fits snugly on top of the pan without touching the water. This setup allows for gentle heating, which is crucial for our custard.
- 2. In your heat-proof bowl, combine 1 cup sugar and the finely grated zest of 3 lemons. Rub them together between your fingers for a minute or two. This process releases the oils from the zest, adding a beautiful fragrance and flavor to your mixture.
- 3. Next, whisk in 4 eggs and then the ¾ cup freshly squeezed lemon juice. Whisk until everything is well combined and smooth.
- 4. Place the bowl over the simmering water, making sure the bowl doesn’t touch the water. Keep whisking diligently. Monitor the mixture closely, and when it reaches a temperature of 180º F, you'll notice it starting to thicken. This is key, as you want a smooth custard, not scrambled eggs.
- 5. Once it thickens, remove the bowl from heat and strain the mixture into a blender. This step ensures that any bits of cooked egg are removed, leaving you with a silky custard.
- 6. Let the mixture cool for about 10 minutes before blending it. Gradually add 2 sticks plus 5 tablespoons butter, cutting it into tablespoon-sized pieces. Blend on high until all the butter is incorporated and the filling is creamy.
- 7. Pour the lemon filling into a container, pressing a piece of plastic wrap against the surface. This prevents a skin from forming; refrigerate it for at least 4 hours or overnight so it can set.
- 8. When you’re ready to assemble the tart, simply whisk the filling again to loosen it. Spoon it into your pre-baked 1 9-inch pie crust or tart shell and smooth it out with an offset spatula for an elegant finish.
- 9. For the best experience, serve it immediately! You can also chill it overnight if you want to make it ahead of time. The flavors deepen as it sits, making it even more delightful.
Notes
- Storage: Store any leftovers in the fridge, tightly covered. It will keep for up to three days, but it's best enjoyed fresh.
- Freezing: While the tart can be frozen, the texture may change upon thawing. If you must freeze it, do so without the crust, and defrost in the refrigerator before serving.
- Pairing: This tart pairs wonderfully with fresh berries on top or a dollop of whipped cream. Consider serving with a side of mint for added freshness.
- Presentation: Garnish with additional lemon zest or thin lemon slices for a stunning presentation that will wow your guests.
- Variations: Experiment with different citrus fruits! Orange or lime can add a unique twist to this classic tart.