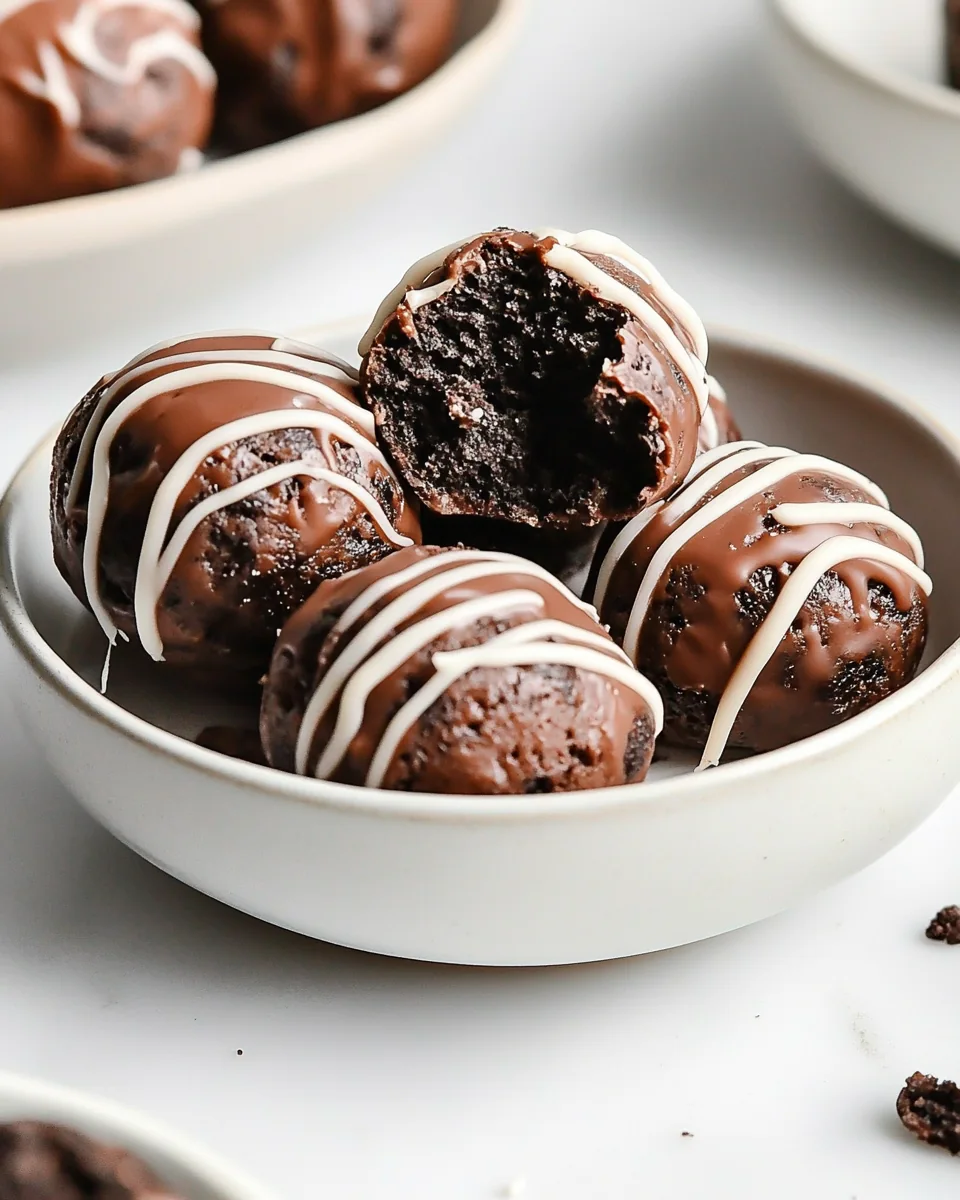
Easy Oreo Balls
When it comes to sweet treats, nothing quite satisfies like Easy Oreo Balls. I remember the first time I made these delightful little bites; it was for a friend’s birthday party, and I was looking for something that would impress without requiring hours in the kitchen. These delectable chocolate-covered bites quickly became a favorite among my friends and family! Their rich, creamy interior paired with a crunchy exterior captivates everyone’s taste buds and makes them a hit at any gathering.
Recipe Snapshot
15 mins
15 mins
0 mins
Easy
200 kcal
2 g
Keto, Gluten-Free, Low FODMAP
12 g
Mixing Bowl, Food Processor
Why This Easy Oreo Balls Stands Out
Quick and Simple to Make
One of the things I love about Easy Oreo Balls is how uncomplicated they are to prepare. With just a handful of ingredients, you can whip these up in no time. It’s a fantastic recipe to teach kids or to include in a fun cooking session with friends.
Perfect for Any Occasion
Whether it’s a holiday, birthday, or just a weekend treat, these Easy Oreo Balls can be dressed up or down. You can sprinkle them with festive decorations for Christmas or keep them classic for a simple dessert.
Customizable Flavors
While the classic version is heavenly, you can get adventurous by adding different flavors. Think about mixing in peanut butter or mint for a delightful twist!
Great for Sharing
These treats are perfect for sharing. I often make a large batch and take them to potlucks or family gatherings, where they disappear in minutes. Watching friends and loved ones enjoy them is truly rewarding.
Storage and Shelf Life
Another reason to adore Easy Oreo Balls is their fantastic storage capabilities. They keep well in the fridge and can be made ahead of time, making them a stress-free dessert option.
Ingredients Required for Easy Oreo Balls
To create your own Easy Oreo Balls, you’ll need a few key ingredients that work beautifully together. The combination of Oreo cookies and cream cheese results in a rich and creamy center, while the melting milk chocolate encasing adds a perfect touch of sweetness. This simple yet satisfying ingredient list is what makes these treats so special.
- Oreo cookies – About half a package or 18 cookies, crushed into fine crumbs. These form the base of our treat, providing that signature Oreo flavor and crunch.
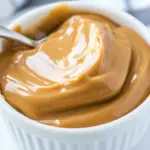
- Cream cheese – 4 ounces, softened to room temperature. This ingredient adds a creamy texture that binds the cookies together, giving the Oreo balls their luscious filling.
- Melting milk chocolate – 1 cup, used for coating the balls. This creates a beautiful and delicious outer layer that enhances the overall taste.
- Melting white chocolate – 1/4 cup, for drizzling and garnishing. This adds a decorative touch and a hint of sweetness on top of the dark chocolate.
Recipe Steps for Easy Oreo Balls
Making Easy Oreo Balls is straightforward, and you’ll find the process quite enjoyable. Follow these steps closely for the best results, and remember to take your time to enjoy each part of the making process.
- Start by placing the Oreo cookies in a food processor. Pulse them until you achieve fine crumbs. This should take only a few minutes. Be sure to reserve one tablespoon of crumbs for garnish later!
- Add the softened cream cheese to the crushed Oreos. Using a spatula or your hands, mix until the mixture is well combined and holds together. You should have a thick, sticky mixture that you can easily shape into balls.
- Next, line a baking sheet with parchment paper. This will prevent the Oreo balls from sticking. Using your hands, roll the Oreo mixture into small balls, about one inch in diameter. Place them on the prepared baking sheet.
- Now, it’s time to chill. Place the baking sheet with the rolled Oreo balls into the refrigerator for at least one hour. This step is crucial as it helps the balls firm up, making them easier to coat.
- While the balls are chilling, prepare the melting chocolate. In a microwave-safe bowl, melt the milk chocolate in increments, stirring frequently until smooth. Be careful not to overheat the chocolate to avoid burning.
- Once the Oreo balls are chilled, take them out of the refrigerator. Using a fork, dip each ball into the melted milk chocolate, ensuring they are fully coated. Allow the excess chocolate to drip off before placing them back onto the parchment-lined baking sheet.
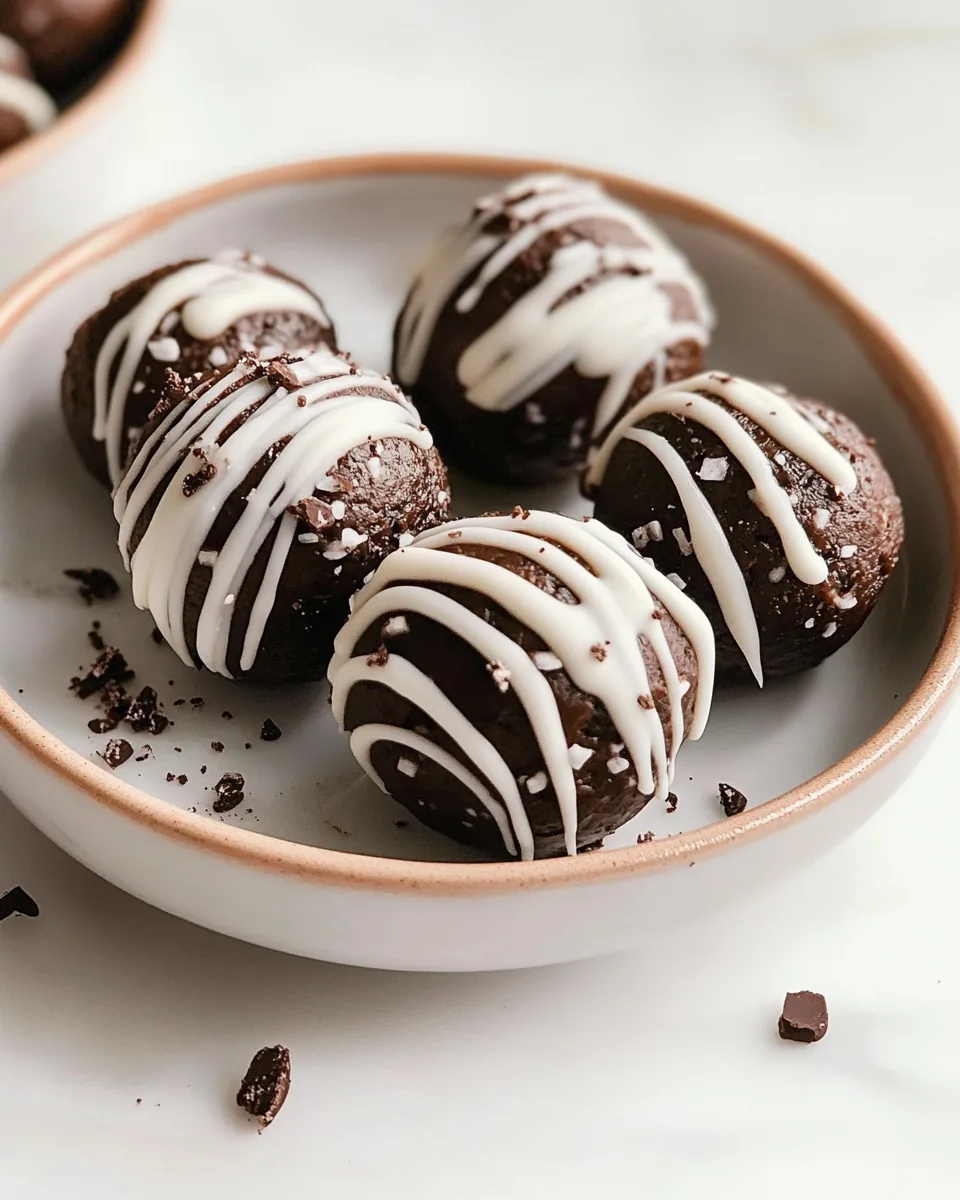
- For an extra touch, melt the white chocolate in a separate bowl. Drizzle it over the coated Oreo balls using a spoon or a piping bag. Lastly, sprinkle the reserved Oreo crumbs on top for garnish.
- Place the baking sheet back in the refrigerator to let the chocolate set fully. This should take about 15 to 30 minutes. Once set, you’re ready to serve your delicious Easy Oreo Balls!
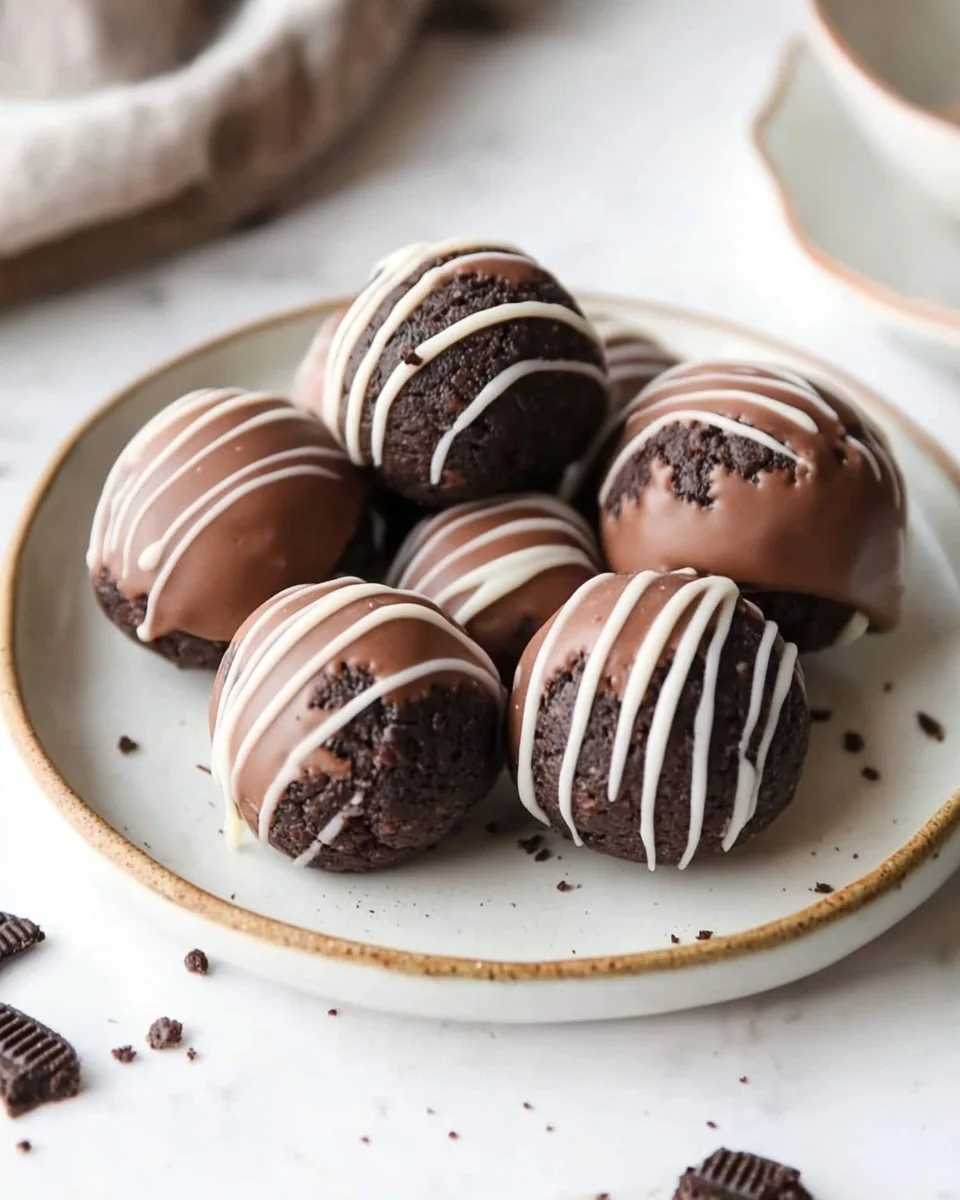
- For serving, you can present them on a nice plate or in a decorative box. They make for a delightful treat to share with family and friends!
Things Worth Knowing
- Texture Matters: Ensure your cream cheese is softened enough to blend easily with the Oreo cookies.
- Chilling Time: Don’t rush the chilling process; it helps the balls maintain their shape during coating.
- Chocolate Melting: Melt the chocolate in short bursts in the microwave to prevent it from seizing.
- Garnishing: Get creative! Use colored sprinkles or crushed nuts for a different topping.
Recipe Variations about Easy Oreo Balls
While the classic recipe for Easy Oreo Balls is simply divine, consider these variations to switch things up a bit.
- Flavor Infusions: Add a teaspoon of peppermint extract when mixing the cream cheese and cookie crumbs for a minty twist.
- Nutty Delight: Incorporate finely chopped nuts into the mixture for added crunch and flavor.
- Coconut Version: Mix in shredded coconut with the Oreo crumbs for a tropical flair.
- Dark Chocolate Coating: Use dark chocolate instead of milk chocolate for a richer taste.
- Cheesecake Style: Swap the cream cheese for an equal amount of cheesecake filling for a more indulgent experience.
Serving Ideas for Easy Oreo Balls
When it comes to serving Easy Oreo Balls, there are plenty of delightful ideas to explore. Here are some ways to present and enjoy them:
- Snack Time: Serve them as a sweet snack during movie nights. Their bite-sized nature makes them perfect for munching!
- Celebratory Treats: They are a great addition to any dessert table at birthdays, holidays, or family gatherings.
- Gift Giving: Package them in decorative boxes or jars for unique and delicious homemade gifts.
- Party Favors: Wrap them individually in clear cellophane for guests to take home after a party.
- Seasonal Themes: Decorate them with seasonal sprinkles or colors to match holiday themes.
FAQ
Conclusion
In summary, Easy Oreo Balls offer a delightful combination of flavor and simplicity, making them a perfect treat for any occasion. With just a few ingredients, you can create a dessert that’s both delicious and visually appealing. I encourage you to try making these at home—your friends and family will love them, and you might find yourself making them again and again!

Easy Oreo Balls
Ingredients
Equipment
Method
- Place the Oreo cookies in a food processor and pulse until they turn into fine crumbs. Reserve 1 tablespoon for garnish.
- Add the softened cream cheese to the rest of the Oreo crumbs and mix until well combined and held together.
- Line the baking sheet with parchment paper. Using your hands, roll the Oreo mixture into small balls, about 1 inch in diameter. Place them on the prepared baking sheet.
- Place the baking sheet in the refrigerator and let the Oreo balls chill for at least 1 hour.
- In a microwave-safe bowl, melt the chocolate until smooth. Using a fork, dip each chilled Oreo ball into the melted chocolate, coating them fully.
- Place the coated Oreo balls back onto the baking sheet and drizzle with some melted white chocolate and sprinkle with reserved Oreo crumbles.
Notes
- Storage: How to store leftovers in an airtight container in the fridge.
- Freezing: You can freeze these Oreo balls for up to 2 months. Just thaw them before serving.
- Pairing: Enjoy them with a cup of coffee or milk for a delightful treat.
- Variations: Experiment with different types of chocolate for coating.