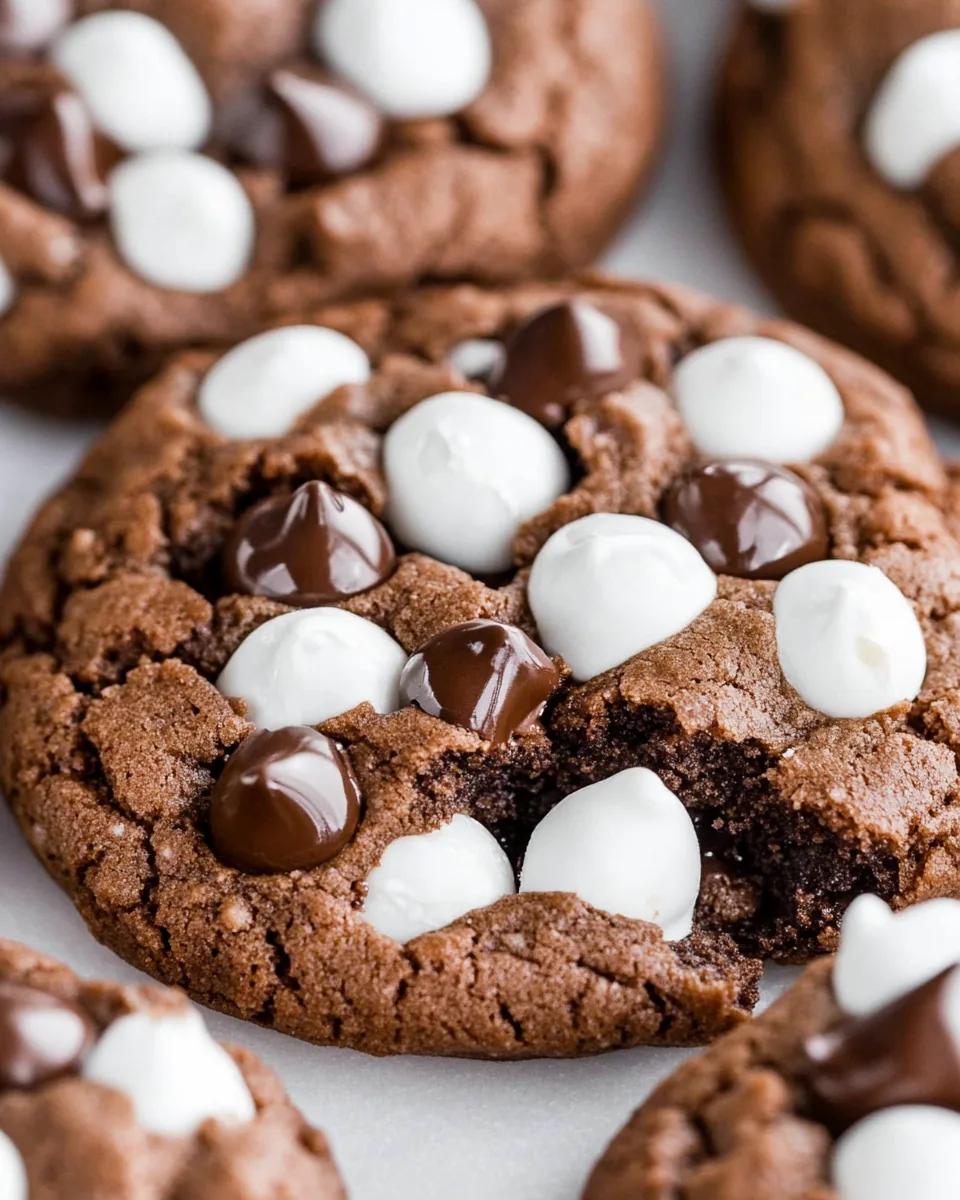
Hot Chocolate Cookies
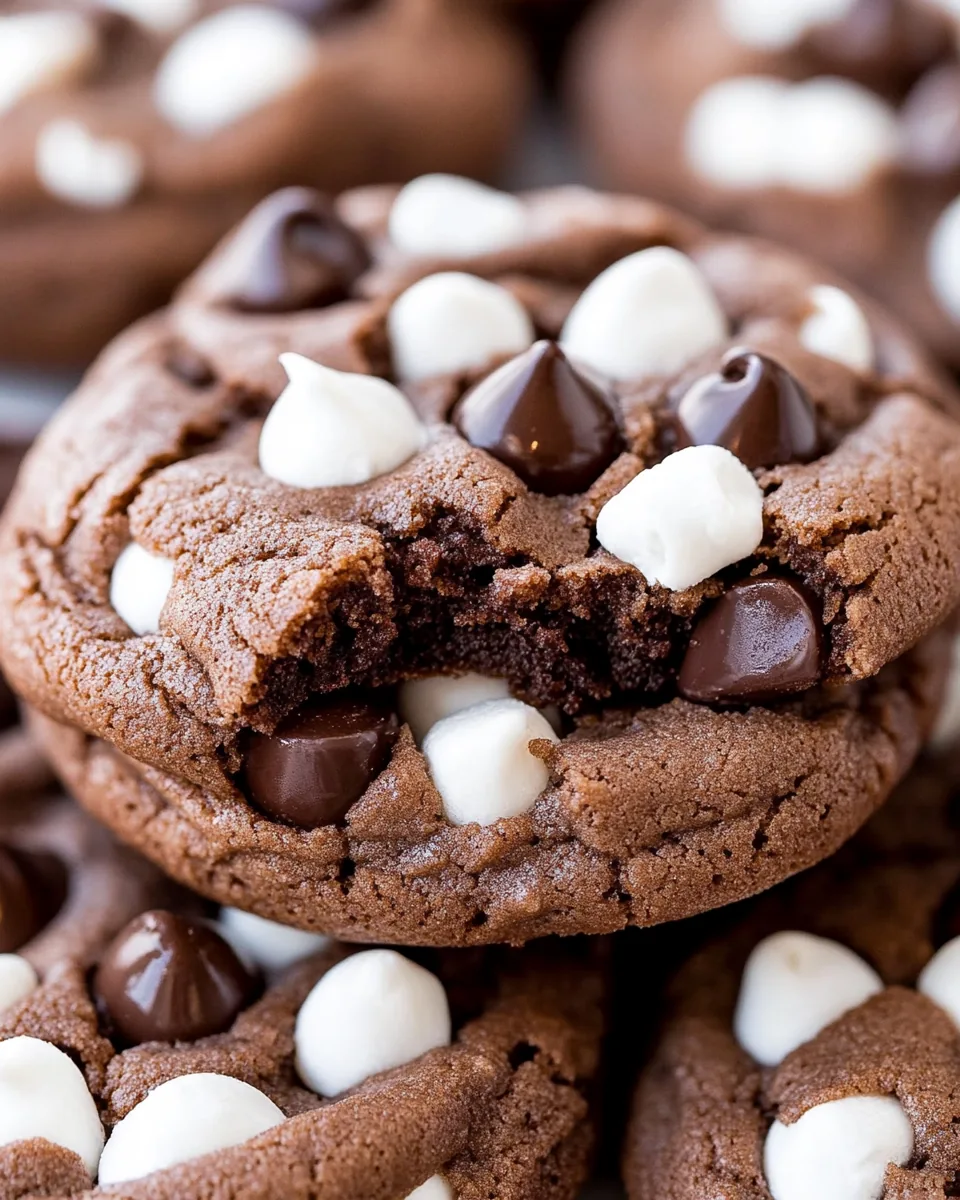
There’s something magical about the aroma of freshly baked cookies wafting through the house, and when it comes to Hot Chocolate Cookies, that magic is amplified! Picture a chilly winter afternoon, perhaps the first snowfall of the year. You’re wrapped in a cozy blanket, and the world outside is a shimmering wonderland. What could make this moment even better? A batch of warm, gooey Hot Chocolate Cookies fresh from the oven. Each bite is like a hug from the inside, oozing with chocolatey goodness that reminds me of childhood winters spent with family. We would gather around the kitchen, laughter mingling with the scent of melting chocolate, as these delightful cookies came to life.
Recipe Snapshot
30 mins
10 mins
20 mins
Medium
150 kcal
2 g
Vegan, Gluten-Free, AIP
7 g
Oven, Mixing Bowl, Baking Sheet, Blender, Wooden Spoon
The Magic of This Hot Chocolate Cookies
Rich Chocolate Flavor
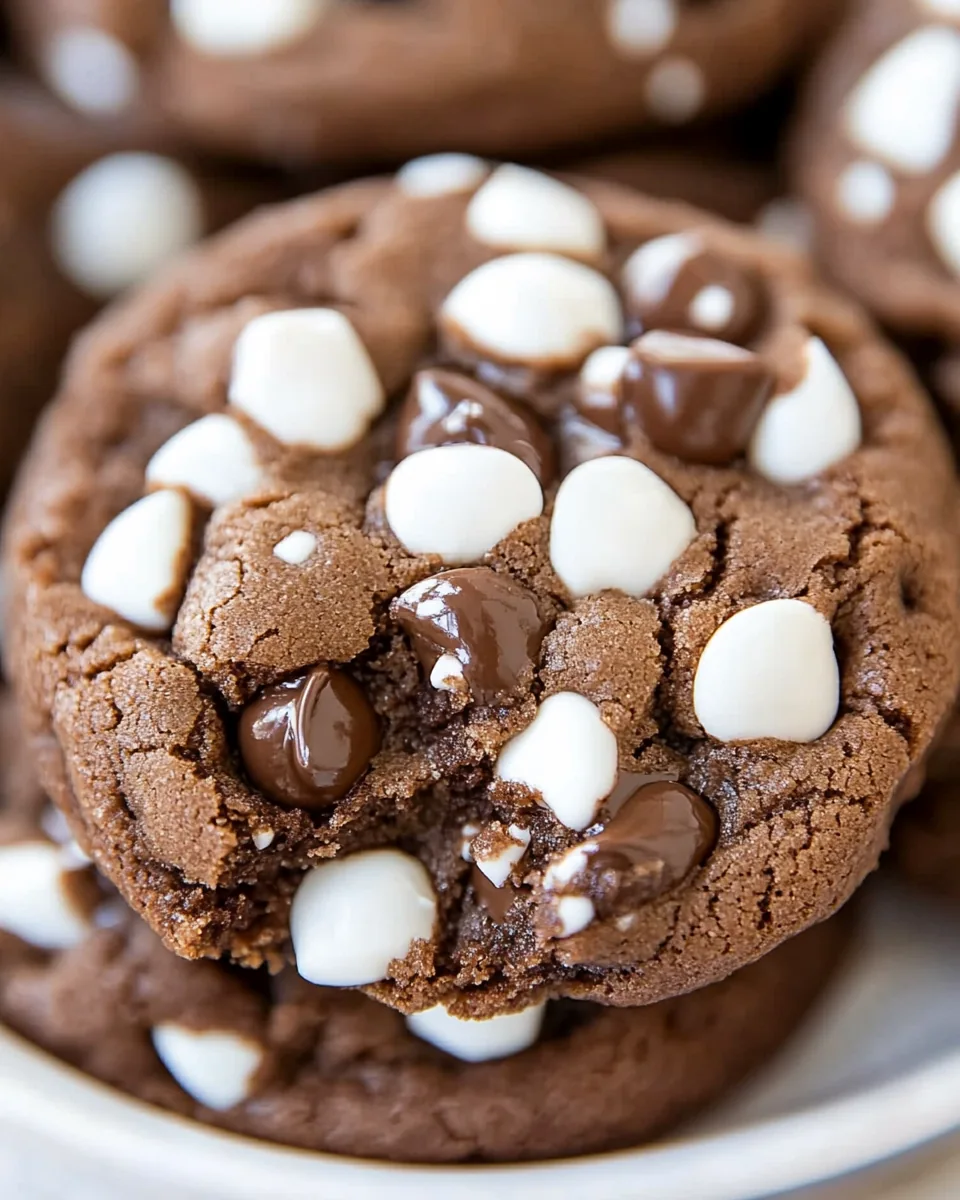
What sets these Hot Chocolate Cookies apart is their deep, rich chocolate flavor. The combination of chocolate chips and hot cocoa mix creates a dessert that’s not just sweet, but indulgently chocolatey, satisfying even the most serious chocolate cravings.
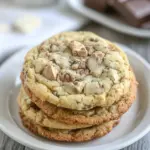
Warm and Chewy Texture
The best cookies have that perfect balance of soft and chewy textures, and these Hot Chocolate Cookies deliver! When you bite into one, the exterior is slightly crisp, while the inside remains wonderfully soft, giving you the ideal cookie experience.
Easy to Make
If you’re looking for a fun baking project, these cookies are just the ticket. With simple ingredients and straightforward steps, they’re perfect for bakers of all levels. You don’t need to be a pro to whip up a delicious batch of Hot Chocolate Cookies.
Perfect for Sharing
These cookies are a crowd-pleaser. Whether it’s a holiday gathering, a bake sale, or just a cozy night with friends, sharing a plate of warm Hot Chocolate Cookies brings smiles. Their inviting aroma and delicious taste create a joyful experience, making them ideal for any occasion.
Versatile and Customizable
One of the things I love most about these cookies is their adaptability. You can switch up the mix-ins, adding nuts or your favorite candy bars to personalize each batch. This versatility ensures you can always enjoy a new take on the familiar flavors of Hot Chocolate Cookies.
Key Ingredients for Hot Chocolate Cookies
The ingredients for Hot Chocolate Cookies come together to form a delightful symphony of flavors and textures. Each element plays a crucial role, contributing to the soft, chewy cookie that’s bursting with chocolatey goodness. Let’s take a closer look at the key players:
- Butter: Provides moisture and richness, creating a deliciously soft cookie.
- Sugar: Adds sweetness and helps with that beautiful golden color.
- Brown Sugar: Contributes a deeper, caramel-like flavor and more moisture.
- Eggs: Bind the ingredients together while adding richness.
- All-Purpose Flour: Forms the base of the cookie, giving it structure.
- Hot Cocoa Mix: The secret ingredient that infuses the cookies with chocolate and a hint of sweetness.
- Baking Powder and Baking Soda: Help the cookies rise and achieve the perfect texture.
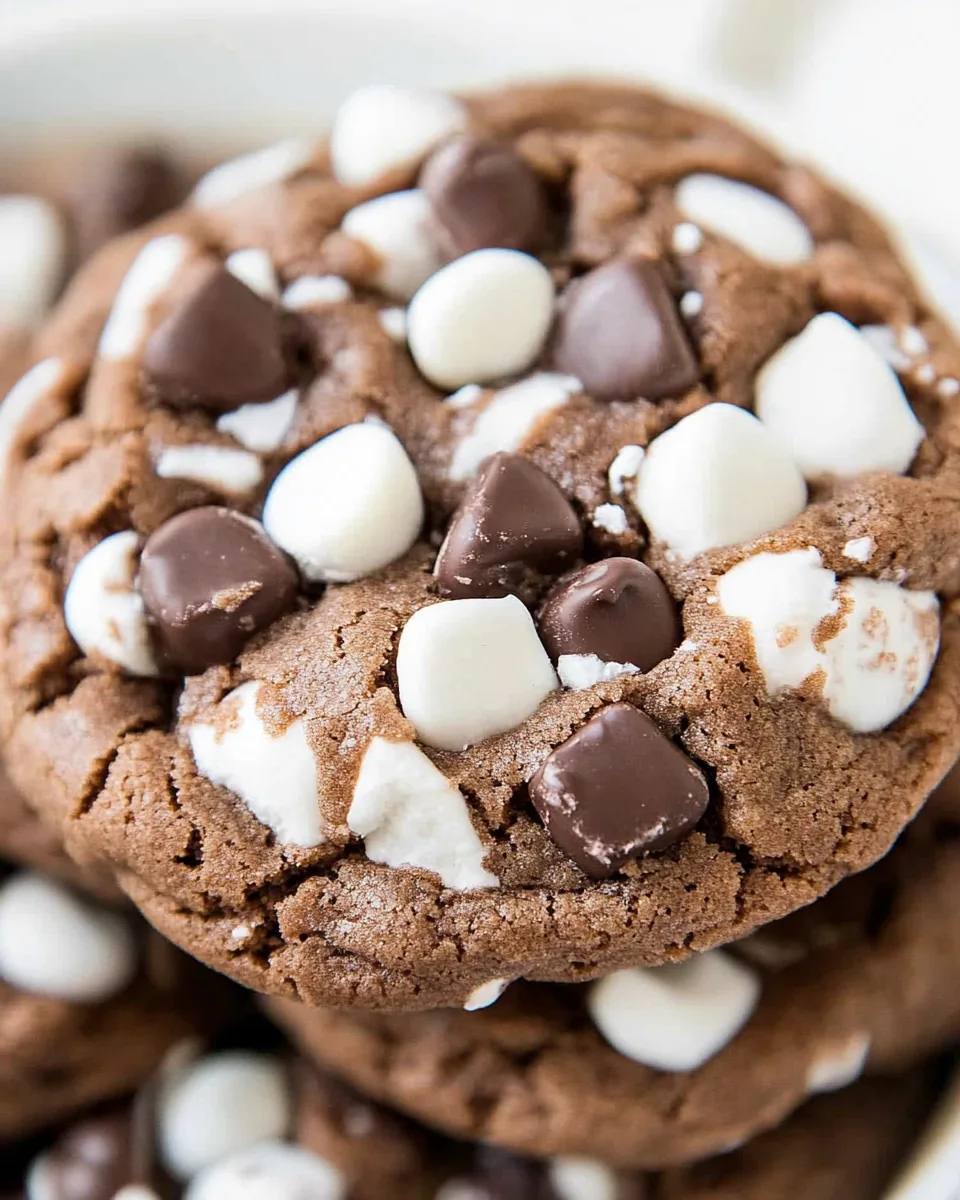
- Chocolate Chips: These melt in your mouth and take the chocolate flavor to new heights.
- Mallow Bits: Add a fun marshmallow surprise in every bite, reminiscent of your favorite hot cocoa.
Cooking Method for Hot Chocolate Cookies
Now that you have a good understanding of the ingredients, let’s dive into the cooking method for these delightful cookies. Baking is a wonderful combination of science and art, and I’m excited to share the process with you. Follow these detailed steps, and you’ll be enjoying warm Hot Chocolate Cookies in no time!
- Start by preheating your oven to 350 degrees Fahrenheit (this is a crucial step!). In a large mixing bowl, combine butter and both types of sugar—granulated and brown. Using a standing mixer, beat them together until the mixture is light and fluffy, which should take about 3 to 5 minutes. This step is essential as it incorporates air for a lighter cookie.
- Next, add in the eggs one at a time, mixing well after each addition. Don’t forget to add the vanilla here too, ensuring it’s evenly distributed into the batter. The mixture will look a bit thicker and creamier once everything is combined.
- In a separate bowl, whisk together the dry ingredients: your all-purpose flour, baking soda, baking powder, and salt. Gradually add this to your wet mixture, beating slowly until just blended. It’s important not to overmix here; you want everything combined without developing too much gluten.
- Once the dough is formed, gently fold in the chocolate chips and Mallow Bits. These mix-ins will create pockets of melted chocolate and surprise gooeyness in your cookies.
- Now, cover the dough and chill it in the refrigerator for at least 30 minutes. Chilling allows the flavors to meld together and makes the dough easier to work with, which in turn leads to better texture in your finished cookies.
- While the dough chills, you can line your baking sheets with silicone mats or parchment paper. This will prevent the cookies from sticking and ensure even baking.
- When you’re ready to bake, scoop out 2 tablespoons of dough and drop them onto your prepared baking sheets, making sure to leave about 2 inches of space between each scoop. This is important as the cookies will spread while baking.
- Pop the baking sheets into the preheated oven and bake for 9 to 11 minutes. You’re looking for the edges to be lightly browned while the centers remain soft. Don’t worry if they look a little underdone; they’ll continue to firm up as they cool.
- Allow the cookies to cool on the baking sheets for 5 minutes before transferring them to wire racks. This helps them hold their shape while cooling down and keeps the bottoms from getting too brown.
Things Worth Knowing
- Chilling the dough: This step isn’t just a suggestion; it truly enhances the flavor and texture of your cookies. Chilling allows the flour to fully hydrate and the flavors to deepen, resulting in a better cookie.
- Measuring flour: Always remember to spoon your flour into the measuring cup and level it off with a knife. Scooping directly from the bag can lead to packing, giving you too much flour and dense cookies.
- Don’t add liquid: If your dough seems thick, it’s meant to be! Avoid adding extra liquid; trust that this will yield a perfectly chewy cookie once baked.
- Watch the baking time: Every oven varies slightly, so start checking your cookies at the lower end of the baking time to ensure they don’t overbake.
Variations to Try
If you’re feeling adventurous in the kitchen, there’s always room to add your personal touch to these Hot Chocolate Cookies. Here are some fun variations that can keep things interesting:
- Add nuts: Chopped walnuts or pecans can provide a delightful crunch and balance the sweetness of the cookies.
- Mix in different chips: Swap out the chocolate chips for peanut butter or white chocolate chips for a unique flavor twist.
- Use flavored hot cocoa mix: Experiment with different brands and flavors of hot cocoa mix to create your own signature cookie.
- Make it double chocolate: For an extra chocolatey cookie, add a tablespoon of cocoa powder to your dry ingredients.
- Try a festive twist: During the holidays, consider adding crushed candy canes or seasonal spices like cinnamon and nutmeg to your cookie dough for a festive touch.
- Presentation: Drizzle some melted chocolate over the cooled cookies for added decoration and taste.
What Complements This Hot Chocolate Cookies
When it comes to serving Hot Chocolate Cookies, the possibilities are endless! Here are some ideas to make your cookie experience even more delightful:
- Pair with a warm beverage: Enjoy these cookies with a cup of hot cocoa or coffee for a cozy treat.
- Serve at gatherings: They’re perfect for holiday parties or family gatherings, providing a sweet bite that everyone will love.
- Store properly: Keep leftovers in an airtight container at room temperature for up to one week, ensuring they stay soft and chewy.
- Freezing: You can freeze the cookie dough for later use. Just scoop it onto baking sheets, freeze until solid, then transfer to a zip-top bag. Bake from frozen, adding a couple of extra minutes to the bake time.
- Seasonal pairings: These cookies are especially wonderful in winter, but they can be enjoyed all year round. Consider serving them with ice cream in the summer!
FAQ
Conclusion
These Hot Chocolate Cookies are truly a special treat, combining the comforting flavors of hot chocolate with the joy of freshly baked cookies. With a rich chocolate flavor and a chewy texture, they’re perfect for sharing during the holiday season or enjoying on a cozy night in. I encourage you to try this recipe; it’s sure to become a favorite in your household. Happy baking!
Hot Chocolate Cookies
Ingredients
Equipment
Method
- Beat butter and sugars in a large bowl with a standing mixer until light and fluffy.
- Add eggs and vanilla; mix well.
- In a separate bowl, combine dry ingredients.
- Gradually beat dry ingredients into butter mixture until blended.
- Stir in chocolate chips and Mallow Bits.
- Cover and chill for at least 30 minutes and up to 24 hours.
- When ready to bake, preheat oven to 350 degrees.
- Drop 2 tablespoons of dough, 2 inches apart, onto baking sheets lined with silicone baking mats or parchment paper.
- Bake for 9 to 11 minutes or until edges are lightly browned.
- Cool on baking sheets for 5 minutes; remove to wire racks and cool.
Notes
- Dry dough: This is a somewhat dry cookie dough. Don’t freak out if your dough is thick and dry, and don’t add additional liquid to it! It’s a dry dough! Dry dough does not equal a dry cookie, have faith!
- For a flatter cookie: Use 3 cups flour. For a more compact and taller cookie, use 3 and 1/4 cups flour, and chill your dough for longer than 30 minutes.
- Measuring flour: When measuring flour, stir it then spoon it into your measuring cup and level off. Never scoop your flour directly from the bag.
- Hot cocoa mix: A simple hot cocoa mix works best with these. Flavored hot cocoa’s can have other ingredients that impact the recipe. I typically make this recipe with Swiss Miss Hot Chocolate.
- Chilling dough: The longer you chill the dough, the better flavor and appearance you’ll end up with.