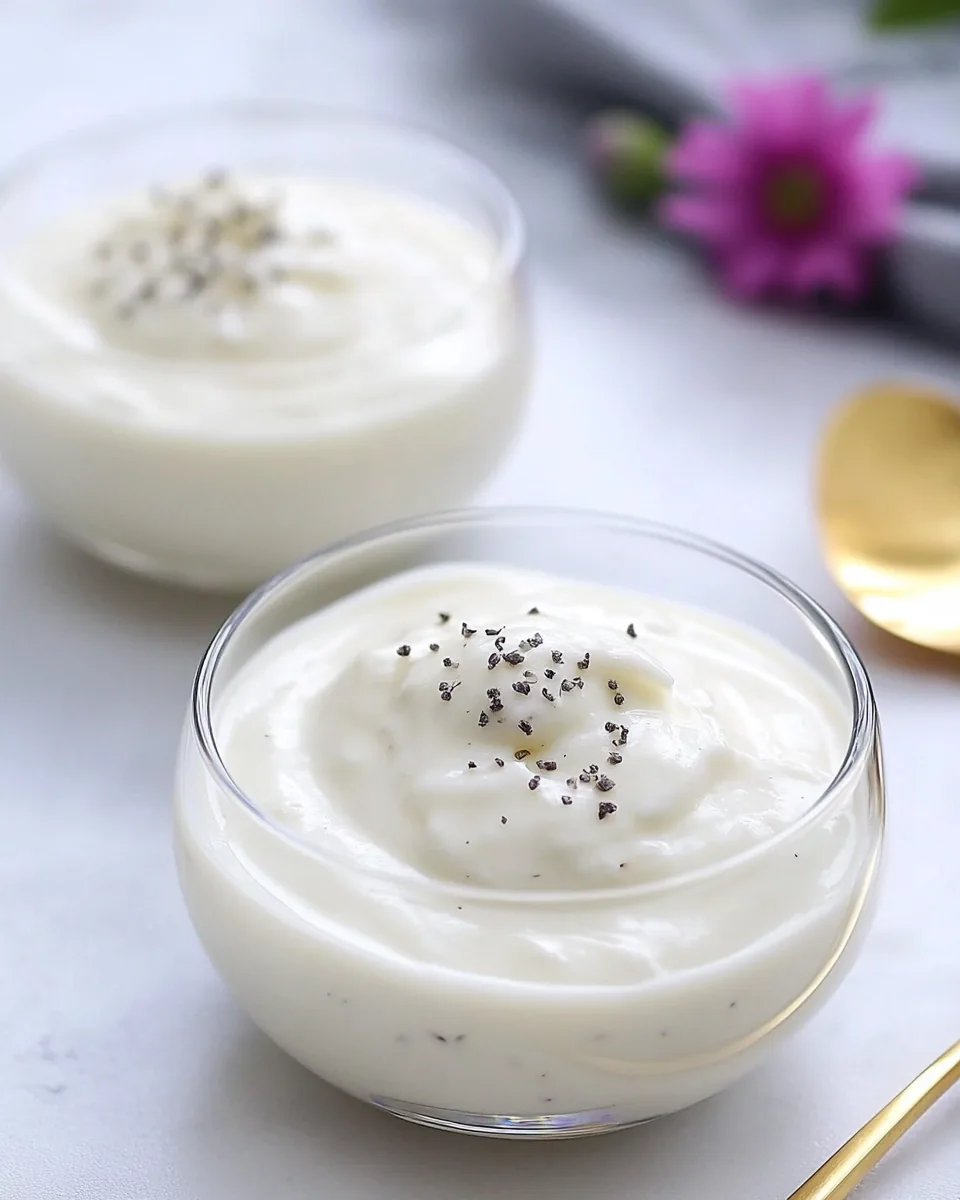
Instant Pot Coconut Milk Yogurt
When I first discovered how to make Instant Pot Coconut Milk Yogurt, it felt like unlocking a hidden treasure in my kitchen. I remember standing there, curious and excited, as I gathered my ingredients. The thought of creating a creamy, luscious yogurt from just a few simple ingredients was thrilling. Being vegan, I often missed that silky yogurt texture, and this recipe was the perfect answer. Each spoonful of my homemade yogurt became a little celebration—whether topped with fresh fruits, drizzled with honey, or simply enjoyed plain. The best part? It’s entirely dairy-free, yet rich and satisfying. I often find myself making a batch to share with friends, who are always amazed at how simple and delightful it is to whip up homemade yogurt in an Instant Pot. Come join me on this culinary adventure!
Recipe Snapshot
60 mins
0 mins
0 mins
Medium
200 kcal
3 g
Keto, Gluten-Free, Low FODMAP
18 g
Skillet, Large Pot, Mixing Bowl, Instant Pot, Food Processor, Wooden Spoon, Whisk
Why This Instant Pot Coconut Milk Yogurt Hits Different
Health Benefits
One of the main reasons I love making Instant Pot Coconut Milk Yogurt is its health benefits. This yogurt is not only dairy-free but also loaded with probiotics. These beneficial bacteria aid digestion and can enhance your gut health. I’ve found that incorporating homemade yogurt into my diet has improved my overall well-being.
Easy to Make
The simplicity of this recipe is a game-changer. With just a few ingredients and the help of an Instant Pot, you can create a creamy yogurt in your own kitchen. It’s so easy that even beginners can confidently try their hand at it without feeling overwhelmed.
Customizable
Another aspect I adore is how customizable this recipe is. You can add your favorite flavors, whether it’s a splash of maple syrup, a hint of cinnamon, or even some fresh fruits once it’s set. You can tailor it to suit your taste preferences.
Budget-Friendly
Making Instant Pot Coconut Milk Yogurt at home is a cost-efficient alternative to store-bought varieties. Not only do you save money, but you also know exactly what goes into it. This means no additives or preservatives—just wholesome goodness.
Great for Meal Prep
This yogurt is perfect for meal prep. I love making a large batch at the beginning of the week and using it in breakfast bowls, smoothies, or even desserts. Having it ready to go saves time and ensures I make healthy choices throughout the week.
Essential Ingredients for Instant Pot Coconut Milk Yogurt
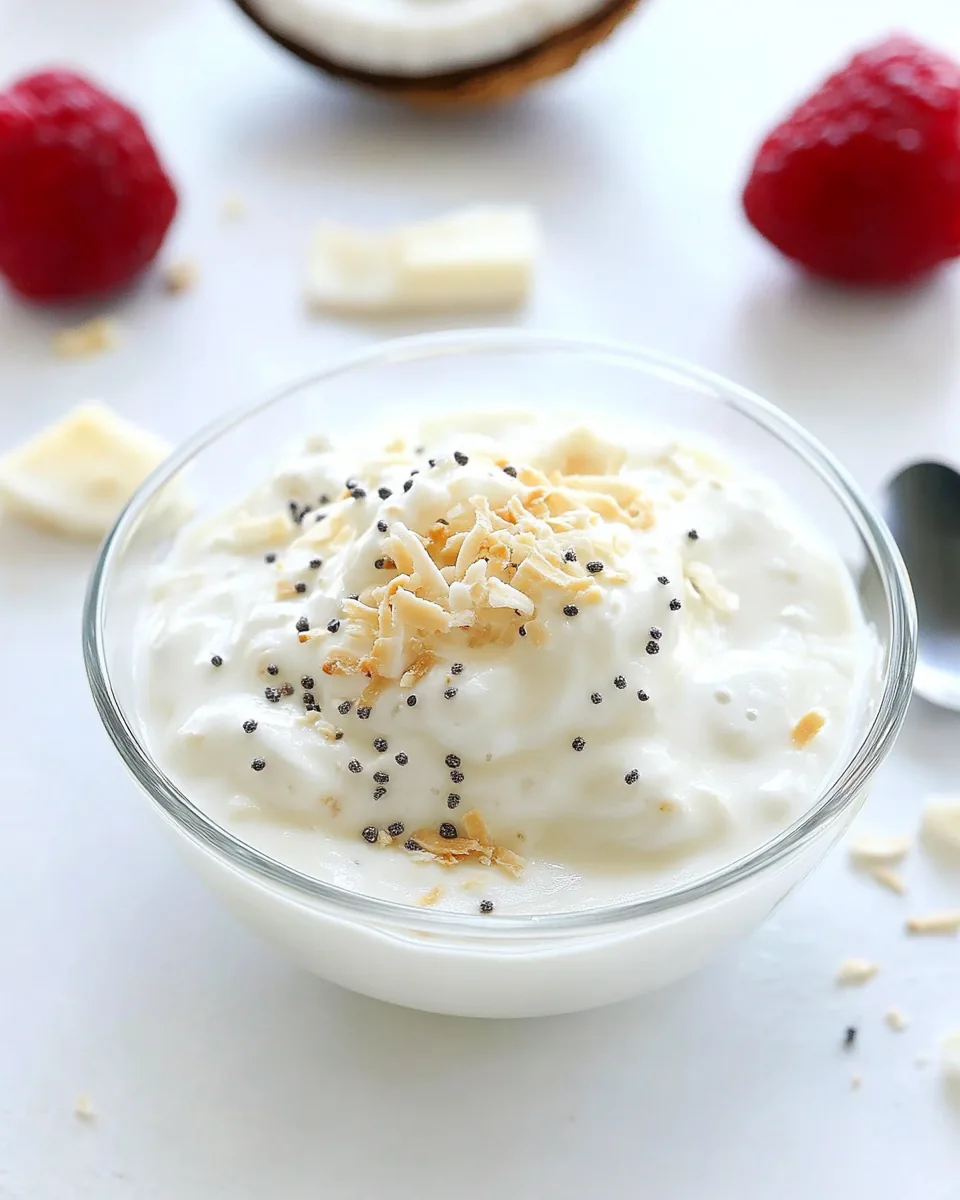
When it comes to the ingredients for Instant Pot Coconut Milk Yogurt, each one plays a vital role in achieving that perfect creamy texture and taste. The combination of full-fat coconut milk with agar agar creates a rich base, while the probiotic powder ensures the yogurt cultures. Let’s explore these ingredients in more detail.
- 2 cans full-fat coconut milk: This is the star of the show. Full-fat coconut milk provides the creaminess that makes this yogurt incredibly delicious and satisfying. It’s rich in healthy fats and gives the yogurt a luscious texture.
- 1 tablespoon agar agar flakes: Often used as a vegetarian alternative to gelatin, agar agar helps thicken the yogurt. Unlike gelatin, it’s made from seaweed, making it perfect for vegan recipes.
- 1 tablespoon maple syrup: This natural sweetener adds a touch of sweetness to the yogurt. It’s a fantastic way to enhance the flavor without using refined sugars.
- 1 teaspoon probiotic powder: The magic ingredient! Probiotic powder contains live cultures that ferment the coconut milk, turning it into yogurt. It’s essential for creating that tangy flavor and creamy texture.
Recipe Steps for Instant Pot Coconut Milk Yogurt
Making homemade yogurt in the Instant Pot might sound daunting, but I assure you it’s a straightforward process. With just a few steps, you’ll have a delicious, creamy yogurt ready to enjoy. Let’s dive into the steps together!
- First things first, make sure that all of your equipment is sterilized. You can do this by using boiling water or running the items through a dishwasher cycle. This is crucial as it helps prevent any bad bacteria from forming on your yogurt.
- Now it’s time to combine your ingredients. In the bowl of your Instant Pot, pour in the coconut milk and sprinkle in the agar flakes. Stir the mixture well to combine the ingredients.
- Next, turn on your Instant Pot and press the sauté button to bring the mixture to a boil. Make sure to whisk continuously to help the agar flakes dissolve completely as the mixture heats up.
- Keep an eye on the mixture until it reaches a rolling boil or 180ºF on your thermometer. At this point, turn off the Instant Pot and give it a good stir to ensure everything is well combined.
- Now, add the maple syrup to the hot mixture and stir it in. This step adds a lovely sweetness that balances the tanginess of the yogurt.
- Once combined, let the mixture cool down to 110 to 115ºF. You can test the temperature by touching the bowl or using a thermometer. The mixture should feel warm but not hot to your finger.
- If you want to speed up the cooling process, place the Instant Pot bowl in an ice water bath, but be careful not to let it cool down too much.
- When the mixture has cooled to the right temperature, add in the probiotic powder and stir well to ensure it’s evenly distributed throughout the mixture.
- Now it’s time to ferment! Press the “Yogurt” button on the Instant Pot and use the arrows to set your desired fermentation time. For a tangier yogurt, I recommend 18 to 24 hours, but if you prefer a milder flavor, 8 to 10 hours will do.
- Once the fermentation time is complete, taste your yogurt to check if it’s tart enough for your liking. Remember, it might still look watery and separated, but that’s completely normal.
- If all is well, pour your yogurt into a clean jar with a lid and store it in the fridge to set. The yogurt will thicken as it chills.
- When ready to serve, stir the yogurt well if it has separated a bit. Enjoy it for at least a week, if not longer, in the fridge!
Things Worth Knowing
- Fermentation Time Variation: The length of fermentation affects the yogurt’s tartness. If you prefer a milder yogurt, ferment for a shorter time.
- Storage: Homemade yogurt can separate in the fridge. Simply stir before serving for the best consistency.
- Using Different Milks: While coconut milk is fantastic, you can experiment with other plant-based milks, but results may vary.
- Temperature Control: Keeping the fermentation temperature steady is key for success. Avoid letting it drop below 110ºF.
Helpful Hints
Making yogurt at home can be an adventure, and I’ve learned quite a few tips along the way. Here are some helpful hints to guide you through making Instant Pot Coconut Milk Yogurt successfully:
- Storage: After making your yogurt, store it in a sealed jar in the fridge. It will keep well for at least a week, and the flavor may deepen.
- Freezing: You can freeze yogurt if you want to store it for longer periods. Just ensure it’s in a suitable container, and thaw it in the fridge before using.
- Pairing: Enjoy your yogurt as a breakfast base with granola and fruit, or use it as a topping for desserts to add a creamy touch.
- Flavoring: Feel free to mix in your favorite flavors, such as fruit purees or spices, after the yogurt has set.
- Consistency: If you prefer a thicker yogurt, you can strain it through cheesecloth after it’s fermented to achieve your desired texture.
Serving Options for Instant Pot Coconut Milk Yogurt
There are countless ways to serve and enjoy your Instant Pot Coconut Milk Yogurt, making it a versatile ingredient in your kitchen. Here are some serving ideas to inspire you:
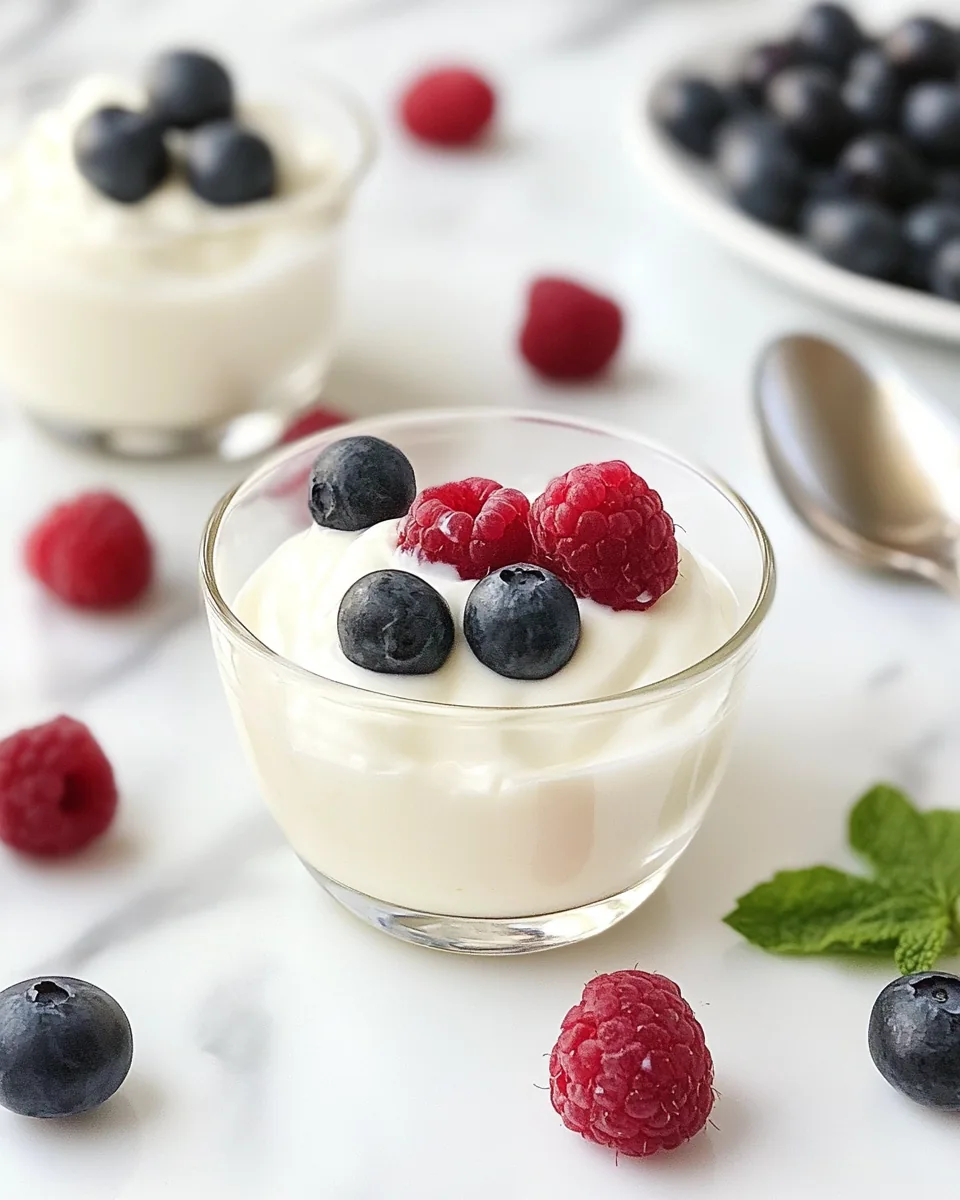
- Breakfast Bowls: Top your yogurt with granola, nuts, and fresh fruits for a satisfying breakfast. The combination of textures and flavors is delightful.
- Smoothies: Blend the yogurt into smoothies for a creamy consistency. It adds a protein boost and pairs beautifully with berries or banana.
- Parfaits: Layer the yogurt with fruit and a sprinkle of granola in a glass for a beautiful and tasty parfait that’s perfect for any occasion.
- Desserts: Use the yogurt as a topping for cakes or as a base for sauces. It adds a creamy touch to your favorite desserts.
- Snacks: Enjoy it as a healthy snack on its own or with a drizzle of honey. It’s perfect for when you crave something light yet satisfying.
- Seasonal Options: Incorporate seasonal fruits or spices into your yogurt for a refreshing twist that changes with the seasons.
FAQ
Conclusion
Making Instant Pot Coconut Milk Yogurt at home is truly rewarding. Not only do you get to enjoy a creamy and delicious yogurt, but you also have the freedom to customize it to your taste. I encourage you to give this recipe a try! You might just discover a new kitchen favorite that becomes a staple in your home.

Instant Pot Coconut Milk Yogurt
Ingredients
Equipment
Method
- 1. First things first, make sure that all of your equipment is sterilized. You can do this by using boiling water or running the items through a dishwasher cycle. This is crucial as it helps prevent any bad bacteria from forming on your yogurt.
- 2. Now it’s time to combine your ingredients. In the bowl of your Instant Pot, pour in the coconut milk and sprinkle in the agar flakes. Stir the mixture well to combine the ingredients.
- 3. Next, turn on your Instant Pot and press the sauté button to bring the mixture to a boil. Make sure to whisk continuously to help the agar flakes dissolve completely as the mixture heats up.
- 4. Keep an eye on the mixture until it reaches a rolling boil or 180ºF on your thermometer. At this point, turn off the Instant Pot and give it a good stir to ensure everything is well combined.
- 5. Now, add the maple syrup to the hot mixture and stir it in. This step adds a lovely sweetness that balances the tanginess of the yogurt.
- 6. Once combined, let the mixture cool down to 110 to 115ºF. You can test the temperature by touching the bowl or using a thermometer. The mixture should feel warm but not hot to your finger.
- 7. If you want to speed up the cooling process, place the Instant Pot bowl in an ice water bath, but be careful not to let it cool down too much.
- 8. When the mixture has cooled to the right temperature, add in the probiotic powder and stir well to ensure it’s evenly distributed throughout the mixture.
- 9. Now it’s time to ferment! Press the “Yogurt” button on the Instant Pot and use the arrows to set your desired fermentation time. For a tangier yogurt, I recommend 18 to 24 hours, but if you prefer a milder flavor, 8 to 10 hours will do.
- 10. Once the fermentation time is complete, taste your yogurt to check if it’s tart enough for your liking. Remember, it might still look watery and separated, but that’s completely normal.
- 11. If all is well, pour your yogurt into a clean jar with a lid and store it in the fridge to set. The yogurt will thicken as it chills.
- 12. When ready to serve, stir the yogurt well if it has separated a bit. Enjoy it for at least a week, if not longer, in the fridge!
Notes
- If you don't have an Instant Pot: Make this yogurt on the stove top. Simply bring the milk to a rolling boil on the stove top and dissolve the agar flakes by stirring with a whisk.
- Storage: After making your yogurt, store it in a sealed jar in the fridge. It will keep well for at least a week, and the flavor may deepen.
- Freezing: You can freeze yogurt if you want to store it for longer periods. Just ensure it’s in a suitable container, and thaw it in the fridge before using.
- Pairing: Enjoy it as a healthy snack on its own or with a drizzle of honey. It’s perfect for when you crave something light yet satisfying.
- Flavoring: Feel free to mix in your favorite flavors, such as fruit purees or spices, after the yogurt has set.