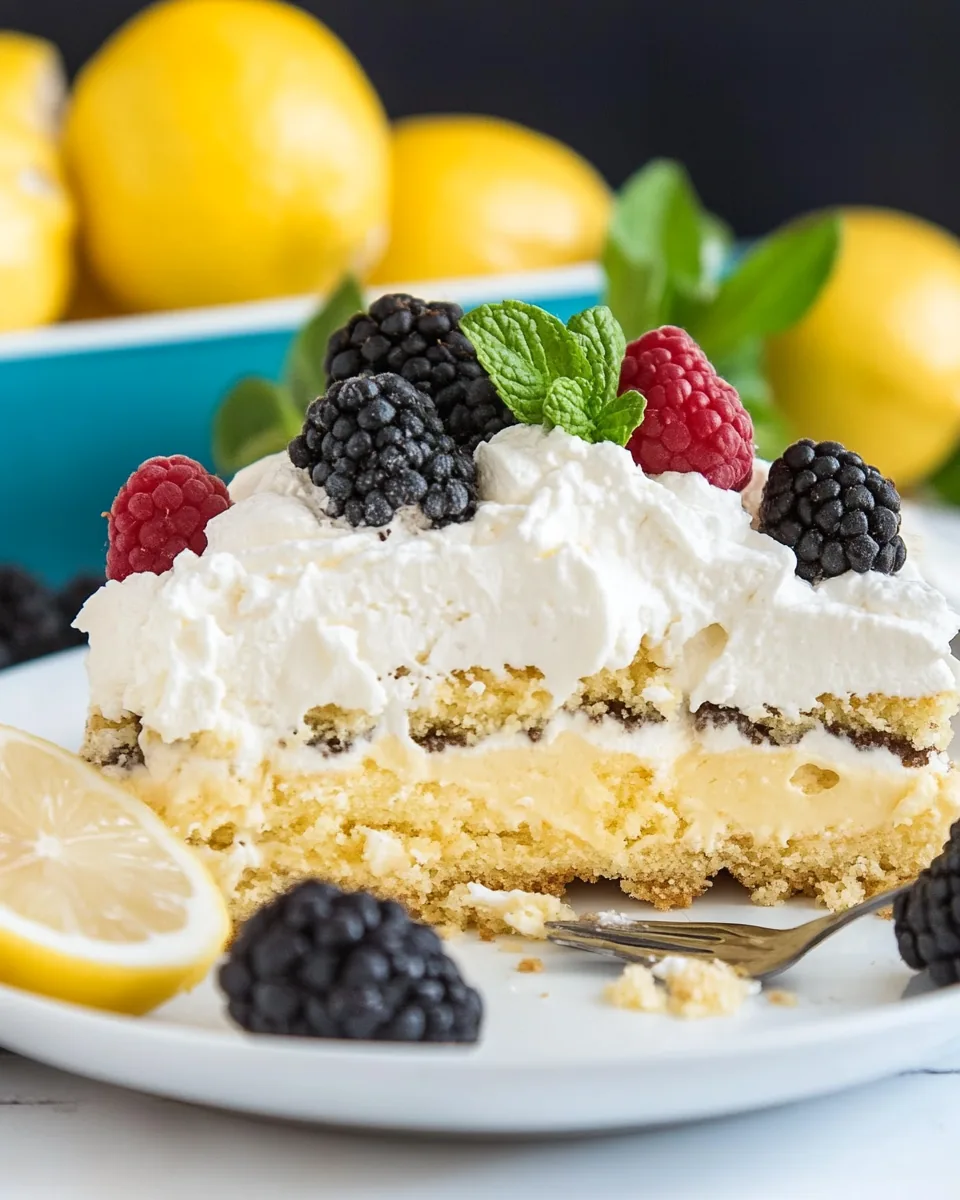
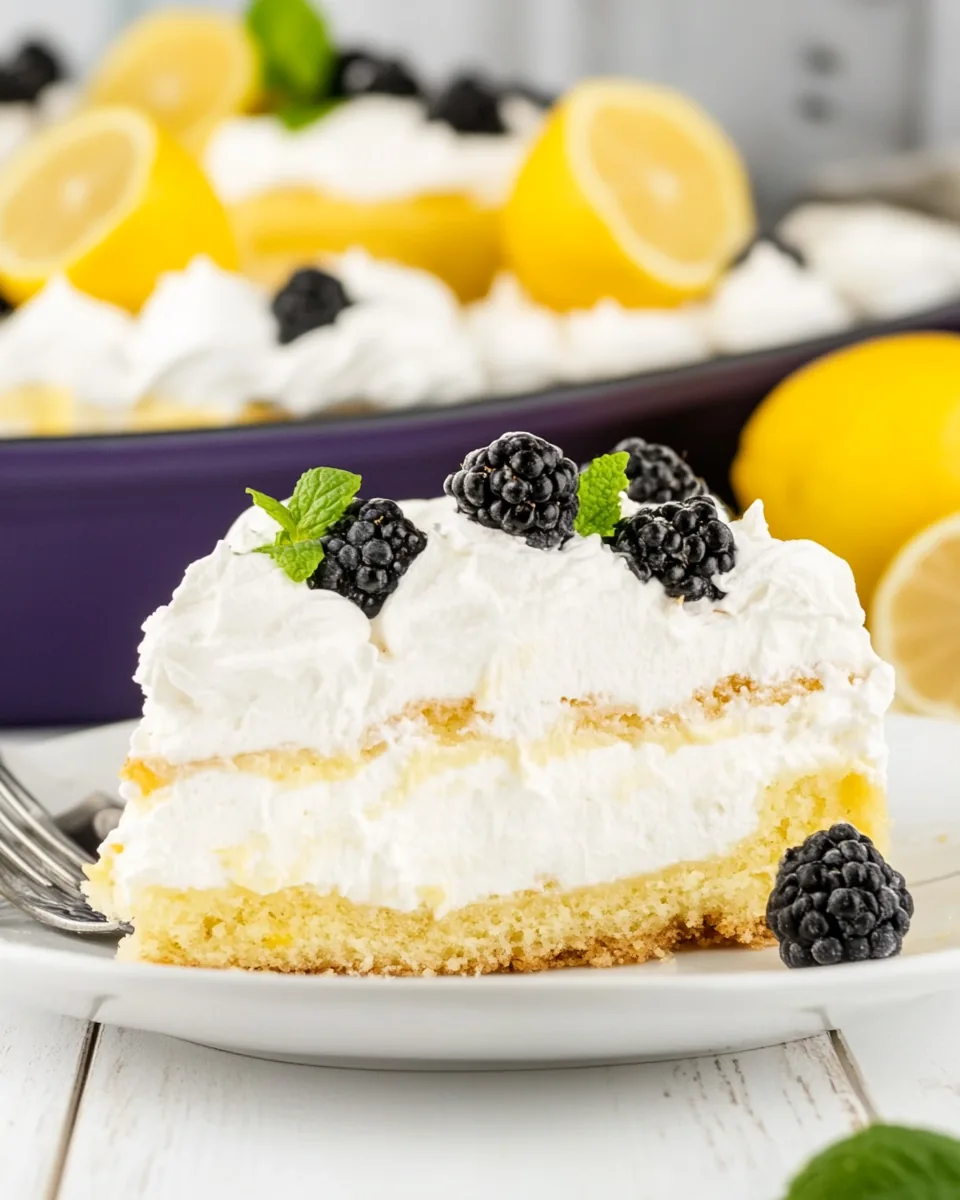
Lemon Icebox Cake
There’s something truly special about the Lemon Icebox Cake that brings back memories of summer gatherings and family picnics. I remember the first time I tasted this delightful dessert at a friend’s barbecue. It was refreshing, light, and had just the right amount of sweetness to balance the tartness of the lemon. The coolness of the cake was a perfect fit for those hot days, and as I took that first bite, I knew I had to recreate it in my own kitchen.
This dessert is incredibly simple to prepare, making it a go-to for any occasion. All it requires is a few basic ingredients that most of us have on hand, like lemon pudding mix, milk, and graham crackers. What I love most about the Lemon Icebox Cake is that it can be made ahead of time, allowing the flavors to meld beautifully as it chills in the refrigerator. It’s almost like a culinary time capsule of summer, tucked away in your fridge, waiting for the perfect moment to be enjoyed.
Whether it’s a family gathering, a birthday celebration, or just a casual night in, the Lemon Icebox Cake always impresses. It’s versatile enough to suit any occasion and brings a bit of sunshine to your table, no matter the season. Plus, the satisfaction of serving a homemade dessert is unmatched. This cake is not just food; it’s a memory waiting to happen.
Recipe Snapshot
10 mins
10 mins
0 mins
Medium
250 kcal
3 g
Keto, Gluten-Free, Low FODMAP
11 g
Mixing Bowl, Wooden Spoon, Frying Pan, Whisk
Why You’ll Love This Lemon Icebox Cake
Refreshing Taste
The Lemon Icebox Cake is all about that refreshing citrus zing. Each bite feels like summer on a spoon, especially on a hot day when you need something cool and sweet. The balance between the tartness of the lemon and the sweetness of the Cool Whip is nothing short of perfect.
Effortless Preparation
If you’re crunched for time, you’ll love how easy this recipe is. With just a few steps, you can whip up a stunning dessert that looks like you spent hours in the kitchen. The simplicity of combining pudding mix, milk, and whipped topping makes this recipe approachable for everyone, no matter your skill level.
Perfect for Sharing
This cake serves a crowd, making it an ideal choice for gatherings. You’ll find that it disappears quickly at parties, and you’ll be basking in compliments. It’s delightful to see everyone enjoying the fruits of your labor, and there’s something heartwarming about sharing a homemade dessert.
Make Ahead Convenience
One of the best parts about the Lemon Icebox Cake is how well it stores. You can make it a day in advance, allowing the flavors to blend and the cake to set perfectly in the fridge. This makes it a go-to option for busy weeks or when you’re hosting.
Customizable Garnish
Feel free to get creative with your toppings! While I love to use raspberries or blackberries for a pop of color and flavor, you can add other fruits or even a drizzle of lemon glaze if you’re feeling fancy. This flexibility makes the cake adaptable for any occasion.
Timeless Classic
The Lemon Icebox Cake has a nostalgic quality that reminds many of their childhood. It’s a recipe that has stood the test of time, making it a beloved classic in many households. Whether you grew up enjoying it or are discovering it for the first time, it’s bound to create lasting memories.
Key Ingredients for Lemon Icebox Cake

The ingredients for the Lemon Icebox Cake are simple yet effective. They come together to create a dessert that’s creamy, tangy, and utterly delicious. Each ingredient plays a role in achieving that perfect balance of flavors and textures.
- 2 (3.4-ounce) boxes instant lemon pudding mix: This is the star of the show, providing the delicious lemon flavor and creamy texture that makes this cake so special.
- 2 1/2 cups cold milk: Essential for mixing with the pudding to achieve that velvety consistency.
- 2 teaspoons lemon zest: A sprinkle of zest enhances the lemon flavor, adding a fresh and fragrant quality to the cake.
- 1 (16-ounce) container Cool Whip, thawed: This adds a light and fluffy texture, creating a delightful contrast against the creaminess of the pudding.
- 1 box graham crackers: These provide a sturdy base and layers, creating that wonderful crunch that complements the smooth filling.
- Raspberries or blackberries for garnish, optional: These fresh berries not only add a pop of color but also a fruity tartness that enhances the overall flavor profile.
How to Prepare Lemon Icebox Cake
Let’s dive into how to prepare this delightful Lemon Icebox Cake. With just a few simple steps, you’ll have a show-stopping dessert ready for any occasion. Remember, the key is to be gentle when mixing to keep the filling light and airy.
- In a large bowl, whisk together the instant lemon pudding mix and cold milk. You want to ensure that the mixture is smooth and well combined. It should thicken nicely after a minute or two of whisking. Watch for any lumps, and if you see any, whisk them out until you have a creamy consistency.
- Gently stir in the lemon zest and half of the Cool Whip. This is where you infuse that bright, citrusy flavor into your pudding mix. Use a folding motion to combine, being careful not to deflate the whipped topping too much. You want to maintain that light texture.
- Spread a small amount of the pudding mixture in the bottom of a 9×13-inch pan. This initial layer helps keep the graham crackers from sliding around when you top them with the pudding.
- Place a single layer of graham crackers in the bottom of the pan, breaking pieces as necessary to cover the entire base. The crackers will provide the structure for your cake.
- Spread half of the lemon pudding mixture on top of the graham crackers. Make sure to cover them evenly, allowing the filling to seep into the cracks. This step helps the layers bond nicely.
- Do a second layer of graham crackers on top of the pudding. Again, break the pieces as needed for a complete layer. The layers will create a delightful texture in every bite.
- Repeat with the remaining lemon pudding mixture, spreading it evenly over the second layer of crackers. Then, add a final layer of graham crackers on top, ensuring it’s well covered.
- Spread the remaining Cool Whip on top of the last layer of graham crackers. This will be the delightful, fluffy topping that gives your cake an appealing finish.
- Cover the pan and refrigerate for at least 2 hours before serving. This resting time allows the flavors to meld and the cake to firm up, making it easier to slice and serve.
- When ready to serve, garnish with fresh raspberries or blackberries if desired. This adds a beautiful touch and a burst of flavor that complements the cake wonderfully.
Things Worth Knowing
- Don’t skip the chilling time! Allowing the cake to chill for at least two hours helps set the layers and brings out the flavors.
- Feel free to experiment with different types of fruit for garnish. Strawberries or blueberries can also be delightful additions on top.
- Make sure to use cold milk when preparing the pudding. The colder it is, the better the pudding will thicken.
- If you have leftovers, store them in an airtight container in the refrigerator to keep them fresh.
Customization Ideas

The Lemon Icebox Cake is a canvas for your creativity! You can easily make this classic dessert your own with a few simple twists. Here are some fun ideas to consider:
- Flavor Variations: Consider adding a hint of lime or orange zest along with the lemon zest to create a citrus medley that’s equally delicious.
- Alternative Creams: If you prefer a different texture, try substituting Cool Whip with homemade whipped cream. Just be sure to stabilize it to maintain fluffiness.
- Nutty Crunch: Add crushed nuts between the layers for an added crunch. Almonds or pecans could add a lovely depth of flavor.
- Chocolate Drizzle: For a decadent touch, drizzle melted chocolate over the top before serving.
- Seasonal Fruits: Swap out the garnishes based on the seasons. Use strawberries in the spring or peaches in the summer for a unique twist!
- Layering Techniques: Get creative with your layers. Consider adding a fruit puree layer or a cookie crumble layer to elevate the dessert.
- Serving Style: Serve in individual parfait glasses for a fun and personal touch. It makes for a beautiful presentation!
Pairing Suggestions for Lemon Icebox Cake
Serving the Lemon Icebox Cake is all about enhancing the experience. It pairs wonderfully with a variety of dishes and drinks, making it perfect for any occasion.
- Fresh Fruit Salad: Complement the cake with a vibrant salad of seasonal fruits like strawberries, blueberries, and kiwis. The freshness will balance the sweetness of the cake.
- Iced Tea: A refreshing glass of iced tea (sweetened or unsweetened) is a perfect beverage pairing, especially on a warm day.
- Picnic Delight: This cake is an ideal dessert for picnics and barbecues. Serve it alongside grilled meats and salads for a delightful feast.
- Brunch Option: Consider serving the cake at brunch events, where guests can enjoy a sweet treat alongside savory dishes like quiches or breakfast casseroles.
- Celebration Table: If you’re hosting a birthday or celebration, the Lemon Icebox Cake is a great addition to the dessert table among other sweets.
- Seasonal Themes: In the summer, pair it with light salads and grilled seafood. For spring, combine it with lamb or ham dishes.
- Leftover Storage: If you have leftovers, store them covered in the fridge. The cake stays delicious for several days if kept chilled.
FAQ
Conclusion
The Lemon Icebox Cake is a perfect blend of refreshing flavors and simplicity, making it a must-try dessert for any occasion. Its cool, creamy texture paired with the bright zing of lemon is simply irresistible. I encourage you to give this delightful recipe a go; your friends and family will be so impressed. Plus, it’s a lovely way to create sweet memories around the table. Enjoy every delicious bite!
Lemon Icebox Cake
Ingredients
Equipment
Method
- In a large bowl, whisk together the instant lemon pudding mix and cold milk. You want to ensure that the mixture is smooth and well combined. It should thicken nicely after a minute or two of whisking. Watch for any lumps, and if you see any, whisk them out until you have a creamy consistency.
- Gently stir in the lemon zest and half of the Cool Whip. This is where you infuse that bright, citrusy flavor into your pudding mix. Use a folding motion to combine, being careful not to deflate the whipped topping too much. You want to maintain that light texture.
- Spread a small amount of the pudding mixture in the bottom of a 9x13-inch pan. This initial layer helps keep the graham crackers from sliding around when you top them with the pudding.
- Place a single layer of graham crackers in the bottom of the pan, breaking pieces as necessary to cover the entire base. The crackers will provide the structure for your cake.
- Spread half of the lemon pudding mixture on top of the graham crackers. Make sure to cover them evenly, allowing the filling to seep into the cracks. This step helps the layers bond nicely.
- Do a second layer of graham crackers on top of the pudding. Again, break the pieces as needed for a complete layer. The layers will create a delightful texture in every bite.
- Repeat with the remaining lemon pudding mixture, spreading it evenly over the second layer of crackers. Then, add a final layer of graham crackers on top, ensuring it’s well covered.
- Spread the remaining Cool Whip on top of the last layer of graham crackers. This will be the delightful, fluffy topping that gives your cake an appealing finish.
- Cover the pan and refrigerate for at least 2 hours before serving. This resting time allows the flavors to meld and the cake to firm up, making it easier to slice and serve.
- When ready to serve, garnish with fresh raspberries or blackberries if desired. This adds a beautiful touch and a burst of flavor that complements the cake wonderfully.
Notes
- Storage: Keep any leftovers covered in the fridge for several days to maintain freshness.
- Freezing: While this cake is best served fresh, you can freeze individual slices for a few weeks.
- Flavor Pairing: Enjoy this cake alongside fresh fruit salads or iced tea for a refreshing experience.
- Serving Style: Consider serving in individual parfait cups for a fun presentation.
- Customization: Experiment with different toppings to make this dessert your own!