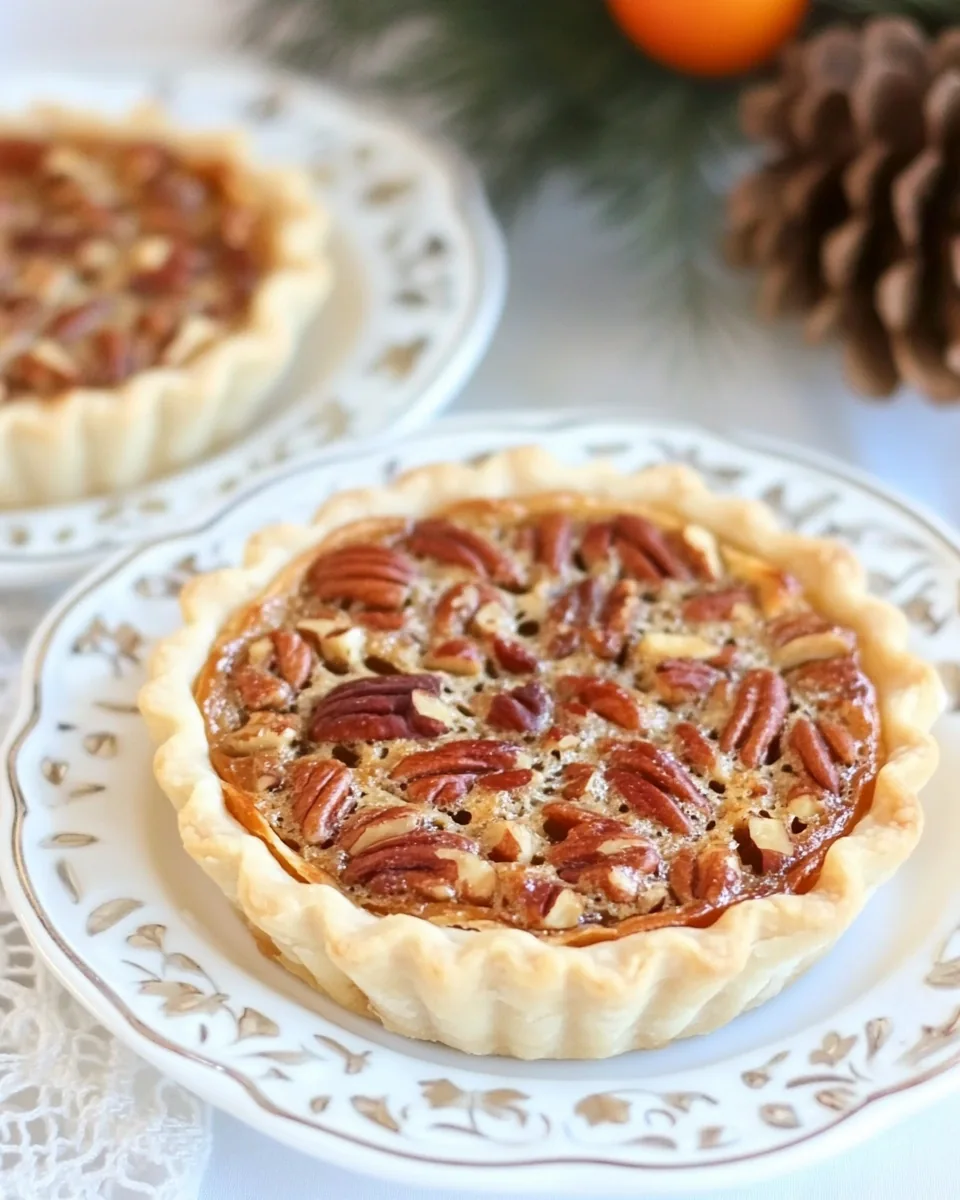
Mini Pecan Tarts
When the cool breezes of fall start to blow, I can’t help but think of cozy gatherings filled with laughter, warmth, and of course, delicious treats like Mini Pecan Tarts. These little bites of heaven have always had a special place in my heart. I remember the first time I tasted them at a family gathering, the rich flavors of pecans paired with a creamy filling just melted in my mouth. It was a delightful experience that made me want to recreate that joy in my own kitchen. Now, every autumn, I prepare these delightful tarts to share with friends and family, celebrating both the season and the sweet memories they bring.
Recipe Snapshot
55 mins
25 mins
30 mins
Medium
320 kcal
5 g
Vegan, Gluten-Free, Low FODMAP
18 g
Oven, Mixing Bowl, Baking Sheet, Food Processor, Frying Pan, Wooden Spoon
Why Try This Mini Pecan Tarts
There’s something truly magical about Mini Pecan Tarts. Here are a few reasons why I absolutely love this recipe:
Perfect Balance of Flavors
The combination of the sweet, creamy filling and the crunchy pecans creates a delightful contrast that keeps you coming back for more. Each bite is a little explosion of flavor that is perfect for satisfying a sweet tooth.
Great for Any Occasion
Whether it’s a holiday gathering like Thanksgiving or a simple get-together, these tarts are always a hit. They are small enough to enjoy without feeling guilty, making them the perfect dessert for any event.
Easy to Make
Don’t worry if you’re not a professional baker. The Mini Pecan Tarts are surprisingly easy to whip up! With a few simple ingredients and steps, you’ll have a delicious treat ready to impress your guests.
Customizable
You can easily tweak the recipe to make it your own. Want a richer flavor? Add some dark chocolate to the filling. Prefer a different nut? Go for walnuts. The possibilities are endless!
Batch-Friendly
This recipe is perfect for making in batches, making it ideal for parties or just to have on hand for when a craving strikes. You can even freeze them for later use!
What You Need for Mini Pecan Tarts
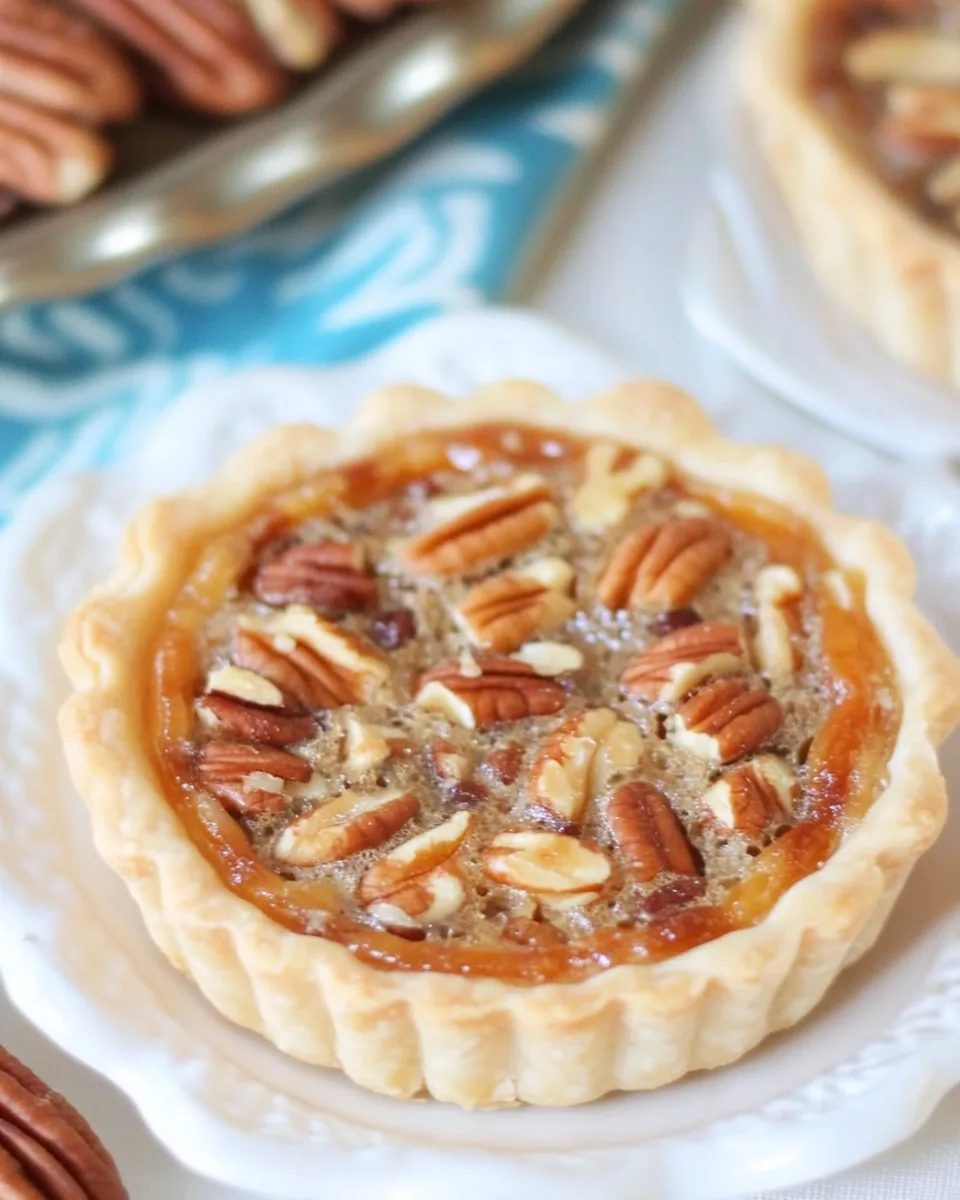
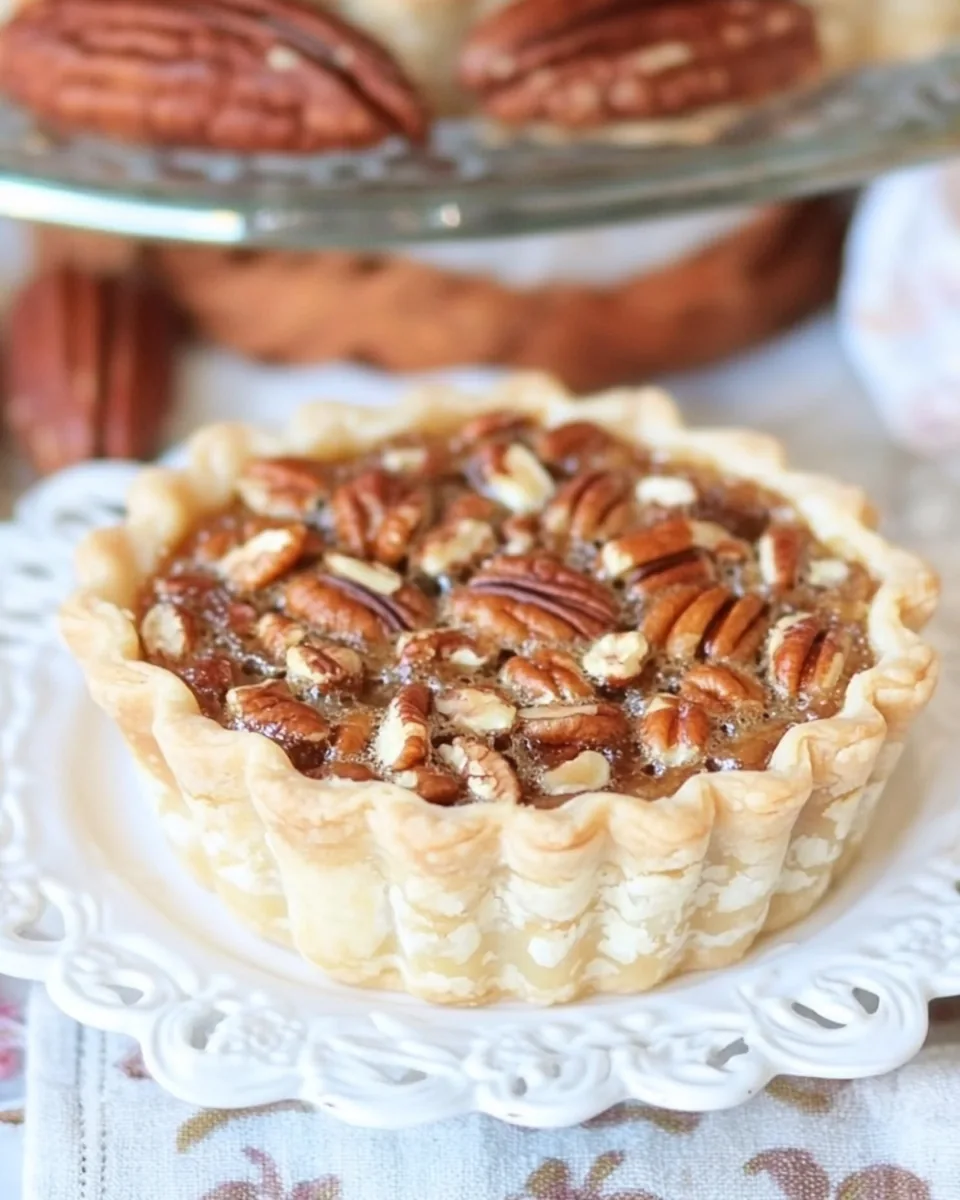
The ingredients for these Mini Pecan Tarts come together beautifully, each playing an essential role in creating that perfect bite. The star of the show, of course, is the pecans, providing a satisfying crunch, while the creamy cream cheese filling brings a luscious texture. Together with the buttery crust, they harmonize to create a delightful dessert that is hard to resist.
- 8 ounces cream cheese, softened – This forms the creamy base that complements the sweetness of the tarts.
- 1/4 cup granulated sugar – Adds the necessary sweetness to the cream cheese mixture.
- 1/3 cup white chocolate chips, melted – A touch of sweetness and richness to the filling.
- 1 whole egg – Acts as a binder to hold the filling together.
- 1/2 teaspoon vanilla – Enhances the overall flavor profile.
- 1 Tablespoon butter, melted – Brings richness to the filling.
- 1/2 cup granulated sugar – Used in the pecan pie layer for sweetness.
- 1 teaspoon vanilla – Complementing the flavor in the pecan layer.
- 2 whole eggs – Also acts as a binding agent for the pecan filling.
- 3/4 cup light corn syrup – Essential for that classic pecan pie texture.
- 1 1/2 cups pecans – Provides the signature crunch and flavor.
- 1 whole batch pie crust – Necessary to hold everything together, enough for two crusts.
- whipped cream, optional – A delightful topping that adds a lightness to the tarts.
How to Make Mini Pecan Tarts
Making Mini Pecan Tarts is a rewarding experience that fills your kitchen with enticing aromas. The process is straightforward yet filled with opportunities to enjoy each step. Let’s dive into the sweet adventure of creating these delightful tarts.
- Preheat your oven to 350 degrees F. This ensures that your tarts will bake evenly and achieve that beautiful golden color.
- In a mini food processor, mix together cream cheese and granulated sugar until smooth. Stir in the melted white chocolate and mix until combined. Make sure to scrape the sides of the bowl to incorporate all the ingredients for a creamy filling.
- Next, add in the egg and vanilla. Mix again until the mixture is completely smooth. Set this delicious filling aside.
- Now it’s time to make the pecan pie layer. In a separate bowl, combine butter, granulated sugar, vanilla, eggs, and corn syrup. Stir well until everything is nicely blended and set this aside.
- Roll out your chilled pie dough and cut it into rounds that will cover the bottom and sides of your tart pans. You’ll need six rounds of dough, each about 10.2 x 1.9 cm.
- Line the tart pans with the crusts, making sure to spray them with non-stick cooking spray first. This helps prevent any sticking and makes for an easier removal later.
- Pour the cheesecake filling into each shell, dividing it evenly amongst the six shells. It’s important to fill them just right to allow for the topping layers.
- Sprinkle 1/4 cup of pecans over each tart. This adds a delightful crunch and flavor that pairs beautifully with the filling.
- Top each with 4 tablespoons of the pecan pie filling. This creates that signature layer of pecan goodness you expect in a traditional pecan pie.
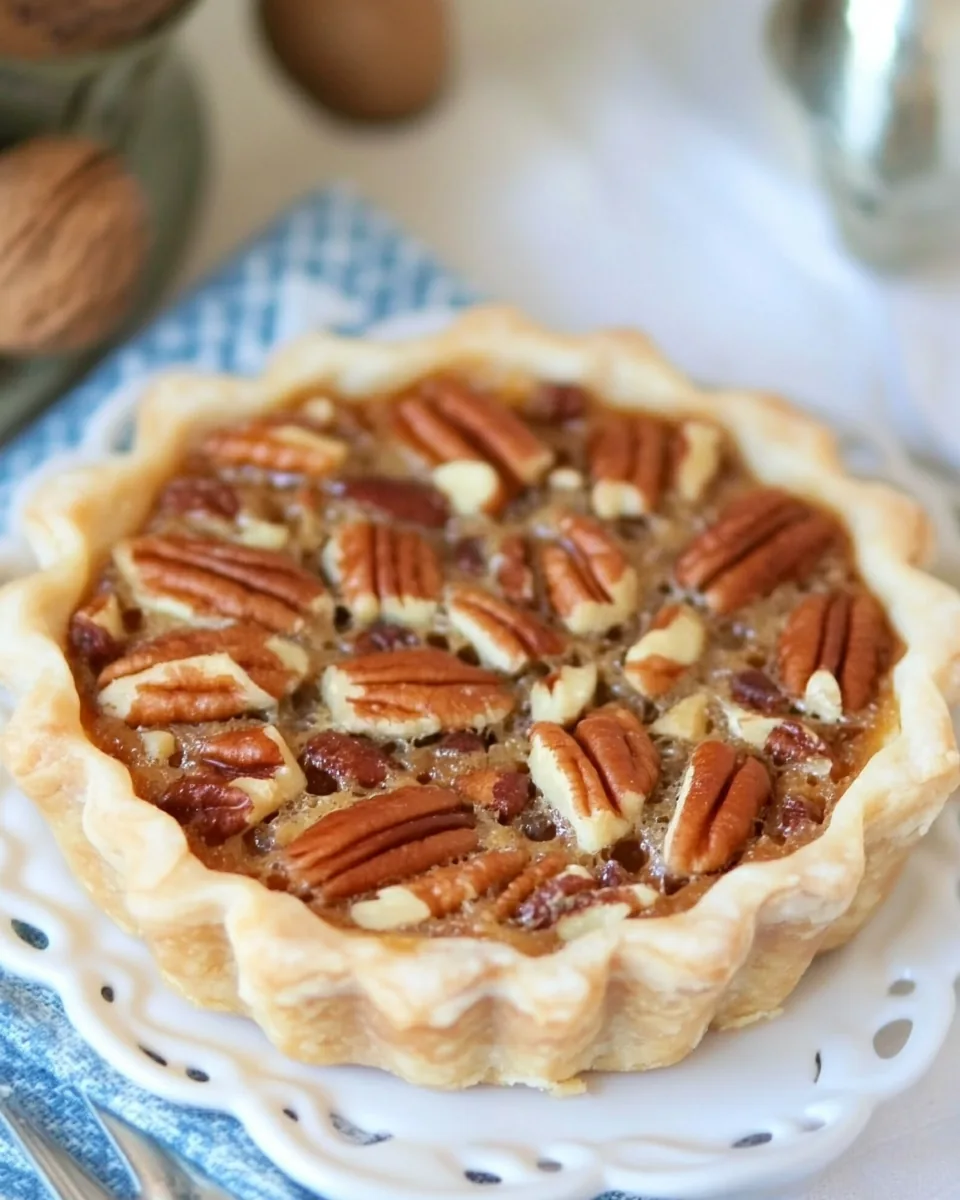
- Place all the filled tart pans onto a rimmed baking sheet to catch any drips and bake for 25 to 30 minutes. Keep an eye on them and look for a golden brown top, signaling they’re done.
- Once baked, cool the tarts completely before removing them from the pans. This cooling step is crucial to maintaining their structure.
- Finally, top with whipped cream if desired, and serve these delightful tarts to your lucky guests!
Things Worth Knowing
- Ensure even baking: Using a rimmed baking sheet helps catch any filling that might overflow, preventing a mess in your oven.
- Chill the dough: Keeping the pie dough chilled helps maintain its shape during baking.
- Check for doneness: The tops should be golden brown, and a toothpick inserted should come out clean.
- Cool completely: Allowing the tarts to cool completely helps in easier removal from the pans.
Tips and Variations
There are always ways to enhance your baking experience with some helpful tips. Here are some insights to make your Mini Pecan Tarts even better:
- Storage: Keep any leftovers in an airtight container in the fridge for up to three days for optimal freshness.
- Freezing: You can freeze the tarts before baking. Just thaw in the fridge before baking, and they’ll taste just as fresh!
- Pairing: Consider serving these tarts with a scoop of vanilla ice cream or a drizzle of chocolate sauce for an extra touch.
- Serving suggestions: These tarts are perfect for dessert tables at gatherings, adding a touch of elegance.
- Variations: Try adding a layer of chocolate ganache on top for a twist!
What Goes Well With This Mini Pecan Tarts
When it comes to serving Mini Pecan Tarts, you can elevate the experience in several delightful ways:
- Pair them with coffee: The rich flavors of the tarts go hand in hand with a warm cup of coffee.
- Serve at festive gatherings: Perfect for Thanksgiving or any fall celebration, these tarts can be the star of your dessert table.
- Accompany with ice cream: A scoop of vanilla or caramel ice cream balances the richness of the tarts.
- Seasonal fruits: Consider serving with fresh seasonal fruits like cranberries or apples to add a refreshing contrast.
- Presentation: Arrange the tarts on a beautiful platter for an appealing display.
FAQ
Conclusion
Mini Pecan Tarts embody the warmth and joy of fall gatherings with their rich flavors and delightful crunch. They are not just a treat but a testament to the comforting memories we create around the table with loved ones. I encourage you to try making them yourself; you won’t be disappointed. These tarts are bound to become a favorite in your home as they have in mine. Enjoy every bite!
Mini Pecan Tarts
Ingredients
Equipment
Method
- Preheat oven to 350 degrees F.
- In a mini food processor, mix together the cream cheese and granulated sugar until smooth. Stir in melted white chocolate. Scrape the sides of the bowl and mix again.
- Stir in egg and vanilla. Scrape sides of the bowl and mix again until completely smooth. Set aside.
- To make the pecan pie layer, put butter, sugar, vanilla, eggs and corn syrup into a bowl and stir. Set aside.
- Roll out chilled pie dough and cut it into rounds that will cover the bottom and up the sides of your tart pans (10.2 x 1.9 cm). You’ll need six rounds of dough. Line the tart pans with crust. Make sure to spray your pans with non-stick cooking spray first, in case some of the filling bubbles over!
- Pour in cheesecake layer, dividing it evenly amongst the six shells.
- Sprinkle 1/4 cup of pecans over each tart.
- Then top with 4 tablespoons of the pecan pie filling.
- Place all of the filled tart pans onto a rimmed baking sheet and bake for 25-30 minutes or until the top of pie is golden brown.
- Cool completely, remove from tart pans and top with whipped cream. Serve.
Notes
- Storage: Keep any leftovers in an airtight container in the fridge for up to three days for optimal freshness.
- Freezing: You can freeze the tarts before baking. Just thaw in the fridge before baking, and they’ll taste just as fresh!
- Pairing: Consider serving these tarts with a scoop of vanilla ice cream or a drizzle of chocolate sauce for an extra touch.
- Serving suggestions: These tarts are perfect for dessert tables at gatherings, adding a touch of elegance.
- Variations: Try adding a layer of chocolate ganache on top for a twist!