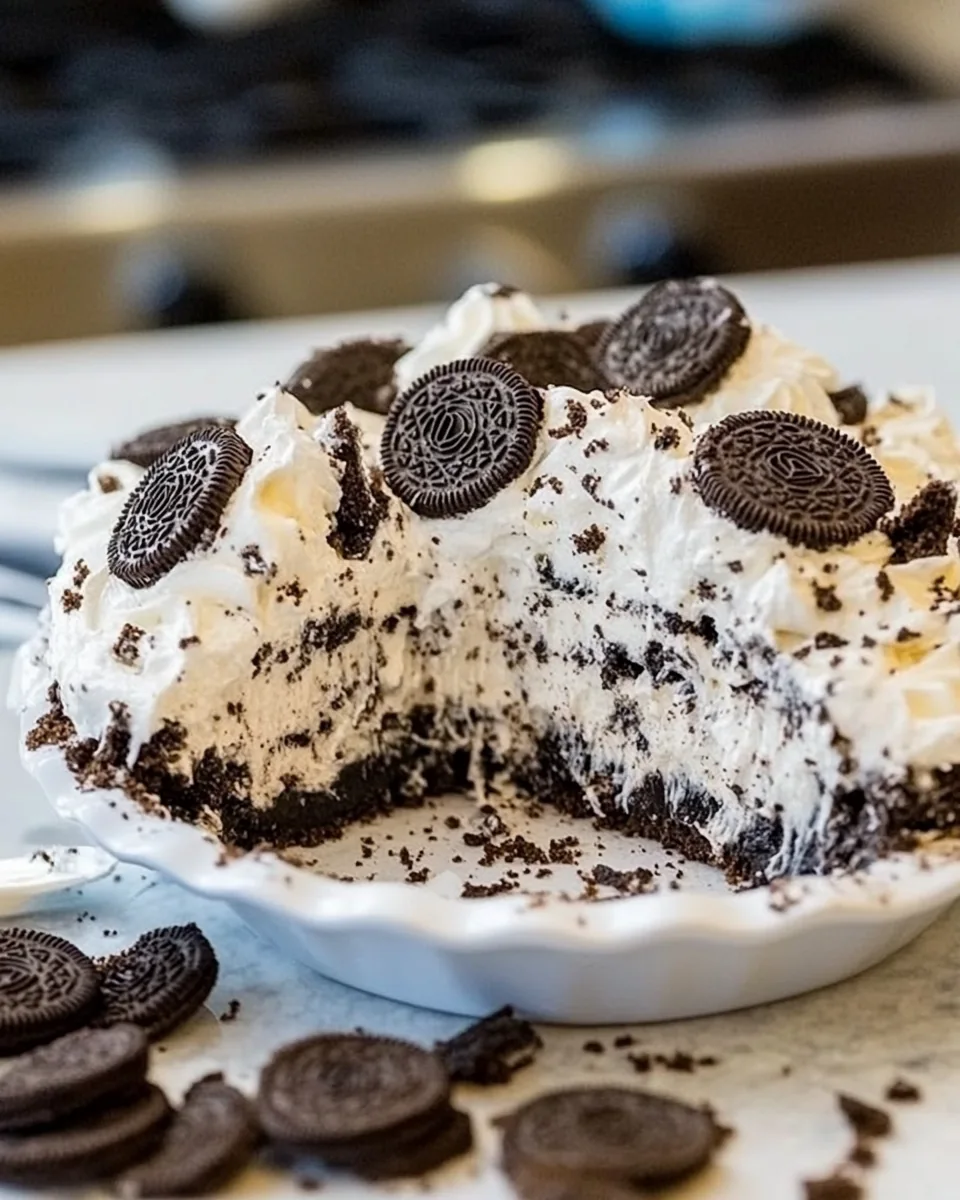
No Bake Oreo Pie
There’s something undeniably special about a dessert that requires no baking, and the No Bake Oreo Pie is the perfect example of indulgence without the fuss. I still remember the first time I made this pie for a family gathering—my cousins were skeptical at first, but the moment they took a bite, their expressions changed to pure delight. The combination of creamy filling and crunchy Oreo crust is truly irresistible. It’s one of those recipes that has become a staple in my kitchen, always bringing a smile to everyone’s face. Whether you’re hosting a summer barbecue or simply craving something sweet, this pie is the answer.
As I slice into the rich, creamy layers, I can practically hear everyone’s fork scraping the plate, eager for more. It’s a dessert that makes you feel like a master chef, even if all you did was mix a few ingredients together. The beauty of the No Bake Oreo Pie lies in its simplicity and the joy it brings. It’s a delightful treat that doesn’t demand too much of your time or effort, allowing you to focus on what really matters—spending quality time with loved ones.
So, if you’re looking for an easy yet impressive dessert, look no further than this No Bake Oreo Pie. Let me walk you through the reasons why it deserves a spot in your recipe collection.
Recipe Snapshot
12 mins
12 mins
0 mins
Medium
300 kcal
3 g
Keto, Gluten-Free, Low FODMAP
20 g
Mixing Bowl, Chef’s Knife
Why Try This No Bake Oreo Pie
It’s Effortless to Make
One of the best things about the No Bake Oreo Pie is how easy it is to whip up. With just a handful of ingredients, you can create a dessert that looks and tastes like it took hours of work. It’s the perfect solution for last-minute gatherings or when you simply want a sweet treat without the oven fuss.
Perfect for Any Occasion
This pie is incredibly versatile. Whether it’s a birthday party, holiday celebration, or a casual weeknight treat, the No Bake Oreo Pie fits right in. Its rich flavors and creamy texture appeal to both kids and adults alike, making it a universally loved dessert.
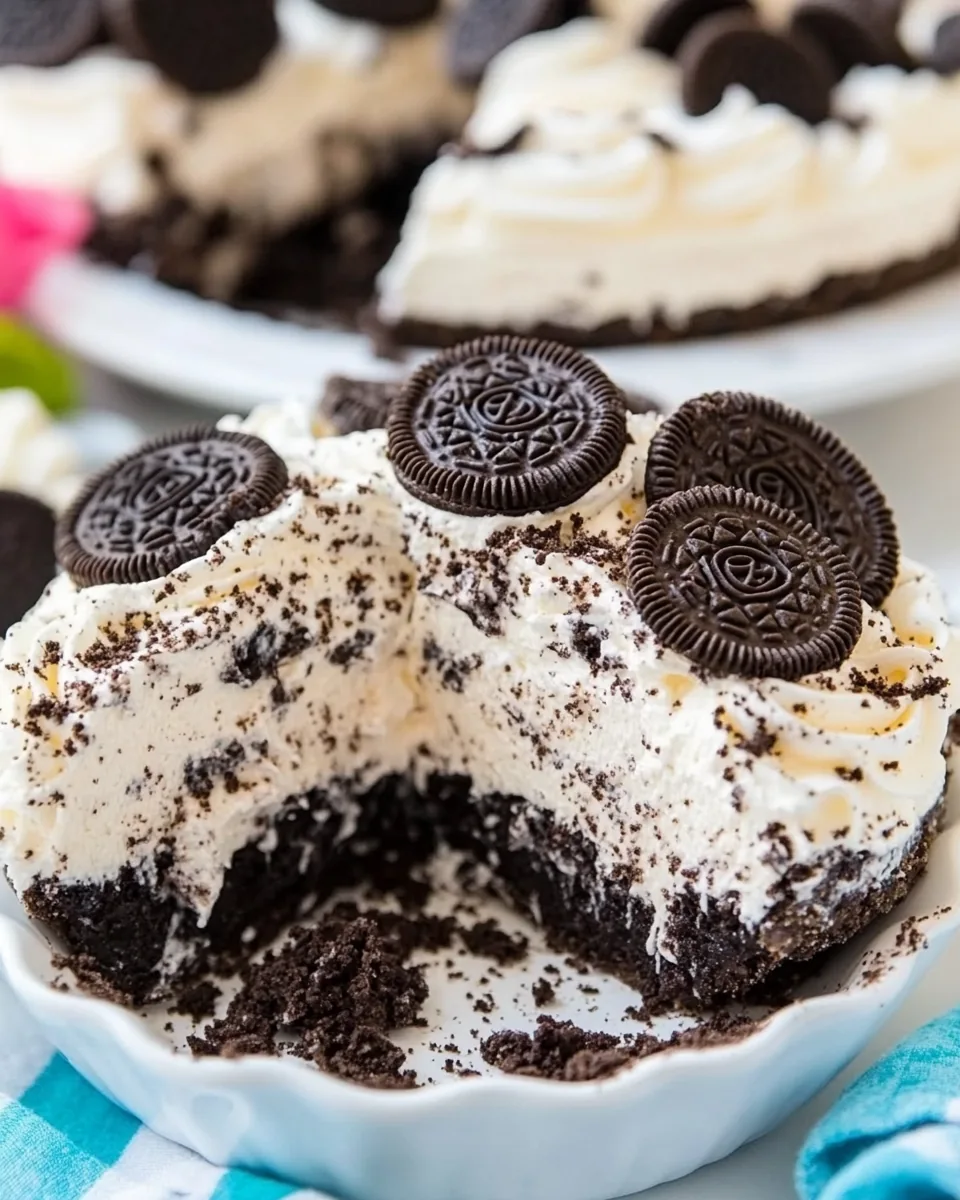
Deliciously Creamy and Crunchy
The combination of the smooth, creamy filling and the crunchy Oreo crust creates a delightful contrast in every bite. It’s a textural experience that makes each slice even more enjoyable. You’re not just having a pie; you’re indulging in a symphony of flavors and textures.
Quick Chill Time
While this recipe is a no-bake wonder, it does require some chill time to set properly. Thankfully, it only needs a few hours in the refrigerator, which means you won’t be waiting all day to dig in. This makes it a fantastic make-ahead dessert for any occasion.
Kid-Friendly and Fun
If you’re cooking with kids or looking for a recipe to get the little ones involved, the No Bake Oreo Pie is a fantastic choice. Kids love Oreos and can help with mixing and layering the ingredients. It’s a fun way to engage them in the kitchen and create lasting memories.
Endless Customization
While the classic version is amazing as is, you can customize the No Bake Oreo Pie to suit your taste. Add in some peanut butter, or layer fruit on top for a fresh twist. The possibilities are endless! This flexibility means you can make it unique every time.
Ingredients Required for No Bake Oreo Pie
When it comes to the ingredients for the No Bake Oreo Pie, simplicity is the name of the game. Each component plays a vital role in creating that creamy and satisfying dessert that everyone craves. The key players in this recipe are the cream cheese, which provides a rich and smooth base, and the Oreos, which add both texture and flavor. Let’s dive into each ingredient!
- 8 ounces of cream cheese, softened: This is the creamy base that makes the filling rich and decadent. Make sure it’s softened for easy mixing.
- 1/4 cup of sugar: A little sweetness goes a long way in balancing the flavors of the pie.
- 1 teaspoon of vanilla: Adds warmth and depth to the overall flavor profile of the pie.
- 1 3/4 cups of chopped Oreos: The stars of the show! These provide the iconic flavor and crunch to the pie.
- 1 (8-ounce) container of Cool Whip, thawed: This ingredient ensures the filling is light and fluffy, making each bite melt in your mouth.
- 1 premade Oreo crust: Saves you time in the kitchen while delivering that Oreo goodness.
- Whipped cream and additional Oreos for garnish: These are optional but add a nice finishing touch for presentation.
How to Prepare No Bake Oreo Pie
Making the No Bake Oreo Pie is a breeze, and I can’t wait to share the steps with you! This recipe is ideal for those who want a delicious dessert without spending hours in the kitchen. Just follow these simple steps and get ready to indulge!
Start by gathering all your ingredients. You’ll need cream cheese, sugar, vanilla, chopped Oreos, Cool Whip, and a premade Oreo crust. Having everything at hand will make the process smoother.
In a large mixing bowl, use a hand-held electric mixer to beat the softened cream cheese, sugar, and vanilla together until the mixture is smooth and creamy. This step is crucial for getting rid of any lumps and ensuring a delightful texture.
Once the mixture is smooth, add the chopped Oreos to the bowl. Mix them in until they’re evenly distributed throughout the filling. The Oreos should be well combined to infuse that iconic flavor into the creaminess.
Next, using a rubber spatula, gently fold in the thawed Cool Whip. This step helps to lighten the filling, giving it that airy quality that makes the pie so delicious.
Transfer the mixture to the premade Oreo crust. Use the spatula to spread the filling evenly in the crust, ensuring that it sits nicely without any gaps.
Once filled, cover the pie with plastic wrap or foil and place it in the refrigerator. Let it chill for at least 2 hours. This chilling time allows the filling to set properly, making it easier to slice.
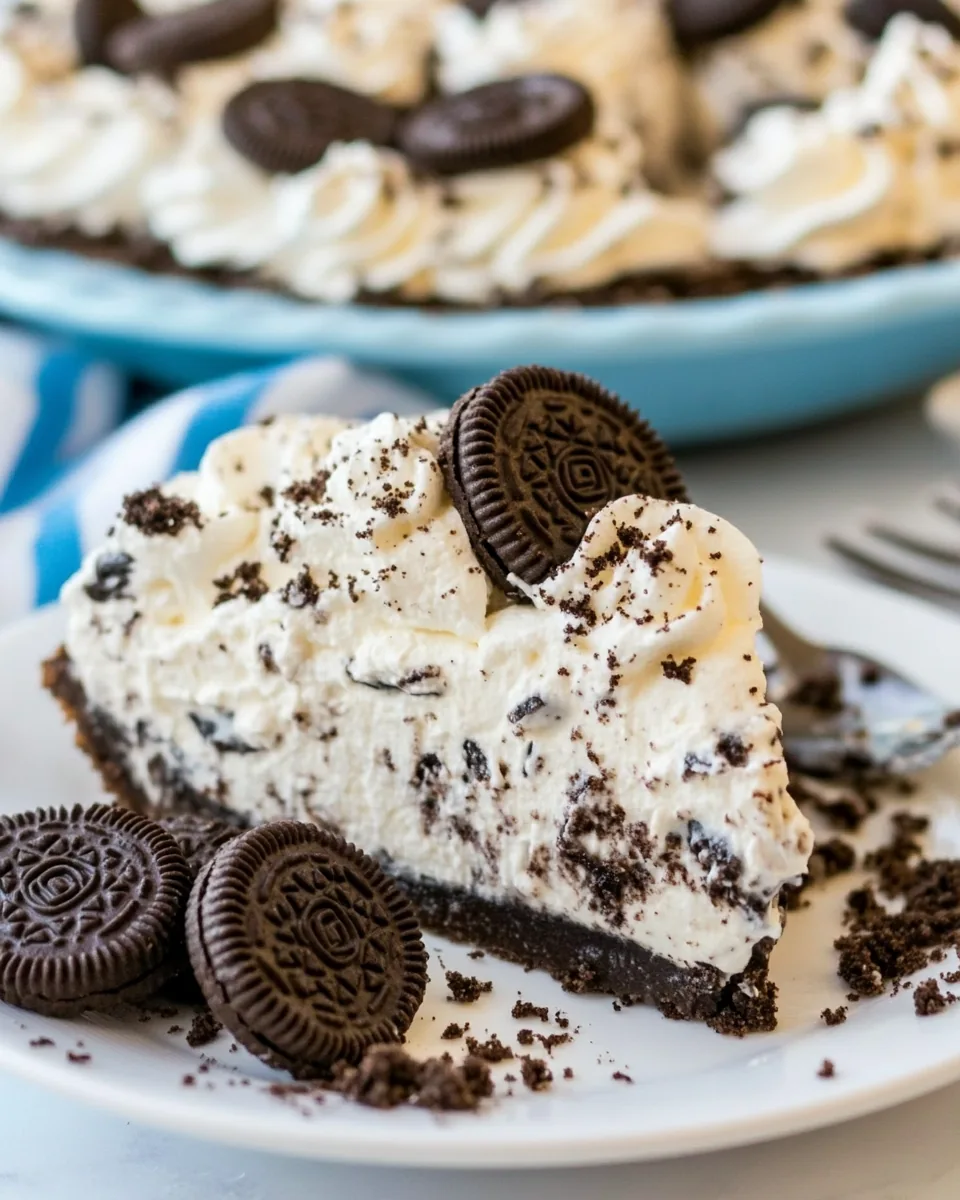
After the chill time, it’s time to serve! Remove the pie from the refrigerator and garnish it with whipped cream and additional quartered Oreos if desired. This not only enhances the presentation but also adds an extra layer of flavor.
Slice the pie into wedges and serve it to your eager guests. Watch as their faces light up with delight as they take their first bite!
Things Worth Knowing
- Chilling is Essential: Make sure to let the pie chill for at least 2 hours so it sets properly and is easy to slice.
- Use Room Temperature Ingredients: For best results, ensure your cream cheese is at room temperature to prevent lumps.
- Don’t Skip the Folding: When adding Cool Whip, fold gently to maintain the lightness of the filling.
- Experiment with Flavors: Feel free to add peanut butter or mint extract for a different twist on this classic.
Substitutions and Tips

While the original recipe is a winner on its own, I’ve got some great tips and substitutions to elevate your No Bake Oreo Pie experience:
- Storage: Store leftovers in the refrigerator for up to 3 days in an airtight container. Just be sure to place a piece of plastic wrap over the pie to keep it fresh.
- Freezing: You can freeze the pie for up to 1 month. Just make sure to wrap it well in plastic wrap and aluminum foil to prevent freezer burn.
- Pairing: This pie goes wonderfully with a scoop of vanilla ice cream or a drizzle of chocolate sauce for an extra indulgent treat.
- Variations: Consider adding chopped nuts or other cookies for different textures and flavors in your filling.
- Presentation: For an elegant touch, serve with fresh berries on the side.
Side Dish Ideas for No Bake Oreo Pie
If you’re wondering how to serve the No Bake Oreo Pie, I’ve got some delicious ideas that will complement the dessert beautifully:
- Fresh Fruit Salad: A light and refreshing salad pairs perfectly with the creamy pie, offering a nice contrast in flavors.
- Chocolate Sauce: Drizzling chocolate sauce over each slice of pie elevates the indulgence factor and adds a touch of elegance.
- Ice Cream: Vanilla or cookies and cream ice cream make for a heavenly pairing that guests will love.
- Whipped Cream: Serve extra whipped cream on the side for those who like to add a little more fluffiness to their slice.
- Festive Cookies: Consider serving with a variety of cookies on the side for a fun dessert platter.
- Seasonal Fruits: Depending on the season, add berries or sliced mango for a fruity twist that complements the pie well.
FAQ
Conclusion
The No Bake Oreo Pie is a delightful treat that captures the essence of simplicity and indulgence. Its creamy texture combined with the crunch of Oreo cookies makes it an all-time favorite. I encourage you to try making this delicious pie and see how it can bring joy to your gatherings. Trust me, once you share it with friends and family, they won’t be able to resist coming back for seconds!
No Bake Oreo Pie
Ingredients
Equipment
Method
- Start by gathering all your ingredients. You’ll need cream cheese, sugar, vanilla, chopped Oreos, Cool Whip, and a premade Oreo crust. Having everything at hand will make the process smoother.
- In a large mixing bowl, use a hand-held electric mixer to beat the softened cream cheese, sugar, and vanilla together until the mixture is smooth and creamy. This step is crucial for getting rid of any lumps and ensuring a delightful texture.
- Once the mixture is smooth, add the chopped Oreos to the bowl. Mix them in until they’re evenly distributed throughout the filling. The Oreos should be well combined to infuse that iconic flavor into the creaminess.
- Next, using a rubber spatula, gently fold in the thawed Cool Whip. This step helps to lighten the filling, giving it that airy quality that makes the pie so delicious.
- Transfer the mixture to the premade Oreo crust. Use the spatula to spread the filling evenly in the crust, ensuring that it sits nicely without any gaps.
- Once filled, cover the pie with plastic wrap or foil and place it in the refrigerator. Let it chill for at least 2 hours. This chilling time allows the filling to set properly, making it easier to slice.
- After the chill time, it’s time to serve! Remove the pie from the refrigerator and garnish it with whipped cream and additional quartered Oreos if desired. This not only enhances the presentation but also adds an extra layer of flavor.
- Slice the pie into wedges and serve it to your eager guests. Watch as their faces light up with delight as they take their first bite!