No Knead Bread
I can still remember the first time I made No Knead Bread. It was a chilly evening, and I had just come home from a long day at work. I wanted something warm and comforting to fill the house with a delightful aroma. As I stumbled upon this simple recipe, I couldn’t believe how easy it seemed! With just a few basic ingredients—flour, yeast, salt, and water—I set off on my baking adventure. Little did I know, this would become a staple in my home, a recipe I would cherish for years to come.
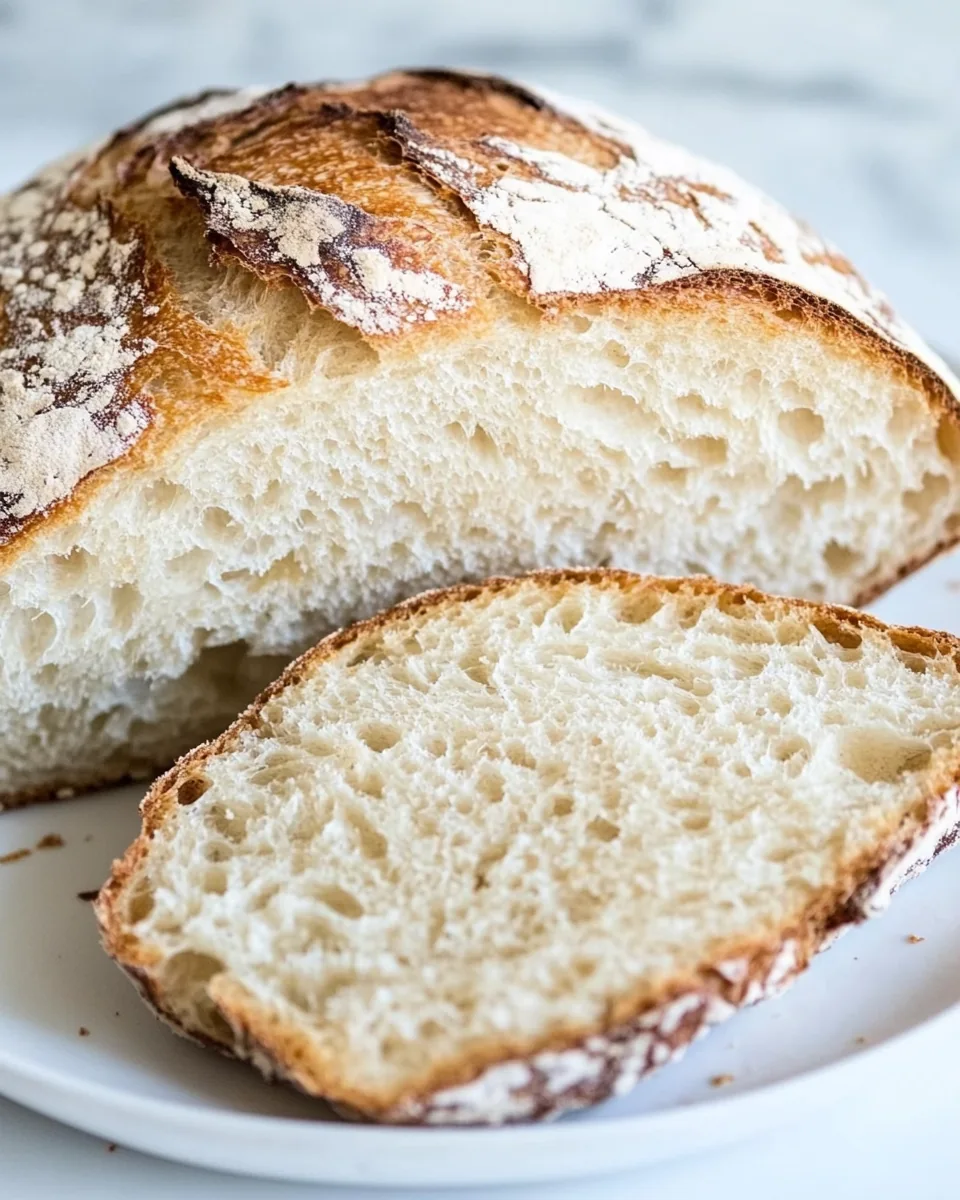
Gathering the ingredients felt nostalgic. The tactile experience of measuring flour and watching the yeast come to life as it mingled with water was mesmerizing. I can still remember the first bite of that warm, crusty loaf, with a perfectly chewy interior. Every time I bake it, I am reminded of that cozy evening filled with warmth and love, where my kitchen transformed into a haven.
Friends and family often marvel at how impressive this No Knead Bread looks, yet the beauty lies in its simplicity. It’s a fantastic recipe to share with others, and it often sparks conversations about cooking and baking. This bread is not just about sustenance; it’s about the love that goes into making something from scratch. The aroma of freshly baked bread fills the air, inviting everyone to gather around the table, sharing stories and laughter. It’s moments like these that make cooking so special.
As I continue to make this bread, I find myself experimenting with different flavors and textures. Whether you add herbs, seeds, or even dried fruit, each loaf has its unique personality. The No Knead Bread is versatile and forgiving, making it perfect for novice bakers and seasoned pros alike. Each time I pull it out of the oven, I am reminded that baking is an art form, one that is accessible to anyone willing to try.
Recipe Snapshot
1 hr 5 mins
5 mins
60 mins
Medium
120 kcal
4 g
Keto, Paleo, Whole30
0.5 g
Mixing Bowl, Whisk, Baking Sheet, Oven
The Best Thing About This No Knead Bread
It’s Effortless
The brilliance of No Knead Bread lies in its simplicity. You don’t need to knead the dough; just mix the ingredients and let time do the work. This means you can enjoy freshly baked bread without the usual hassle. You can even prepare the dough overnight, allowing for a hands-off approach that fits perfectly into a busy lifestyle.
Perfectly Textured
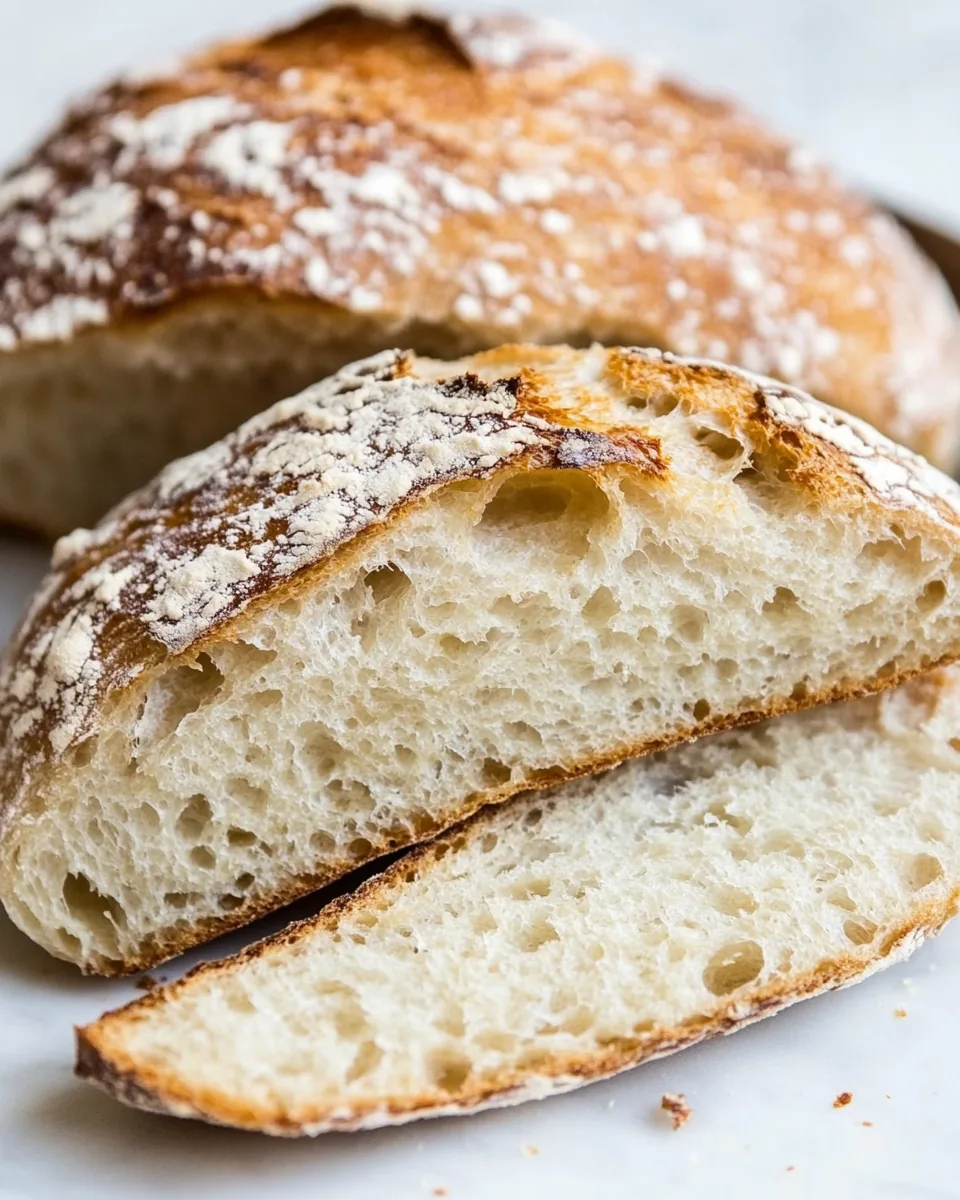
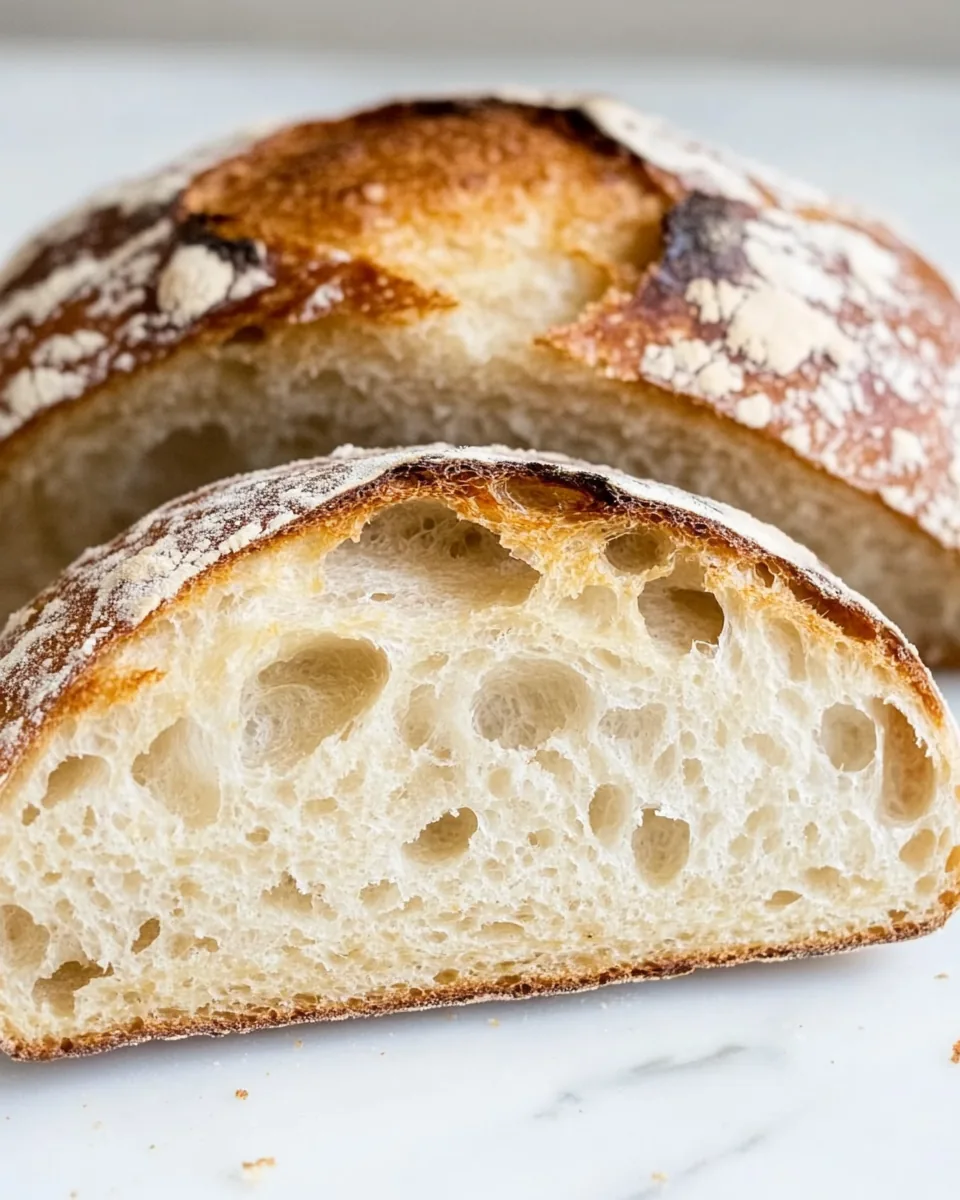
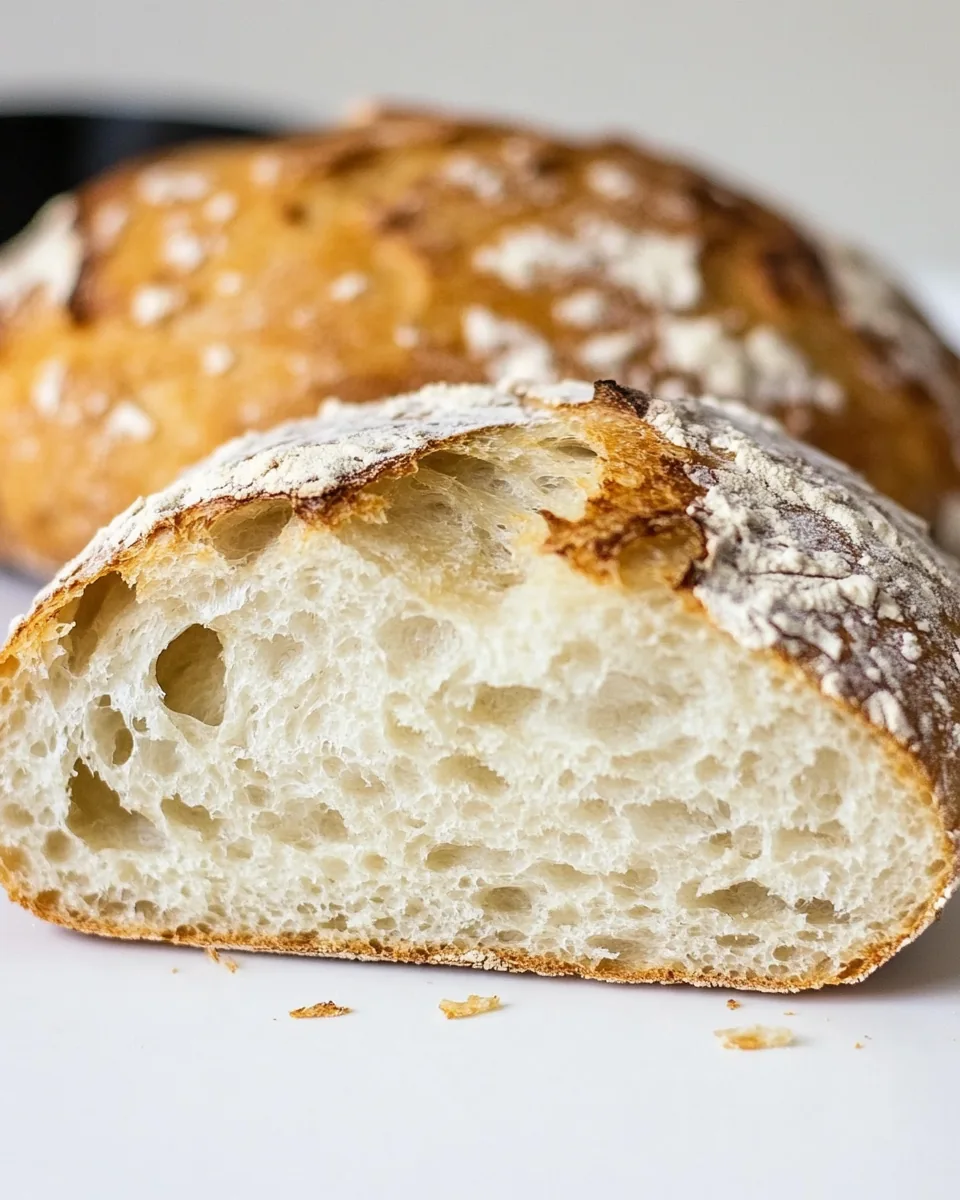
When you bake No Knead Bread, you’re rewarded with an incredible crust and a chewy interior. The long fermentation process creates a rich flavor profile, giving depth and character to every slice. The crust is golden and crunchy, while the inside remains soft and airy. It’s a texture that everyone loves!
Minimal Ingredients
All you need is four basic ingredients: flour, yeast, salt, and water. It’s amazing how something so simple can yield such delicious results. This recipe is perfect for those days when you want to bake but don’t have a long list of ingredients on hand.
Versatile Recipe
One of my favorite aspects of No Knead Bread is its versatility. You can adapt the basic recipe to include herbs, cheese, or even spices to create a unique loaf every time. This adaptability means you can cater to your taste buds and make something special for every occasion.
A Family Favorite
This bread is often a family favorite. I’ve had my children helping me in the kitchen, measuring ingredients and mixing the dough. It’s a wonderful way to bond and create memories together. The thrill of waiting for the bread to rise and then bake is something we all look forward to.
Perfect for Sharing
Whether you’re hosting a gathering or just looking to spread some joy, No Knead Bread is an ideal choice. It’s perfect for sharing with friends and family, bringing everyone together around a loaf of warm, crusty goodness. The joy of sharing homemade bread is truly unmatched.
No Knead Bread Shopping List
When it comes to the ingredients for No Knead Bread, simplicity is key. The combination of just a few elements allows the flavors to shine through, creating a loaf that’s both delicious and satisfying. Each ingredient plays a crucial role in developing the bread’s texture and flavor.
- All-Purpose Flour: The foundation of the bread, providing structure and chewiness.
- Instant Yeast: Helps the dough rise without the need for kneading, creating that airy interior.
- Salt: Enhances flavor and controls yeast activity, ensuring proper fermentation.
- Water: Activates the yeast and binds the ingredients together, creating the dough.
Recipe Directions for No Knead Bread
Making No Knead Bread is a delightful experience. Follow these steps, and you’ll have a beautiful loaf of bread ready to impress your family and friends.
- In a large bowl, whisk together the flour, yeast, and salt. Make sure to combine them well to distribute the yeast evenly. This will help with fermentation and ensure that your bread rises beautifully.
- Add the water to the dry ingredients. Mix with a wooden spoon until you have a shaggy, sticky dough. This process should take around 30 seconds; don’t worry if it looks messy. The stickiness is what makes this bread special!
- Cover the bowl with plastic wrap and allow it to rest for 18 hours at room temperature. During this time, the dough will ferment and bubble up, indicating that the yeast is doing its job.
- After 18 hours, the dough should be dotted with bubbles and slightly darkened. Place it on a lightly floured work surface. Sprinkle a little more flour on top, then fold the dough over itself once or twice. Loosely cover with plastic wrap and let it rest for about 15 minutes.
- Sprinkle a little more flour on your work surface. Using your fingers or a pastry scraper, quickly shape the dough into a ball without overworking it. Be gentle; you want to maintain that airy texture.
- Generously coat a kitchen towel (not terrycloth) with flour. Place the dough seam side down on the towel and dust it with more flour. Cover with another towel and allow it to rise for 2 hours. The dough is ready when it has more than doubled in size and doesn’t spring back when poked.
- At least 30 minutes before the dough is ready, preheat your oven to 450 degrees Fahrenheit. Place a 6 to 8-quart heavy covered pot in the oven to heat up. This can be cast iron, Pyrex, or ceramic, just ensure it’s oven-safe.
- Once the dough is ready, carefully remove the pot from the oven. Slide your hand under the towel and turn the dough into the pot, seam side up. It may look messy, but that’s perfectly okay! A little shake can help evenly distribute the dough.
- Cover the pot and bake for 30 minutes. After that, remove the lid and bake for an additional 15 to 30 minutes, until the loaf is beautifully browned and crusty. The aroma will be irresistible!
- Once baked, remove the bread from the pot and allow it to cool for one hour on a wire rack. This cooling time is essential for the texture, so try to resist the urge to slice it too soon!
Things Worth Knowing
- Water Temperature: Ideal water temperature is between 100 to 110 degrees Fahrenheit. Too hot water can kill the yeast, while too cold may slow down fermentation.
- Resting Time: Do not rush the resting period. The longer the dough rests, the better the flavor and texture.
- Covering Your Dough: Ensure your dough is well-covered to avoid drying out during the fermentation process.
- Cooling Your Bread: Allowing the bread to cool completely before slicing is crucial for achieving the perfect texture.
Change It Up
Experimenting with your No Knead Bread can lead to delightful discoveries. Here are some tips to inspire your creativity:
- Add Herbs: Incorporate rosemary, thyme, or oregano into the dough for an aromatic twist.
- Seeds and Nuts: Sprinkle in sunflower seeds, pumpkin seeds, or chopped walnuts for added texture and flavor.
- Cheese: Add crumbled feta or shredded cheddar for a cheesy delight in every bite.
- Gluten-Free Option: Try a gluten-free flour substitute to accommodate dietary needs.
- Flavoring: Experiment with different flavorings, such as garlic powder or onion powder, for a savory loaf.
Best Served With
Serving your No Knead Bread can be as delightful as making it. Here are some ideas to inspire you:
- Soups: Pair it with hearty soups like tomato or minestrone for a cozy meal.
- Salads: Enjoy alongside fresh salads to create a balanced dinner plate.
- Cheese Board: Serve slices with cheeses and charcuterie for a lovely appetizer.
- Breakfast: Toast it in the morning and top with avocado or your favorite spread.
- Occasions: Perfect for family gatherings, picnics, or simply enjoying at home.
FAQ
Conclusion
In conclusion, No Knead Bread stands out for its simplicity and incredible flavor. With just a few ingredients and minimal hands-on time, you can create a beautiful, crusty loaf that will impress anyone. I encourage you to try this recipe—it’s a journey of bread-making that will warm your home and your heart.
No Knead Bread
Ingredients
Equipment
Method
- In a large bowl, whisk together the flour, yeast, and salt. Make sure to combine them well to distribute the yeast evenly. This will help with fermentation and ensure that your bread rises beautifully.
- Add the water to the dry ingredients. Mix with a wooden spoon until you have a shaggy, sticky dough. This process should take around 30 seconds; don’t worry if it looks messy. The stickiness is what makes this bread special!
- Cover the bowl with plastic wrap and allow it to rest for 18 hours at room temperature. During this time, the dough will ferment and bubble up, indicating that the yeast is doing its job.
- After 18 hours, the dough should be dotted with bubbles and slightly darkened. Place it on a lightly floured work surface. Sprinkle a little more flour on top, then fold the dough over itself once or twice. Loosely cover with plastic wrap and let it rest for about 15 minutes.
- Sprinkle a little more flour on your work surface. Using your fingers or a pastry scraper, quickly shape the dough into a ball without overworking it. Be gentle; you want to maintain that airy texture.
- Generously coat a kitchen towel (not terrycloth) with flour. Place the dough seam side down on the towel and dust it with more flour. Cover with another towel and allow it to rise for 2 hours. The dough is ready when it has more than doubled in size and doesn’t spring back when poked.
- At least 30 minutes before the dough is ready, preheat your oven to 450 degrees Fahrenheit. Place a 6 to 8-quart heavy covered pot in the oven to heat up. This can be cast iron, Pyrex, or ceramic, just ensure it’s oven-safe.
- Once the dough is ready, carefully remove the pot from the oven. Slide your hand under the towel and turn the dough into the pot, seam side up. It may look messy, but that’s perfectly okay! A little shake can help evenly distribute the dough.
- Cover the pot and bake for 30 minutes. After that, remove the lid and bake for an additional 15 to 30 minutes, until the loaf is beautifully browned and crusty. The aroma will be irresistible!
- Once baked, remove the bread from the pot and allow it to cool for one hour on a wire rack. This cooling time is essential for achieving the perfect texture, so try to resist the urge to slice it too soon!
Notes
- Flour: Classic all-purpose or higher-protein bread flour; either works great.
- Instant yeast: Also known as Rapid Rise, Bread Machine, SAF, QuickRise, Instant Active Dry, or Gourmet Perfect Rise. If you absolutely can’t find it, use ⅓ teaspoon of regular yeast for this specific recipe.
- Salt: Kosher salt is best.
- Yield:This bread recipe makes six thick slices of No-Knead Bread. I think it’s easy enough that you can (and should!) make a few loaves per week.
- Storage:Wrap your loaf in plastic or foil and store at room temperature in a dark place, if possible (if you store it in a cloth bag, it will dry out and harden). Never refrigerate bread.
- Freezer:Wrap the bread in a freezer-safe bag and freeze for up to 6 months. Thaw at room temperature.