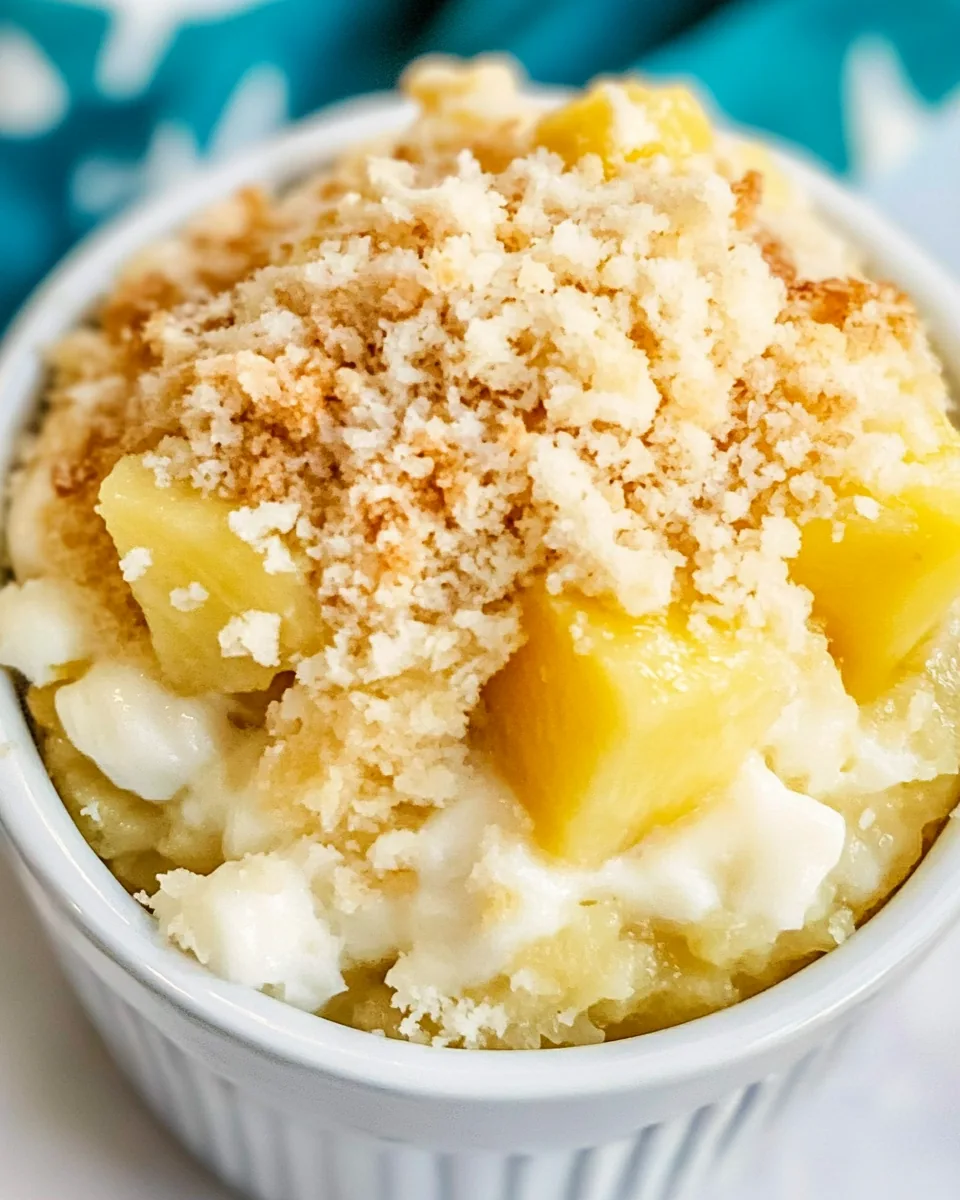
Pineapple Dump Cake
There’s something truly magical about a dessert that requires minimal effort yet delivers maximum satisfaction. That’s exactly what you’ll find with Pineapple Dump Cake. Growing up, my family had a special tradition of making this delightful treat during summer gatherings. The sweet aroma of baked pineapple wafting through the house would bring everyone together, drawn by the promise of a comforting, fruity dessert. As you prepare this cake, you’ll remember those sunny afternoons spent laughing with loved ones, sharing stories, and indulging in this easy-to-make delight.
Recipe Snapshot
55 mins
5 mins
50 mins
Medium
300 kcal
2 g
Vegan, Gluten-Free, AIP
15 g
Mixing Bowl, Baking Sheet, Frying Pan, Oven
The Charm of This Pineapple Dump Cake
Ease of Preparation
One of the reasons I absolutely love Pineapple Dump Cake is how simple it is to prepare. You really can’t mess this up! Just dump the ingredients into a pan, and voilà—you’ve got dessert ready for the oven. I appreciate recipes that don’t require complicated techniques, and this one fits the bill perfectly.
Perfect for Summer Gatherings
Summer is all about light, refreshing desserts, and Pineapple Dump Cake is a crowd-pleaser. Whether it’s a family barbecue, a picnic in the park, or just a weekend treat, this cake is always a hit. It brings a taste of tropical sunshine to any gathering, making it feel like a mini-vacation.
Inviting Aroma
As the cake bakes, your kitchen will be filled with the irresistible scent of caramelized pineapple and buttery goodness. You’ll find yourself eagerly waiting as that inviting aroma wafts through your home, drawing family and friends into the kitchen. It’s hard to resist sneaking a taste, and trust me, you’ll want to!
Versatile and Customizable
Another reason to love Pineapple Dump Cake is its versatility. You can easily customize it with your favorite fruits or even add a scoop of ice cream on top for an extra indulgent touch. This dessert adapts well to what you have on hand, making it a go-to for any occasion.
Memories in Every Bite
Every time I dig into a slice of Pineapple Dump Cake, it brings back memories of family get-togethers and summer days. It’s a dish that not only satisfies your sweet tooth but also warms your heart. It’s about sharing moments with those you love, and what could be better than that?
Key Ingredients for Pineapple Dump Cake
The ingredients for Pineapple Dump Cake are as simple as they are delicious. Each component plays a key role in creating a harmonious blend of flavors and textures. The star of the show is, of course, the pineapple, which adds a juicy sweetness that pairs perfectly with the richness of the cake mix. Together, these ingredients come together to create a delightful dessert that’s sure to impress.
- 20 ounces canned pineapple chunks (drained) – These juicy chunks provide the essential sweetness and tropical flavor that defines this dessert.
- 20 ounces canned crushed pineapple (undrained) – Adding this to the mix ensures the cake remains moist and flavorful, enhancing the overall pineapple experience.
- 1/2 cup light brown sugar – This ingredient brings a subtle depth of sweetness, complementing the natural sugars in the pineapple.
- 1 standard size box vanilla or yellow cake mix – The cake mix is what makes this dessert so easy. It serves as the base and adds a delightful buttery flavor.
- 1 cup butter (melted) – The melted butter enriches the cake, lending it a golden color and a rich, decadent taste.
Cooking Method for Pineapple Dump Cake

Cooking Pineapple Dump Cake is as effortless as its preparation. Follow these steps to create a delicious dessert that will have everyone asking for seconds. Just remember to keep an eye on it as it bakes to achieve that perfect golden brown top.
- Preheat your oven to 350 degrees. Start by preparing a 9×13 pan with a light coating of cooking spray. This will ensure that your cake comes out easily without sticking.
- Next, spread both cans of the drained pineapple chunks and undrained crushed pineapple evenly in the bottom of the prepared pan. You’ll want a nice, even layer to ensure every bite is full of that sweet, tropical flavor.
- Now, sprinkle the light brown sugar evenly over the layer of pineapple. This will create a sweet caramelized topping as the cake bakes.
- Evenly sprinkle the contents of the cake mix over the pineapple and sugar layers. Make sure to cover it completely for a uniform texture.
- Drizzle the melted butter over the entire cake mix layer. This will help form a beautiful, crusty top as it bakes.
- Place the pan in the preheated oven and bake for about 50 to 55 minutes. You’ll want to keep an eye on it, looking for a golden brown top. Your kitchen will begin to smell heavenly at this point!
- Once it’s done baking, remove the pan from the oven and allow it to cool for about 10 minutes before serving. This cooling time helps the cake set and makes it easier to cut.
Things Worth Knowing
- Check for doneness: You’ll know your cake is ready when the top is golden brown and a toothpick inserted comes out clean.
- Storage tips: Cover leftover cake tightly and store at room temperature for the first day, then transfer to the fridge, where it will keep for up to four days.
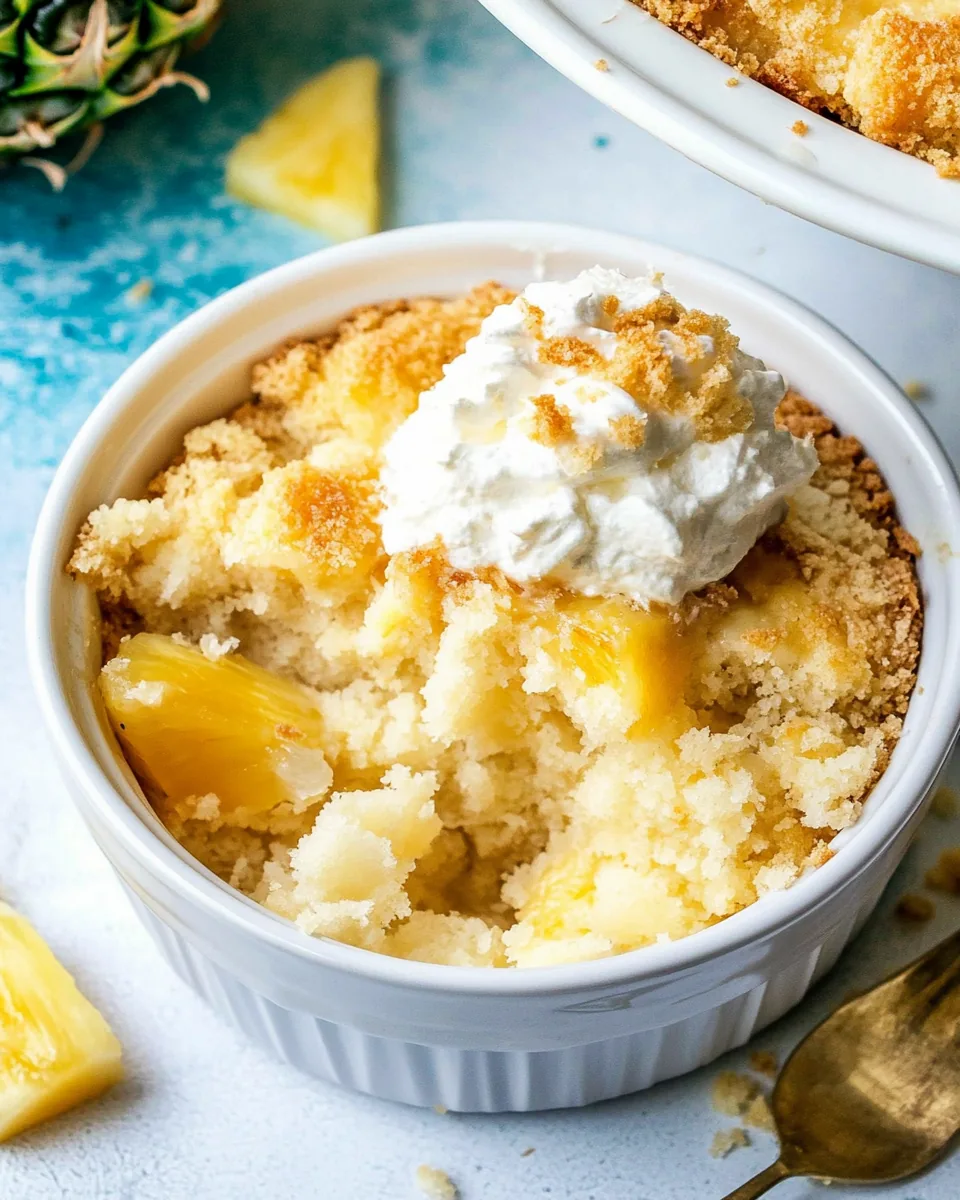
- Serving suggestion: Enjoy it warm or cold, and consider pairing it with ice cream or whipped cream for an added treat.
- Ingredient quality: Using high-quality canned pineapple makes a significant difference in taste. Look for brands with no added sugars for a healthier option.
Making Adjustments
While the classic recipe for Pineapple Dump Cake is fantastic on its own, there are always ways to tweak it to suit your taste. Here are some tips for making adjustments and enhancing this beloved dessert.
- Storage: Leftover Pineapple Dump Cake can be stored in an airtight container at room temperature for one day. After that, keep it in the refrigerator for up to four days.
- Freezing: Yes, you can freeze this cake! Just make sure it’s completely cooled, and then wrap it tightly in plastic wrap and foil. It can be frozen for up to three months. Thaw overnight in the fridge before serving.
- Variations: Feel free to mix in other fruits like peaches or cherries for a twist on the classic flavor. You can also try using chocolate cake mix for a more decadent dessert.
- Cake mix alternatives: If you’re looking for a gluten-free option, try using gluten-free cake mix. It works just as well and tastes great!
- Serving size: If you have a smaller group, you can easily halve the recipe and bake it in an 8×8 pan. The baking time will be slightly less, so keep an eye on it.
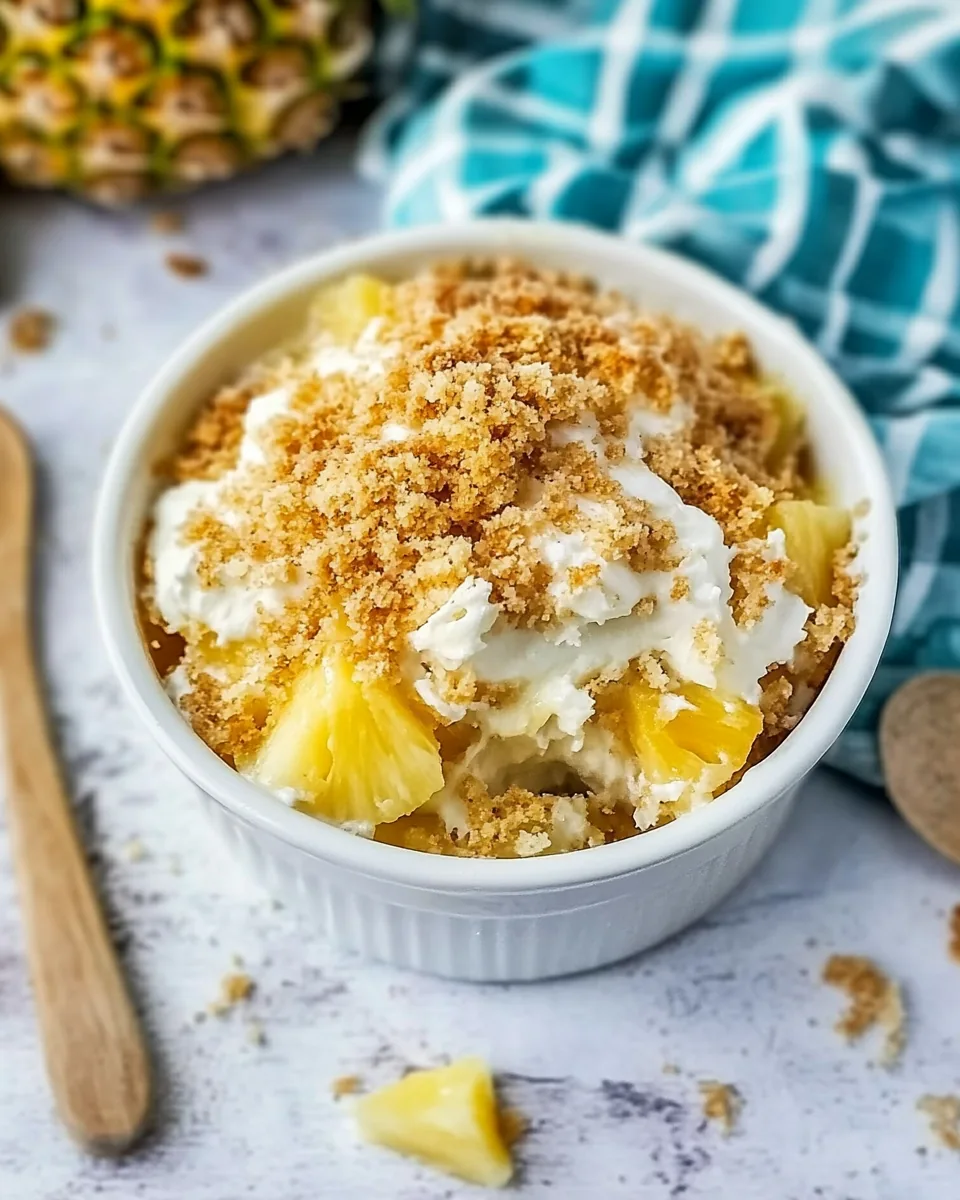
- Top it off: For a truly indulgent treat, consider adding a layer of whipped cream or a scoop of vanilla ice cream on top just before serving.
What Goes Well With This Pineapple Dump Cake
Serving Pineapple Dump Cake is just as fun as making it! There are so many ways to enjoy this delightful dessert, and it pairs beautifully with various foods and occasions. Here are some great suggestions:
- Ice Cream: A scoop of vanilla ice cream on top brings a creamy contrast to the fruity cake, making each bite even more delicious.
- Whipped Cream: Lightly sweetened whipped cream is a classic companion that enhances the cake’s flavors without overpowering it.
- Fresh Fruits: Serve with fresh slices of pineapple, strawberries, or other seasonal fruits for a bright and colorful presentation.
- Seasonal Pairings: This dessert is perfect for summer BBQs, picnics, or as a light finish to a hearty meal. It’s also a wonderful treat during holiday gatherings.
- Storage Tips: If you have leftovers, store them in an airtight container in the fridge. It keeps well and can be enjoyed cold or warmed up.
- Occasions: Whether it’s a birthday party, family reunion, or just a casual weeknight dessert, Pineapple Dump Cake is always appropriate.
FAQ
Conclusion
In summary, Pineapple Dump Cake is a delightful dessert that perfectly balances simplicity and flavor. Its tropical sweetness and easy preparation make it a favorite for summer gatherings and family dinners. I encourage you to try making this cake and indulge in the memories it brings of sunny days and shared laughter. You won’t regret adding this recipe to your collection!
Pineapple Dump Cake
Ingredients
Equipment
Method
- Preheat your oven to 350 degrees. Start by preparing a 9×13 pan with a light coating of cooking spray. This will ensure that your cake comes out easily without sticking.
- Next, spread both cans of the drained pineapple chunks and undrained crushed pineapple evenly in the bottom of the prepared pan. You'll want a nice, even layer to ensure every bite is full of that sweet, tropical flavor.
- Now, sprinkle the light brown sugar evenly over the layer of pineapple. This will create a sweet caramelized topping as the cake bakes.
- Evenly sprinkle the contents of the cake mix over the pineapple and sugar layers. Make sure to cover it completely for a uniform texture.
- Drizzle the melted butter over the entire cake mix layer. This will help form a beautiful, crusty top as it bakes.
- Place the pan in the preheated oven and bake for about 50 to 55 minutes. You’ll want to keep an eye on it, looking for a golden brown top. Your kitchen will begin to smell heavenly at this point!
- Once it’s done baking, remove the pan from the oven and allow it to cool for about 10 minutes before serving. This cooling time helps the cake set and makes it easier to cut.
Notes
- Storage: Leftover Pineapple Dump Cake can be stored in an airtight container at room temperature for one day. After that, keep it in the refrigerator for up to four days.
- Freezing: Yes, you can freeze this cake! Just make sure it’s completely cooled, and then wrap it tightly in plastic wrap and foil. It can be frozen for up to three months. Thaw overnight in the fridge before serving.
- Variations: Feel free to mix in other fruits like peaches or cherries for a twist on the classic flavor. You can also try using chocolate cake mix for a more decadent dessert.
- Cake mix alternatives: If you’re looking for a gluten-free option, try using gluten-free cake mix. It works just as well and tastes great!
- Serving size: If you have a smaller group, you can easily halve the recipe and bake it in an 8x8 pan. The baking time will be slightly less, so keep an eye on it.
- Top it off: For a truly indulgent treat, consider adding a layer of whipped cream or a scoop of vanilla ice cream on top just before serving.