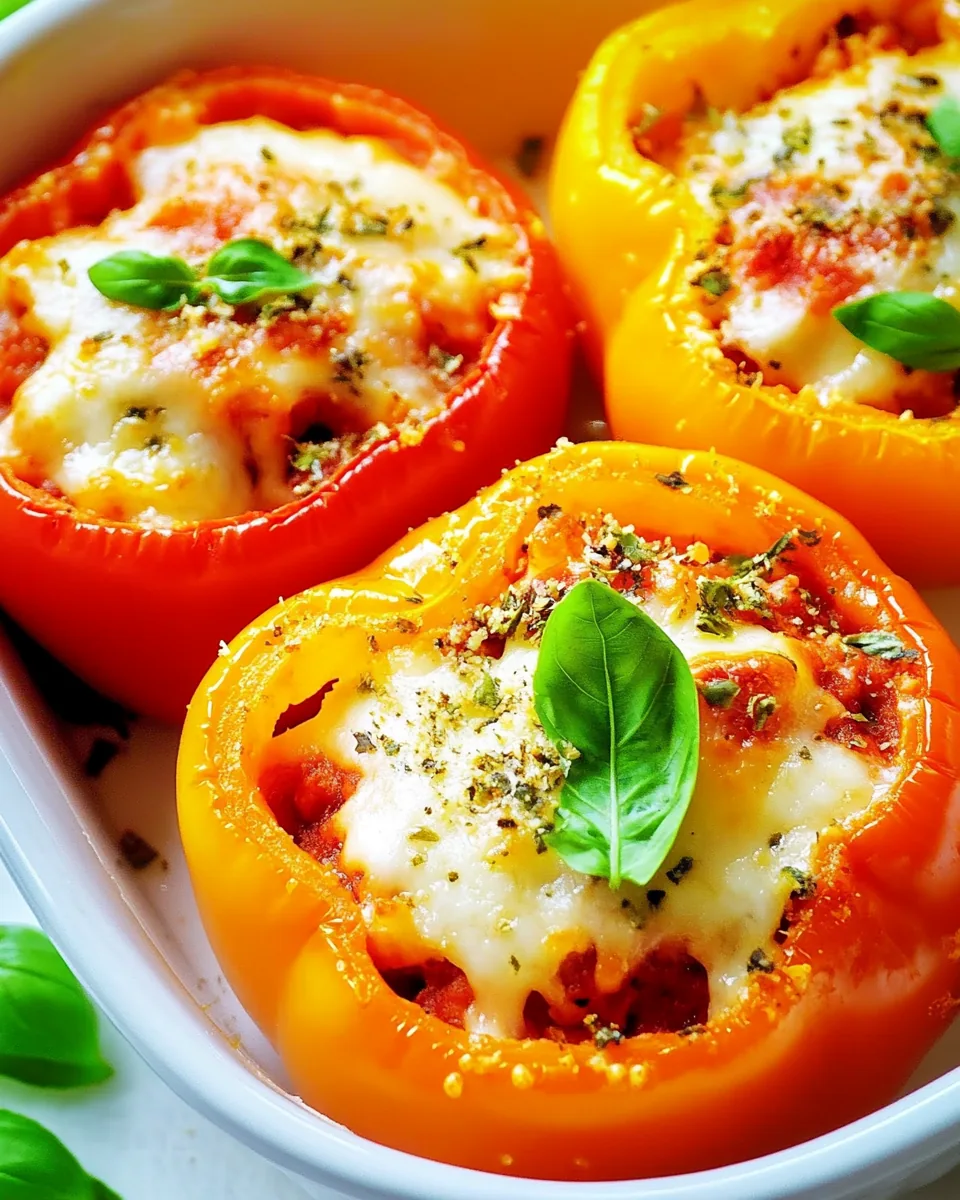
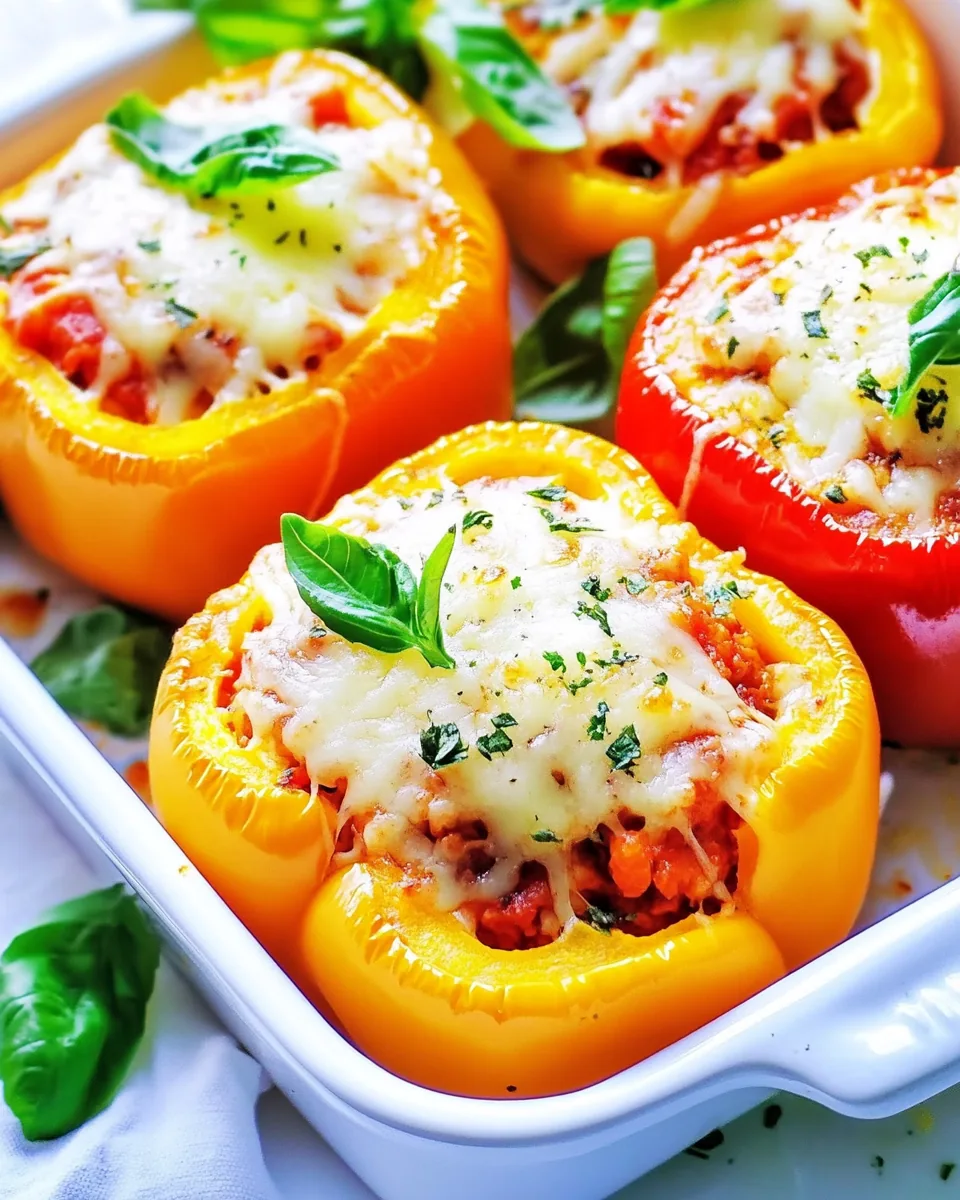
Pizza Stuffed Peppers
There’s something incredibly comforting about the combination of peppers and pizza flavors, and that’s exactly what inspired me to whip up these Pizza Stuffed Peppers. Imagine a busy weeknight when you’re craving that cheesy, savory delight of pizza but want to keep things on the healthier side. That’s when this dish shines! Packed with vibrant colors and delicious fillings, these peppers take the classic pizza experience to a new level. Whether it’s a family dinner or a cozy night in, Pizza Stuffed Peppers bring a smile to everyone’s face.
Recipe Snapshot
1 hr 10 mins
10 mins
60 mins
Medium
320 kcal
25 g
Keto, Gluten-Free, Low FODMAP
18 g
Skillet, Oven, Mixing Bowl, Baking Sheet, Chef’s Knife, Cutting Board
Why We Love This Pizza Stuffed Peppers
They’re Incredibly Flavorful
Every bite of Pizza Stuffed Peppers bursts with flavor. The combination of spices, vegetables, and cheese creates a symphony of taste that’s hard to resist. You’ll find yourself savoring every mouthful, thanks to the rich and dynamic flavors.
Perfectly Customizable
One of the best parts about Pizza Stuffed Peppers is how easy it is to adapt! You can swap out ingredients based on what you have on hand or your taste preferences. Want to add more veggies? Go for it! Prefer a different cheese? That works too! The possibilities are endless.
A Healthier Alternative
Craving pizza but want to keep it healthy? Pizza Stuffed Peppers are a brilliant choice! By using peppers instead of traditional crust, you’re cutting down on carbs while still enjoying that beloved pizza taste. They’re loaded with nutrients from the peppers, making it a winning dish for health-conscious eaters.
Dinner Made Easy
After a long day, the last thing you want is to spend hours in the kitchen. With Pizza Stuffed Peppers, you can prep everything in no time, toss them in the oven, and let the magic happen. It’s a stress-free dinner solution that tastes amazing!
Great for Meal Prep
These peppers are not only delicious fresh out of the oven, but they also make fantastic leftovers. Prepare a batch and enjoy them throughout the week. Just heat them up, and you’ve got a quick meal ready to go!
Shopping List for Pizza Stuffed Peppers
When it comes to making Pizza Stuffed Peppers, the ingredients play a pivotal role in achieving that deliciousness. Each ingredient complements the others, creating a harmonious blend of flavors and textures. Here are the key players in this delightful dish:
- 6 bell peppers – The base of our dish, vibrant and colorful!
- 1 tablespoon oil – For cooking the filling.
- 1 onion, diced – Adds sweetness and depth.
- 2 garlic cloves, minced – Essential for flavor.
- 1 cup finely diced mushrooms – Adds moisture and a rich texture.
- 1 lb. ground turkey or ground beef – The protein base.
- 1 28 oz. can diced tomatoes – For added moisture and flavor.
- 1 teaspoon Italian seasoning – Brings that pizza flavor.
- 1/2 teaspoon fine sea salt – Enhances all the flavors.
- 1/4 teaspoon ground black pepper – Adds a hint of spice.
- pinch red pepper flakes – For an extra kick.
- 1 cup pepperoni, chopped – Classic pizza topping.
- 1 cup fresh spinach – Adds color and nutrients.
- 1 1/2 cups mozzarella cheese – The gooey goodness!
- Fresh Basil, sliced – For garnish and freshness.
Recipe Directions for Pizza Stuffed Peppers

Cooking is often a journey of exploration, and making Pizza Stuffed Peppers is no different! It starts off simple, but as you layer flavors and textures, it turns into something special. Let’s dive in:
- Preheat your oven to 350ºF. This ensures that when you place your beautiful peppers inside, they will cook evenly and become tender.
- Prepare the peppers: Take your bell peppers and remove the top one inch, discarding the stem. With a knife, slice any usable pieces from the top and set them aside. Carefully scrape out the ribs and seeds, making sure to keep the pepper intact. This is your vessel for deliciousness!
- Place the prepared peppers upright in a baking dish. They should stand tall and proud, waiting to be filled with savory goodness.
- In a large skillet, heat the oil over medium heat. Once it’s hot, toss in the finely diced mushrooms. Cook these until all the moisture has been released, which should take around 5 to 7 minutes. You’ll notice a nice, earthy aroma filling your kitchen.
- Add the diced onion and minced garlic to the skillet. Cook them together until the onions start to soften, about 5 minutes. This combination creates a fragrant base for your filling.
- Now, it’s time to add the ground turkey (or beef). Cook this until there’s no pink left, breaking it up with a spatula. This step is crucial for ensuring your filling is fully cooked and flavorful.
- Once the meat has browned, stir in the diced tomatoes, Italian seasoning, salt, pepper, and red pepper flakes. Mix in the fresh spinach and the chopped pepperoni. Stir everything together until well combined. Taste and adjust seasoning if needed. This filling should be bursting with flavor!
- Carefully spoon the hearty mixture into each prepared pepper, pressing down gently to pack them in. Make sure to fill them generously!
- Pour one cup of water into the bottom of the baking dish. This helps steam the peppers, making them tender during baking.
- Cover the dish with foil and bake in the preheated oven for about 40 minutes, or until the peppers are tender. You’ll know they’re ready when they have softened without losing their shape.
- Remove the foil and preheat the broiler. Sprinkle the shredded mozzarella cheese generously over the tops of the peppers. Place them under the broiler for about 3 minutes until the cheese is bubbly and golden brown. This is where the magic happens!
- Once done, remove from the oven and let them cool slightly. You can serve them immediately or allow them to cool completely for meal prep. The choice is yours!
Things Worth Knowing
- Use fresh peppers: Choosing fresh, vibrant bell peppers will enhance the flavor and texture of your dish.
- Don’t overstuff: While it’s tempting to pack in as much filling as possible, leave some space for the peppers to cook evenly.
- Experiment with spices: Feel free to add your favorite herbs or spices to the filling to make it your own.
- Check for doneness: If you’re unsure whether the peppers are cooked through, you can use a fork to test their tenderness.
Tips for Success
Cooking is all about trial and error, and I’ve gathered some valuable tips to help you succeed with Pizza Stuffed Peppers:
- Storage: Store leftovers in an airtight container in the refrigerator for up to 3 days.
- Freezing: You can freeze unbaked peppers for up to 2 months! Just bake from frozen, adding extra time as needed.
- Pairing: Serve these stuffed peppers with a fresh salad or garlic bread for a complete meal.
- Variations: Feel free to mix in other vegetables or different proteins to keep things exciting.
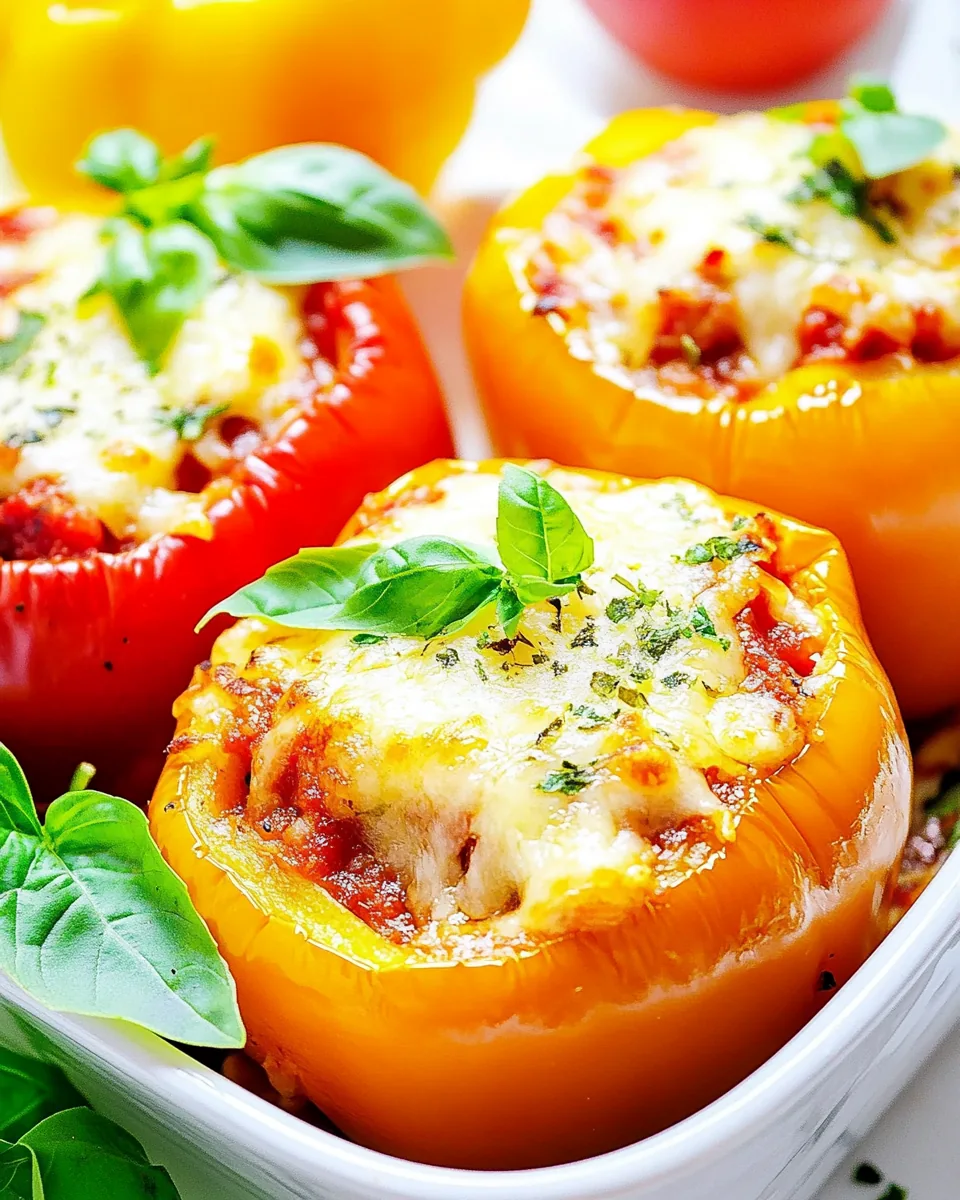
- Garnishing: Top each pepper with fresh basil before serving for a pop of color and flavor.
Side Dish Ideas for Pizza Stuffed Peppers
Pairing Pizza Stuffed Peppers with the right side dishes can enhance your meal experience. Here are some fantastic ideas:
- Garlic Bread: The perfect accompaniment to soak up any leftover sauce.
- Caesar Salad: A crisp salad adds a refreshing contrast to the warm, cheesy peppers.
- Coleslaw: The crunch of coleslaw balances the softness of the stuffed peppers.
- Roasted Vegetables: A side of roasted veggies complements the dish and adds more nutrients.
- Rice or Quinoa: A light grain side can round out the meal and make it more filling.
- Fruit Salad: A light fruit salad can serve as a refreshing dessert option after a hearty meal.
FAQ
Conclusion
Pizza Stuffed Peppers offer a delightful twist on traditional pizza that everyone loves. They’re flavorful, easy to make, and perfect for meal prep or a cozy dinner. I encourage you to give this recipe a try!
Pizza Stuffed Peppers
Ingredients
Equipment
Method
- Preheat your oven to 350ºF. This ensures that when you place your beautiful peppers inside, they will cook evenly and become tender.
- Prepare the peppers: Take your bell peppers and remove the top one inch, discarding the stem. With a knife, slice any usable pieces from the top and set them aside. Carefully scrape out the ribs and seeds, making sure to keep the pepper intact. This is your vessel for deliciousness!
- Place the prepared peppers upright in a baking dish. They should stand tall and proud, waiting to be filled with savory goodness.
- In a large skillet, heat the oil over medium heat. Once it's hot, toss in the finely diced mushrooms. Cook these until all the moisture has been released, which should take around 5 to 7 minutes. You'll notice a nice, earthy aroma filling your kitchen.
- Add the diced onion and minced garlic to the skillet. Cook them together until the onions start to soften, about 5 minutes. This combination creates a fragrant base for your filling.
- Now, it’s time to add the ground turkey (or beef). Cook this until there's no pink left, breaking it up with a spatula. This step is crucial for ensuring your filling is fully cooked and flavorful.
- Once the meat has browned, stir in the diced tomatoes, Italian seasoning, salt, pepper, and red pepper flakes. Mix in the fresh spinach and the chopped pepperoni. Stir everything together until well combined. Taste and adjust seasoning if needed. This filling should be bursting with flavor!
- Carefully spoon the hearty mixture into each prepared pepper, pressing down gently to pack them in. Make sure to fill them generously!
- Pour one cup of water into the bottom of the baking dish. This helps steam the peppers, making them tender during baking.
- Cover the dish with foil and bake in the preheated oven for about 40 minutes, or until the peppers are tender. You’ll know they’re ready when they have softened without losing their shape.
- Remove the foil and preheat the broiler. Sprinkle the shredded mozzarella cheese generously over the tops of the peppers. Place them under the broiler for about 3 minutes until the cheese is bubbly and golden brown. This is where the magic happens!
- Once done, remove from the oven and let them cool slightly. You can serve them immediately or allow them to cool completely for meal prep. The choice is yours!