Red Velvet Cheesecake
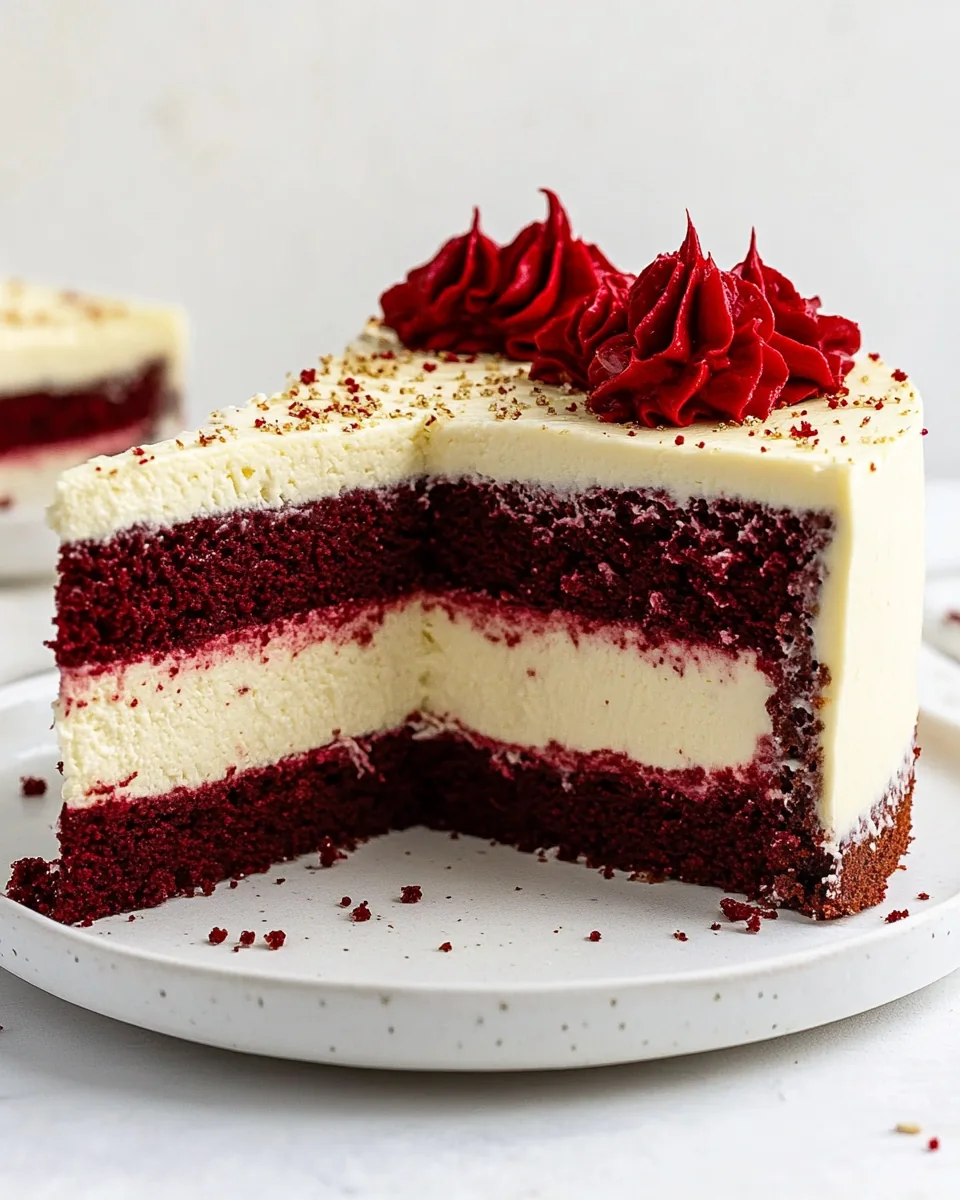
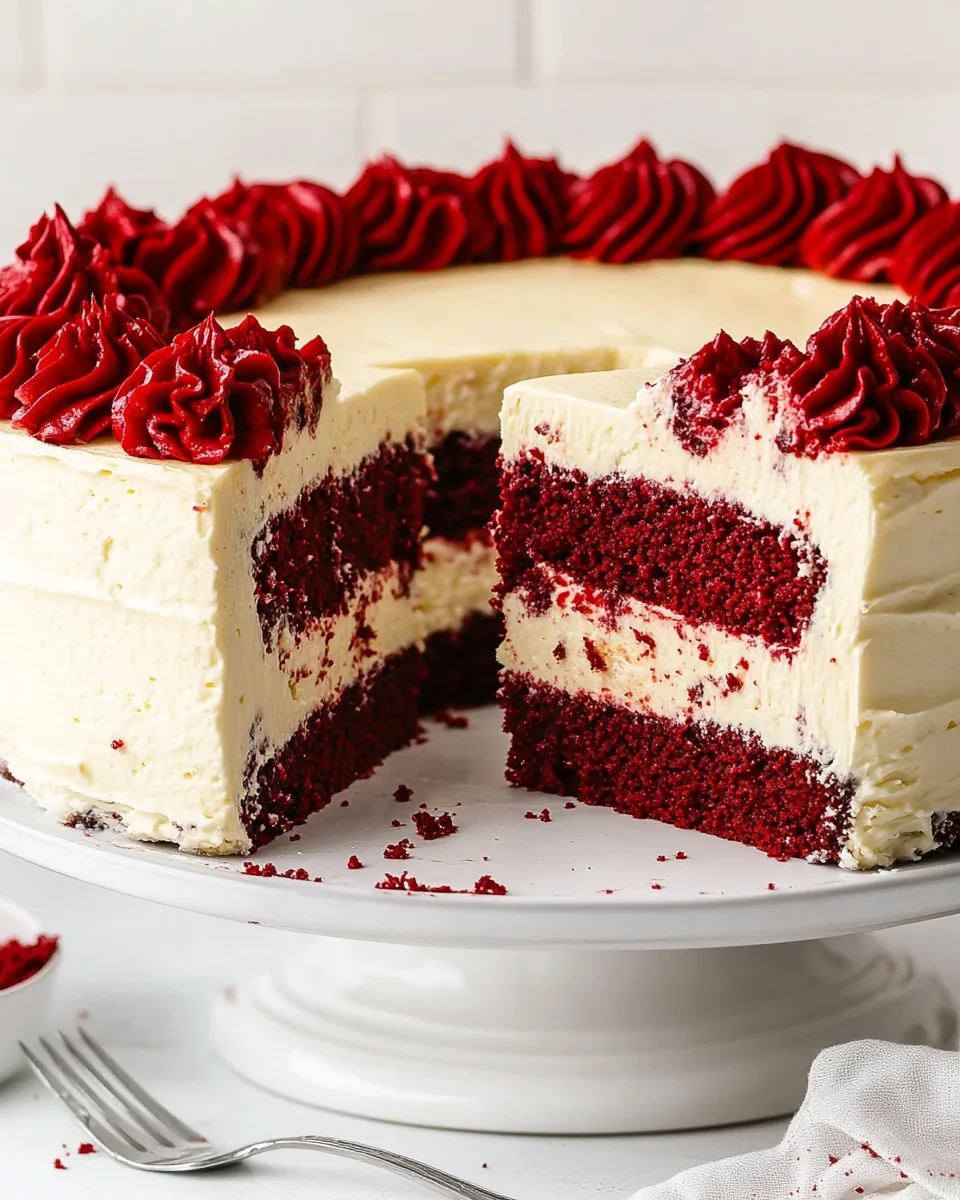
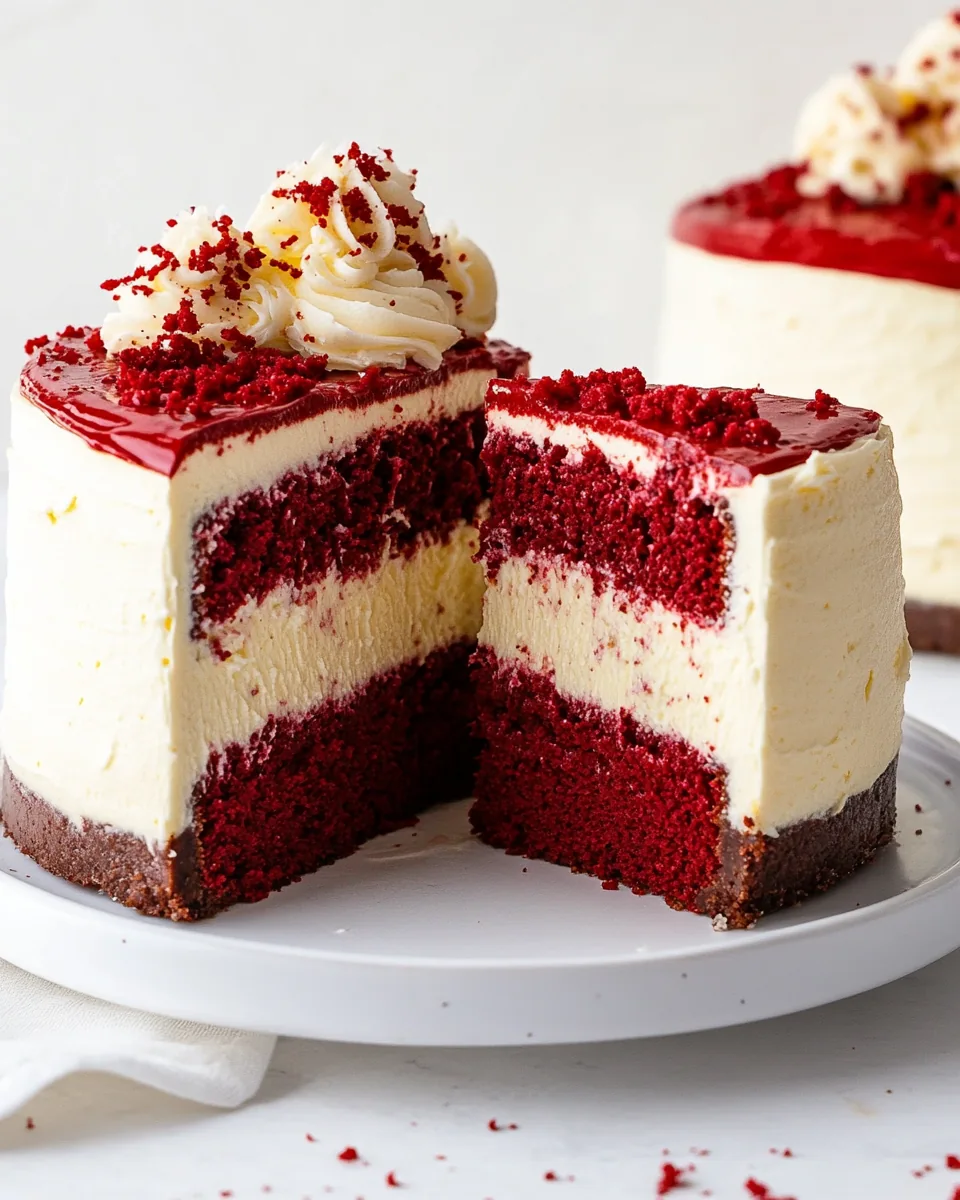
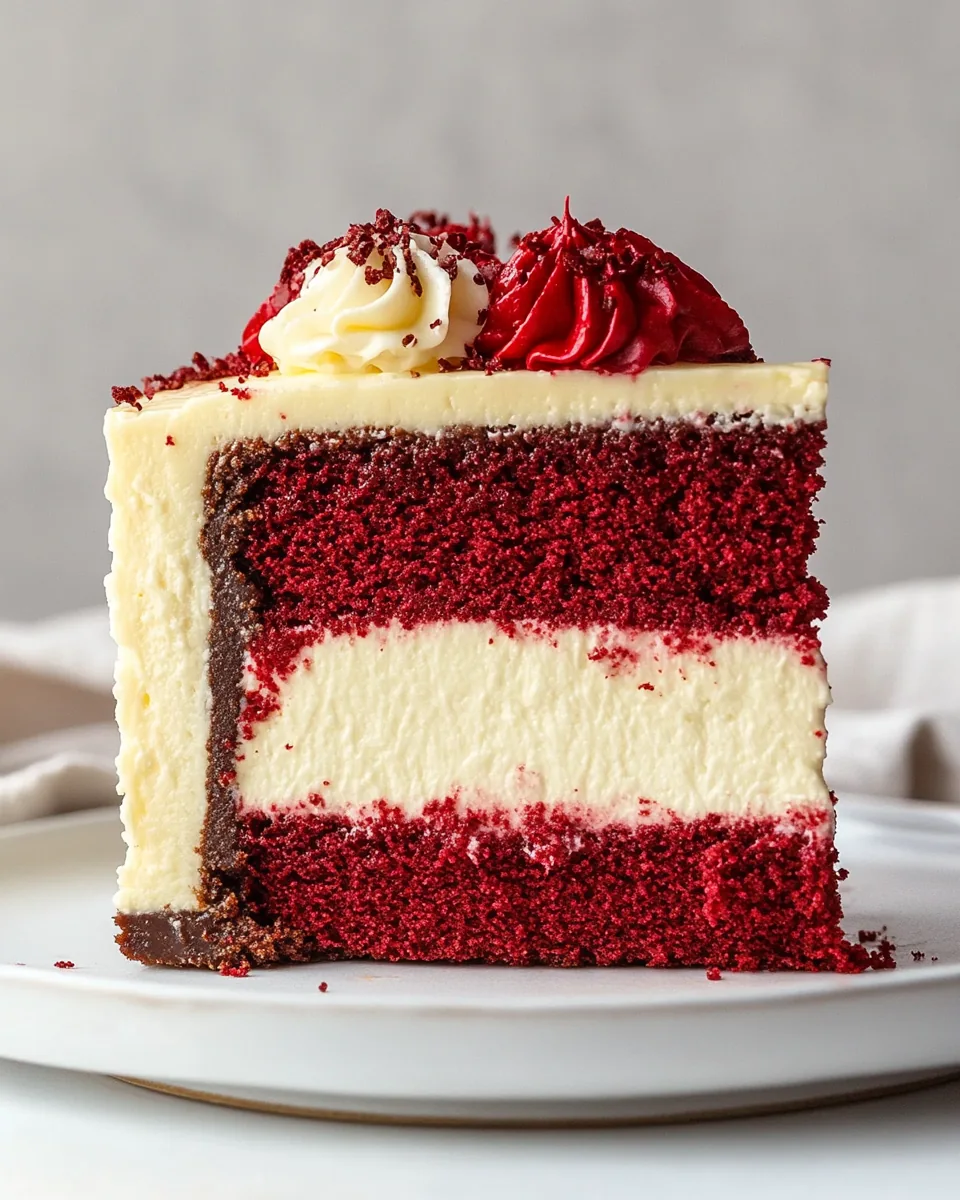
There’s something incredibly special about making a stunning dessert that brings joy to everyone around. The Red Velvet Cheesecake is one of those unforgettable treats that I vividly remember baking for the first time. I had a gathering with friends, and I wanted to impress them with something unique yet classic. When I placed that velvety red cake layered with creamy cheesecake on the table, the excitement was palpable. As I sliced into it, the red layers contrasted beautifully with the white cheesecake, creating a visual feast. Each bite is a blissful combination of rich flavors, making it an instant favorite.
Recipe Snapshot
4 hr
60 mins
180 mins
Hard
410 kcal
6 g
Gluten-Free, Low FODMAP
24 g
Mixing Bowl, Baking Sheet, Frying Pan, Oven
Why We Love This Red Velvet Cheesecake
What truly makes the Red Velvet Cheesecake a standout is its perfect harmony of flavors and textures. It’s not just a dessert; it’s an experience.
1. A Beautiful Contrast
The striking contrast of the vibrant red cake and the smooth, creamy cheesecake filling creates a stunning visual. It’s sure to grab attention at any gathering.
2. Rich Flavor Profile
The classic flavors of red velvet cake blended with the tangy sweetness of cheesecake result in a rich and indulgent dessert that satisfies all cravings.
3. Perfect for Celebrations
This dessert is ideal for special occasions like Valentine’s Day or birthdays. It adds a touch of elegance and festivity to the table.
4. Customizable Toppings
You can add your personal touch with toppings. Use fresh fruits, chocolate shavings, or even a drizzle of caramel to elevate the presentation.
5. A Recipe That Inspires
Baking the Red Velvet Cheesecake is not just about the final product; it’s about the joy of creating something beautiful and delicious. It inspires creativity in the kitchen, encouraging you to experiment with flavors and designs.
6. Great for Sharing
This cheesecake is perfect for sharing. Whether it’s a family gathering or a friendly get-together, everyone will love a slice (or two) of this masterpiece.
Key Ingredients for Red Velvet Cheesecake
Every ingredient in this Red Velvet Cheesecake plays a crucial role in crafting its unique flavor and texture. The combination of the rich red velvet cake and the creamy cheesecake creates a delightful contrast that is simply irresistible. Let’s dive into the key players that make this dessert so special.
- Red Velvet Cake Mix: This is the foundation of your cheesecake. It provides the signature red color and a hint of cocoa flavor.
- Cream Cheese: Essential for the cheesecake layer, it gives richness and a creamy texture.
- Sour Cream: Adds tanginess and moisture to the cheesecake, balancing out the sweetness.
- Sugar: Sweetens the cake and cheesecake layers, making them irresistible.
- Eggs: These bind the ingredients together, creating a smooth filling.
- Vanilla: Enhances the flavors, adding a warm, sweet aroma.
- Unsalted Butter: Used for making the frosting, it adds richness and smoothness.
- Powdered Sugar: Perfect for frosting, it gives a light and fluffy texture.
Recipe Directions for Red Velvet Cheesecake
Making a Red Velvet Cheesecake is a rewarding process that combines both baking and assembling. Follow these steps to create this masterpiece that’s sure to impress.
- Start by following the instructions on the red velvet cake mix box or use your favorite from-scratch recipe to create the cake layers.
- Once the cake batter is ready, preheat your oven to 325 degrees Fahrenheit. Prepare a springform pan by spraying it with cooking spray and placing a parchment round on the bottom. This will ensure easy removal later.
- Wrap the outside of your springform pan with heavy-duty aluminum foil to prevent water from seeping into the pan during the baking process.
- Place the wrapped pan in a deep roasting pan or a baking sheet. This will serve as the water bath for the cheesecake.
- In a stand mixer, add the softened cream cheese and beat it at medium-high speed for about a minute. This is crucial for a smooth texture.
- Next, add the granulated sugar and sour cream to the mixing bowl. Keep mixing at medium-low speed until just combined. It’s important not to overmix at this stage.
- Now, add the eggs, one at a time, mixing on low speed until each is fully incorporated. Scrape down the sides of the bowl periodically.
- Add in the vanilla and give it a brief mix until combined. Your cheesecake batter should be smooth and somewhat runny at this point.
- Pour the cheesecake batter into the prepared springform pan.
- Using very hot water, add water to the baking pan until it reaches about 1.5 inches high around the springform pan. This water bath helps keep the cheesecake moist.
- Carefully place the pan in the oven and bake for about 1 to 1.5 hours. Check for doneness by gently jiggling the pan. The cheesecake should be firm yet slightly jiggly in the center.
- Once it’s baked, turn off the oven but leave the cheesecake inside for another hour, allowing it to cool gradually. This step prevents cracks.
- After an hour, take it out and remove the foil. Chill the cheesecake in the fridge for at least 6 hours.
- Meanwhile, prepare the frosting by creaming together the remaining cream cheese, butter, and vanilla in a bowl. Gradually add the powdered sugar until fully combined.
- To assemble, place a spoonful of frosting on your cake platter to hold the cake in place. Layer the first red velvet cake layer, followed by the cheesecake layer, and then top with the second red velvet layer, pressing gently to secure.
- Finally, frosted the cake with the remaining frosting, decorating to your liking. Your Red Velvet Cheesecake is now ready to be served!
Things Worth Knowing
- Use Room Temperature Ingredients: Ensure that your cream cheese and butter are at room temperature for a smoother batter.
- Don’t Open the Oven Door: During the cooling phase, resist the temptation to check on your cheesecake. Sudden temperature changes can cause it to crack.
- Chill Thoroughly: Chilling the cheesecake for at least 6 hours allows it to set properly, resulting in a cleaner slice when cut.
- Experiment with Flavors: Try adding a hint of almond or lemon zest for a unique twist in the cheesecake layer.
How to Switch It Up
If you’re looking to add a personal flair to your Red Velvet Cheesecake, here are some fun suggestions:
- Flavor Variations: Consider swapping out the cream cheese for flavored varieties like strawberry or chocolate for a unique twist.
- Toppings: Get creative with toppings. Fresh berries, chocolate ganache, or whipped cream can elevate the dessert.
- Mini Cheesecakes: Make mini versions of the Red Velvet Cheesecake in muffin tins for individual servings; they’re perfect for parties!
- Different Layers: Add layers of other flavors like chocolate or lemon cheesecake to create a multi-flavor sensation.
- Layering Technique: When stacking the layers, you can alternate the arrangement for varied presentation.
Best Served With
When serving your Red Velvet Cheesecake, consider the following suggestions:
- Fresh Fruits: Pair with fresh strawberries or raspberries for a burst of flavor that complements the sweetness.
- Whipped Cream: A dollop of whipped cream adds an airy lightness that balances the rich cheesecake.
- Chocolate Drizzle: A drizzle of chocolate sauce on top can enhance the visual appeal while adding sweetness.
- Coffee or Tea: Serve with a cup of coffee or tea; the warmth of the drink contrasts nicely with the chilled cheesecake.
- Celebratory Events: Perfect for occasions like anniversaries, birthdays, or romantic dinners.
- Chill Before Serving: Ensure the cheesecake is served chilled for the best texture; it should be creamy yet firm.
FAQ
Conclusion
The Red Velvet Cheesecake truly stands out with its vibrant colors and rich flavors, making it a go-to choice for celebrations. Whether it’s a birthday, anniversary, or simply a treat for yourself, this dessert is sure to leave everyone asking for seconds. Don’t hesitate to try making it yourself; the joy of creating this masterpiece is just as wonderful as indulging in its deliciousness.
Red Velvet Cheesecake
Ingredients
Equipment
Method
- Start by following the instructions on the red velvet cake mix box or use your favorite from-scratch recipe to create the cake layers.
- Once the cake batter is ready, preheat your oven to 325 degrees Fahrenheit. Prepare a springform pan by spraying it with cooking spray and placing a parchment round on the bottom. This will ensure easy removal later.
- Wrap the outside of your springform pan with heavy-duty aluminum foil to prevent water from seeping into the pan during the baking process.
- Place the wrapped pan in a deep roasting pan or a baking sheet. This will serve as the water bath for the cheesecake.
- In a stand mixer, add the softened cream cheese and beat it at medium-high speed for about a minute. This is crucial for a smooth texture.
- Next, add the granulated sugar and sour cream to the mixing bowl. Keep mixing at medium-low speed until just combined. It's important not to overmix at this stage.
- Now, add the eggs, one at a time, mixing on low speed until each is fully incorporated. Scrape down the sides of the bowl periodically.
- Add in the vanilla and give it a brief mix until combined. Your cheesecake batter should be smooth and somewhat runny at this point.
- Pour the cheesecake batter into the prepared springform pan.
- Using very hot water, add water to the baking pan until it reaches about 1.5 inches high around the springform pan. This water bath helps keep the cheesecake moist.
- Carefully place the pan in the oven and bake for about 1 to 1.5 hours. Check for doneness by gently jiggling the pan. The cheesecake should be firm yet slightly jiggly in the center.
- Once it’s baked, turn off the oven but leave the cheesecake inside for another hour, allowing it to cool gradually. This step prevents cracks.
- After an hour, take it out and remove the foil. Chill the cheesecake in the fridge for at least 6 hours.
- Meanwhile, prepare the frosting by creaming together the remaining cream cheese, butter, and vanilla in a bowl. Gradually add the powdered sugar until fully combined.
- To assemble, place a spoonful of frosting on your cake platter to hold the cake in place. Layer the first red velvet cake layer, followed by the cheesecake layer, and then top with the second red velvet layer, pressing gently to secure.
- Finally, frosted the cake with the remaining frosting, decorating to your liking. Your Red Velvet Cheesecake is now ready to be served!
Notes
- Tip 1: Store leftovers in an airtight container in the fridge to maintain freshness.
- Tip 2: Freezing the cheesecake can be done, but ensure it's in a well-sealed container.
- Tip 3: Consider using a springform pan for easy removal and presentation.
- Tip 4: Decorate with fresh fruits or chocolate shavings for an extra flair.
- Tip 5: Let the cheesecake sit at room temperature for a few minutes before serving for a softer texture.