Scotch Krispie Bark
The first time I made Scotch Krispie Bark, it felt like I was rediscovering a childhood treasure. These sweet treats were something my grandmother made every holiday season, and the joy of running to the kitchen to snag a piece before they were all gone is a memory I cherish. As I melted those butterscotch chips and combined them with Rice Krispies, the familiar aroma filled my home, bringing back a wave of nostalgia. Today, I want to share this simple yet delightful recipe that captures the essence of those cherished moments.
Recipe Snapshot
60 mins
0 mins
0 mins
Easy
180 kcal
3 g
Gluten-Free, Low FODMAP
8 g
Wooden Spoon
Why This Scotch Krispie Bark Works
Family Tradition
Every family has those signature recipes that evoke fond memories, and Scotch Krispie Bark is mine. It’s not just a treat; it’s a symbol of love, comfort, and togetherness. As we prepare this, we share stories from the past, and the kitchen becomes a hub of laughter and joy.
Perfect for Any Occasion
What I love about Scotch Krispie Bark is its versatility. Whether it’s a birthday party, a holiday gathering, or just a cozy night in, this recipe fits the bill perfectly. It’s one of those desserts that can be served at any time of the year, making it a go-to staple.
Kid-Friendly Fun
This recipe is an excellent way to involve kids in the kitchen. They can help with melting the chocolate and spreading the layers. Watching their excitement as they create something delicious is a joy all on its own. Plus, they love being part of the process!
Quick and Easy
In our busy lives, finding quick dessert recipes is essential. Scotch Krispie Bark takes no time at all, allowing you to whip up a delicious treat in a hurry. You can have it ready in under an hour, making it perfect for unexpected guests.
Endless Customization
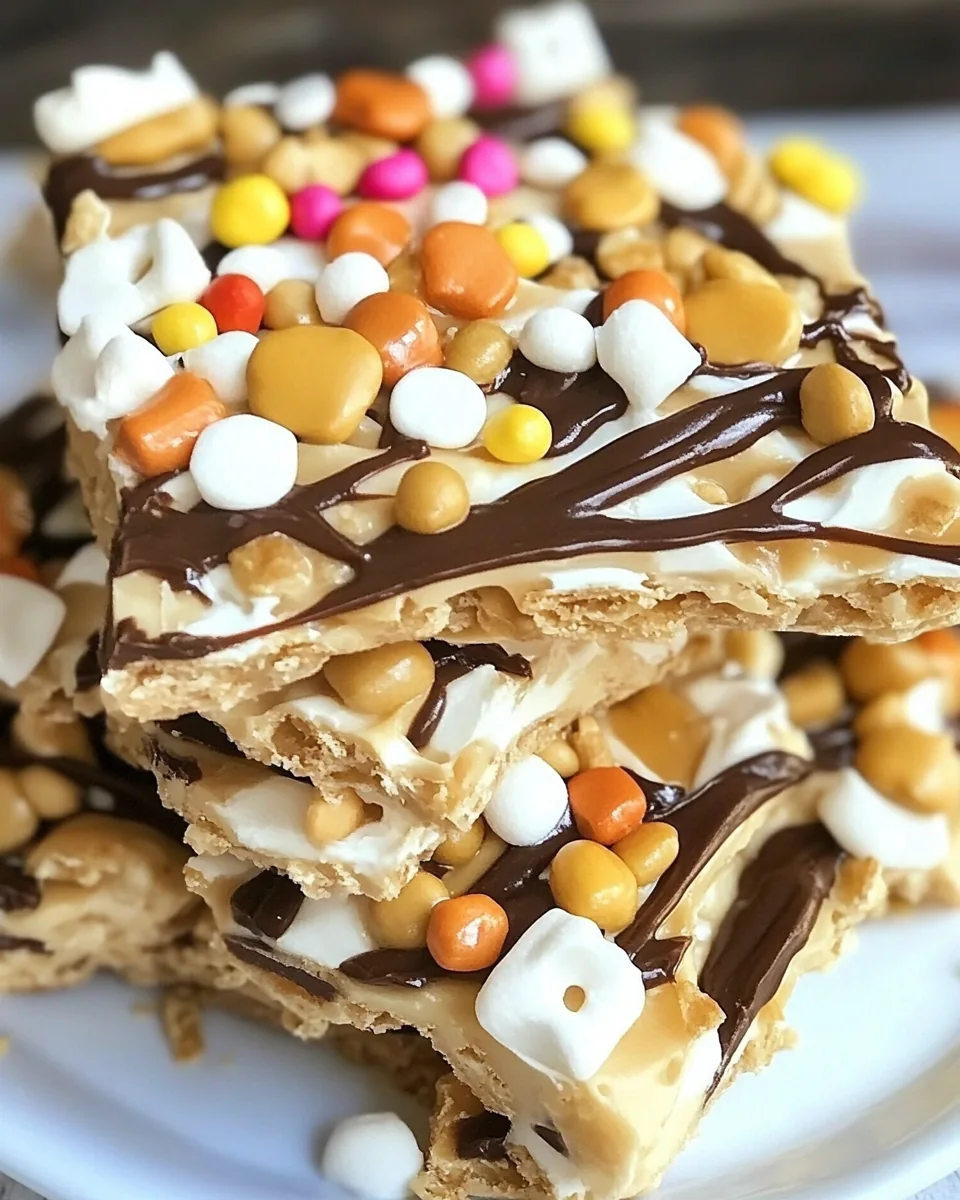
The best part? You can easily customize Scotch Krispie Bark to suit your taste. Want to add nuts, sprinkles, or a drizzle of caramel? Go for it! This recipe is perfect for experimenting and creating your unique twist.
Main Ingredients for Scotch Krispie Bark
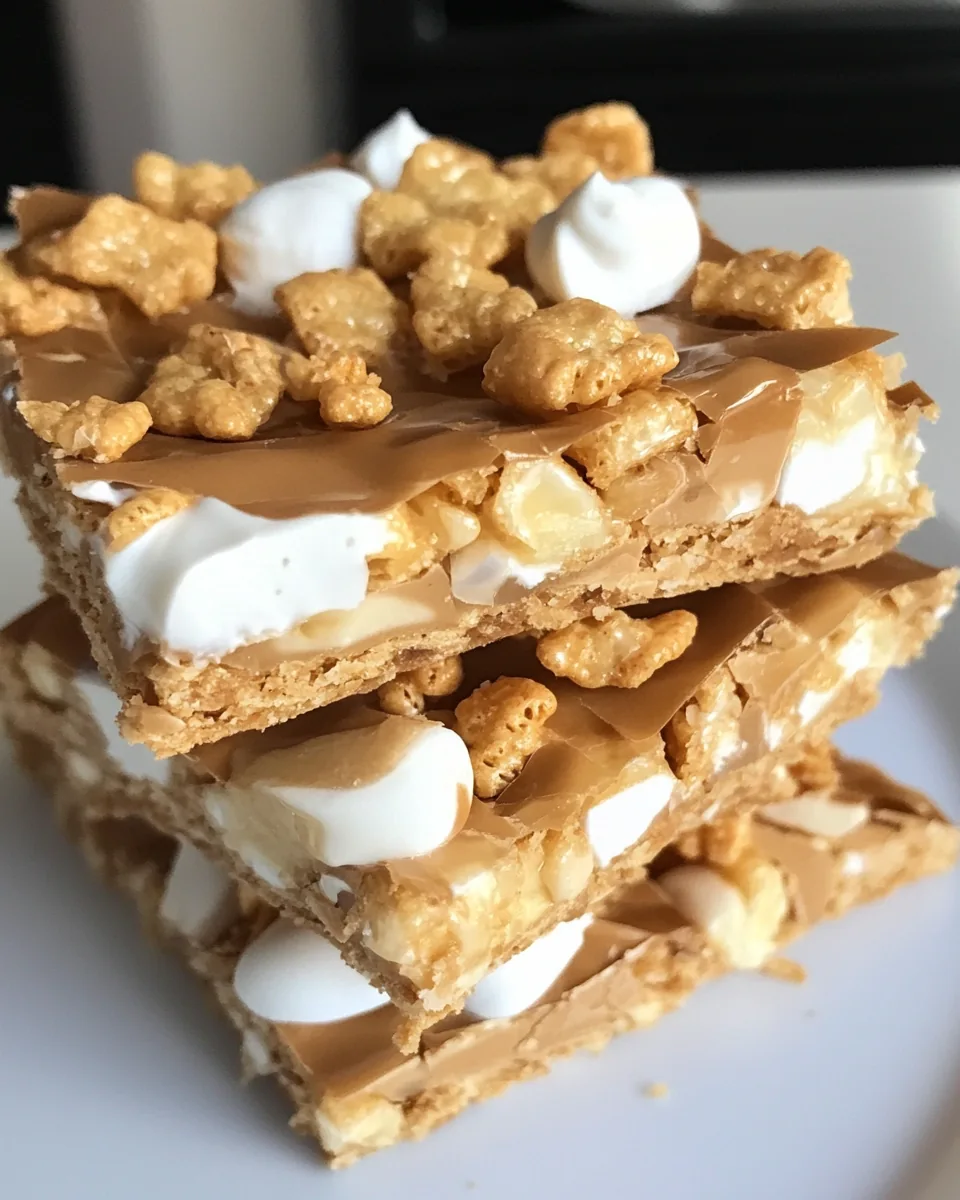
Let’s talk about the ingredients that make Scotch Krispie Bark so special. Each one plays a vital role in creating the perfect balance of flavors and textures. The combination of butterscotch chips and semi-sweet chocolate chips creates a heavenly sweetness, while the Rice Krispies give that satisfying crunch. Lastly, peanut butter adds a rich, nutty flavor that ties everything together beautifully.
- 1 bag butterscotch chips – These provide the sweet, rich base layer that sets the stage for our dessert.
- 1 bag semi-sweet chocolate chips – Adds a delightful contrast to the sweet butterscotch, making each bite irresistible.
- 1 ½ cups Rice Krispies Cereal – This is what gives our bark that satisfying crunch and texture.
- ½ cup peanut butter – A creamy addition that enhances the overall flavor and makes the bark even more decadent.
Making Scotch Krispie Bark
Creating Scotch Krispie Bark is a delightful experience that captures the joy of cooking. Follow these simple steps to make your own batch and fill your kitchen with an aroma that will have everyone gathering around.
- Begin by lining a cookie sheet with waxed paper. This step is crucial as it prevents the bark from sticking, making clean-up a breeze.
- Next, place the butterscotch chips in a microwave-safe bowl. Heat them on 50% power for 1 minute. After that, stir the chips and heat in 30-second increments until they’re melted and smooth. You should see a glossy texture when done.
- Once melted, pour the butterscotch mixture onto the lined cookie sheet, spreading it evenly to create a smooth layer.
- Now, sprinkle the Rice Krispies cereal over the melted butterscotch layer. Make sure to press them down gently with your hands to ensure they stick.
- In another microwave-safe bowl, melt the semi-sweet chocolate chips using the same method as the butterscotch. Stir after 1 minute and continue heating until smooth.
- If the chocolate isn’t smooth, consider adding 1 to 2 teaspoons of vegetable oil to help it achieve that silky texture.
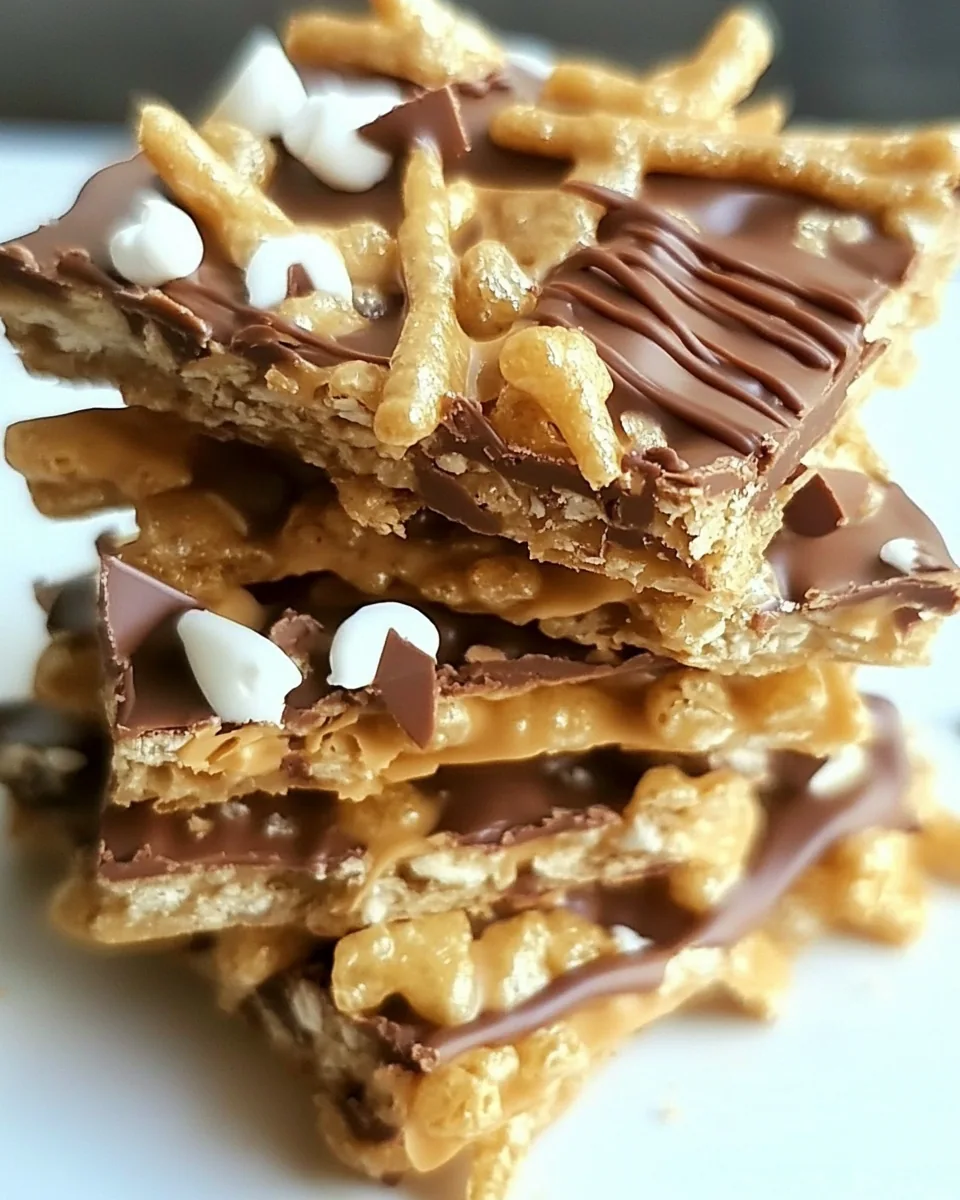
- Spread the melted chocolate over the Rice Krispie layer, making sure to cover it evenly.
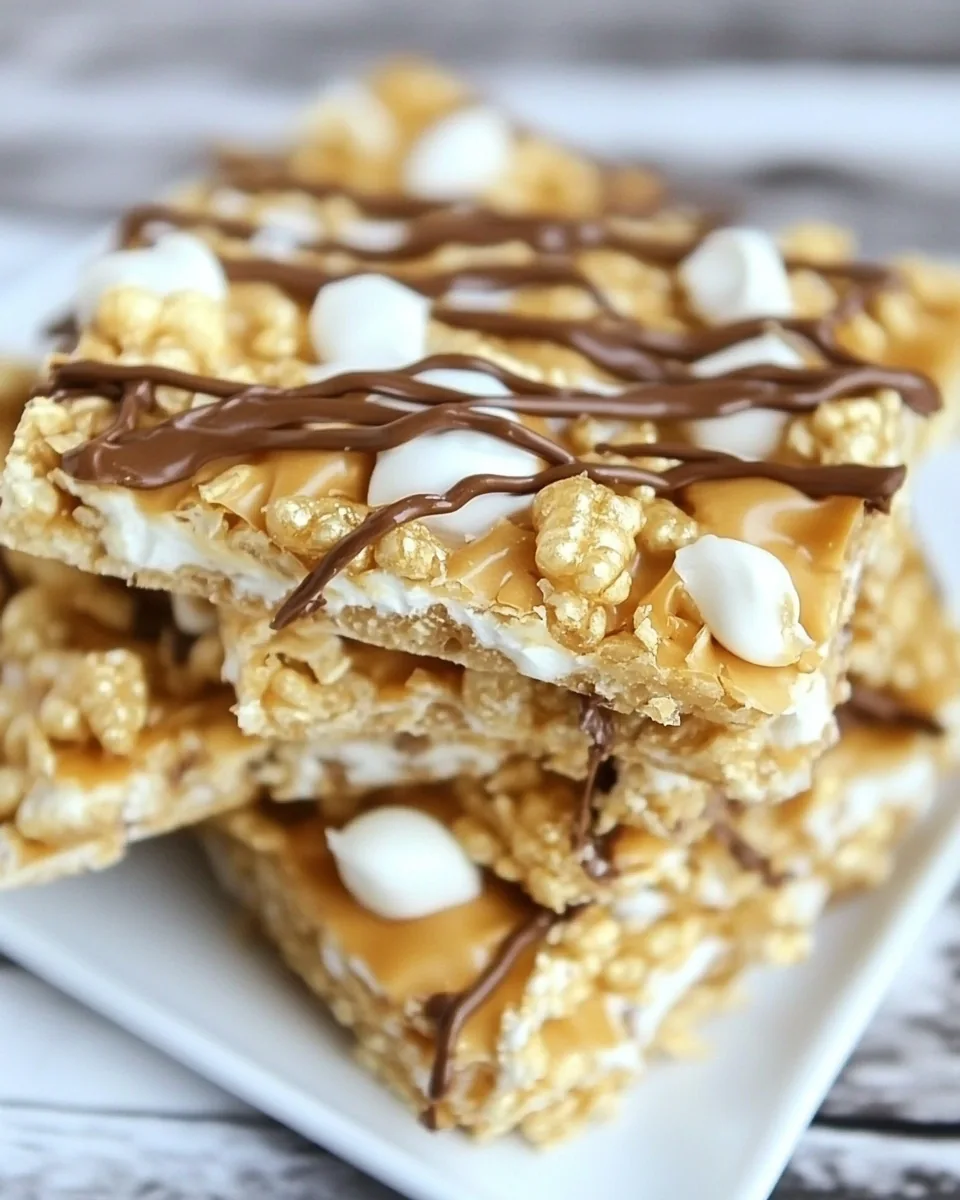
- While spreading, take a moment to melt the peanut butter in the microwave. Drizzle it over the chocolate layer and use the back of a spoon to swirl it together. This adds a beautiful marbled effect.
- Once you’ve completed these steps, place the cookie sheet in the refrigerator to chill. Allow the bark to harden completely, which usually takes about 30 minutes.
- Finally, break the chilled bark into pieces and serve. Enjoy watching everyone savor every bite of your delicious creation!
Things Worth Knowing
- Use quality chocolate: The choice of chocolate can greatly affect the flavor of your bark. Opt for high-quality brands for the best taste.
- Don’t rush the melting: Melting chocolate and butterscotch requires patience. Heating too quickly can cause it to seize up; take your time.
- Experiment with toppings: Consider adding chopped nuts or sprinkles on top before the mixture hardens for a fun twist.
- Make it ahead: This bark can be made in advance and stored in the fridge, making it a great dessert to prepare for parties.
Variations to Try
If you love Scotch Krispie Bark, you’ll appreciate these variations that enhance its flavors and textures. Each suggestion gives you a new twist on a classic favorite.
- Add nuts: Incorporate chopped almonds or walnuts for additional crunch and flavor.
- Use flavored chips: Experiment with different flavored chips like peanut butter or mint for a unique taste.
- Include dried fruit: Toss in some dried cranberries or raisins before the mixture sets for a fruity surprise.
- Make it a layered treat: Create multiple layers by alternating between butterscotch and chocolate layers for a stunning presentation.
- Try a gluten-free version: Substitute Rice Krispies with a gluten-free cereal to cater to dietary needs without losing flavor.
What to Pair With Scotch Krispie Bark
When serving Scotch Krispie Bark, consider these delightful pairings that complement its sweet and nutty flavors.
- Chocolate milk: A classic pairing that enhances the sweetness and adds a creamy touch.
- Fruit platter: Fresh fruits like strawberries or apples provide a refreshing contrast to the rich flavors of the bark.
- Warm beverages: Hot cocoa or coffee work well to balance the sweetness, making them perfect companions during cooler months.
- Ice cream: Serve the bark alongside vanilla or chocolate ice cream for a decadent dessert experience.
- Seasonal gatherings: Ideal for holiday parties, picnics, or family gatherings, it’s sure to please everyone!
FAQ
Conclusion
Scotch Krispie Bark is a delightful and simple dessert that packs a punch of flavor and nostalgia. It’s a perfect way to bring family together, creating sweet memories with every bite. I encourage you to try making this easy treat at home. You won’t be disappointed!
Scotch Krispie Bark
Ingredients
Equipment
Method
- Line a cookie sheet with waxed paper. Place butterscotch chips in a microwave safe bowl and heat on 50% power for 1 minute, stir, and then add increments of 30 seconds until chips are melted and smooth. Spread on cookie sheet.
- Sprinkle Rice Krispies cereal on top of butterscotch layer. Press down with your hands.
- Melt semi-sweet chocolate chips in microwave, again using 50% power, stirring after 1 minute and continuing to heat at 30 second intervals until chips are melted. (If chocolate doesn’t seem smooth, add about a teaspoon or two of vegetable oil and stir.) Spread over Rice Krispie layer.
- While spreading chocolate layer, melt peanut butter in microwave. Drizzle over spread chocolate and swirl with the back of a spoon.
- Chill to harden bark, then break into pieces and serve.
Notes
- Storage: Store leftover bark in an airtight container at room temperature for up to a week.
- Freezing: You can freeze the bark for longer storage. Just make sure to wrap it tightly.
- Pairing: This bark pairs beautifully with chocolate milk or fresh fruit.
- Customizing: Feel free to add your favorite nuts or toppings for a twist!
- Serving Size: Cut the pieces to your desired size when serving.