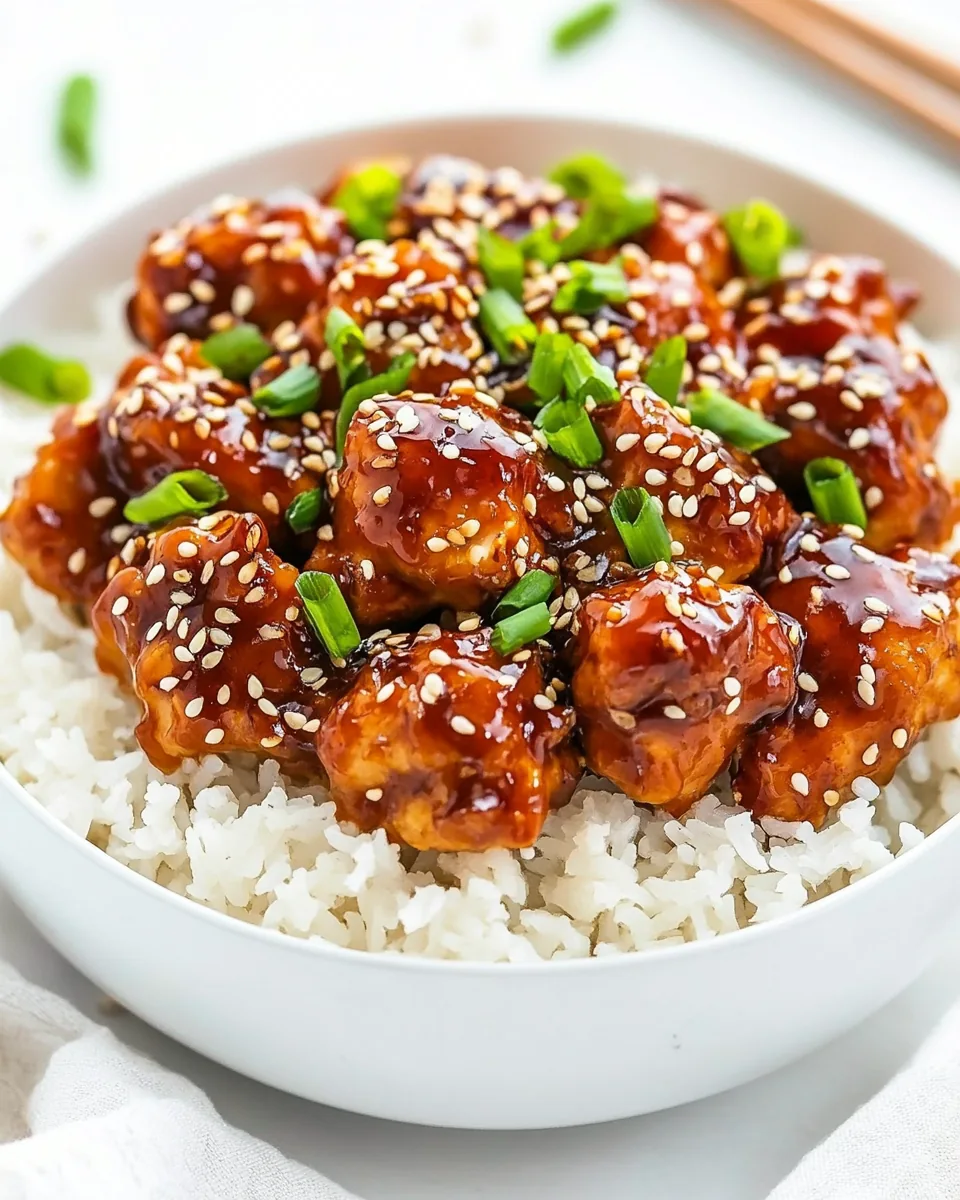
Sesame Chicken
One of my all-time favorites is Sesame Chicken, a dish that never fails to bring back fond memories of family dinners. I remember the first time I tried it; the crispiness of the chicken paired with the sweet and savory sauce was just magical. It was a cold, rainy evening, and there was something so comforting about that warm plate of goodness. It’s funny how food can transport you back in time, isn’t it? Each bite was filled with flavor, and I couldn’t get enough of that delightful crunch! Whether you’re looking to impress guests or simply enjoy a cozy night in, Sesame Chicken is the dish that does it all.
Recipe Snapshot
40 mins
20 mins
20 mins
Easy
430 kcal
24 g
Whole30, Gluten-Free, Low FODMAP
24 g
Saucepan, Skillet, Mixing Bowl, Chef’s Knife, Frying Pan, Whisk
Why We Love This Sesame Chicken
It’s Irresistibly Crunchy
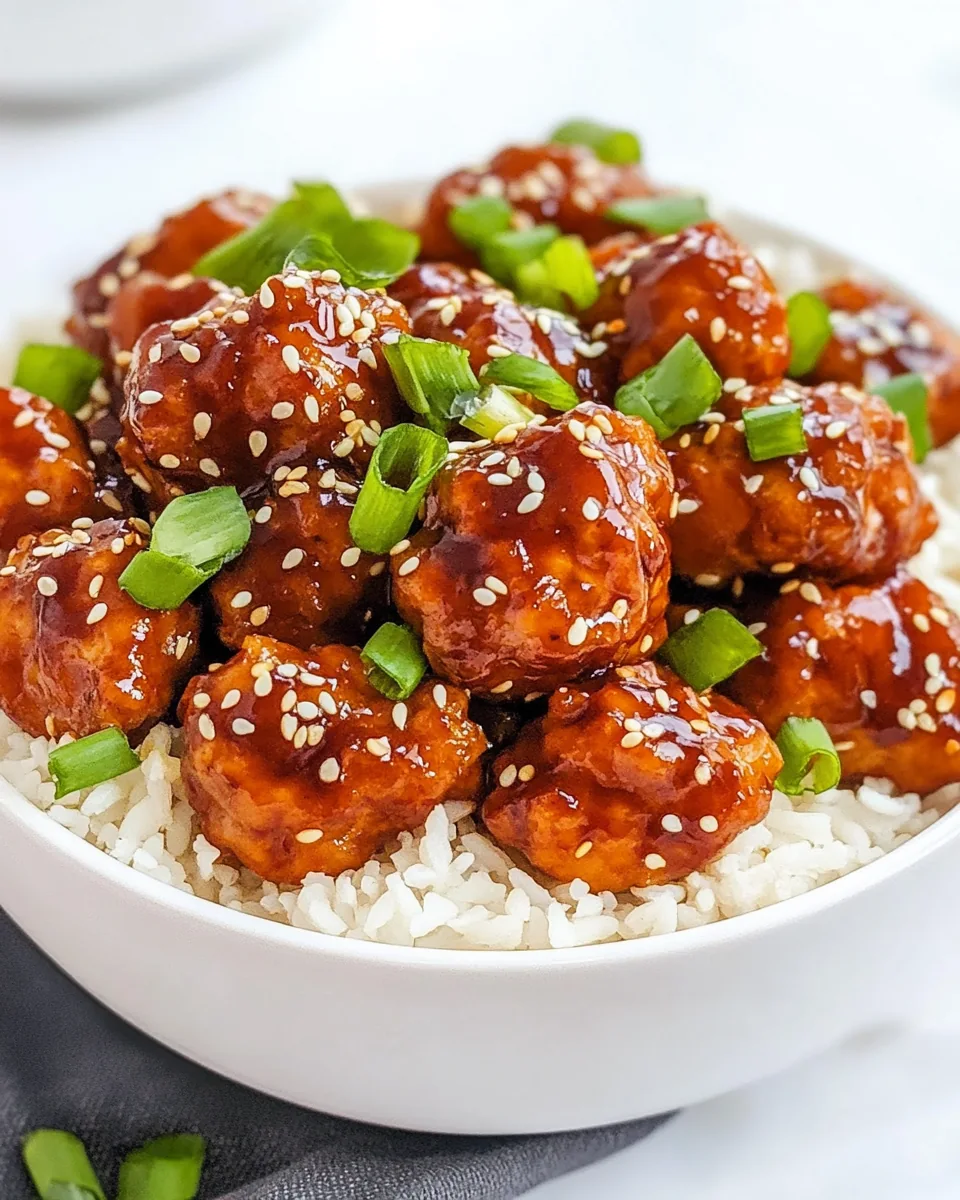
The first thing that sets Sesame Chicken apart is its incredible crunch! The way the chicken is coated in a mix of flour and cornstarch creates a crunchy exterior that is hard to resist. When you take a bite, the sound of that crunch just sings! It’s a texture that makes the dish fun and satisfying.
A Sweet and Savory Balance
What I love about Sesame Chicken is its unique flavor combination. The sweetness of honey and the savory notes from soy sauce meld together beautifully, creating a sauce that just clings to the chicken. This balance of flavors is not only delicious but also makes it incredibly versatile. You can serve it with rice, noodles, or even veggies!
Perfect for Weeknight Dinners
In our busy lives, having a go-to recipe that is quick and easy is essential, and Sesame Chicken fits that bill perfectly. With a prep time of just twenty minutes, this dish can be on the table in no time, making it an excellent choice for those hectic weeknights when you want something flavorful without spending hours in the kitchen.
Customizable for Everyone
Another great thing about Sesame Chicken is its adaptability. Whether you prefer it spicy with a hint of chili flakes or plain if you’re feeding kids, you can easily adjust the sauce to your liking. This makes it a fantastic option for families, as everyone can enjoy it their way.
Great for Meal Prep
If you’re like me and love to meal prep for the week, Sesame Chicken is a fantastic choice. The chicken can be cooked ahead of time and then simply reheated with the sauce when you’re ready to eat. It retains its crunch, and the flavors only get better as they meld together in the fridge.
A Dish That Welcomes Company
Lastly, Sesame Chicken is perfect for sharing. It’s a crowd-pleaser that you can serve at gatherings and family dinners. Just imagine presenting this beautiful dish, garnished with sesame seeds and green onions, to your friends or family. It’s bound to impress!
Ingredients Overview for Sesame Chicken
When it comes to creating a dish as delightful as Sesame Chicken, the ingredients play a crucial role. Each component brings its own flair, working together to create a symphony of flavors and textures. The key players here are the juicy pieces of boneless, skinless chicken, the crispy coating, and the delicious sauce that ties it all together.
- 1 ½ pounds boneless, skinless chicken breasts, cut into 1 inch pieces: This is the star of the dish, providing a tender, juicy base.
- 2 eggs, beaten: These help the coating adhere to the chicken, ensuring that every piece is crispy.
- Salt and pepper, to taste: Essential seasonings that enhance the chicken’s flavor.
- ⅓ cup flour: Adds to the crunchiness of the chicken.
- ⅓ cup cornstarch: A key ingredient for achieving that sought-after crisp texture.
- Oil, for frying: Used to fry the chicken to golden perfection.
- ¼ cup soy sauce: Provides a savory depth to the sauce.
- 3 tablespoons honey: Adds sweetness and balances the salty flavors.
- 3 tablespoons ketchup: Brings a tangy twist to the sauce.
- 1 tablespoon brown sugar: Enhances the sweetness and caramelization.
- 2 tablespoons rice vinegar: Adds acidity and brightness to the sauce.
- 1 tablespoon toasted sesame oil: Imparts a distinct nutty flavor.
- 2 teaspoons cornstarch: Helps thicken the sauce.
- ½ teaspoon garlic powder: Adds aromatic depth to the flavor profile.
- Pinch red pepper or chili flakes: A touch of heat that can be adjusted to taste.
- 1 tablespoon sesame seeds: For garnish and extra flavor.
- Sliced green onions: Adds freshness and color as a garnish.
Cooking Instructions for Sesame Chicken

Cooking Sesame Chicken is a delightful process that transforms simple ingredients into a mouthwatering meal. Let’s dive into the steps together and whip up this delicious dish!
- Prepare the chicken: Start by seasoning the chicken pieces with salt and pepper to taste. Then, in a bowl, beat the eggs and add a bit more salt and pepper. Whisk it all together until combined. In another shallow bowl or plate, combine the flour and cornstarch. This will serve as your coating. Dip each piece of chicken into the egg mixture, allowing any excess to drip off, then roll it in the flour-cornstarch mixture until fully coated. Repeat this for all the pieces of chicken.
- Cook the chicken in oil: Heat enough oil in a pan to reach about three inches deep and bring it to a temperature of 350° F. Carefully add 7 to 8 pieces of the coated chicken into the hot oil, making sure not to overcrowd the pan. Fry them for about five minutes or until they are crispy and golden brown. Use a slotted spoon to remove them and drain on a paper towel. Repeat the frying process with the remaining chicken.
- Drain the chicken: Once cooked, let the chicken sit on the paper towel for a minute to absorb any excess oil. This ensures each piece stays crispy.
- Prepare the sauce: While the chicken is frying, take a large saucepan and combine the soy sauce, honey, ketchup, brown sugar, rice vinegar, toasted sesame oil, cornstarch, garlic powder, and a pinch of red pepper flakes. Bring the mixture to a simmer over medium heat and let it cook for 3 to 4 minutes, stirring occasionally. You want the sauce to thicken slightly and become aromatic.
- Combine the chicken with the sauce: Once the sauce is ready, add the crispy chicken pieces to the saucepan. Gently toss them in the sauce until well coated. This step is crucial as it allows each piece to soak up that sweet and savory goodness. When everything is combined, sprinkle with sesame seeds and sliced green onions for garnish.
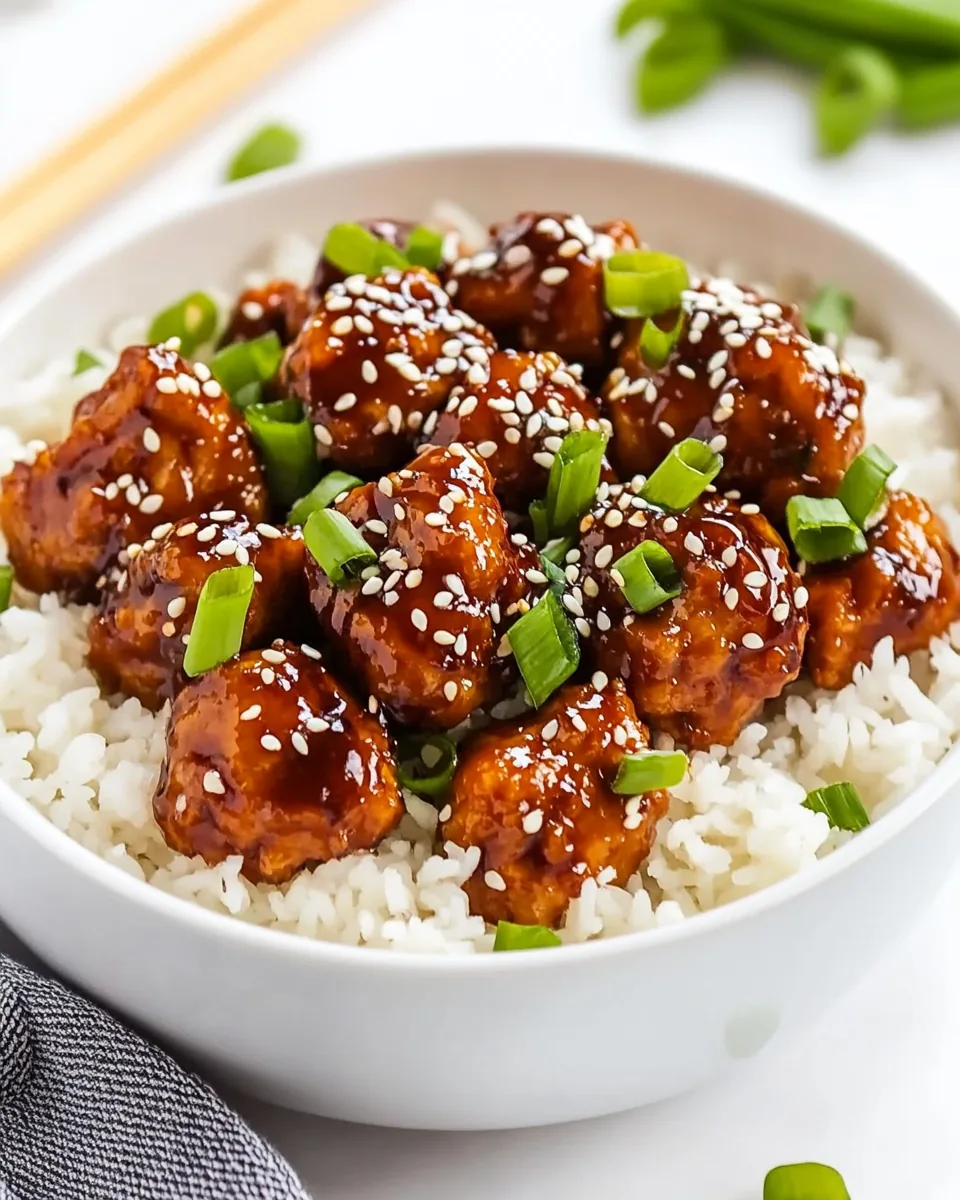
- Serve and enjoy! Your Sesame Chicken is now ready to be plated. Serve it hot with steamed rice or noodles, allowing everyone to enjoy the delightful flavors. Don’t forget to savor the crunch!
Things Worth Knowing
- Cooking oil temperature: Ensure your oil is at the right temperature (around 350° F) before adding the chicken. This helps achieve that perfect golden brown color and crisp texture.
- Resting time: Let the fried chicken drain for a minute on paper towels to remove excess oil. This keeps the pieces crispy.
- Thickening the sauce: If your sauce isn’t thickening as desired, let it simmer a bit longer. Instead of adding more cornstarch, allow it to naturally reduce for better flavor concentration.
- Serving tips: Serve Sesame Chicken hot and fresh for the best taste. If making in advance, reheat gently to maintain the crunch.
How to Switch It Up
Looking to make Sesame Chicken your own? Here are some creative ideas to switch it up and keep things exciting!
- Spice it up: If you enjoy heat, add more red pepper flakes or even a splash of hot sauce to the sauce for an extra kick.
- Vegetable add-ins: Feel free to toss in some steamed or sautéed veggies like bell peppers, broccoli, or snap peas. It adds color and nutrition!
- Make it crispy: For an ultra-crispy version, try double-dipping the chicken by going through the egg and coating process twice before frying.
- Swap proteins: If you’d like to try a different protein, feel free to use shrimp or even tofu for a vegetarian version.
- Meal prep: Make a big batch of the sauce ahead of time and keep it in the fridge, ready to toss with fried chicken when you’re ready to eat.
- Serving variations: While it’s traditionally served with rice, consider trying Sesame Chicken on a bed of quinoa or even wrapped in lettuce leaves for a fun twist.
Pairing Suggestions for Sesame Chicken
Pairing Sesame Chicken with the right sides can enhance the dining experience. Here are some ideas to create a well-rounded meal:
- Steamed rice: The most classic pairing, fluffy steamed rice absorbs the delicious sauce and balances the dish.
- Stir-fried vegetables: A mix of colorful stir-fried veggies like bell peppers, carrots, and broccoli adds nutrition and vibrancy to your plate.
- Cold noodle salad: A refreshing cold noodle salad can complement the heat of the Sesame Chicken, adding a nice contrast in textures.
- Spring rolls: Serve crispy spring rolls on the side for an exciting appetizer that echoes the crunch of the chicken.
- Occasions: This dish is fantastic for family dinners, casual gatherings, or even for meal prep throughout the week.
- Flavor balance: Consider adding something tangy to your meal, like a citrusy salad or pickled vegetables, to brighten the flavors.
- Seasonal pairings: In colder months, a warm bowl of soup could complement this dish perfectly, while in warmer months, a refreshing cucumber salad works wonders.
FAQ
Conclusion
What makes Sesame Chicken special is its perfect balance between crispiness and flavor, creating a delightful dish that’s hard to resist. I encourage you to give this recipe a try, whether for a weeknight dinner or to impress guests at a gathering. You won’t be disappointed with its taste and simplicity. Enjoy this amazing dish and share it with your loved ones!
Sesame Chicken
Ingredients
Equipment
Method
- Start by seasoning the chicken pieces with salt and pepper to taste. Then, in a bowl, beat the eggs and add a bit more salt and pepper. Whisk it all together until combined. In another shallow bowl or plate, combine the flour and cornstarch. This will serve as your coating. Dip each piece of chicken into the egg mixture, allowing any excess to drip off, then roll it in the flour-cornstarch mixture until fully coated. Repeat this for all the pieces of chicken.
- Heat enough oil in a pan to reach about three inches deep and bring it to a temperature of 350° F. Carefully add 7 to 8 pieces of the coated chicken into the hot oil, making sure not to overcrowd the pan. Fry them for about five minutes or until they are crispy and golden brown. Use a slotted spoon to remove them and drain on a paper towel. Repeat the frying process with the remaining chicken.
- Once cooked, let the chicken sit on the paper towel for a minute to absorb any excess oil. This keeps the pieces crispy.
- While the chicken is frying, take a large saucepan and combine the soy sauce, honey, ketchup, brown sugar, rice vinegar, toasted sesame oil, cornstarch, garlic powder, and a pinch of red pepper flakes. Bring the mixture to a simmer over medium heat and let it cook for 3 to 4 minutes, stirring occasionally. You want the sauce to thicken slightly and become aromatic.
- Once the sauce is ready, add the crispy chicken pieces to the saucepan. Gently toss them in the sauce until well coated. This step is crucial as it allows each piece to soak up that sweet and savory goodness. When everything is combined, sprinkle with sesame seeds and sliced green onions for garnish.
- Your Sesame Chicken is now ready to be plated. Serve it hot with steamed rice or noodles, allowing everyone to enjoy the delightful flavors. Don’t forget to savor the crunch!
Notes
- Tip: The sauce can be made up to 2 days ahead and kept in the refrigerator until you are ready to serve.